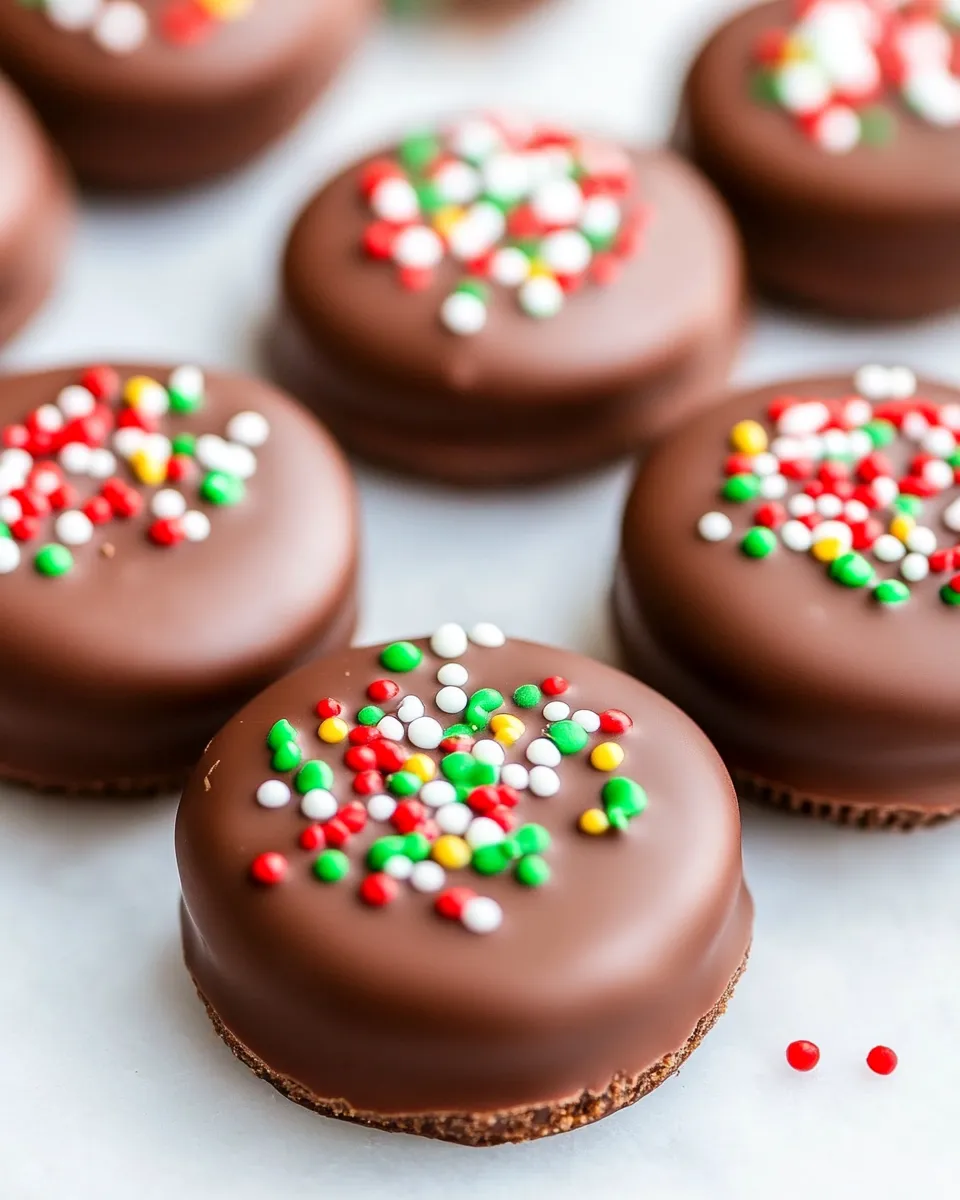
Chocolate Covered Oreos
Chocolate covered Oreos are one of those small but mighty treats that make every party look a little more festive and every afternoon feel celebratory. They’re fast to make, endlessly customizable, and they require only three pantry staples plus a little patience. I keep a stash of these in my fridge for last-minute dessert needs—they travel well and almost always disappear first.
This recipe is straightforward and forgiving, which is why I turn to it again and again. You don’t need special skills, just a steady hand for dipping and a few tools to keep things tidy. Whether you’re making them for a birthday, a bake sale, or a simple after-dinner sweet, the payoff is big for very little effort.
Below you’ll find the exact ingredients and step-by-step directions I use every time, followed by practical tips, sensible substitutions, storage advice, and answers to common questions. Read the full instructions once, then jump in—these are the kind of cookies you can confidently make while juggling other tasks in the kitchen.
What You’ll Need

You’ll need a small workspace, some basic tools, and the three ingredients listed below. The process is mostly about melting chocolate and dipping—nothing technical—so focus on a clean setup and a steady rhythm. Set up everything before melting chocolate; that little bit of prep saves time and keeps melted chocolate from cooling too fast.
Ingredients
- 24 Oreo cookies — the base of the treat; regular Oreos work perfectly.
- 16 ounces chocolate or candy melts — choose a coating you like; this amount covers 24 cookies comfortably.
- ½ cup sprinkles — for quick decoration while the chocolate is wet.
Chocolate Covered Oreos, Made Easy

- Line a baking sheet with parchment paper (recommended for a smooth bottom) or set a cooling rack over a baking sheet (note: the bottom will not be smooth if you use a rack). Put ½ cup sprinkles in a shallow bowl for easy decorating.
- Melt 16 ounces chocolate or candy melts in a microwave-safe bowl: microwave 30 seconds, stir, then continue in 15-second intervals, stirring after each, until smooth. (Alternatively, melt the chocolate in a heatproof bowl set over simmering water, stirring until smooth.)
- Hold one of the 24 Oreo cookies with a fork or a dipping tool and fully submerge it in the melted chocolate.
- Lift the cookie out of the chocolate and hold it over the bowl for a few seconds to let excess chocolate drip off. Gently tap the fork on the rim of the bowl or scrape the fork edge against the bowl to remove excess.
- Place the dipped Oreo onto the prepared parchment or cooling rack. If you used parchment, the bottom will be smooth; if you used a rack, some excess may drip through.
- Immediately sprinkle the top of the wet chocolate with sprinkles from the bowl so they adhere.
- Repeat steps 3–6 until all 24 Oreos are coated and decorated.
- Let the chocolate-covered Oreos set until the chocolate is fully hardened—about 15–30 minutes at room temperature, or 10–15 minutes in the refrigerator to speed setting.
- Once set, transfer the Oreos to an airtight container for storage.
Why It’s Crowd-Pleasing

There’s an instant familiarity to an Oreo: people know and love the cookie. When you dip it in chocolate, you add richness and a glossy, festive look. The contrast of the crisp cookie, creamy filling, and snap of the chocolate hits multiple texture notes that almost everyone enjoys.
Visually, they read as a special treat. A simple sprinkle choice—metallic for holidays, pastels for spring, themed colors for events—goes a long way to make these fit any occasion. They’re bite-sized, shareable, and easy to plate, which is why they perform so well at parties and bake sales.
Finally, they’re quick to produce in batches, so you can make several dozen without dedicating a whole afternoon. That combination of speed, versatility, and broad appeal is why these always go fast.
What to Use Instead
If you want a small twist without changing the method, swap one element at a time:
- Cookie: Golden Oreos or other sandwich cookies for a different flavor profile.
- Coating: White chocolate, dark chocolate, or colored candy melts for visual variety and flavor change.
- Toppings: Use chopped nuts, crushed candy canes, mini chocolate chips, or a drizzle of contrasting chocolate instead of or in addition to sprinkles.
These swaps keep the process identical—just use the same quantities and follow the same dipping steps.
Gear Up: What to Grab
- Microwave-safe bowl or a heatproof bowl for a double boiler — for melting chocolate.
- Forks, dipping tool, or skewers — anything you can use to hold the cookie while dipping.
- Baking sheet lined with parchment paper or a cooling rack over a sheet — for setting the cookies.
- Shallow bowl for sprinkles — keeps decorating quick and tidy.
- Airtight container — for storage once the cookies are set.
What Not to Do
A few common missteps that are easy to avoid:
– Don’t overheat the chocolate. Heat it in short bursts and stir; scorched chocolate becomes grainy and won’t set smoothly.
– Don’t dip damp cookies. Moisture causes chocolate to seize or create an uneven finish; make sure cookies are at room temperature and dry.
– Don’t rush tapping off excess chocolate. Give a few seconds for the drips to fall before tapping; otherwise you’ll end up with big blobs and long drips.
– Don’t overcrowd your workspace or the setting sheet. Crowding slows you down and increases the chance of smudges and collisions.
Spring to Winter: Ideas
Seasonal decorating keeps this simple recipe feeling fresh all year:
– Spring: pastel sprinkles or edible flowers for a light, cheerful look.
– Summer: bright sprinkles and a drizzle of white chocolate for contrast, or sandwich in a scoop of ice cream for an adult-freeze treat (serve immediately).
– Fall: use orange, brown, and gold sprinkles; add a dusting of cinnamon sugar to the chocolate before it sets for a cozy note.
– Winter/Holiday: red and green or metallic sprinkles, crushed candy cane on top of white chocolate, or dip half in dark and half in white chocolate for a two-tone effect.
Cook’s Commentary
On chocolate choices
Real chocolate gives the best flavor, but candy melts are very forgiving and come in many colors. If you choose real chocolate and want a shiny finish at room temperature, use couverture or temper the chocolate correctly. For a quick home fix, chilling briefly in the refrigerator will give a nicely set shell even without tempering.
Technique tips
Work in batches that match your speed: melt enough chocolate to dip several cookies without letting it cool. If the chocolate starts to thicken, refresh it with short bursts in the microwave. While practicing, use the parchment method first; it produces a clean bottom and is easier for beginners.
Presentation
Plate these on a tiered tray for parties, or wrap them individually in clear bags tied with ribbon for favors. If you want the bottom to look as good as the top, use parchment instead of a rack and avoid touching the bottom until fully set.
Save for Later: Storage Tips
Store the set cookies in an airtight container at room temperature for up to 5 days. If your kitchen is warm or the chocolate has a soft texture, store them in the refrigerator; they’ll keep for up to 2 weeks chilled, but note refrigeration can sometimes produce a slight loss of shine and a bit of condensation when warmed back up.
When stacking layers in a container, separate them with parchment or wax paper to prevent sticking. For longer storage, you can freeze the finished cookies in a single layer on a baking sheet until solid, then transfer them to a freezer-safe container with layers separated by parchment. Thaw in the refrigerator before serving to minimize sweating.
Reader Q&A
Q: Can I use Double Stuf Oreos?
A: Yes. The extra filling can make the cookie slightly thicker, but the method is identical. The coating will still adhere and the result will be extra indulgent.
Q: My chocolate looks streaky after it sets. Why?
A: That’s usually bloom—fat or sugar crystals rising to the surface—caused by improper melting/tempering or large temperature swings. Using properly melted chocolate, avoiding moisture, and cooling steadily reduces streaking. If you’re not tempering, chill briefly for a quicker set and handle gently to avoid condensation.
Q: Is dipping with a spoon okay if I don’t have a fork?
A: Yes, you can. Scoop the cookie and let excess drip back into the bowl, using a second spoon to help guide and scrape off excess. Dipping tools or forks are just easier and give better control.
Q: Can I freeze the cookies with sprinkles?
A: You can, but light, delicate sprinkles sometimes lose crispness after freezing and thawing. Larger or sturdier decorations hold up better. Freeze on a sheet until solid and then pack well to avoid crushing decorations.
That’s a Wrap
Chocolate covered Oreos are a low-effort, high-impact treat that anyone can make. With just three ingredients and a few simple tools, you’ll have a beautiful plate of cookies that suit any occasion. Prep the station, melt the chocolate carefully, and enjoy the satisfying rhythm of dipping and decorating. When they’re gone, you’ll already be planning the next batch—different colors, different occasions, same easy method.
If you try them, tag a photo and let me know which sprinkle combo you chose—I love seeing how readers make this recipe their own.

Chocolate Covered Oreos
Ingredients
Ingredients
- ?1 packageOreo cookies24 cookies
- ?16 ounceschocolate or candy melts
- ?1/2 cupsprinkles
Instructions
Instructions
- Line a baking sheet with parchment paper (recommended for a smooth bottom) or set a cooling rack over a baking sheet (note: the bottom will not be smooth if you use a rack). Put ½ cup sprinkles in a shallow bowl for easy decorating.
- Melt 16 ounces chocolate or candy melts in a microwave-safe bowl: microwave 30 seconds, stir, then continue in 15-second intervals, stirring after each, until smooth. (Alternatively, melt the chocolate in a heatproof bowl set over simmering water, stirring until smooth.)
- Hold one of the 24 Oreo cookies with a fork or a dipping tool and fully submerge it in the melted chocolate.
- Lift the cookie out of the chocolate and hold it over the bowl for a few seconds to let excess chocolate drip off. Gently tap the fork on the rim of the bowl or scrape the fork edge against the bowl to remove excess.
- Place the dipped Oreo onto the prepared parchment or cooling rack. If you used parchment, the bottom will be smooth; if you used a rack, some excess may drip through.
- Immediately sprinkle the top of the wet chocolate with sprinkles from the bowl so they adhere.
- Repeat steps 3–6 until all 24 Oreos are coated and decorated.
- Let the chocolate-covered Oreos set until the chocolate is fully hardened—about 15–30 minutes at room temperature, or 10–15 minutes in the refrigerator to speed setting.
- Once set, transfer the Oreos to an airtight container for storage.
Equipment
- dipping tool
Notes
Avoid creating a chocolate ‘foot’when placing the dipped Oreos on parchment paper by allowing the excess chocolate to drip off. You can also use a fork or a toothpick to get rid of any excess chocolate before placing it on parchment paper to set and harden.
You can change things up and sprinkle the cookies with crushed nuts, toasted desiccated coconut, crushed pretzels, or decorate with icing.
If you end up with someleftover melted chocolate, just drizzle it over the cookies if you like.
Store in an airtight container at room temperature for up to 4 weeks in a cool dry place.