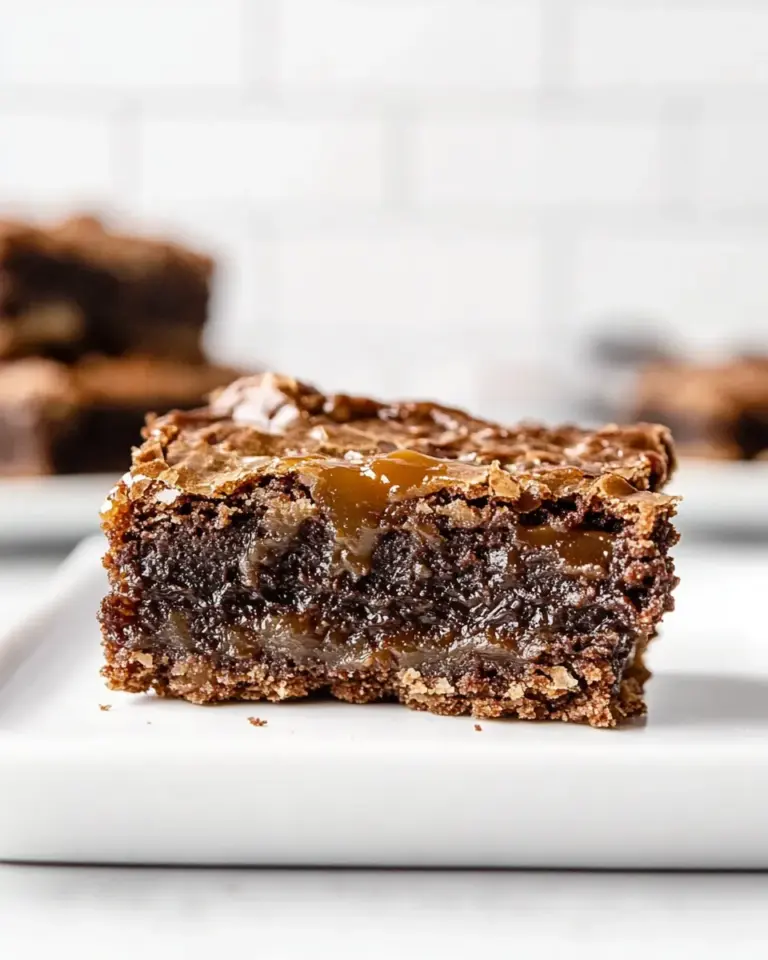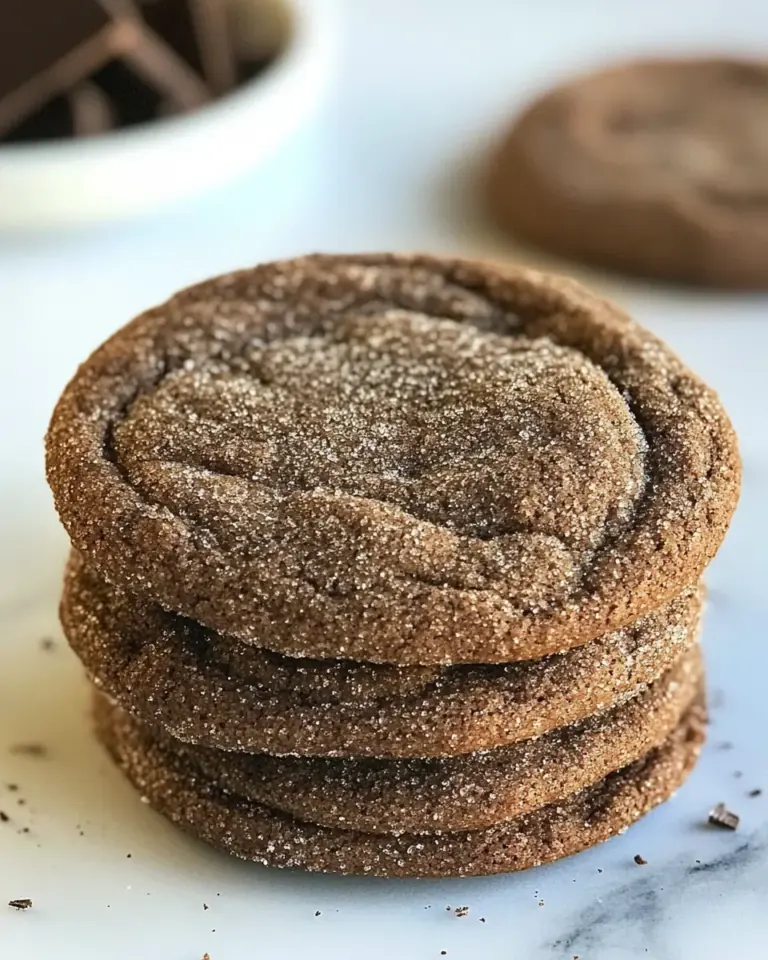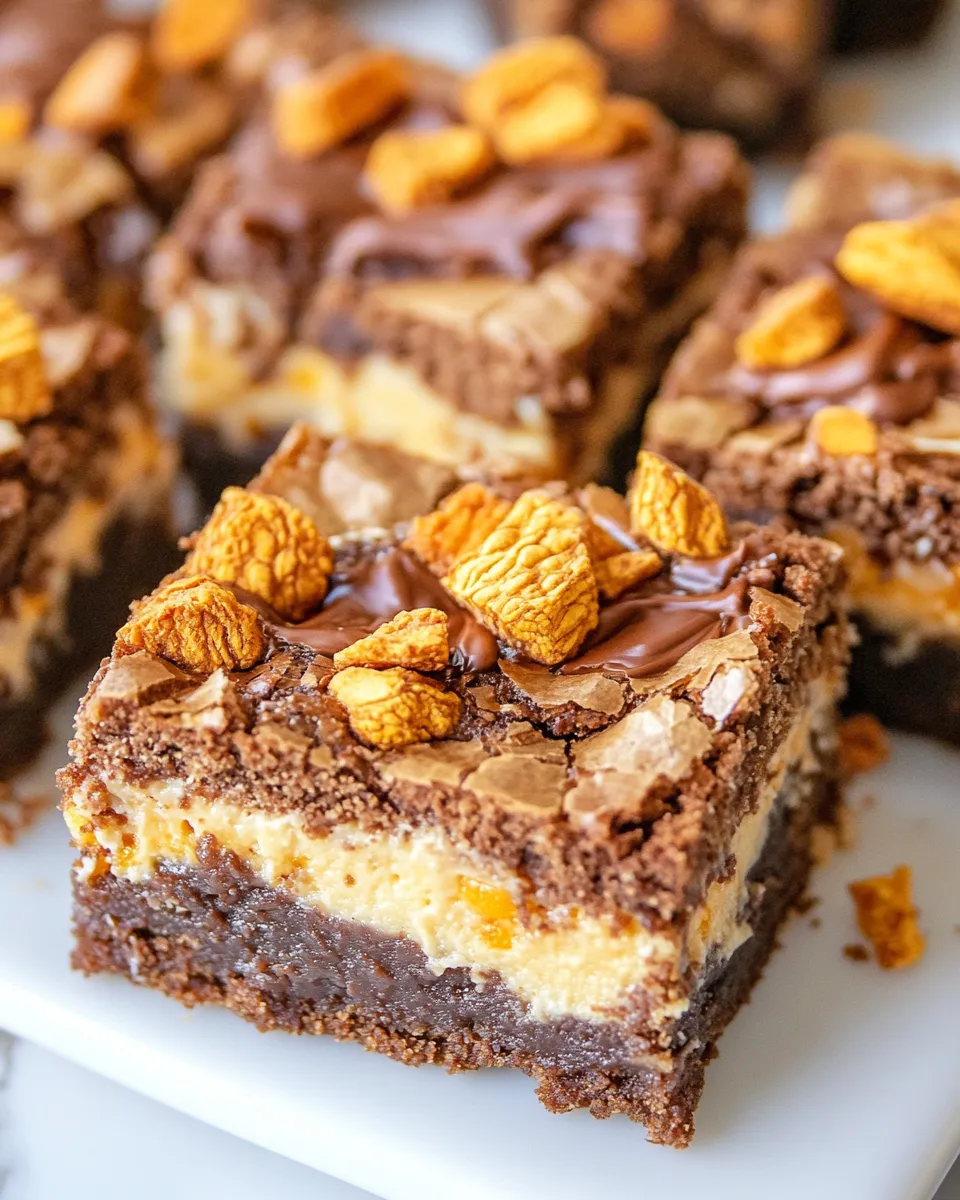
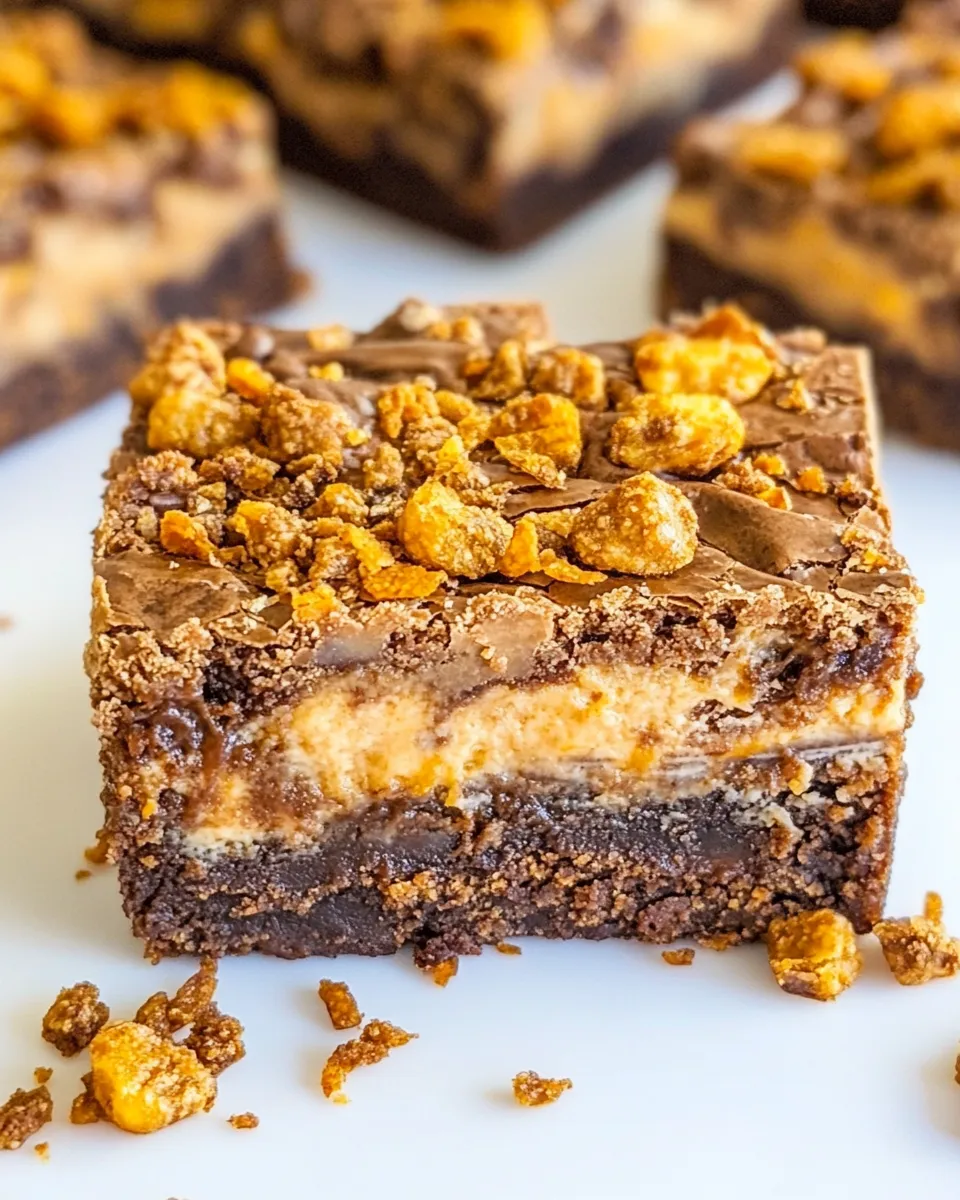
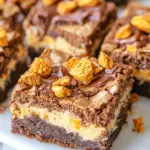
Butterfinger Cheesecake Brownies
These bars are the kind of dessert I make when I want something that feels indulgent but still feeds a crowd. The fudgy brownie base, a creamy cheesecake swirl, crunchy Butterfinger pieces and a warm peanut butter glaze—each bite hits a different texture. It’s messy in the best way and reliably gets requests for the recipe.
I’ll be direct: this is a straightforward, slightly decadent bake that rewards careful timing more than technique. You don’t need advanced skills—just patience to let the bars cool so the glaze and topping behave. I bake these for potlucks, family dinners, and when a weekday calls for something special.
Below you’ll find a clear shopping list, an ingredients section, step-by-step instructions using the exact method I follow, and practical tips drawn from actually making these dozens of times. Nothing fluffy—just what works.
Shopping List

Pick up everything below in one trip if you can. Fresh cream cheese and good-quality chocolate make a real difference.
Ingredients
- 1 stick (4 ounces) unsalted butter — melts into the brownie for richness and tenderness.
- 2 ounces semi-sweet chocolate, chopped — deepens the chocolate flavor and smooths the batter.
- 1 cup granulated sugar — for the brownie batter; balances the chocolate.
- 2 large eggs + 1 egg yolk — provide structure and a fudgy texture to the brownie layer.
- 1/2 teaspoon salt — enhances chocolate and balances sweetness.
- 3/4 cup all-purpose flour — keeps the brownie dense but tender; don’t overmix.
- 8 ounces full-fat cream cheese, very soft — the heart of the cheesecake layer; full-fat gives the best texture.
- 1/2 cup granulated sugar — sweetens and stabilizes the cheesecake layer.
- 1 large egg + 1 egg yolk — enrich the cheesecake and help it set.
- 12 mini Butterfinger bars (or 5 regular), roughly chopped, divided — folding most into the cheesecake adds crunch; reserve some for topping.
- 1 cup creamy peanut butter — warmed into a pourable glaze to finish the bars.
- 2 tablespoons confectioners’ sugar — smooths and slightly sweetens the peanut butter glaze.
How to Prepare Butterfinger Cheesecake Brownies
- Preheat the oven to 350°F. Line an 8×8-inch square baking pan with parchment paper so the paper hangs over two opposite sides for lifting; lightly spray the parchment and any exposed pan with nonstick spray. Set the pan aside.
- Roughly chop the Butterfinger bars and divide the pieces; reserve about 1/4 cup of the chopped Butterfinger pieces for topping and set aside.
- In a small saucepan over medium-low heat, combine 1 stick (4 ounces) unsalted butter and 2 ounces semi-sweet chocolate (chopped). Stir or whisk occasionally until fully melted and smooth. Remove the pan from the heat.
- Pour the melted chocolate mixture into a large heatproof bowl. Whisk in 1 cup granulated sugar until combined. Add the 2 large eggs and 1 egg yolk and whisk until the mixture is smooth.
- Add 1/2 teaspoon salt and 3/4 cup all-purpose flour to the chocolate mixture. Gently whisk or fold until just combined and no streaks of flour remain. Do not overmix.
- Pour the brownie batter into the prepared 8×8 pan and smooth the top with a rubber spatula.
- In a large bowl, use a handheld mixer to beat 8 ounces full-fat cream cheese (very soft) until completely smooth. Add 1/2 cup granulated sugar, then add 1 large egg and 1 egg yolk. Beat until smooth and creamy, about 1 minute.
- Fold the chopped Butterfinger pieces (except the reserved 1/4 cup) into the cheesecake mixture until evenly distributed.
- Pour the cheesecake mixture over the brownie layer in the pan. Use a knife to gently swirl the cheesecake layer into the brownie layer to create a marbled effect.
- Bake in the preheated oven for 35 minutes, or until the edges are set and the center is just set (it may still jiggle slightly). Remove from the oven and place the pan on a wire rack to cool completely in the pan.
- While the bars cool, make the peanut butter glaze: place 1 cup creamy peanut butter in a small saucepan over medium-low heat and warm, stirring occasionally, until the peanut butter is loose and pourable. Remove from heat and whisk in 2 tablespoons confectioners’ sugar until smooth.
- Once the cheesecake brownies are completely cool, lift them from the pan using the parchment overhang and place on a cutting board. Cut into bars.
- Sprinkle the reserved 1/4 cup chopped Butterfinger pieces over the cut bars, then drizzle the peanut butter glaze over the bars. Serve.
The Upside of Butterfinger Cheesecake Brownies

These bars are celebration-friendly: they look special, and they hit multiple cravings in one bite—chocolate, cream cheese, crunch, and peanut butter. They’re forgiving for home bakers because the brownie layer is dense rather than cake-like, so slight overbakes won’t ruin the texture.
Because elements are layered, you can prep in stages: make the brownie batter and cheesecake mixture earlier in the day, then assemble and bake closer to company time. They travel well, too—wrap them tightly and they’ll stay moist for a day or two at room temperature.
Low-Carb/Keto Alternatives
These bars are not inherently low-carb, but you can make reasonable swaps if you need to reduce net carbs. Swap granulated sugar in both layers and confectioners’ sugar in the glaze for a powdered erythritol or monk fruit-based sweetener measured for 1:1 replacement. Use almond flour in place of the all-purpose flour—start with 3/4 cup but be aware it changes texture (almond flour yields a more tender, slightly crumbly brownie).
For the Butterfinger element, commercial low-carb candy equivalents are rare; you might fold in chopped low-carb chocolate bars or toasted chopped nuts for crunch instead. Likewise, choose a sugar-free creamy peanut butter for the glaze. Keep expectations realistic—these will taste different from the classic version but can still be satisfying.
Gear Up: What to Grab
Use the right tools and the job goes faster. You’ll need an 8×8-inch square pan and parchment paper for lifting the bars cleanly out of the pan. A small saucepan for melting the chocolate and butter, and another (or the same, wiped clean) for warming peanut butter on low heat. A rubber spatula, a wire rack for cooling, and a handheld mixer for the cheesecake mixture are helpful.
Optional but useful: an offset spatula to smooth layers and a sharp chef’s knife warmed under hot water and wiped dry to slice clean bars.
Pitfalls & How to Prevent Them
Common issues and fixes
- Soggy center: Don’t panic if the center jiggles slightly when you take it out—that’s normal. But if it’s very loose after cooling, it may need a bit more baking. Insert a toothpick near the center; it should come out with a few moist crumbs, not raw batter.
- Cracked cheesecake top: Overbeating cream cheese or baking at too high a temperature can cause cracks. Beat the cream cheese until smooth, then add other ingredients and stop. Bake at 350°F as directed.
- Tough brownies: Overmixing after adding flour develops gluten. Fold just until no streaks of flour remain.
- Glaze too thick: If the peanut butter glaze stiffens, warm it gently again for a few seconds or whisk in a teaspoon of neutral oil (like vegetable) to loosen it.
Make It Year-Round
These bars work for every season. For summer potlucks, assemble and chill the bars, then drizzle glaze just before serving. In colder months, serve them slightly warmed—10–15 seconds in the microwave makes the glaze luxuriously gooey.
Holidays? Swap the peanut butter glaze for a salted caramel drizzle or add a pinch of cinnamon to the cheesecake for a fall-forward twist. The core recipe is adaptable while still delivering the Butterfinger crunch that defines the bar.
Behind-the-Scenes Notes
I developed this version after testing a few approaches to keep the cheesecake layer from sinking into the brownie. Folding Butterfinger pieces into the cheesecake instead of the brownie gives the bars a more even distribution of crunch. Reserving some chopped pieces for the top maintains visual appeal and provides a fresh textural contrast after baking.
Temperature control matters: melting chocolate and butter over medium-low prevents scorching. Also, allow the pan to cool completely before slicing—warm bars will smear and the glaze won’t set nicely.
Save It for Later
Storage: Place bars in an airtight container. At room temperature they keep well for up to 2 days. For longer storage, refrigerate up to 5 days. Bring to room temperature before serving for the best flavor and texture.
Freezing: Wrap individual bars tightly in plastic wrap and place them in a freezer bag for up to 2 months. Thaw overnight in the fridge and bring to room temperature before serving. If you plan to drizzle the glaze, consider freezing plain bars and topping them after thawing for the freshest finish.
Helpful Q&A
Q: Can I substitute milk chocolate for semi-sweet?
A: Yes, but expect a sweeter, milder chocolate flavor. Semi-sweet gives contrast to the sweet cheesecake and peanut butter glaze.
Q: Can I make this in a 9×9 pan?
A: You can, but the bars will be slightly thinner and may bake a few minutes faster. Start checking at 30 minutes for doneness.
Q: The cheesecake was a little runny after baking. Did I underbake?
A: Possibly. The center should be just set; it will firm as it cools. If it stays overly loose after cooling, the cheesecake layer needed more baking time. Make sure the oven is at the correct temperature—an oven thermometer is a worthwhile kitchen investment.
Q: Can I make the peanut butter glaze ahead?
A: Yes. Rewarm it gently before drizzling. If it stiffens too much, a very brief microwave or a few seconds on the stove while stirring will bring it back to pourable.
Hungry for More?
If you liked these, try other brownies or cheesecake-bar variations—swapping candy mix-ins or trying a salted caramel swirl are easy next steps. I test recipes for approachable but impressive desserts, so follow along for more bakes that balance texture and flavor without unnecessary fuss.
Make a batch, share with friends, and let me know how you tweaked it. I love hearing which small change becomes your household favorite.
Butterfinger Cheesecake Brownies
Ingredients
Ingredients
- 1 stick 4 ounces unsalted butter
- 2 ouncessemi-sweet chocolate chopped
- 1 cupgranulated sugar
- 2 large eggs + 1 egg yolk
- 1/2 teaspoonsalt
- 3/4 cupall-purpose flour
- 8 ouncesfull-fat cream cheese very soft
- 1/2 cupgranulated sugar
- 1 large egg + 1 egg yolk
- 12 mini butterfinger bars or 5 regular, roughly chopped, divided
- 1 cupcreamy peanut butter
- 2 tablespoonsconfectioners' sugar
Instructions
Instructions
- Preheat the oven to 350°F. Line an 8x8-inch square baking pan with parchment paper so the paper hangs over two opposite sides for lifting; lightly spray the parchment and any exposed pan with nonstick spray. Set the pan aside.
- Roughly chop the Butterfinger bars and divide the pieces; reserve about 1/4 cup of the chopped Butterfinger pieces for topping and set aside.
- In a small saucepan over medium-low heat, combine 1 stick (4 ounces) unsalted butter and 2 ounces semi-sweet chocolate (chopped). Stir or whisk occasionally until fully melted and smooth. Remove the pan from the heat.
- Pour the melted chocolate mixture into a large heatproof bowl. Whisk in 1 cup granulated sugar until combined. Add the 2 large eggs and 1 egg yolk and whisk until the mixture is smooth.
- Add 1/2 teaspoon salt and 3/4 cup all-purpose flour to the chocolate mixture. Gently whisk or fold until just combined and no streaks of flour remain. Do not overmix.
- Pour the brownie batter into the prepared 8x8 pan and smooth the top with a rubber spatula.
- In a large bowl, use a handheld mixer to beat 8 ounces full-fat cream cheese (very soft) until completely smooth. Add 1/2 cup granulated sugar, then add 1 large egg and 1 egg yolk. Beat until smooth and creamy, about 1 minute.
- Fold the chopped Butterfinger pieces (except the reserved 1/4 cup) into the cheesecake mixture until evenly distributed.
- Pour the cheesecake mixture over the brownie layer in the pan. Use a knife to gently swirl the cheesecake layer into the brownie layer to create a marbled effect.
- Bake in the preheated oven for 35 minutes, or until the edges are set and the center is just set (it may still jiggle slightly). Remove from the oven and place the pan on a wire rack to cool completely in the pan.
- While the bars cool, make the peanut butter glaze: place 1 cup creamy peanut butter in a small saucepan over medium-low heat and warm, stirring occasionally, until the peanut butter is loose and pourable. Remove from heat and whisk in 2 tablespoons confectioners' sugar until smooth.
- Once the cheesecake brownies are completely cool, lift them from the pan using the parchment overhang and place on a cutting board. Cut into bars.
- Sprinkle the reserved 1/4 cup chopped Butterfinger pieces over the cut bars, then drizzle the peanut butter glaze over the bars. Serve.
Equipment
- 8x8-inch baking pan
- Parchment Paper
- nonstick spray
- Small Saucepan
- large heatproof bowl
- Rubber spatula
- Large Bowl
- handheld mixer
- Knife
- Wire Rack
- Cutting Board