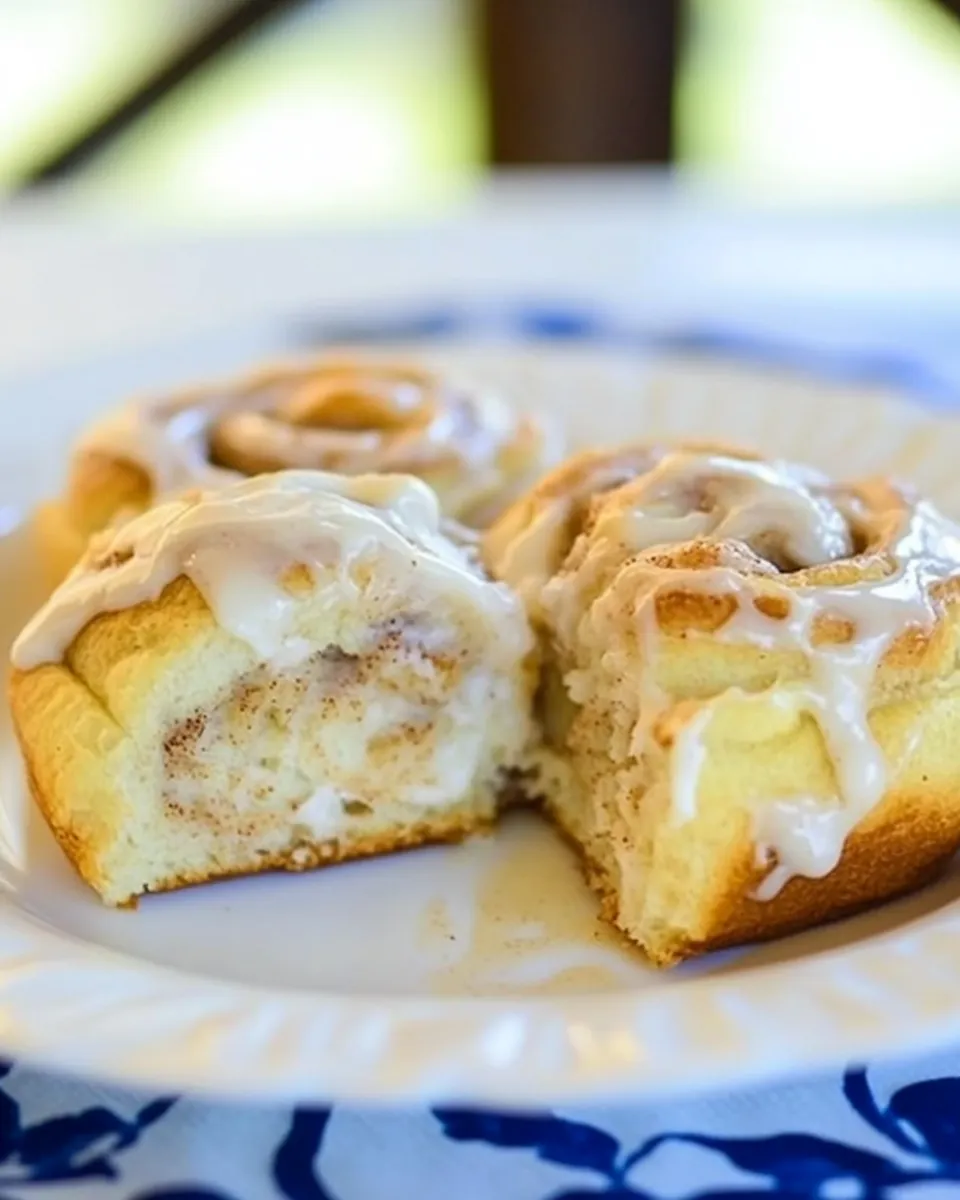
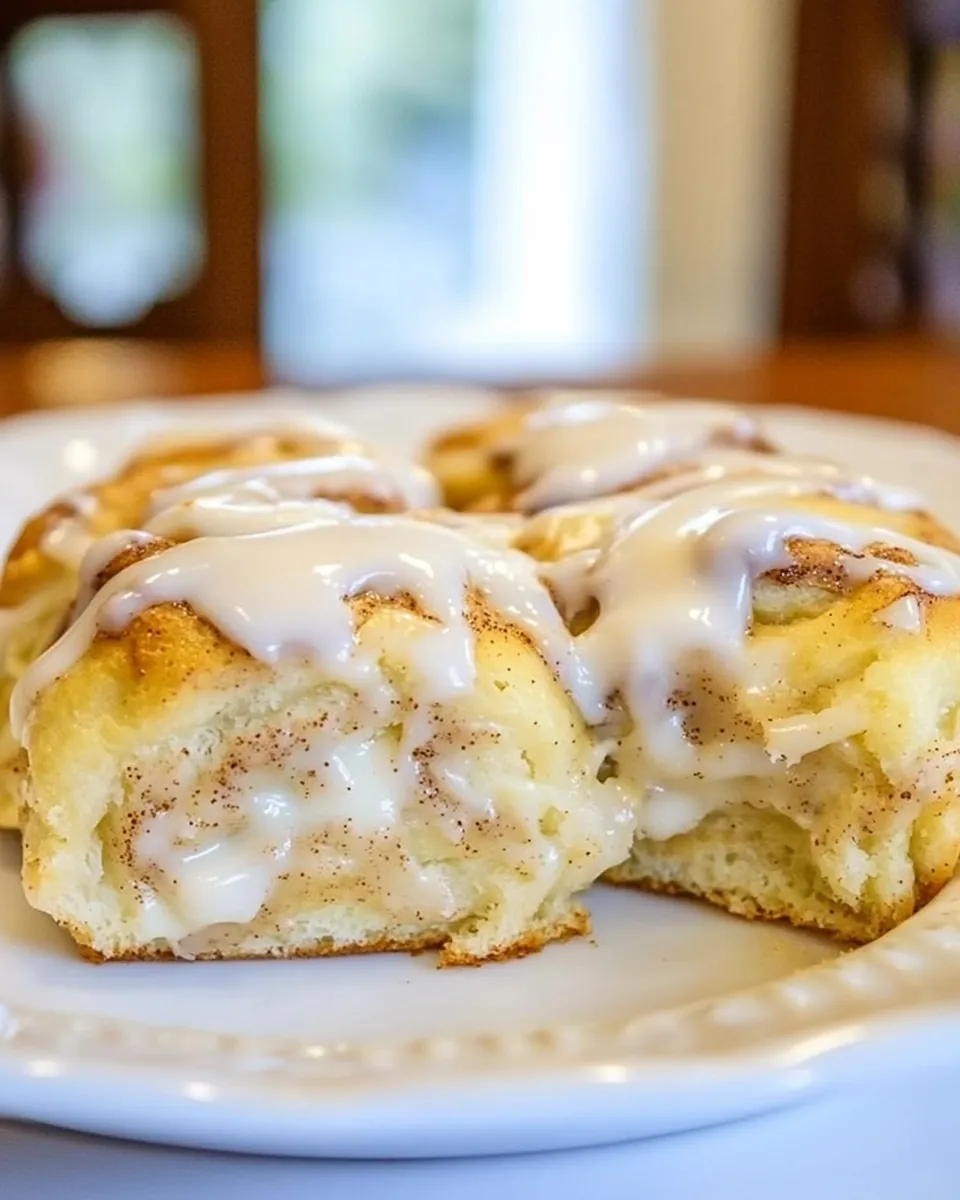
Bisquick Cinnamon Rolls
These are the cinnamon rolls I reach for on busy mornings. They’re quick, forgiving, and use pantry-ready Bisquick so you don’t need to wait for yeast or knead for ages. The texture is tender and slightly cakey, the cinnamon filling is straightforward, and the glaze gives just the right shine and sweetness.
I test recipes the way a real household runs: under time pressure, with hungry people standing by, and with as few extra bowls as possible. This version delivers reliable results and the kind of warm-baked aroma that makes a kitchen feel like home—without a long rise or complicated steps.
If you want cinnamon rolls that come together in under an hour from start to finish and still look like you fussed, these are for you. I’ll walk you through the ingredients, the precise steps, and the small adjustments that make a big difference.
The Ingredient Lineup

Ingredients
- 2 3/4 cups Bisquick mix — the quick-bread base that replaces flour plus rising agents; keeps dough simple and consistent.
- 2 tablespoons granulated sugar — a little sweetener in the dough to round out flavor and feed browning.
- 3/4 cup buttermilk — adds tang and moisture; start with this amount and add a touch more only if the dough needs it.
- 2/3 cup packed light brown sugar — the main sweetener for the filling; packed brown sugar gives chew and depth.
- 2 teaspoons ground cinnamon — the warming spice for the filling; measure carefully for balanced flavor.
- 6 tablespoons butter, melted — divided: part in the filling and part brushed on the dough to help the sugar–cinnamon stick and to brown during baking.
- 1 1/3 cups powdered sugar — the base of the glaze; sift if it’s lumpy for a silky finish.
- 1 1/2 tablespoons melted butter — adds richness to the glaze and helps it set with a subtle sheen.
- 1–2 tablespoons heavy cream — used to thin the glaze to a drizzling consistency; add slowly to control thickness.
- 1/2 teaspoon vanilla extract — flavor lift for the glaze; don’t skip it unless necessary.
From Start to Finish: Bisquick Cinnamon Rolls
- Preheat oven to 375°F. Grease a 9-inch pie pan or cake pan (use a little of the melted butter from the 6 tablespoons if desired).
- In a large bowl, stir together 2 3/4 cups Bisquick mix and 2 tablespoons granulated sugar.
- Add 3/4 cup buttermilk to the dry mix and stir just until a soft dough forms. If there is still some dry Bisquick, add a little more buttermilk, a small amount at a time, until the dough comes together.
- Place the dough between two sheets of parchment paper (or on a clean work surface). Roll the dough to about an 8 × 12-inch rectangle.
- In a small bowl, combine 2/3 cup packed light brown sugar and 2 teaspoons ground cinnamon. Stir in 2 tablespoons of the melted butter (from the 6 tablespoons) until the mixture is evenly moistened.
- Brush the remaining melted butter (the rest of the 6 tablespoons) evenly over the rolled dough.
- Sprinkle the brown sugar–cinnamon mixture evenly over the buttered dough, leaving a small margin along one long edge.
- Starting at the opposite long edge, roll the dough up tightly into a log (jelly-roll style). Pinch the seam to seal.
- Use unflavored dental floss or a sharp knife to cut the log into 8 equal slices. Place the slices cut-side up in the prepared greased pan, arranging them so they touch slightly.
- Bake for 22–25 minutes, or until the centers are set, the rolls are golden, and no longer gooey. Remove from the oven and let the rolls sit in the pan for about 5 minutes.
- Meanwhile, make the glaze: in a medium bowl whisk together 1 1/3 cups powdered sugar, 1 1/2 tablespoons melted butter, and 1/2 teaspoon vanilla extract. Add the heavy cream (1–2 tablespoons) a little at a time and whisk until the glaze reaches a drizzling consistency.
- Drizzle the glaze over the warm cinnamon rolls. Serve.
Why This Bisquick Cinnamon Rolls Stands Out
These rolls work because they remove the two biggest barriers to homemade cinnamon rolls: yeast timing and technique. Bisquick supplies leavening and a predictable crumb, so you get a tender, cake-like roll without waiting for rises. The method uses simple rolling and slicing, and dental floss makes neat cuts without compressing the log.
The recipe balances speed with a classic outcome. The butter in the filling makes the brown sugar cling and caramelize slightly; brushing additional melted butter on the dough encourages deep color and a soft exterior. The glaze is simple but customizable for thickness, and it sets nicely on warm rolls so you get attractive, glossy drips.
International Equivalents

If you’re outside the U.S., Bisquick isn’t universal. Look for local “biscuit mix,” “self-rising baking mix,” or “quick-mix” shelf blends that include flour and leavening. The texture will be similar; watch hydration closely because different mixes absorb liquids differently. Buttermilk can be substituted with cultured milk or a mix of milk plus a splash of vinegar or lemon juice left to sit a few minutes—start with the same volume and adjust if the dough seems too dry.
For measures: 2 3/4 cups Bisquick is approximately 330–350 grams, but because mixes vary, the best approach is to watch the dough texture described in step 3 rather than rely solely on grams. Aim for a soft, cohesive dough that’s not sticky.
Equipment at a Glance
Must-haves
- 9-inch pie or cake pan — the recipe bakes best in a pan that keeps the rolls touching so they puff up and hold shape.
- Rolling pin — for a smooth, even rectangle; a wine bottle works in a pinch.
- Parchment paper — keeps the dough from sticking and makes cleanup easy.
- Mixing bowls and whisk — one large for dough, one medium for glaze.
Errors to Dodge
Don’t overwork the dough. Bisquick dough should be handled gently; too much pressure when rolling or slicing makes the finished rolls dense. Roll to an even 8 × 12-inch rectangle so slices bake uniformly. If your dough tears, press it gently back together and continue.
Avoid underbaking. The centers should be set and not gooey. Baking time can vary slightly by oven; check at 22 minutes, and add a couple of minutes if needed. Conversely, don’t overbake—these are best with a soft interior, not dry crumbs.
When slicing, use dental floss or a sharp knife. If you press the knife straight down, you can compress the roll and lose layers. Floss lets you slip under the log and pull through cleanly for tidy spirals.
Customize for Your Needs
Want a stronger cinnamon hit? Increase the ground cinnamon in the filling by small increments, but keep the ratio comfortable so it doesn’t become bitter. If you prefer less sweetness, use the lower end of the glaze cream (1 tablespoon) to get a thinner, less sugary drizzle.
To change size, cut the log into 10–12 smaller slices and bake a few minutes less; keep an eye on centers. For larger, bakery-style buns, make 6 thicker slices and bake until the center is set—time will increase slightly.
Behind-the-Scenes Notes
I often double this recipe for a brunch crowd and bake two 9-inch pans. The timing holds up; just watch the second pan as ovens vary. If the brown sugar seems clumpy, break it up with a fork before mixing with cinnamon so distribution is even.
Butter temperature matters. Fully melted butter makes it easy to brush and mix into the filling. Reserve a small spoonful separately so you can mix the 2 tablespoons needed for the filling without guessing at proportions.
Freezer-Friendly Notes
You can freeze these at two stages. For make-ahead convenience, roll the log, cut into slices, then arrange the slices in the pan, cover tightly, and freeze. When frozen, wrap well with foil and freeze for up to a month. Thaw in the refrigerator overnight and bake as directed, adding a few minutes if still cold.
Alternatively, bake the rolls, cool completely, drizzle a light layer of glaze, then freeze in a single layer until firm before stacking in a container. Reheat gently in a low oven (about 325°F) until warmed through and refresh glaze if desired.
Popular Questions
Can I make these dairy-free?
Switching to dairy-free alternatives changes the included ingredients, so do so cautiously. Use a plant-based butter replacement and a non-dairy milk with acidity in place of buttermilk; add little at a time because absorption varies.
What if I don’t have buttermilk?
Use cultured or soured milk: add 1 tablespoon of vinegar or lemon juice to a measuring cup, fill to 3/4 cup with milk, stir, and let sit 5 minutes. Use the same volume called for in the recipe and adjust only if the dough still looks dry.
Can I make the glaze thinner or thicker?
Yes. Add heavy cream a teaspoon at a time to thin, or add a bit more powdered sugar to thicken, but stick to the quantities as your baseline. Glaze applied warm on warm rolls will spread and set attractively.
Final Thoughts
These Bisquick Cinnamon Rolls are a practical shortcut that doesn’t feel like a shortcut. They’re fast, dependable, and forgiving—perfect for weekday breakfasts, last-minute brunches, or when you want the scent of baking without the fuss. Keep the dough soft, roll tightly, and don’t skimp on the glaze; those small choices give you big, consistently delicious results.
Make them once, and you’ll have a new go-to for mornings when you want something homemade but need it now. Let them cool slightly, drizzle generously, and enjoy while warm.
Bisquick Cinnamon Rolls
Ingredients
Ingredients
- 2 3/4 cupsBisquick mix
- 2 tablespoonsgranulated sugar
- 3/4 cupbuttermilk
- 2/3 cuppacked light brown sugar
- 2 teaspoonsground cinnamon
- 6 tablespoonsbutter ,melted
- 1 1/3 cupspowdered sugar
- 1 1/2 tablespoonsmelted butter
- 1-2 tablespoonsheavy cream
- 1/2 teaspoonvanilla extract
Instructions
Instructions
- Preheat oven to 375°F. Grease a 9-inch pie pan or cake pan (use a little of the melted butter from the 6 tablespoons if desired).
- In a large bowl, stir together 2 3/4 cups Bisquick mix and 2 tablespoons granulated sugar.
- Add 3/4 cup buttermilk to the dry mix and stir just until a soft dough forms. If there is still some dry Bisquick, add a little more buttermilk, a small amount at a time, until the dough comes together.
- Place the dough between two sheets of parchment paper (or on a clean work surface). Roll the dough to about an 8 × 12-inch rectangle.
- In a small bowl, combine 2/3 cup packed light brown sugar and 2 teaspoons ground cinnamon. Stir in 2 tablespoons of the melted butter (from the 6 tablespoons) until the mixture is evenly moistened.
- Brush the remaining melted butter (the rest of the 6 tablespoons) evenly over the rolled dough.
- Sprinkle the brown sugar–cinnamon mixture evenly over the buttered dough, leaving a small margin along one long edge.
- Starting at the opposite long edge, roll the dough up tightly into a log (jelly-roll style). Pinch the seam to seal.
- Use unflavored dental floss or a sharp knife to cut the log into 8 equal slices. Place the slices cut-side up in the prepared greased pan, arranging them so they touch slightly.
- Bake for 22–25 minutes, or until the centers are set, the rolls are golden, and no longer gooey. Remove from the oven and let the rolls sit in the pan for about 5 minutes.
- Meanwhile, make the glaze: in a medium bowl whisk together 1 1/3 cups powdered sugar, 1 1/2 tablespoons melted butter, and 1/2 teaspoon vanilla extract. Add the heavy cream (1–2 tablespoons) a little at a time and whisk until the glaze reaches a drizzling consistency.
- Drizzle the glaze over the warm cinnamon rolls. Serve.
Equipment
- Oven
- 9-inch pie pan or 9-inch cake pan
- Large Bowl
- Small Bowl
- Mixing Spoon
- rolling pin (or bottle)
- Parchment Paper
- Whisk
- knife or dental floss
Notes
Dental floss works really well to cut the dough into slices without smooshing it.
If the tops of the cinnamon rolls start to get too browned before the middle is cooked, cover with aluminum foil.