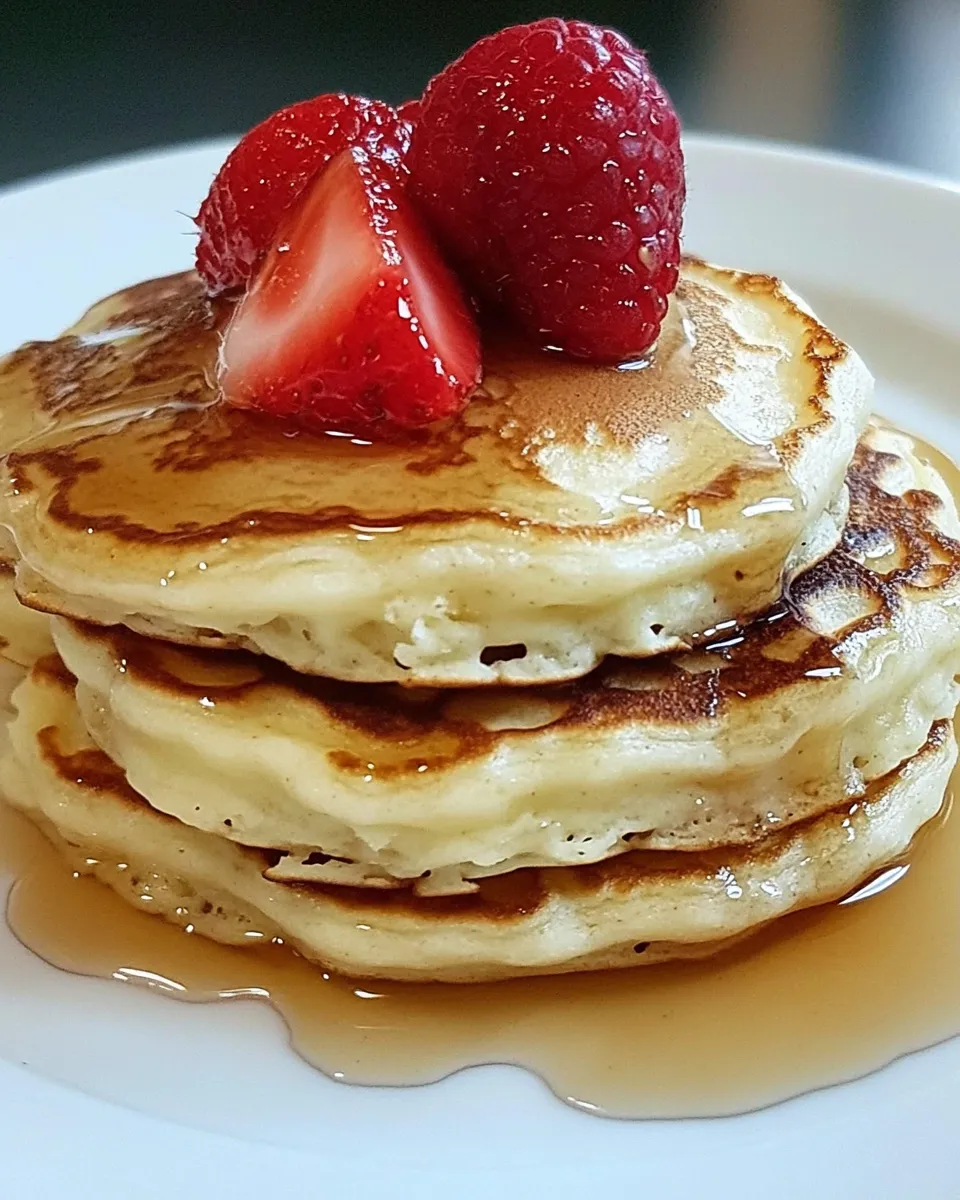
Basic Buttermilk Pancakes
These pancakes are the kind I make when I want something reliable, fluffy, and quick enough for a weekday but special enough for guests. They use buttermilk for tang and lift, and the method is forgiving — the batter can be a little lumpy and still turn out perfectly. I keep this version in regular rotation because it’s fast and hard to mess up.
I’ll walk you through exactly what goes into the batter, the step-by-step method I follow every time, and practical tips to avoid common pitfalls. Expect clear, usable guidance: from testing the pan to holding pancakes warm without drying them out. No frills, just good pancakes.
If you like to top with fruit or chocolate, I’ll cover those finishing touches and simple swaps for different diets. By the end you’ll have a reliable routine for Basic Buttermilk Pancakes that works whether you’re feeding one or a small crowd.
What Goes In

Ingredients
- 200g/ 7oz all-purpose flour — the base; measure by weight for consistent texture.
- 2ttsp baking powder — primary leavener; creates lift and fluff.
- 1teaspoonbaking soda — reacts with buttermilk for extra rise and a light crumb.
- a pinch of salt — balances sweetness and enhances flavor.
- 2large eggs,lightly beaten — adds structure and richness.
- 2cupsbuttermilk — provides acidity and tenderizes the crumb.
- 2tablespoonmelted butter — flavor and a silkier batter; helps edges brown.
- spray oil for griesing — quick, even pan release between batches.
- bluberries,strawberries, banana, chocoate chips — optional mix-ins or toppings to customize each stack.
- maple syrup — classic finishing sweetener.
- knob of butter — for melting on top of the hot pancakes.
- maple syrup — listed twice in the source; make sure you have enough for everyone.
Basic Buttermilk Pancakes: How It’s Done
- In a large bowl, whisk together the all-purpose flour, baking powder, baking soda and a pinch of salt.
- In a separate bowl, lightly beat the 2 large eggs, then add the buttermilk and the 2 tablespoons melted butter; whisk until combined.
- Pour the wet ingredients into the dry ingredients and whisk until just combined — it’s fine if the batter has small lumps; do not overmix.
- Heat a non-stick frying pan over medium-high heat and spray the surface lightly with the spray oil for greasing.
- To test the pan temperature, cook a small test pancake: pour a little batter in the pan. If it browns too quickly, reduce the heat to medium.
- For each pancake, pour about 3 large spoonfuls of batter onto the hot surface; use the back of the spoon to gently spread into a round if needed.
- Cook until bubbles form on the surface and the edges look set, about 2 minutes, then flip and cook the other side until golden and cooked through, about 1–2 minutes more.
- Transfer cooked pancakes to a serving plate and repeat with the remaining batter, spraying the pan lightly between batches if needed.
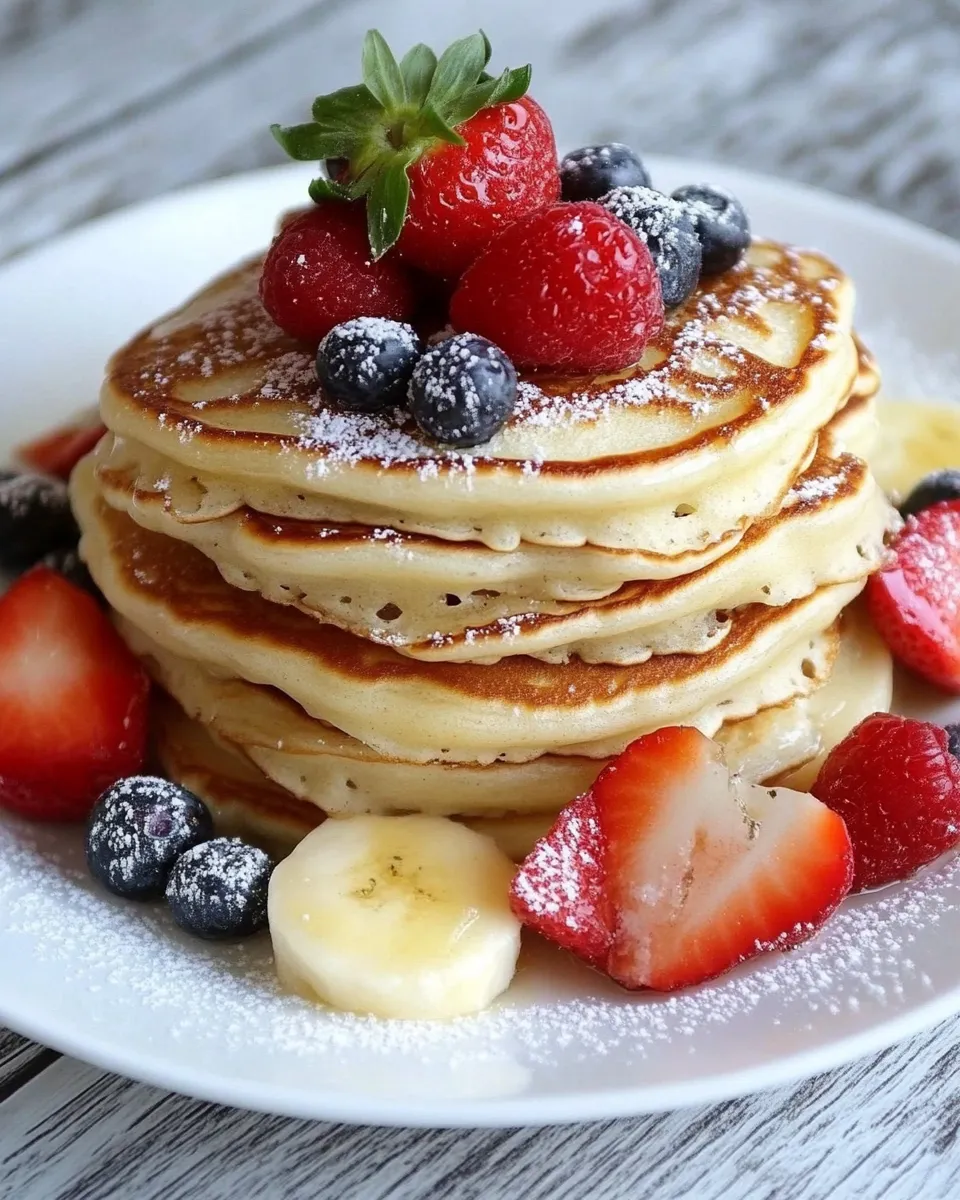
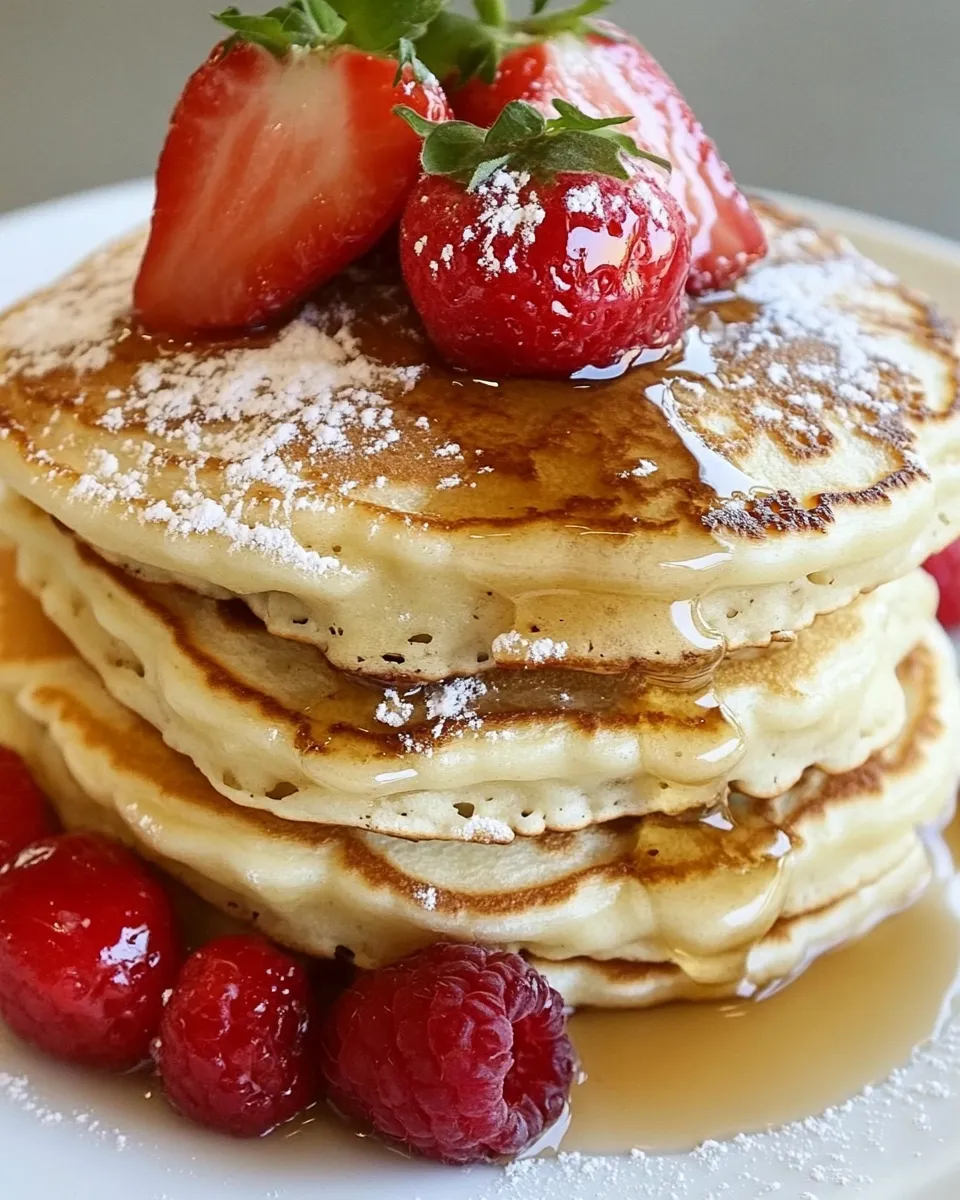
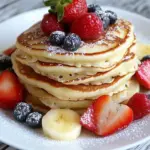
- Serve the pancakes with maple syrup and a knob of butter, and top with blueberries, strawberries, banana and/or chocolate chips as desired.
Why It’s My Go-To
This recipe hits a sweet spot: minimal fuss, fast prep, and predictable results. The buttermilk and baking soda pair to give a tender crumb with noticeable lift; the two egg whites and yolks give both structure and richness. It’s forgiving — the batter tolerates a few lumps and brief overmixing won’t ruin the batch if you’re careful.
I also like how adaptable it is. With basic pantry ingredients and a modest skillet you can make breakfast for kids, a partner, or a small group without a grocery run. The flavors are familiar and crowd-pleasing, and the method scales up easily.
No-Store Runs Needed
If you’re scanning the pantry and fridge, here’s what I check first: flour, baking powder, baking soda, eggs, and some form of milk. This recipe specifically needs buttermilk. If you don’t have buttermilk, you can make a quick substitute with a measured mix of milk plus acid (see swaps below), but if you truly can’t run out, look for plain yogurt or sour cream in the fridge — a little thinning with milk yields a workable stand-in in a pinch.
I keep spray oil and butter in my kitchen most of the time. The optional toppings are flexible: frozen berries thawed quickly in a bowl, a sliced banana, or a sprinkle of chocolate chips will all work. This means you can usually avoid a last-minute store trip.
Recommended Tools
- Non-stick frying pan or skillet — the recipe uses a non-stick pan; it makes flipping easier and needs less oil.
- Spatula — a thin, wide spatula helps you slide under pancakes cleanly.
- Large mixing bowls (2) — one for dry, one for wet to keep mixing tidy.
- Whisk — to combine wet ingredients and break up any lumps.
- Measuring scales or cups — the flour is given by weight for consistency; scales are the best option.
- Spoon for portioning — any large spoon to form the roughly equal 3-spoon pancakes.
- Plate and oven (optional) — to hold pancakes warm at low heat if making multiple batches.
Problems & Prevention
Batter problems
Too-thick batter makes dense pancakes; too-thin batter spreads too much and won’t puff. Stick to the proportions. If your batter seems thick, allow it to rest 5 minutes — the flour hydrates and the texture loosens. If it’s thin, add a small spoonful of flour, fold gently, and cook a test pancake.
Temperature issues
If the pan is too hot you’ll burn the outside before the inside cooks. Test with a small pancake — it should take about 2 minutes to show bubbles and set edges. If it browns too fast, lower to medium. If nothing browns, raise the heat a touch. Adjust between batches as needed.
Overmixing
Overmixing develops gluten and makes pancakes tough. Mix until just combined; small lumps are fine. When in doubt, stop mixing and cook a test pancake — it’s the quickest diagnostic.
Dietary Swaps & Alternatives
There are reliable swaps if you need to accommodate diets, but note that changing wet/dry ratios may affect texture. Here are straightforward options:
- No buttermilk: Mix 2 tablespoons of lemon juice or white vinegar into enough milk to make 2 cups, let sit 5 minutes, then use as the 2cupsbuttermilk called for.
- Dairy-free: Use a plant-based milk (soy or oat hold up best) and acid (1–2 tablespoons lemon juice), plus use a dairy-free melted fat instead of butter.
- Lower fat: Reduce the melted butter slightly or substitute a neutral oil; pancakes will be a touch less rich but still tasty.
- Gluten-free: Use a 1-to-1 gluten-free flour blend designed for baking. The texture will change; you may need a small binder like xanthan gum depending on the blend.
Pro Tips & Notes
Here are the habits I follow every time to get consistent pancakes:
- Weigh the flour — 200g is precise and keeps the batter consistent between batches.
- Use room-temperature eggs — they emulsify more easily with the buttermilk and melted butter.
- Rest the batter briefly — 5–10 minutes lets the flour hydrate and improves texture.
- Test the pan — always cook a small test pancake to dial in pan heat before batch cooking.
- Keep a hot oven ready — if making several batches, keep them warm on a tray in a 90–100°C (200°F) oven so they stay soft without drying.
- Add mix-ins at the right time — scatter blueberries or chocolate chips on pancakes after you ladle the batter onto the pan so they don’t sink into the batter too early.
Best Ways to Store
Leftover pancakes store well. Cool them completely, then stack with a sheet of parchment between layers to prevent sticking. For short-term storage, place in an airtight container in the fridge for up to 2 days. To reheat, pop them in a toaster or a hot skillet for a minute per side to revive the edges and melt any butter.
For longer storage, freeze in a single layer on a baking sheet. Once frozen, transfer to a zip-top bag. Reheat from frozen in a toaster or in a preheated oven at 175°C (350°F) for 8–10 minutes, or until warmed through.
Handy Q&A
Q: My pancakes are flat. What happened?
A: Check your leaveners. Baking powder and baking soda lose potency over time. Also ensure your pan temperature isn’t too low; pancakes need a quick initial set so they can trap bubbles and rise.
Q: The centers are gummy while the outside is done.
A: That usually means the pan is too hot. Lower the heat slightly and allow a touch longer before flipping. Also, pour moderate-sized pancakes; very large pancakes take longer to cook through.
Q: Can I make the batter in advance?
A: You can refrigerate the batter for up to a day, but expect slightly different rise as the leaveners interact with the acid in buttermilk. Give it a gentle stir before cooking and do a test pancake.
Q: How do I prevent pancakes from sticking between batches?
A: Use a small amount of spray oil and wipe the pan with a paper towel if residue builds up. Non-stick pans help, and keeping the oil light prevents excess smoking.
Q: Should I flip once or more?
A: Flip once. Cook until bubbles form and edges set, flip carefully, and finish cooking. Repeated flipping can deflate the pancake and make it denser.
Time to Try It
Make the batter, test the pan, and cook a small pancake to set your timing. Keep the rest warm and assemble plates with a knob of butter, maple syrup, and any fruit or chips you like. These Basic Buttermilk Pancakes are straightforward and dependable — once you run through this recipe a couple of times you’ll have a rhythm that produces the same light, tender results every time.
If you try them, tell me which topping you went for first — berries, banana, or chocolate chips? I almost always start with a handful of blueberries and a pat of butter. Enjoy your pancakes.
Basic Buttermilk Pancakes
Ingredients
Ingredients
- 200 g/ 7 oz all-purpose flour
- 2 ttsp baking powder
- 1 teaspoonbaking soda
- a pinch of salt
- 2 large eggs lightly beaten
- 2 cupsbuttermilk
- 2 tablespoonmelted butter
- spray oil for griesing
- bluberries strawberries, banana, chocoate chips
- maple syrup
- knob of butter
- maple syrup
Instructions
Instructions
- In a large bowl, whisk together the all-purpose flour, baking powder, baking soda and a pinch of salt.
- In a separate bowl, lightly beat the 2 large eggs, then add the buttermilk and the 2 tablespoons melted butter; whisk until combined.
- Pour the wet ingredients into the dry ingredients and whisk until just combined — it’s fine if the batter has small lumps; do not overmix.
- Heat a non-stick frying pan over medium-high heat and spray the surface lightly with the spray oil for greasing.
- To test the pan temperature, cook a small test pancake: pour a little batter in the pan. If it browns too quickly, reduce the heat to medium.
- For each pancake, pour about 3 large spoonfuls of batter onto the hot surface; use the back of the spoon to gently spread into a round if needed.
- Cook until bubbles form on the surface and the edges look set, about 2 minutes, then flip and cook the other side until golden and cooked through, about 1–2 minutes more.
- Transfer cooked pancakes to a serving plate and repeat with the remaining batter, spraying the pan lightly between batches if needed.
- Serve the pancakes with maple syrup and a knob of butter, and top with blueberries, strawberries, banana and/or chocolate chips as desired.
Equipment
- Large Bowl
- Whisk
- Non-stick frying pan
- Spatula