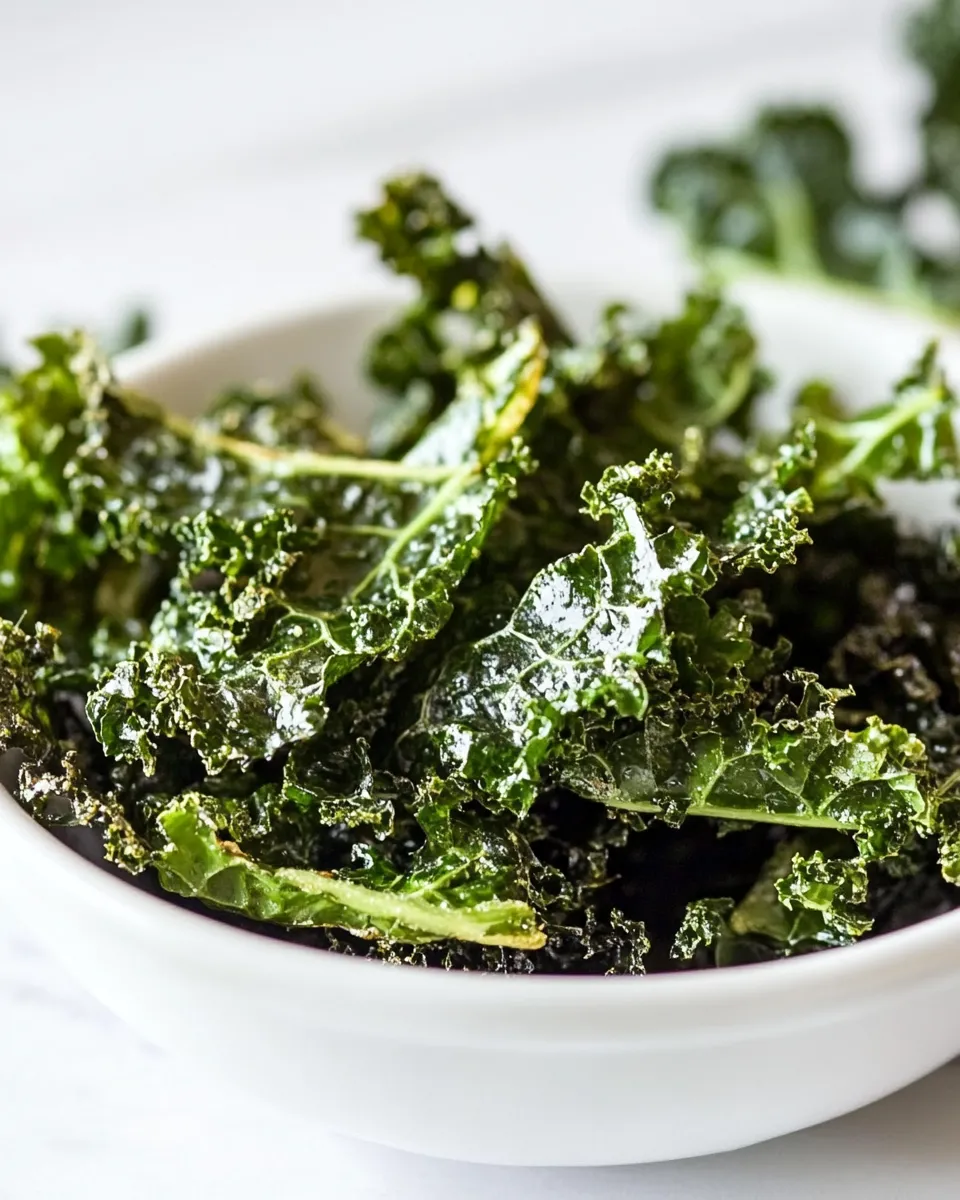
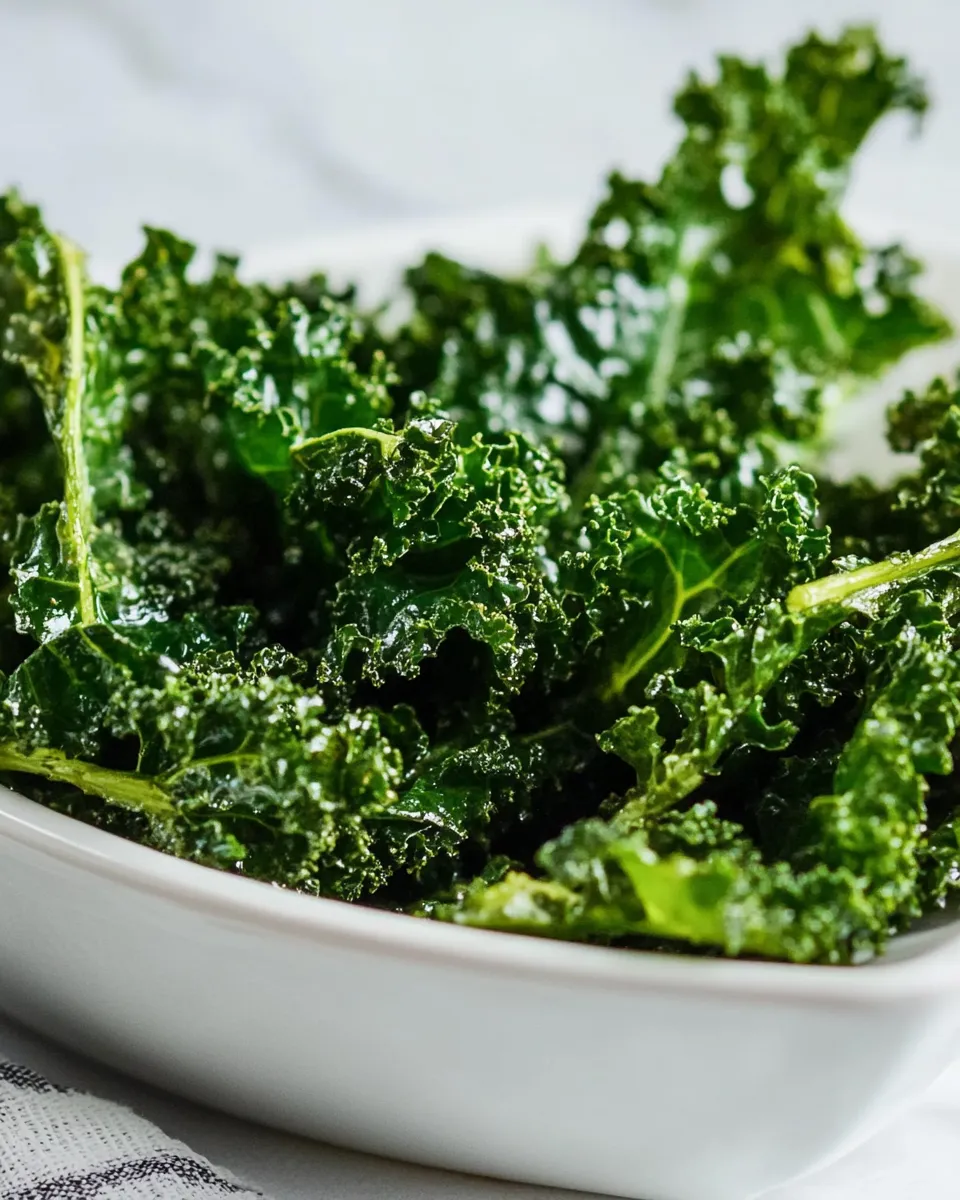
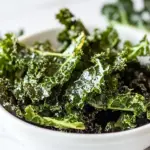
Baked Kale Chips
I love the satisfying crunch of a good chip — and yes, it can come from a humble leaf. These baked kale chips are straightforward: they rely on a hot oven, very dry leaves, a whisper of oil, and a careful eye. The result is light, crisp, and far less fragile than you might expect. You can make them in one go, and they’re a reliable snack when you want something bright and crunchy without frying.
There’s no need for complicated steps or laundry-list ingredients. The technique matters more than anything: remove the stems, dry the leaves thoroughly, give them just enough oil, and spread them out. Timing is crucial because kale moves quickly from perfectly crisp to over-browned. Follow the steps below and you’ll have dependable chips every time.
These chips are also an excellent platform for flavor. While the recipe sticks to a handful of seasoning suggestions, warming the leaves while you season helps the salt and umami cling. Serve them the moment they’re crisp, or store cooled leftovers properly to preserve texture. I’ll walk you through equipment, common mistakes, and quick troubleshooting so your batch comes out great.
Gather These Ingredients

- 1 pound green curly kale or 1 large bunch — sturdy, curly kale crisps best; remove stems for even cooking.
- 1–2 tablespoons avocado oil — or coconut oil, or extra virgin olive oil — just enough to lightly coat the leaves without drenching them.
- Fleur de sel — finish salt that highlights the chips; Magic Mushroom Powder, nutritional yeast, or your favorite seasoning salt — all great for adding savory or cheesy notes.
Directions: Baked Kale Chips
- Preheat the oven to 350°F (175°C).
- Remove the kale leaves from the stems. Wash the leaves well in a few changes of cold water.
- Dry the leaves thoroughly in a salad spinner in small batches. (If you don’t have a spinner, pat them dry with a clean kitchen towel or paper towels until no excess water remains.)
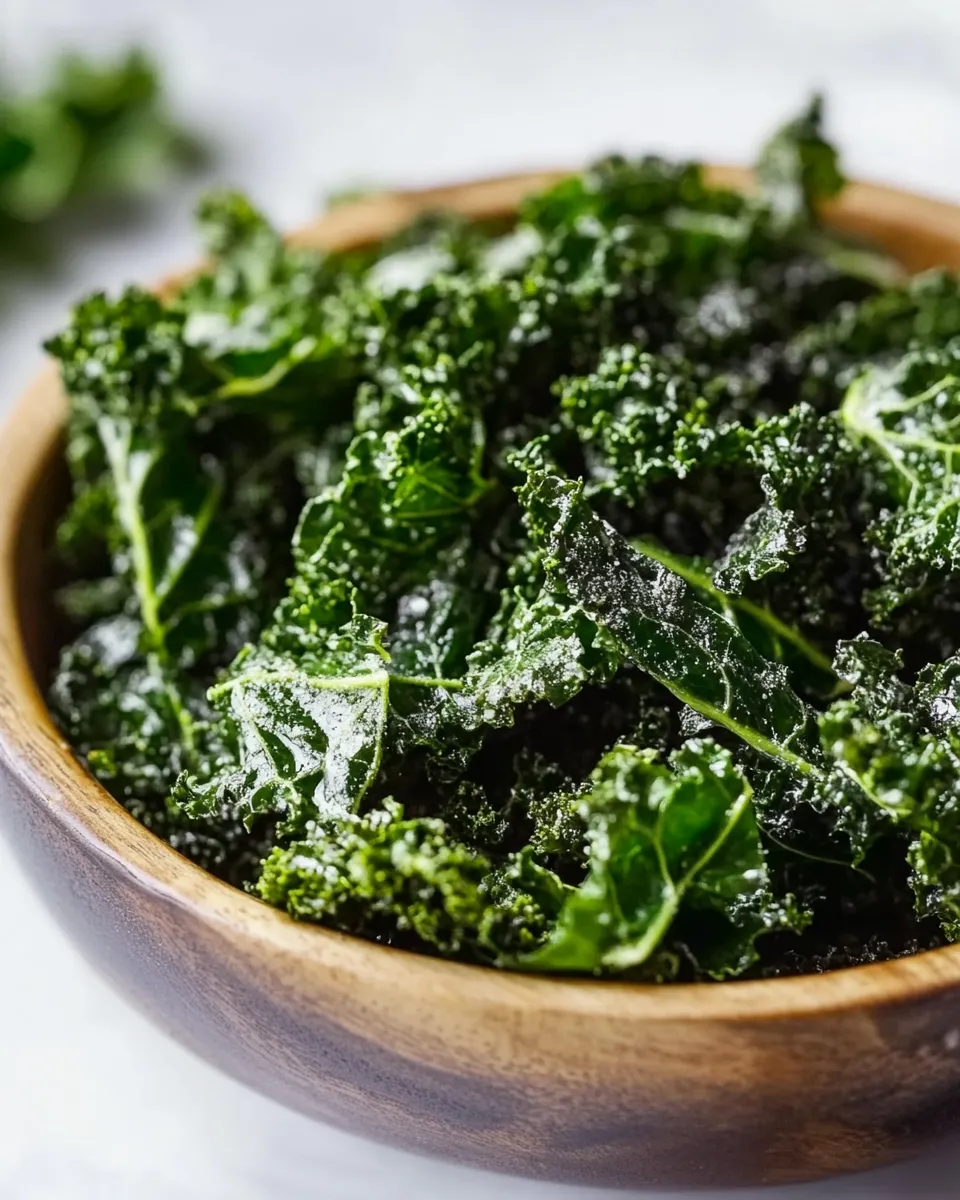
- Tear or cut the leaves into chip-size pieces if desired, then place the dry leaves in a large bowl.
- Drizzle 1–2 tablespoons of avocado oil (or coconut oil, or extra virgin olive oil) over the leaves. Use your hands to toss and rub the oil so the leaves are evenly coated but not drenched.
- Line a baking sheet with parchment paper. Arrange the oiled leaves in a single layer on the sheet so they do not overlap or fold. If they don’t fit in a single layer, divide them onto a second baking sheet.
- Place the baking sheet on the middle oven rack and bake for about 12 minutes. Set a timer and begin checking the kale near the end of the bake time—kale can go from crisp to burnt quickly.
- Remove the kale when it is crisp and slightly tender but not browned or charred. Let the chips cool on the baking sheet for a few minutes to finish crisping.
- While still warm, season the chips with fleur de sel, Magic Mushroom Powder, nutritional yeast, or your favorite seasoning salt to taste.
- Serve immediately, or once completely cooled, store leftovers in an airtight container to preserve crispness.
Why This Recipe Works
There are three simple forces at play: moisture removal, even fat coating, and controlled heat. Kale holds a lot of water between those curly leaves; any surface moisture steams in the oven and prevents crisping. Thorough drying — and working in small batches if using a spinner — removes that moisture so the leaves can dehydrate properly.
The oil does two jobs. It helps heat transfer evenly across the leaf and carries seasoning so it sticks. Using 1–2 tablespoons for a pound of kale is intentionally modest: too much oil makes limp, greasy pieces rather than brittle chips. Rubbing the oil in by hand ensures every nook gets a light coating without drowning the leaves.
Finally, the oven temperature and a single layer on the baking sheet create even, gentle drying. The middle rack gives steady heat, and the 12-minute guideline is intentionally conservative — kale goes from crisp to burnt very quickly. Pulling the leaves when they’re crisp but not browned keeps their color and prevents that bitter, scorched flavor.
Substitutions by Category
Oils
- Avocado oil — the recipe’s primary choice for a neutral, high-heat oil. Use 1–2 tablespoons as directed.
- Coconut oil — listed as an alternative; melts differently and can add a subtle flavor if you prefer.
- Extra virgin olive oil — also acceptable; gives a more pronounced olive flavor when used sparingly.
Seasonings
- Fleur de sel — a finishing salt that highlights the chips without overpowering them.
- Magic Mushroom Powder — an umami-forward option that deepens savory notes.
- Nutritional yeast — offers a cheesy, savory finish suited to those avoiding dairy.
- Your favorite seasoning salt — any blend you trust will work; season while the chips are still warm so it adheres.
Greens
The recipe is written for green curly kale or a large bunch of the same. Kale’s curly texture and thickness are what allow it to crisp reliably. If you must vary the green, expect differences in texture and timing; the method — dry thoroughly, light oil, single layer — remains the same.
Before You Start: Equipment
- Oven set to 350°F (175°C).
- Baking sheet(s) lined with parchment paper for easy removal and cleanup.
- Salad spinner for efficient drying (or clean kitchen towels/paper towels for pat-drying).
- Large mixing bowl for tossing the leaves with oil.
- Hands for massaging the oil into the leaves — it’s the simplest tool and works best.
- Timer to avoid overbaking; check near the end of the bake time.
- Airtight container for cooled leftovers to preserve crispness.
What Not to Do
Do not skip drying. Any retained water will steam the leaves and prevent crisping. Do not drown the leaves in oil; they should look lightly coated, not glossy-pooling. Do not overcrowd the pan or overlap leaves — air needs to circulate around each piece. Do not wait until the chips are browned before pulling them; brown or char means bitter flavor and a loss of the delicate texture you’re aiming for. Finally, don’t seal warm chips in a container; trap heat and steam and they’ll go limp.
Seasonal Twists
Seasoning choices give you easy seasonal variety without changing the method. Use nutritional yeast for a cozy, cheesy note any time of year. Magic Mushroom Powder adds a deep, earthy umami that feels winter-ready. Fleur de sel keeps things bright and clean in spring or summer when you want the kale’s fresh green flavor to shine. Because the leaves are seasoned while warm, these finishes cling beautifully and amplify the final bite.
Testing Timeline
Follow the recipe’s timeline for reliable results. Preheat the oven to 350°F (175°C) and prepare the leaves thoroughly. Bake for about 12 minutes and set a timer so you can begin checking near the end — visual checks are key here. Remove the chips when they’re crisp and slightly tender but not browned or charred. Let them cool on the baking sheet for a few minutes; that short rest completes the crisping process. After cooling completely, move any leftovers to an airtight container.
Meal Prep & Storage Notes
These chips are best the moment they’re ready. If you plan to batch-make, cool them completely on the sheet before transferring to an airtight container to help preserve the crunch. Avoid storing while still warm or sealing in moisture-rich containers. When properly cooled and contained, they’ll retain much of their texture for casual snacking, but always expect some loss of crispness over time — the fresher, the better.
Quick Questions
Can I use a different oil?
Yes. The recipe lists avocado oil with coconut oil and extra virgin olive oil as alternatives. Use 1–2 tablespoons in total and aim for a light, even coating.
How do I know the chips are done?
They should be crisp and slightly tender without browning. Kale goes from crisp to burnt quickly, so start checking near the end of the 12-minute bake time and remove when the texture looks set and no wet spots remain.
When should I season the chips?
Season while the chips are still warm so salt and dry seasonings stick. Fleur de sel and granular seasonings cling best during that brief warm window.
Do I need to remove the stems?
Yes. Remove stems before washing; stems are fibrous and won’t crisp like the leaves.
Before You Go
These baked kale chips are a quick, satisfying way to make a healthy snack feel indulgent. The method is the point: dry thoroughly, use just enough oil, lay out a single layer, and watch the oven closely. Try the different finishing options the recipe offers and keep notes on what you like best. Make one tray as a test run until you’re comfortable with how your oven and kale behave; once you’ve dialed that in, this becomes the kind of snack you’ll turn to again and again.
Baked Kale Chips
Ingredients
Ingredients
- ?1 poundgreen curly kaleor 1 large bunch
- ?1-2 tablespoonsavocado oilcoconut oil or extra virgin olive oil
- ?Fleur de selMagic Mushroom Powder nutritional yeast, or your favorite seasoning salt
Instructions
Instructions
- Preheat the oven to 350°F (175°C).
- Remove the kale leaves from the stems. Wash the leaves well in a few changes of cold water.
- Dry the leaves thoroughly in a salad spinner in small batches. (If you don't have a spinner, pat them dry with a clean kitchen towel or paper towels until no excess water remains.)
- Tear or cut the leaves into chip-size pieces if desired, then place the dry leaves in a large bowl.
- Drizzle 1–2 tablespoons of avocado oil (or coconut oil, or extra virgin olive oil) over the leaves. Use your hands to toss and rub the oil so the leaves are evenly coated but not drenched.
- Line a baking sheet with parchment paper. Arrange the oiled leaves in a single layer on the sheet so they do not overlap or fold. If they don't fit in a single layer, divide them onto a second baking sheet.
- Place the baking sheet on the middle oven rack and bake for about 12 minutes. Set a timer and begin checking the kale near the end of the bake time—kale can go from crisp to burnt quickly.
- Remove the kale when it is crisp and slightly tender but not browned or charred. Let the chips cool on the baking sheet for a few minutes to finish crisping.
- While still warm, season the chips with fleur de sel, Magic Mushroom Powder, nutritional yeast, or your favorite seasoning salt to taste.
- Serve immediately, or once completely cooled, store leftovers in an airtight container to preserve crispness.
Equipment
- Oven
- Baking Sheet
- Parchment Paper
- Salad Spinner
- Large Bowl
Notes
If you have any leftovers, store them in an airtight container at room temperature for up to two days...but you might as well eat them right away because they might get soggy later!