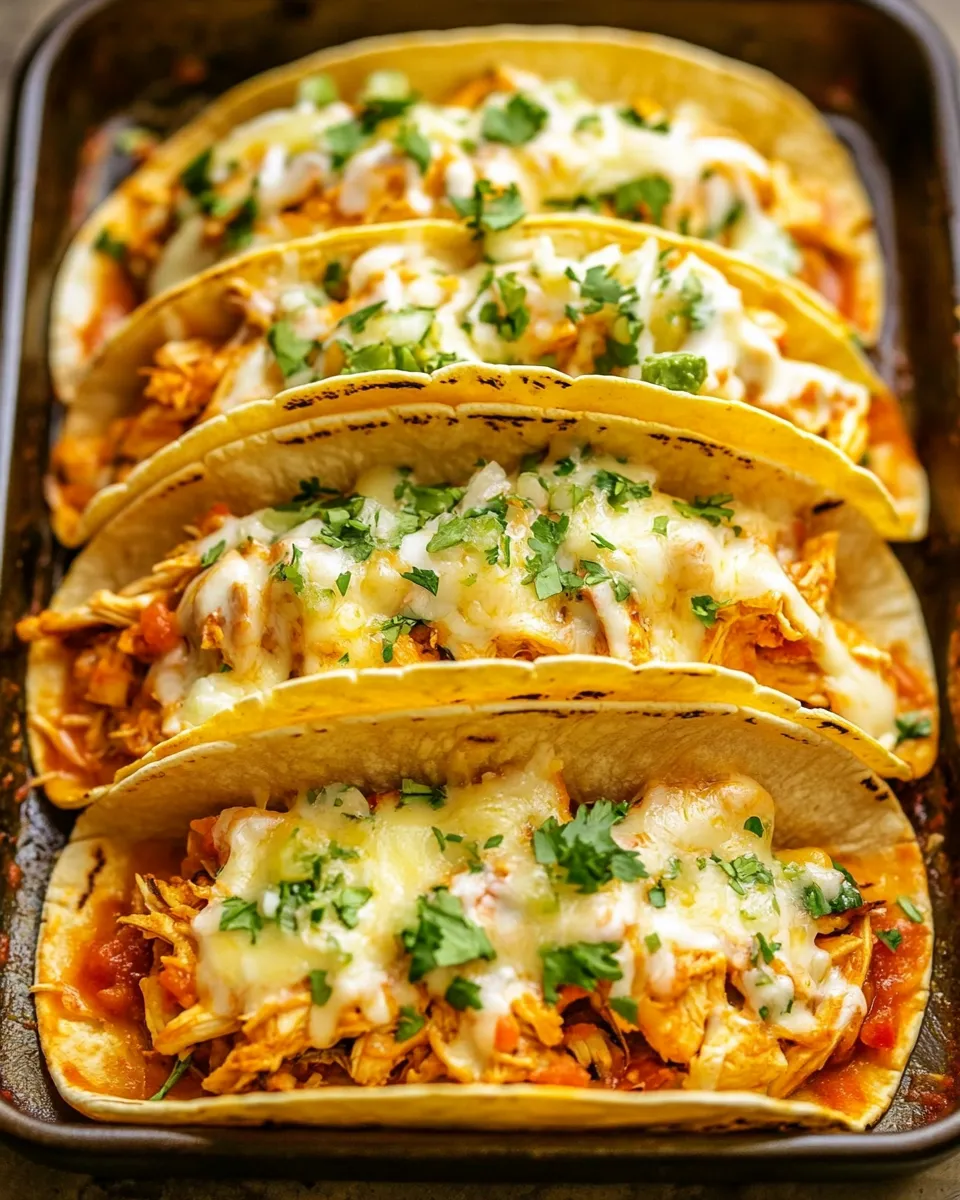
Baked Chicken Tacos
These baked chicken tacos are exactly the kind of weeknight recipe I turn to when I want flavor without fuss. They come together quickly, use simple pantry items, and the pre-bake step keeps the shells crisp so each bite stays satisfying. I like them because they balance convenience and texture—warm, seasoned chicken, creamy beans at the base, and just-melted cheese on top.
No need for complicated prep. The method is straightforward: warm the shells, sauté a few aromatics, fold in shredded chicken and salsa, layer into shells with refried beans, melt cheese, and finish with green chiles and lettuce. Small steps, reliable results. If you follow the timings and the order, you’ll get crunchy shells and properly heated filling every time.
I’ll walk you through what to buy, the exact bake-and-fill routine, helpful substitutions, tools worth keeping on hand, and the small mistakes that can trip you up. Practical tips, clear reasons, and storage ideas—so you can make a batch, feed a family, or prep ahead for a low-effort dinner.
Ingredients

- 12 taco shells — the structure for these tacos; pre-baking them helps keep them crisp under the filling.
- 1 tablespoon oil — used to sauté the onion and garlic; neutral oil works fine.
- 1 onion, diced — adds sweet, savory base flavor when softened.
- 2 cloves garlic, crushed — a short hit of aromatics; add late so it doesn’t burn.
- 4 cups shredded chicken — the main protein; make sure it’s warm or at room temperature before heating in the skillet.
- 2 tablespoons taco seasoning — concentrates the taco flavor; use your preferred blend.
- 7 ounces (200 g) salsa — brings moisture and tomato-chile flavor; chunky or smooth both work.
- 1 cup refried beans — spread into the shell as a creamy base that helps hold the filling.
- 1 and ½ cups shredded Mexican cheese blend or mozzarella or cheddar — melts over the filling; choose based on the melt and tang you like.
- ½ cup green chiles — adds a mild, tangy heat; sprinkle after baking so they stay bright.
- shredded lettuce — a fresh, crunchy topping added right before serving.
What to Buy
Buy ingredients that match how you want the final taco to behave. If you want a crisp shell, pick firm taco shells designed for baking. For the chicken, pre-shredded rotisserie meat saves time and tends to be juicier than reheated, dried leftovers. If you choose to shred your own cooked chicken, keep it moist—economy and timing both benefit from slightly warm, tender meat.
Bring good-quality salsa and taco seasoning into the cart. The salsa largely defines the sauce profile once mixed into the chicken, so choose one you enjoy straight from the jar. Taco seasoning can be mild or spicier; the amount in the recipe is calibrated to flavor the chicken without overwhelming it.
For toppings, green chiles and shredded lettuce are on the ingredient list. If you prefer a milder finish, pick mild chiles; for more bite, use a hotter can. The cheese choice affects mouthfeel: mozzarella gives stretch and mildness, Mexican blend gives depth, and cheddar adds tang. None of the swaps require additional steps, just pick what you like.
Cook Baked Chicken Tacos Like This
- Preheat the oven to 350°F (180°C). Arrange the 12 taco shells upright on a baking tray in a single layer and bake for 5 minutes. Remove from the oven and set aside.
- While the shells bake, heat 1 tablespoon oil in a large skillet over medium heat.
- Add the 1 diced onion to the skillet and sauté until soft and translucent, about 4–5 minutes.
- Add the 2 crushed garlic cloves and cook, stirring, for 30–60 seconds until fragrant.
- Add the 4 cups shredded chicken, 2 tablespoons taco seasoning, and 7 ounces (200 g) salsa to the skillet. Stir to combine and cook for 2–4 minutes, until heated through. Remove from heat.
- Spread about 1 tablespoon refried beans into the bottom of each pre-baked taco shell.
- Divide the chicken mixture evenly among the 12 shells.
- Sprinkle the 1 1/2 cups shredded Mexican cheese blend (or mozzarella/cheddar) evenly over the filled tacos.
- Return the tray to the oven at 350°F (180°C) and bake 3–5 minutes, until the cheese just melts.
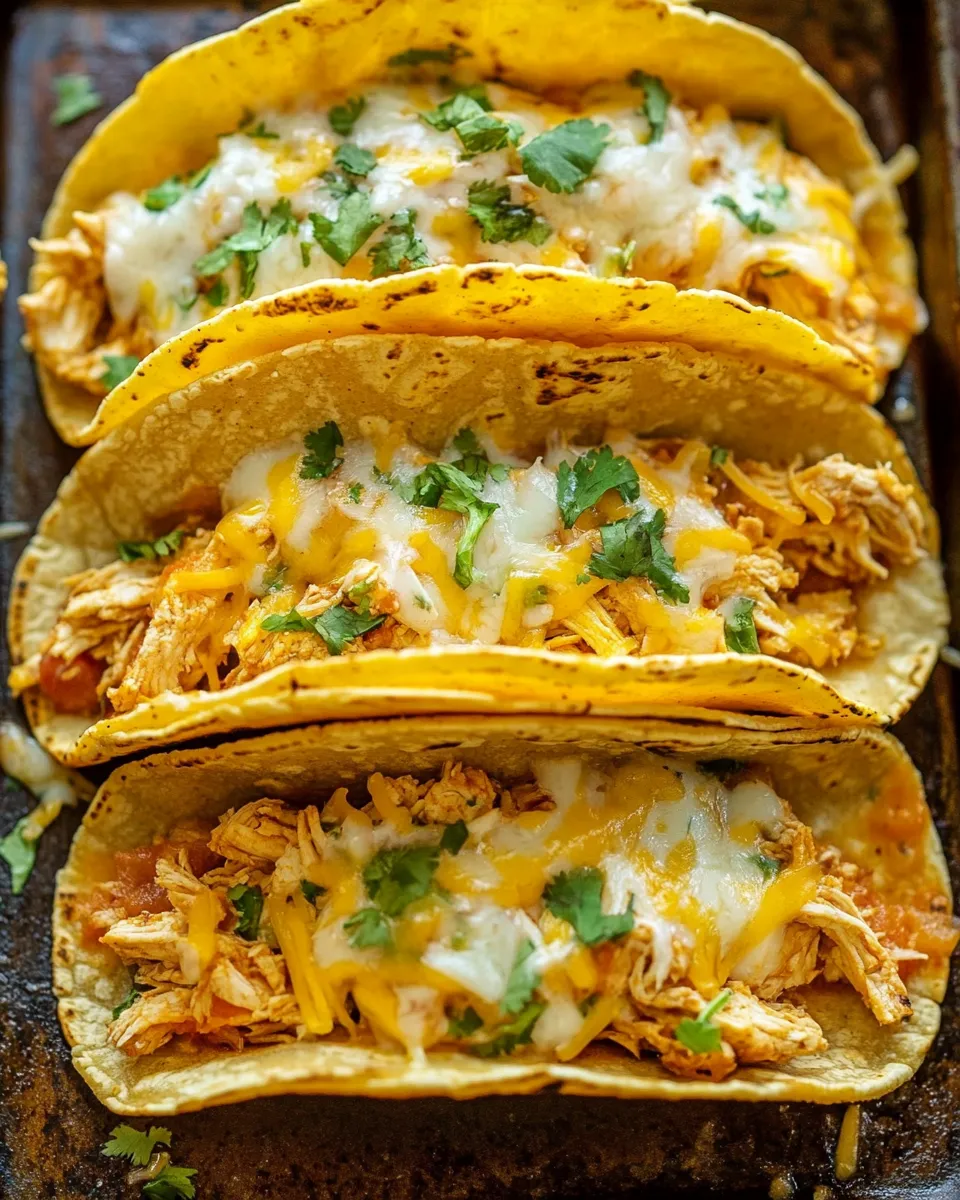
- Remove the tacos from the oven. Evenly sprinkle the 1/2 cup green chiles over the tacos and top with shredded lettuce before serving.
Why This Recipe Is Reliable
The method separates critical steps so nothing gets soggy and everything finishes at the right temperature. Pre-baking the shells creates a dry, hot surface so the beans and filling don’t collapse the shell. Heating the chicken with salsa and seasoning briefly keeps the meat moist and avoids overcooking. A short final bake only melts the cheese without over-drying the filling.
The ingredient proportions are balanced: one tablespoon of beans per shell creates a barrier and a flavor base without overpowering the chicken. Two tablespoons of taco seasoning for four cups of chicken gives seasoning without salt overload. Following the brief cook times keeps textures distinct—crisp shells, creamy beans, warm shredded chicken, and melted—but not rubbery—cheese.
Texture-Safe Substitutions
If you want to adapt texture without changing the core ingredients, focus on technique rather than swapping items. Use these options to target how each bite feels:
- Make the filling smoother: Warm and slightly mash the refried beans before spreading. That gives a silkier base that clings to the shell.
- Make the filling chunkier: Leave the salsa chunkier and fold it in at the end so tomato pieces remain intact.
- Cheese melt preference: Choose mozzarella for a stretchy finish, Mexican blend for complexity, or cheddar for sharper flavor. Each changes the chew and the perceived richness.
- Chicken moisture: Use warm rotisserie or poached chicken and shred while still warm to keep it juicy in the skillet.
Essential Tools for Success
- Oven and baking tray — you need a tray large enough to hold 12 shells upright in a single layer.
- Large skillet — wide enough to heat 4 cups of shredded chicken evenly.
- Spatula or wooden spoon — for sautéing and combining the filling without breaking up the chicken excessively.
- Measuring spoons/cups — to keep seasoning and bean portions consistent across shells.
- Serving platter or sheet pan — to transfer hot tacos safely from oven to table.
Easy-to-Miss Gotchas
These are the small slips that change results quickly. Watch for them so your batch turns out as expected.
- Skipping the pre-bake: If you skip pre-baking the shells, they’ll soften and collapse as they absorb moisture. Five minutes at 350°F is the sweet spot.
- Overcooking the garlic: Add garlic at the right moment. Burnt garlic turns bitter in seconds.
- Cold shredded chicken: If the chicken is fridge-cold, it cools the skillet and forces longer heating, which can dry the meat. Bring to room temperature or reheat briefly before mixing with salsa.
- Too much cheese time: Leaving the tray in the oven for longer than 5 minutes will melt the cheese too far and dry the filling. Watch for the cheese to just melt.
- Adding chiles too early: Green chiles are brighter if sprinkled after baking. Adding them before can dull their freshness.
Year-Round Variations
This recipe adapts to seasons by adjusting richness and temperature.
- Spring and summer: Keep it lighter—use less cheese and pile on shredded lettuce for brightness. Serve immediately so the contrast between warm filling and fresh lettuce stands out.
- Fall and winter: Make it heartier by increasing the refried beans slightly or serving with a warm side; the melted cheese and warm chicken feel comforting in cooler weather.
- Entertaining: Assemble the tacos on a tray, keep the filling warm in the skillet, and finish with chiles and lettuce at the last minute so guests get the best textures.
Pro Perspective
From a pro’s point of view, layering order and temperature control matter most. The beans act as a moisture buffer and binding layer; don’t skip or skimp. Heating the chicken briefly with salsa and seasoning instead of simmering keeps juices present and bright flavors intact.
Another pro tip: time the final bake to coincide with plating. The cheese should melt but not bubble aggressively. Pull the tray at the first sign of melt, then add the chiles and lettuce. That preserves contrast and prevents the lettuce from wilting.
Best Ways to Store
Leftovers store well, but the shell texture changes. For short-term storage (up to 2 days), keep assembled tacos in an airtight container in the fridge; reheat in a 350°F oven for 5–7 minutes to refresh the cheese and warm filling. For best crispness, separate the shells and filling: store filling in a container and shells on the side; assemble and reheat as needed.
Freezing assembled baked tacos is not recommended if you want to keep the shells crisp. Instead, freeze the chicken mixture on its own for up to 2 months and thaw in the fridge before reheating and assembling with fresh shells.
Helpful Q&A
- Can I use corn or flour tortillas instead of taco shells? This recipe is written for upright shells to be pre-baked; using soft tortillas changes the technique and texture. If you use tortillas, warm them briefly and fold, then broil to melt cheese—timing will vary.
- What if I don’t have refried beans? The beans create a barrier and creamy base. If you truly don’t have them, use a thin spread of mashed beans or leave the shell unlined, but expect slightly different texture and a higher chance of sogginess.
- How spicy will this be? Spice level depends on your taco seasoning and salsa. The recipe itself is balanced; choose milder or hotter products to dial the heat to your preference.
- Can I prep components ahead? Yes. Shred the chicken and mix with the seasoning and salsa up to one day ahead. Keep refried beans and shells separate until assembly and bake the shells shortly before filling.
See You at the Table
These Baked Chicken Tacos are a dependable weeknight meal that rewards a bit of staging: pre-bake the shells, heat the filling correctly, and finish just long enough to melt the cheese. The result is crisp shells, warm and seasoned chicken, and bright finishes from chiles and lettuce. Follow the steps, keep an eye on timing, and you’ll have a crowd-pleasing taco night with minimal stress.
Make them once, and you’ll remember the small steps that matter. Make them again, and you’ll make them faster. I hope this guide helps you get the most from the recipe—see you at the table.

Baked Chicken Tacos
Ingredients
Ingredients
- ?12 taco shells
- ?1 tablespoonoil
- ?1 oniondiced
- ?2 clovesgarliccrushed
- ?4 cupsshredded chicken
- ?2 tablespoonstaco seasoning
- ?7 ounces 200 gsalsa
- ?1 cuprefried beans
- ?1 and 1/2 cupsshredded Mexican cheese blendor mozzarella or cheddar
- ?1/2 cupgreen chiles
- ?shredded lettuce
Instructions
Instructions
- Preheat the oven to 350°F (180°C). Arrange the 12 taco shells upright on a baking tray in a single layer and bake for 5 minutes. Remove from the oven and set aside.
- While the shells bake, heat 1 tablespoon oil in a large skillet over medium heat.
- Add the 1 diced onion to the skillet and sauté until soft and translucent, about 4–5 minutes.
- Add the 2 crushed garlic cloves and cook, stirring, for 30–60 seconds until fragrant.
- Add the 4 cups shredded chicken, 2 tablespoons taco seasoning, and 7 ounces (200 g) salsa to the skillet. Stir to combine and cook for 2–4 minutes, until heated through. Remove from heat.
- Spread about 1 tablespoon refried beans into the bottom of each pre-baked taco shell.
- Divide the chicken mixture evenly among the 12 shells.
- Sprinkle the 1 1/2 cups shredded Mexican cheese blend (or mozzarella/cheddar) evenly over the filled tacos.
- Return the tray to the oven at 350°F (180°C) and bake 3–5 minutes, until the cheese just melts.
- Remove the tacos from the oven. Evenly sprinkle the 1/2 cup green chiles over the tacos and top with shredded lettuce before serving.
Equipment
- Sheet pan (quarter sheet) or a 9×13" baking dish.
Notes
To separate the taco shells from the juicy chicken mixture, I add refried beans. This will help your taco shells stay crispy. You can also add some cheese if you like.
If you would like to make these baked chicken tacos ahead of time, I don’t recommend assembling them until just before you’re ready to bake them and serve as the taco shells can get pretty soggy. So prepare the chicken mixture and store in an airtight container in the fridge until you’re ready to assemble.