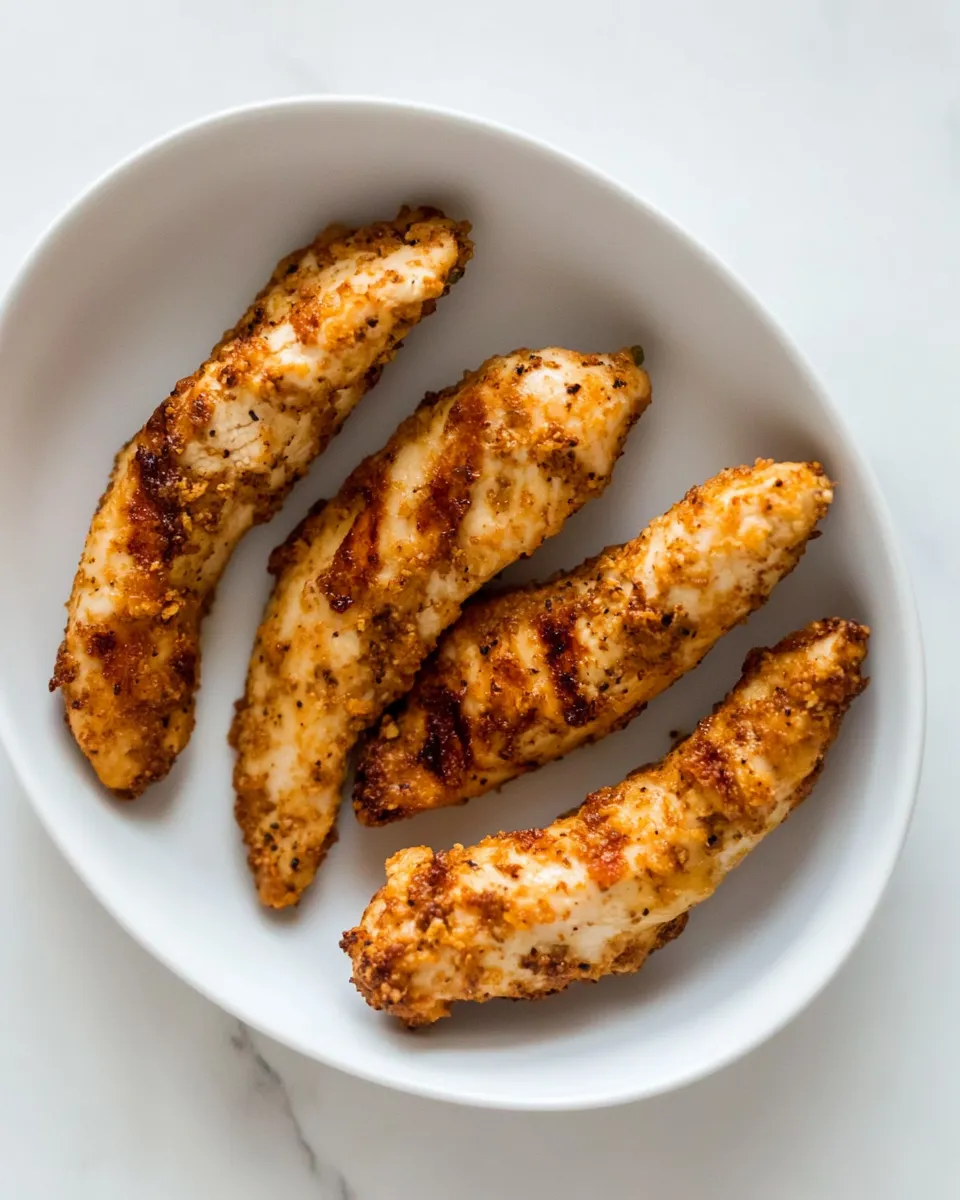
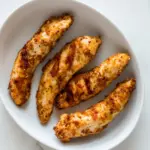
Air-Fryer Chicken Tenders, No Breading
These chicken tenders are my go-to when I want something fast, clean, and reliably juicy. No breadcrumbs, no messy dredging—just tender chicken, a touch of olive oil, and seasoning salt for a straightforward flavor profile that kids and grown-ups both reach for. The air fryer is the tool that gives you controlled heat and a tiny bit of crisp without deep frying.
I like this recipe because it strips the process down to essentials. You can run this on a weeknight after work, and the hands-on time is minimal: pat, toss, and air-fry. The finishing step—resting the meat for a couple minutes—makes a noticeable difference in tenderness, so don’t skip it.
Below you’ll find exactly what you need and the step-by-step directions I follow every time. There are troubleshooting tips, texture-safe substitutions, and meal prep notes so you can confidently make these tenders any night of the week.
What You’ll Gather

Ingredients
- 1poundchicken tenders — the lean protein base; trim any obvious fat or loose bits before cooking for even results.
- 2teaspoonsolive oil — helps the seasoning adhere and promotes even browning in the air fryer.
- Seasoning salt — seasoning salt is your primary flavoring here; apply to taste so it’s balanced for your household.
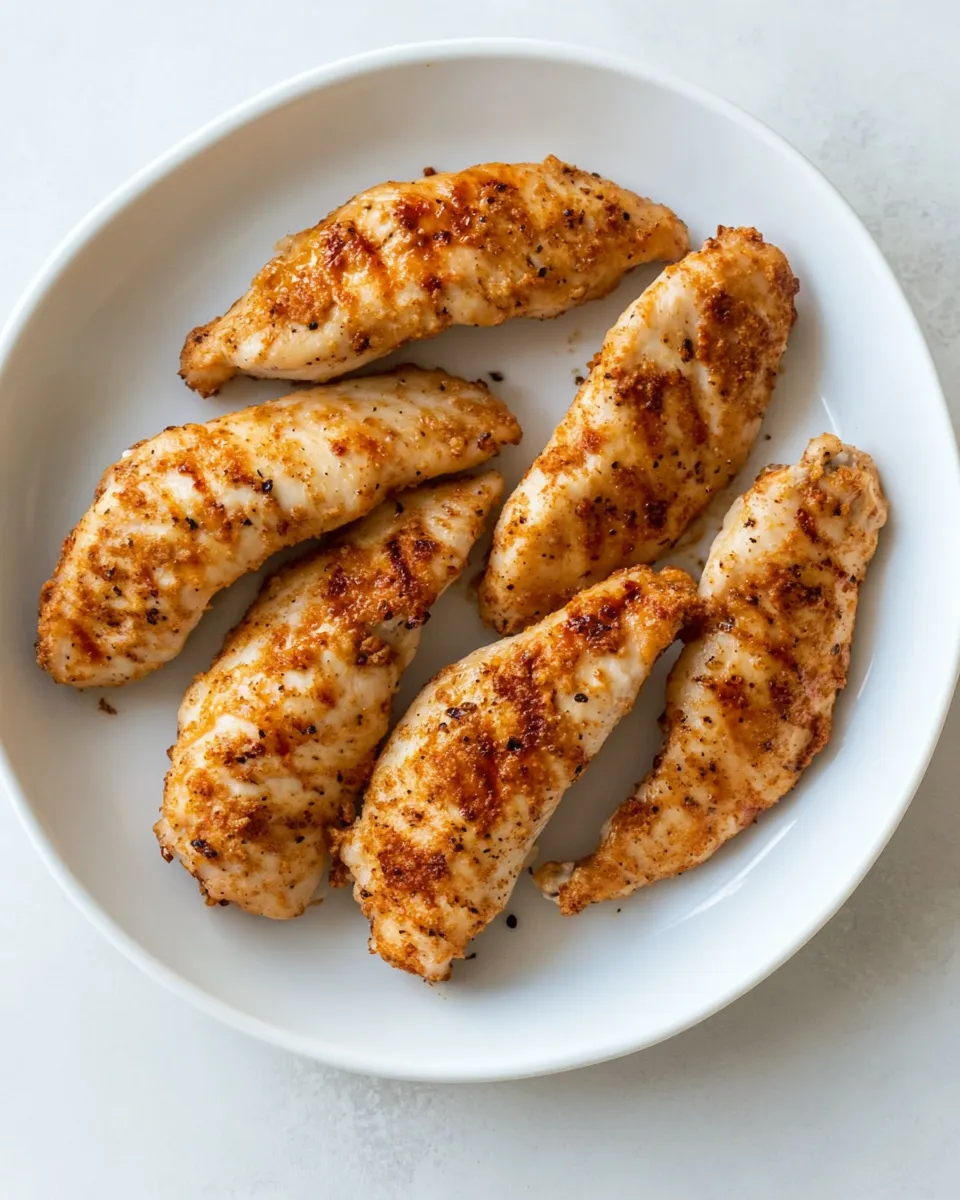
Build Air-Fryer Chicken Tenders, No Breading Step by Step
- Preheat the air fryer to 380°F.
- Pat the 1 pound chicken tenders dry with a clean towel or paper towel.
- Put the tenders in a bowl, add 2 teaspoons olive oil, and toss until evenly coated.
- Sprinkle seasoning salt evenly over both sides of the tenders (no need to measure; season to your preference).
- Arrange the tenders in a single layer in the air fryer basket with space between pieces (cook in batches if necessary).
- Air-fry at 380°F for 8–10 minutes total, flipping the tenders halfway through (about 4–5 minutes).
- Confirm doneness with an instant-read thermometer—internal temperature should reach 165°F.
- Remove from the air fryer and let rest 2–3 minutes before serving.
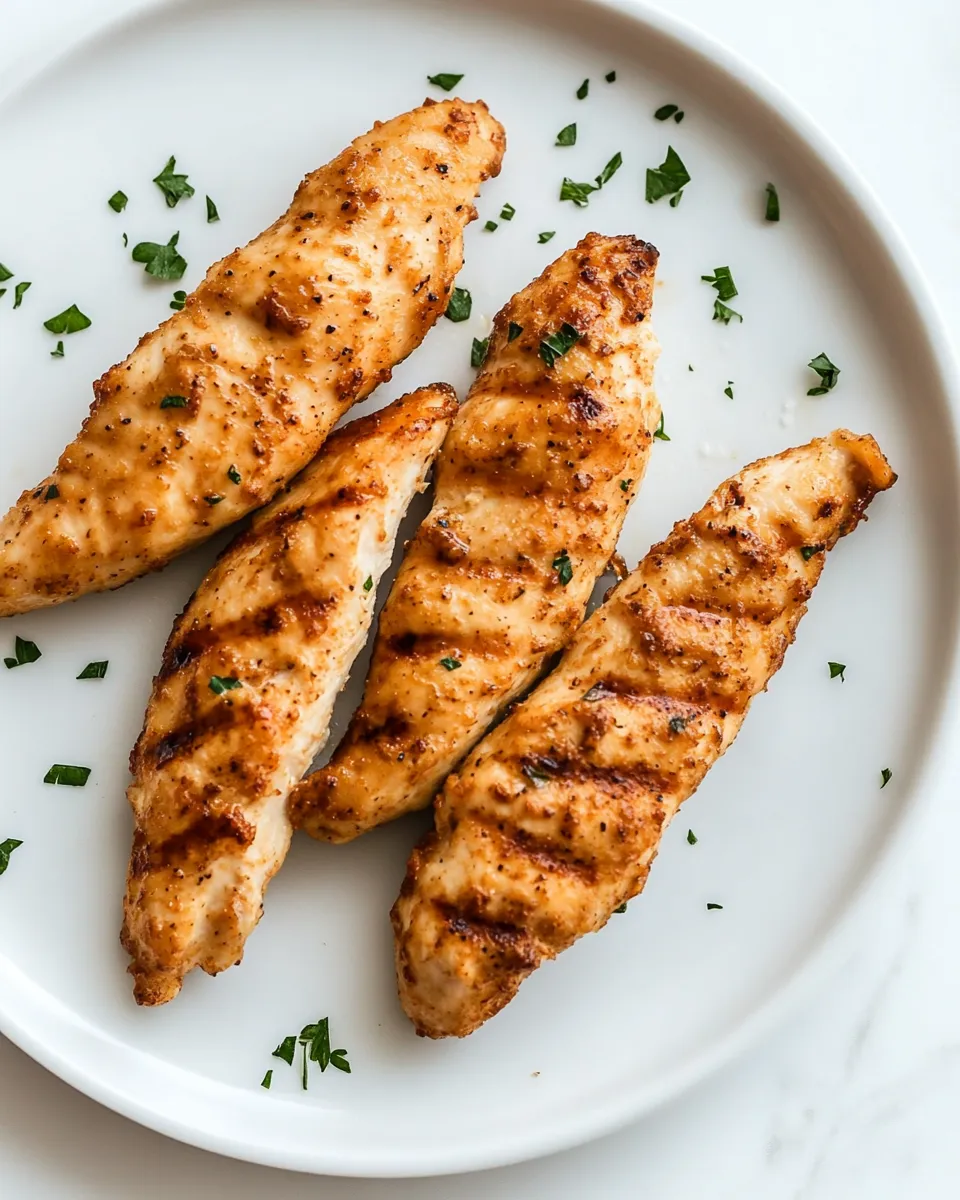
Reasons to Love Air-Fryer Chicken Tenders, No Breading
- Speed: From preheat to table in under 20 minutes for most kitchens.
- Simplicity: Three ingredients and a simple toss are all you need; it’s hard to overcomplicate this one.
- Clean-eating friendly: No breading means fewer carbs and a leaner finished dish that still feels satisfying.
- Kid-friendly: Tendons are mild and approachable—great for lunchboxes, picky eaters, or dipping stations.
- Flexible: Use the tenders as-is, slice them for salads, or tuck them into wraps; they adapt well to different meals.
Texture-Safe Substitutions
If you or someone you cook for has texture preferences, these swaps keep the method intact while altering mouthfeel.
- For softer pieces: Marinate the tenders briefly (20–30 minutes) in a small amount of yogurt or buttermilk before patting dry and following the recipe. The acid and enzymes help tenderize without adding breading.
- For crisper edges without breading: Lightly mist the tenders with an oil spray rather than rubbing oil on; this can produce slightly firmer exterior textures once air-fried.
- For a glossy finish: Brush the finished tenders with a thin glaze (honey, BBQ sauce, or a light pan sauce) after resting; this avoids changing the cooking method while adding a different mouthfeel.
Setup & Equipment
Getting a few small pieces of equipment right makes the difference between good and great results.
Essentials
- Air fryer — a basket-style model works best to allow airflow all around the tenders.
- Instant-read thermometer — the only reliable way to confirm the tenders reach 165°F without overcooking.
- Paper towels or a clean kitchen towel — for patting the chicken dry so the oil and seasoning stick.
Nice-to-have
- Tongs — for easy flipping mid-cycle and safe removal from a hot basket.
- Oil mister — gives an even, light coating if you prefer not to pour oil directly onto the tenders.
Watch Outs & How to Fix
Even with a simple recipe, little things can go sideways. Here are common issues and quick fixes.
- Problem: Tenders come out dry. Fix: Check the internal temperature with your thermometer and remove at 165°F. Oven and air-fryer models vary; aim for that temperature rather than time alone. Also, let the tenders rest 2–3 minutes to redistribute juices.
- Problem: Uneven browning. Fix: Don’t overcrowd the basket. Pieces touching each other steam rather than brown. Cook in batches if you must, and rotate the basket if your air fryer has hot spots.
- Problem: Soggy exterior. Fix: Pat the tenders thoroughly dry before tossing with oil. Excess surface moisture prevents crisping. A light spray of oil during the first half of the cook can help if your model struggles to brown.
- Problem: Too salty. Fix: Next time use a lighter hand with seasoning salt. For the current batch, serve with unsalted sides (plain rice, veggies) or a cooling dip like plain yogurt or unsweetened applesauce to balance the saltiness.
Nutrition-Minded Tweaks
This recipe is inherently lean, but small swaps can nudge it further toward your goals without changing the method.
- Lower sodium: Replace the seasoning salt with a low-sodium blend or a mix of herbs (dried thyme, garlic powder, black pepper) for flavor without the same salt content.
- Healthy fat choices: The recipe uses olive oil; if you want a different profile, avocado oil works well at air-fry temperatures. Use sparingly—just enough to coat.
- Bulk with vegetables: Pair the tenders with roasted or steamed vegetables to increase fiber and satiety while keeping calorie density moderate.
Notes on Ingredients
Three straightforward items are all you need. Here’s what each one contributes and a few small notes so you get consistent results.
- 1poundchicken tenders — These are usually uniform in size, which helps with even cooking. If some pieces are much thicker, consider slicing them horizontally or pounding lightly for uniform thickness so they finish at the same time.
- 2teaspoonsolive oil — The oil is there to help the seasoning stick and to encourage surface browning. Two teaspoons across a pound of chicken is enough to coat without making the pieces greasy.
- Seasoning salt — This is your primary seasoning. Because brands vary in saltiness, sprinkle to taste. If you’re using a particularly salty brand, err on the lighter side and adjust for diners who are salt-sensitive.
Leftovers & Meal Prep
Leftover tenders are easy to use and travel well.
- To store: Cool to room temperature for no more than two hours, then refrigerate in an airtight container for up to 3–4 days.
- To reheat: Reheat in the air fryer at a lower temperature (around 325°F) for 3–5 minutes to warm through without drying; avoid microwaving if you want to preserve texture.
- Make-ahead: Cook a double batch and use the extras in salads, wraps, or grain bowls for quick lunches. They’re great sliced thin and tossed into leafy greens with a simple vinaigrette.
Frequently Asked Questions
Below are practical answers to questions people commonly ask when making these tenders.
- Q: Can I use frozen chicken tenders? A: This recipe’s directions assume fresh tenders. If you try frozen, they’ll need more time and you risk uneven cooking; thaw first if possible, then follow the same method.
- Q: Can I bread these later? A: This particular recipe is intended to be no-breading. If you want a crust, bread separately: dredge, use egg wash, and air-fry at a similar temperature but expect longer cook time and different handling.
- Q: What if my air fryer doesn’t have a preheat setting? A: Preheat by running it at 380°F for 3–5 minutes before adding the chicken; then proceed with the listed timings.
- Q: How do I know when they’re done if I don’t have a thermometer? A: Thermometer is best. Absent that, cut the thickest piece—juices should run clear and meat should be opaque throughout—but cutting sacrifices juice, so a thermometer is worth having.
Final Bite
This is one of those recipes that earns its place in a busy-weeknight rotation. Minimal ingredients, short hands-on time, and predictable results make it a reliable choice when life is busy. Keep your thermometer close, don’t overcrowd the basket, and let the tenders rest a couple minutes before serving. Small habits like those will consistently deliver juicy, well-seasoned chicken without a breadcrumb in sight.
Air-Fryer Chicken Tenders, No Breading
Ingredients
Ingredients
- 1 poundchicken tenders
- 2 teaspoonsolive oil
- Seasoning salt
Instructions
Instructions
- Preheat the air fryer to 380°F.
- Pat the 1 pound chicken tenders dry with a clean towel or paper towel.
- Put the tenders in a bowl, add 2 teaspoons olive oil, and toss until evenly coated.
- Sprinkle seasoning salt evenly over both sides of the tenders (no need to measure; season to your preference).
- Arrange the tenders in a single layer in the air fryer basket with space between pieces (cook in batches if necessary).
- Air-fry at 380°F for 8–10 minutes total, flipping the tenders halfway through (about 4–5 minutes).
- Confirm doneness with an instant-read thermometer—internal temperature should reach 165°F.
- Remove from the air fryer and let rest 2–3 minutes before serving.
Equipment
- Air Fryer
- Bowl
- Instant-read thermometer