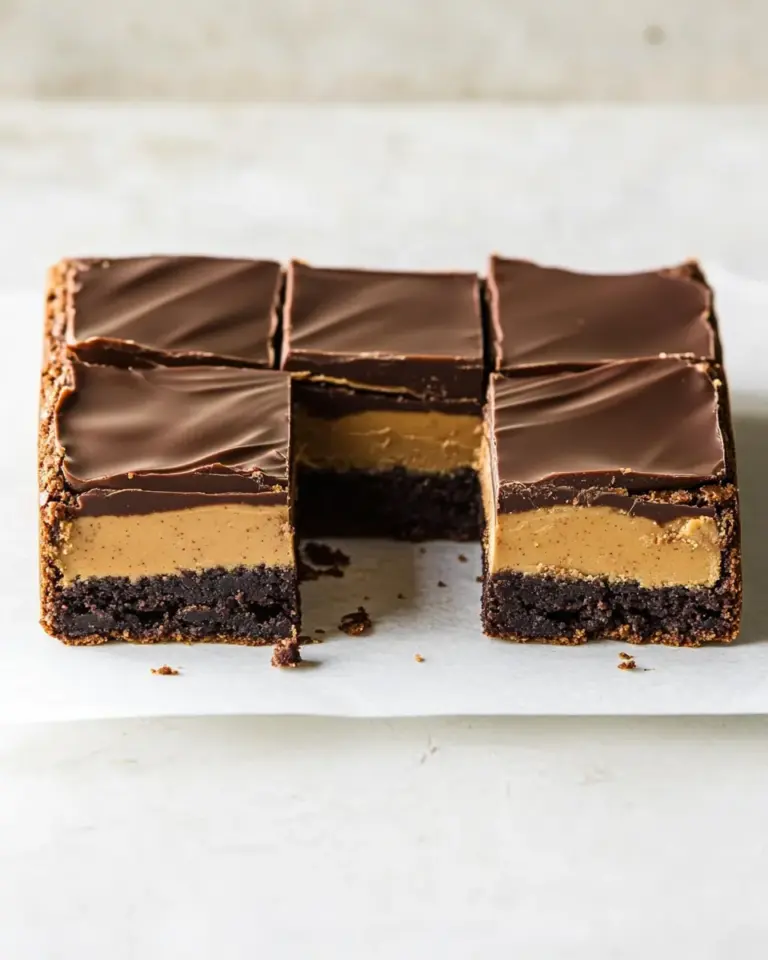
Chocolate Covered Oreos
If you’re looking for a quick, irresistible treat that combines the crunchy, creamy goodness of Oreos with the rich decadence of chocolate, you’ve just found it. Chocolate Covered Oreos are a crowd-pleaser that are as fun to make as they are to eat. Whether you’re preparing for a party, looking for an easy dessert to whip up, or just craving a sweet snack, these chocolate-covered cookies hit the spot every time. Easy to customize, visually stunning with colorful sprinkles, and absolutely delicious, this recipe is sure to become a favorite in your dessert rotation.
Why This Recipe Is a Must-Try
Chocolate Covered Oreos are the perfect blend of textures and flavors. The crisp, chocolate sandwich cookie contrasts beautifully with the smooth, melted chocolate coating. Adding sprinkles not only brings a vibrant pop of color but also adds a fun crunch to every bite. This recipe is incredibly simple, making it accessible to even novice bakers or those who want a quick treat without a lot of fuss.
What makes this recipe especially great is its versatility. You can use milk, dark, or white chocolate—whatever suits your taste or occasion. Plus, it’s a fantastic project to do with kids or friends, making memories while creating something delicious. These treats also make wonderful gifts when wrapped up nicely.
Ingredients
- 1 package Oreo cookies (24 cookies)
- 16 ounces chocolate or candy melts (milk, dark, or white chocolate)
- ½ cup sprinkles (choose your favorite colors and shapes)
How To Make Chocolate Covered Oreos

Step 1: Prepare Your Workspace
Start by lining a large baking sheet with parchment paper or a silicone baking mat. This will prevent the chocolate-covered Oreos from sticking once you dip them.
Step 2: Melt the Chocolate
Place the chocolate or candy melts into a microwave-safe bowl. Microwave in 30-second intervals, stirring well after each, until the chocolate is completely smooth and melted. Be careful not to overheat to avoid burning the chocolate.
Step 3: Dip the Oreos
Using a fork or dipping tool, carefully dip each Oreo cookie into the melted chocolate. Make sure to cover the entire cookie. Gently tap the fork on the side of the bowl to remove any excess chocolate.
Step 4: Add Sprinkles
Immediately after dipping, place the chocolate-covered Oreo on the prepared baking sheet. Before the chocolate sets, sprinkle your chosen sprinkles generously on top so they stick.
Step 5: Let Them Set
Allow the Oreos to sit at room temperature until the chocolate hardens completely. This usually takes about 30 minutes. For quicker setting, you can place the baking sheet in the refrigerator for 10-15 minutes.
Step 6: Serve and Enjoy
Once the chocolate is firm, transfer your beautiful chocolate-covered Oreos to a serving platter. They’re now ready to enjoy!
Expert Tips

- Use high-quality chocolate for the best flavor and smooth finish.
- Make sure your Oreos are at room temperature before dipping to prevent condensation from forming on the chocolate.
- Don’t skip tapping off excess chocolate — too much chocolate can cause messy drips and uneven coatings.
- Try using a toothpick or skewer if you want to dip the Oreos without using a fork, which can sometimes break the cookie.
- Keep your sprinkles handy and ready to apply immediately after dipping, as the chocolate sets fast.
- If you want a glossy finish, temper your chocolate before dipping.
Variations and Customizations

- Chocolate Types: Use white chocolate and add crushed freeze-dried strawberries or peppermint for a festive touch.
- Flavored Sprinkles: Try chocolate pearls, edible glitter, or themed sprinkles for holidays or special occasions.
- Drizzled Chocolate: After the initial coating sets, drizzle contrasting chocolate (dark on white chocolate, or white on dark chocolate) for a professional look.
- Nut Toppings: Add finely chopped nuts like pistachios or almonds for extra crunch and flavor.
- Stuffed Oreos: For an extra indulgent treat, insert a small dollop of peanut butter or cream cheese frosting between the Oreo halves before dipping.
How to Store Leftovers
To keep your Chocolate Covered Oreos fresh, store them in an airtight container at room temperature for up to 5 days. If your kitchen is warm or humid, it’s best to refrigerate them to prevent the chocolate from melting. Just be sure to bring them back to room temperature before serving for the best texture and flavor. Avoid storing them in direct sunlight or near heat sources.
FAQ
Can I use any type of chocolate for this recipe?
Yes! Milk, dark, or white chocolate all work well. Just make sure to use quality chocolate or candy melts for the best taste and ease of melting.
Do I need to refrigerate the chocolate-covered Oreos?
Refrigeration is optional but recommended if your environment is warm or humid. Otherwise, they keep well at room temperature in an airtight container.
Can I make these ahead of time?
Absolutely! You can prepare Chocolate Covered Oreos a day or two in advance. Just store them properly to maintain freshness and avoid moisture.
What’s the best way to melt chocolate without burning it?
Microwave in short 20-30 second bursts, stirring in between each session. Alternatively, use a double boiler to gently melt the chocolate over simmering water.
Conclusion
Chocolate Covered Oreos are a simple yet stunning treat that’s perfect for any occasion. With just three main ingredients and minimal effort, you can create a dessert that looks impressive and tastes even better. Whether you’re sharing with family, gifting to friends, or indulging yourself, these chocolate-coated cookies bring a smile to everyone’s face. Try experimenting with different chocolates and toppings to make the recipe your own. Get ready to enjoy a sweet, crunchy, and utterly delicious treat that’s bound to become a staple in your home!

Chocolate Covered Oreos
Ingredients
- 1 package Oreo cookies 24 cookies
- 16 ounces chocolate or candy melts milk, dark, or white chocolate
- ½ cup sprinkles choose your favorite colors and shapes
Instructions
- Start by lining a large baking sheet with parchment paper or a silicone baking mat to prevent the chocolate-covered Oreos from sticking once you dip them.
- Place the chocolate or candy melts into a microwave-safe bowl. Microwave in 30-second intervals, stirring well after each, until the chocolate is completely smooth and melted. Be careful not to overheat to avoid burning the chocolate.
- Using a fork or dipping tool, carefully dip each Oreo cookie into the melted chocolate, making sure to cover the entire cookie. Gently tap the fork on the side of the bowl to remove any excess chocolate.
- Immediately after dipping, place the chocolate-covered Oreo on the prepared baking sheet. Before the chocolate sets, sprinkle your chosen sprinkles generously on top so they stick.
- Allow the Oreos to sit at room temperature until the chocolate hardens completely, usually about 30 minutes. For quicker setting, place the baking sheet in the refrigerator for 10-15 minutes.
- Once the chocolate is firm, transfer your chocolate-covered Oreos to a serving platter and enjoy.
Equipment
- Microwave-safe bowl
- Fork or dipping tool
- Large baking sheet
- Parchment paper or silicone baking mat


