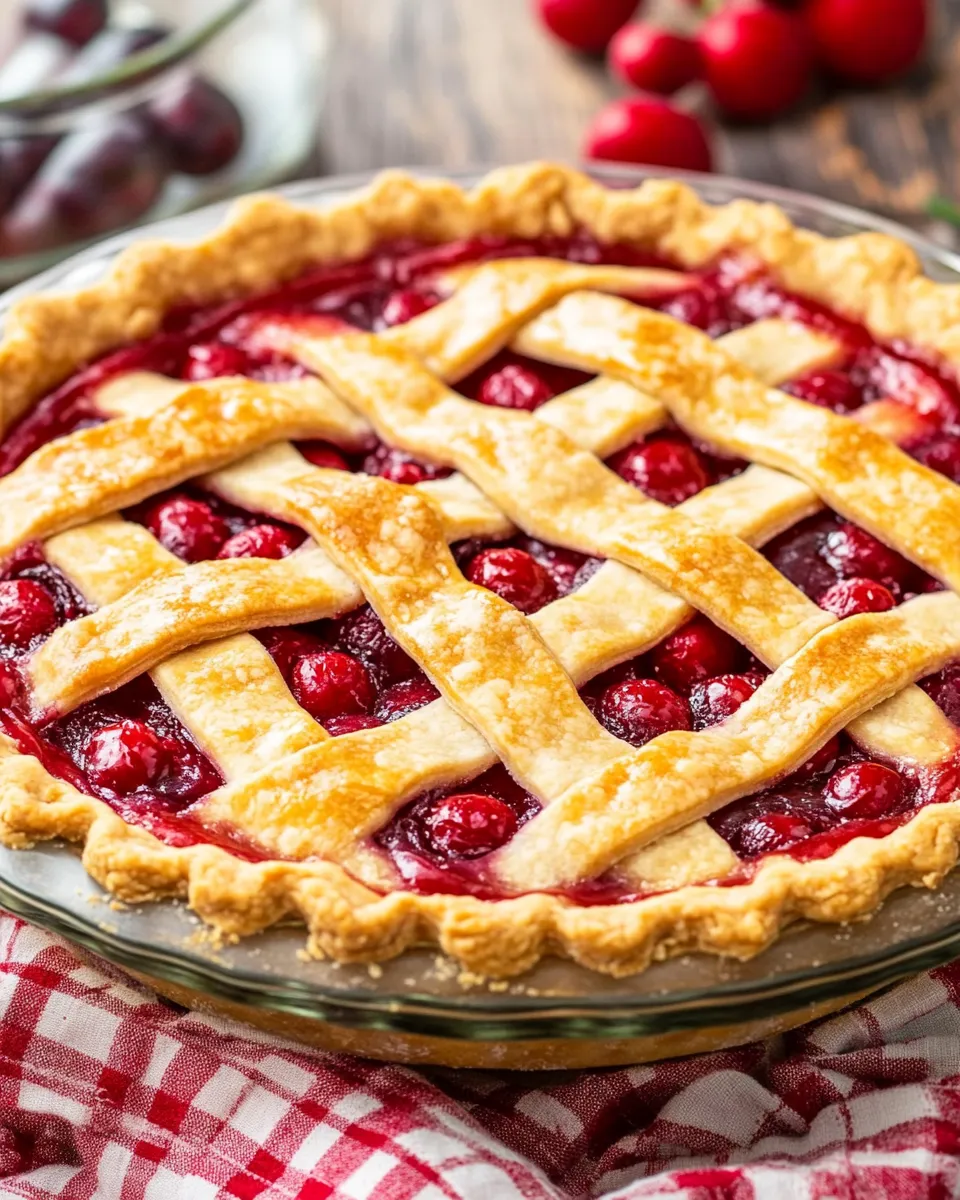
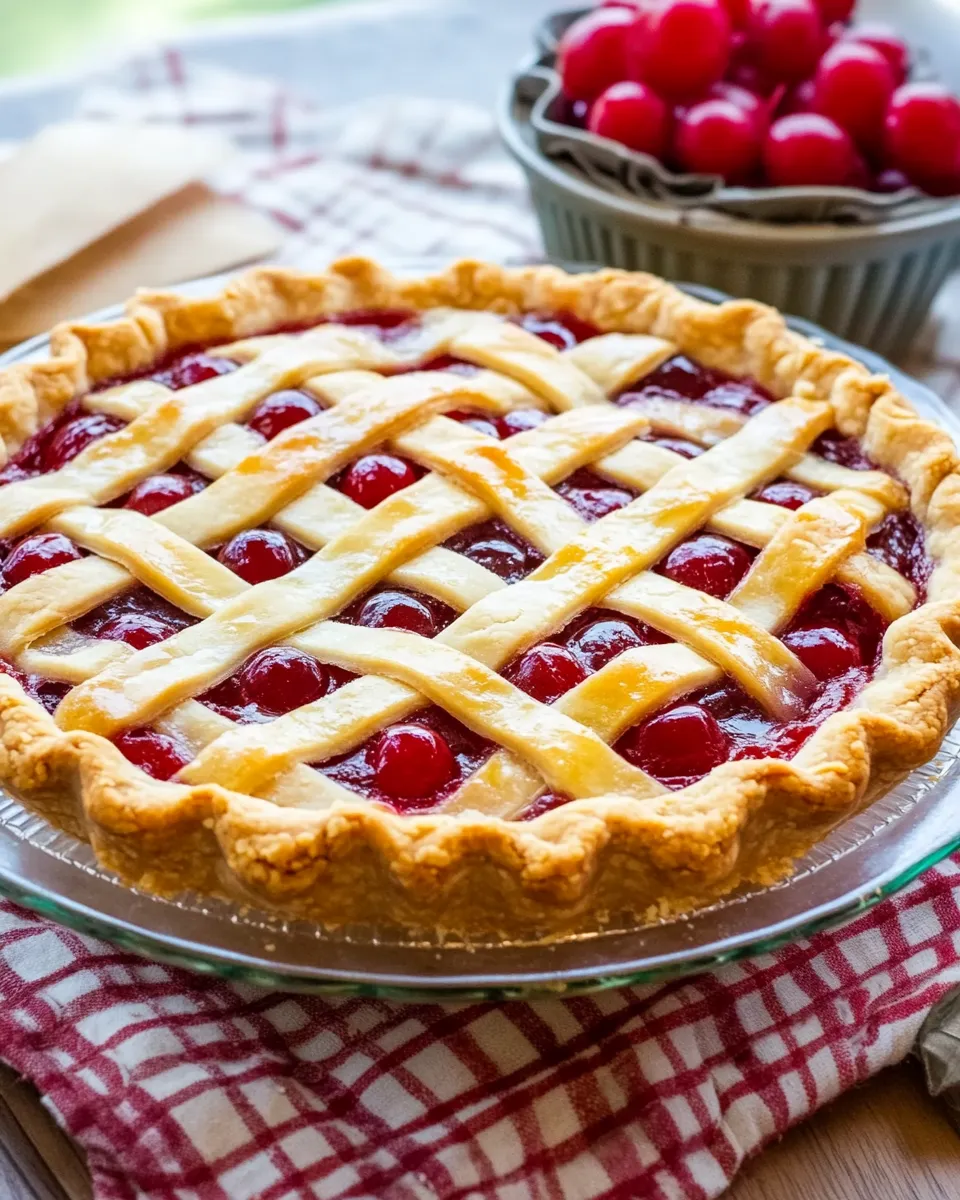
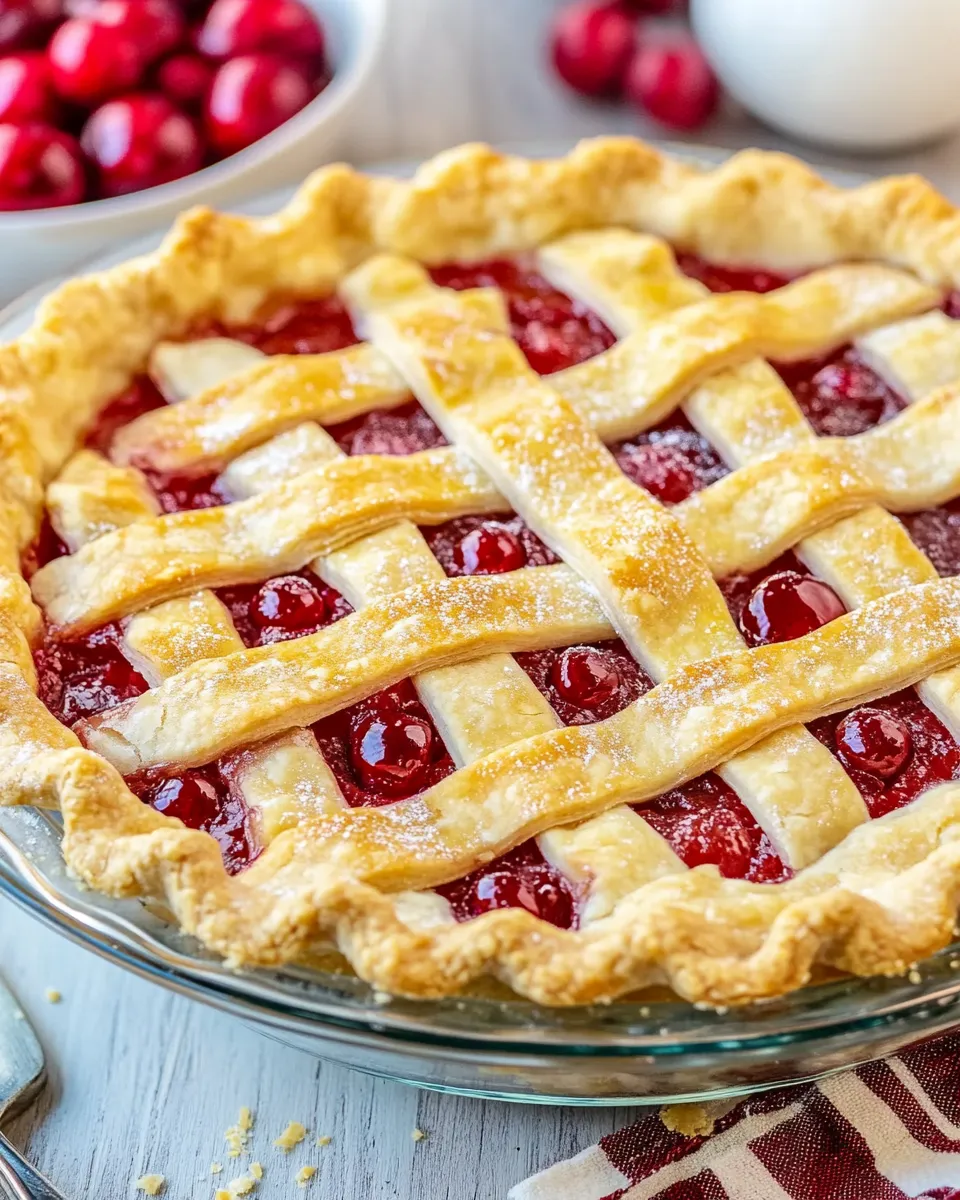
All Butter Pie Crust
I make this all-butter pie crust so often that my rolling pin knows the weight of my wrist. It’s a straightforward recipe: flour, salt, butter, and a touch of ice water. Nothing fancy, just techniques that protect the butter and keep the dough flaky. If you want a tender, flaky crust that browns beautifully and holds fillings without a soggy bottom, this is the one to learn and repeat.
There are a few small habits that make a big difference: keep the butter cold, don’t overwork the dough, and chill before rolling. The recipe is short and forgiving, but the results reward a careful hand. I’ll walk you through the exact steps and give you practical fixes if things go sideways.
Use your best cold butter and a light touch. This crust freezes well and adapts to sweet or savory fillings, so once you have the method down, you’ll reach for it for everything from apple pies to quiches.
Ingredients

- 1 ¼ cups (156 grams) all-purpose flour, sifted — provides the structure; sifting removes lumps and keeps the dough light.
- 8 tablespoons (113 grams) unsalted butter, cut into ½-inch pieces, 1 stick in total — cold butter creates steam pockets for flakiness; keep it chilled until use.
- ¼ teaspoon (1 gram) salt — balances flavor; adjust slightly only if using salted butter.
- ¼ cup (60 ml) ice cold water — binds the dough; add gradually so you don’t make it too wet.
What Goes Into All Butter Pie Crust
All Butter Pie Crust uses four simple ingredients and one central idea: leave visible butter pieces in the dough. Those pea-sized bits of butter melt during baking and create steam that lifts and separates flour layers, giving you flakiness. The flour gives structure; salt enhances flavor; butter brings tenderness, richness, and browning; water brings the dough together.
Temperature control is the unseen hero. Cold ingredients and quick handling prevent the butter from melting into the flour entirely. That separation is what makes the crust flaky. The recipe’s water amount is a maximum — use just enough to bring the dough together. Under-hydration makes a crumbly crust; too much water makes it tough.
Directions: All Butter Pie Crust
- In a medium bowl, combine 1 1/4 cups (156 g) sifted all-purpose flour and 1/4 teaspoon (1 g) salt.
- Add 8 tablespoons (113 g) unsalted butter, cut into 1/2-inch pieces and kept cold.
- Using a pastry cutter (or two knives), cut the butter into the flour and salt until the mixture resembles coarse crumbs with some pea-sized pieces of butter remaining.
- Add 1/4 cup (60 ml) ice cold water a little at a time, mixing gently after each addition. Stop as soon as the dough just holds together when squeezed — you may not need the entire 1/4 cup.
- Gather the dough gently into a single ball, pressing it together without overworking.
- Flatten the ball into a disk, wrap tightly in plastic wrap, and refrigerate for at least 1 hour and up to 3 days.
- When ready to use, remove the chilled dough. If it is very stiff, let it sit at room temperature for 5–10 minutes to make rolling easier.
- On a lightly floured surface, roll the dough into a 13-inch circle. Transfer the rolled dough to a 9-inch pie dish (fold in half or drape over the rolling pin to lift, then unfold), shape/crimp the edges as desired, and return the crust to the refrigerator until you are ready to add the filling.
Why This All Butter Pie Crust Stands Out
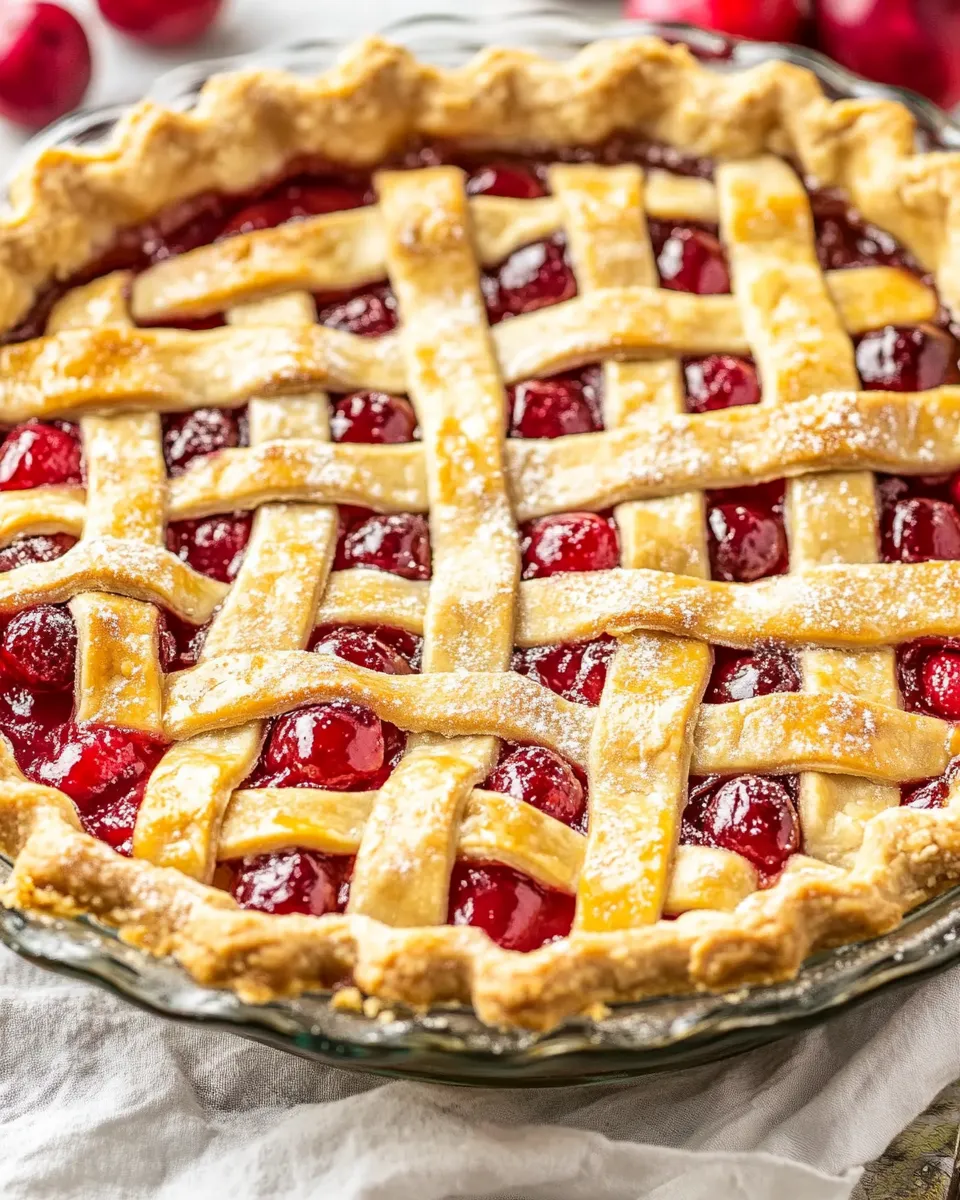
This crust is simply butter-forward. It’s richer and browner than shortening-based crusts, and it develops flavor as the butter browns in the oven. The method deliberately leaves small butter pockets; that creates the flaky layers we all want. Texture is crisp at the edges and tender beneath the filling.
It’s also forgiving: the dough tolerates a short rest at room temperature, and you can roll it slightly thicker or thinner depending on the filling. Because the recipe is compact, it’s easy to scale or double for two crust pies without changing the technique. It’s the kind of recipe you memorize and then tweak for personal preference.
Vegan & Vegetarian Swaps
Vegetarian diets that include dairy are already served here, since butter is vegetarian. For vegan baking, replace the butter with a plant-based solid baking block that mimics the water/butter ratio and behaves similarly when cold. Use a vegan butter with high fat content and keep it cold; cutting it into flour the same way gives comparable flakes, though texture and flavor will differ slightly.
Another vegan option is a half-shortening, half-vegan-butter blend: shortening adds stability while vegan butter adds flavor. Skip any non-vegan dairy and make sure your vegan butter is suitable for baking (some are better than others).
Toolbox for This Recipe
- Medium mixing bowl — for combining dry ingredients and cutting in butter.
- Pastry cutter or two knives — to cut butter into flour; a food processor works but watch for over-processing.
- Measuring cups and kitchen scale — use grams for consistency when possible.
- Plastic wrap — to flatten and refrigerate the dough disk without drying it out.
- Rolling pin and lightly floured surface — roll evenly to a 13-inch circle.
- 9-inch pie dish — standard size for this recipe.
- Bench scraper — helpful for lifting and transferring the dough and cleaning the surface.
Mistakes That Ruin All Butter Pie Crust
- Using warm butter — melts into the flour and eliminates the pockets that create flakiness, producing a dense crust.
- Overworking the dough — kneading too much develops gluten and turns the crust tough instead of tender.
- Adding too much water — makes the dough sticky and hard to roll; results in a tight, chewy crust.
- Rolling on an unfloured surface without turning — can cause sticking and tearing; rotate and add a little flour as needed.
- Skipping the chill — rolling warm dough yields tearing and misshapen crust; chilling firms the butter for cleaner edges.
Season-by-Season Upgrades
Spring: Add a teaspoon of lemon zest to the dough or brush the baked crust with a thin sugar glaze before filling a lighter fruit pie. Lemon brightens delicate flavors like rhubarb or strawberry-rhubarb.
Summer: For fruit pies, blind-bake the crust and brush the bottom with a thin layer of beaten egg white to reduce sogginess from juicy fillings. Or sprinkle a thin layer of finely ground almond meal in the crust to absorb excess juices without changing flavor.
Autumn: Stir 1/2 to 1 teaspoon ground cinnamon or a pinch of nutmeg into the flour for warm spice that complements apple and pumpkin fillings. For savory fall quiches, fold in a tablespoon of grated Parmesan to the crust for a savory note.
Winter: Use browned butter for a deep, toasty flavor — brown the butter, cool it until just lukewarm, then chill until firm again before cutting it into the flour. Browned butter changes the aroma and gives holiday pies a richer profile.
Cook’s Commentary
I’ve learned to trust minimalism here. When you keep the ingredient list short and focus on temperature and technique, the crust behaves predictably. If you have a food processor, it’s tempting to blitz everything quickly — but that often overworks the dough. Take the extra two minutes with a pastry cutter. The tactile feedback helps you stop at the right moment: when the mixture looks like coarse crumbs with pea-sized butter chunks.
Chilling is not wasted time; it’s an investment. It relaxes gluten, firms the butter, and makes rolling easier. I often make the dough a day ahead; refrigerated in plastic wrap, it waits patiently and improves in handling. If I’m short on time, I’ll freeze the disk for 20 minutes instead — it firms up fast and is easier to roll cold.
Save for Later: Storage Tips
- Refrigerate: Wrapped tightly in plastic wrap, the dough keeps in the fridge for up to 3 days. Let it rest at room temperature 5–10 minutes before rolling.
- Freeze raw dough: Wrap the disk in plastic and then in foil. It keeps for up to 2 months. Thaw overnight in the refrigerator before use.
- Freeze baked crust: Baked shells can be wrapped and frozen for up to 1 month. Thaw in the refrigerator before filling or warm briefly in a low oven.
- Blind-baked crusts: Cool completely, then freeze flat between sheets of parchment to prevent sticking. Reheat before filling if necessary.
Troubleshooting Q&A
- Q: My dough fell apart when I tried to move it. A: It was likely under-hydrated or too cold. Press the crumbs together gently; if they don’t hold, add a teaspoon of cold water and press again. Let it rest for a few minutes before trying to lift.
- Q: The crust shrank during blind baking. A: Shrinking often means the dough was stretched when placed in the pan or overworked. Chill the shaped crust for at least 20 minutes before baking to relax the dough and keep the edges firm.
- Q: The bottom was soggy after filling. A: Par-bake (blind bake) the crust and consider brushing the cooled shell with a thin layer of beaten egg white, warm it briefly to set, then add your filling. Also try a thin dusting of fine crumbs or almond meal under the filling to absorb juices.
- Q: The crust tastes greasy. A: That usually means too much butter relative to flour or insufficient baking time to render and brown the butter. Stick to the recipe amounts and bake until the crust is golden.
Before You Go
Once you master this All Butter Pie Crust, you’ll find it remarkably versatile. Keep the ingredients simple, mind your temperatures, and treat the butter gently. The reward is a crust that browns, flakes, and supports your favorite fillings without fuss. Make a double batch, freeze one disk, and you’ll always have a reliable crust on hand for unexpected guests or last-minute pies.
If you try the crust, come back and tell me how you used it — I love hearing about flavor combos and troubleshooting wins. Happy baking!

All Butter Pie Crust
Ingredients
Ingredients
- ?1 1/4 cups 156 gramsall purpose floursifted
- ?8 tablespoonstablespoons 113 gramsunsalted buttercut into 1/2 inch pieces, 1 stick in total
- ?1/4 teaspoon 1 gramsalt
- ?1/4 cup 60 mlice cold water
Instructions
Instructions
- In a medium bowl, combine 1 1/4 cups (156 g) sifted all-purpose flour and 1/4 teaspoon (1 g) salt.
- Add 8 tablespoons (113 g) unsalted butter, cut into 1/2-inch pieces and kept cold.
- Using a pastry cutter (or two knives), cut the butter into the flour and salt until the mixture resembles coarse crumbs with some pea-sized pieces of butter remaining.
- Add 1/4 cup (60 ml) ice cold water a little at a time, mixing gently after each addition. Stop as soon as the dough just holds together when squeezed — you may not need the entire 1/4 cup.
- Gather the dough gently into a single ball, pressing it together without overworking.
- Flatten the ball into a disk, wrap tightly in plastic wrap, and refrigerate for at least 1 hour and up to 3 days.
- When ready to use, remove the chilled dough. If it is very stiff, let it sit at room temperature for 5–10 minutes to make rolling easier.
- On a lightly floured surface, roll the dough into a 13-inch circle. Transfer the rolled dough to a 9-inch pie dish (fold in half or drape over the rolling pin to lift, then unfold), shape/crimp the edges as desired, and return the crust to the refrigerator until you are ready to add the filling.
Equipment
- Pastry Cutter
- glass bowl
- Rolling Pin
Notes
This recipe creates one 13 inch circle of pie dough, or enough to make a single crust pie. For a double crust pie, double this recipe.