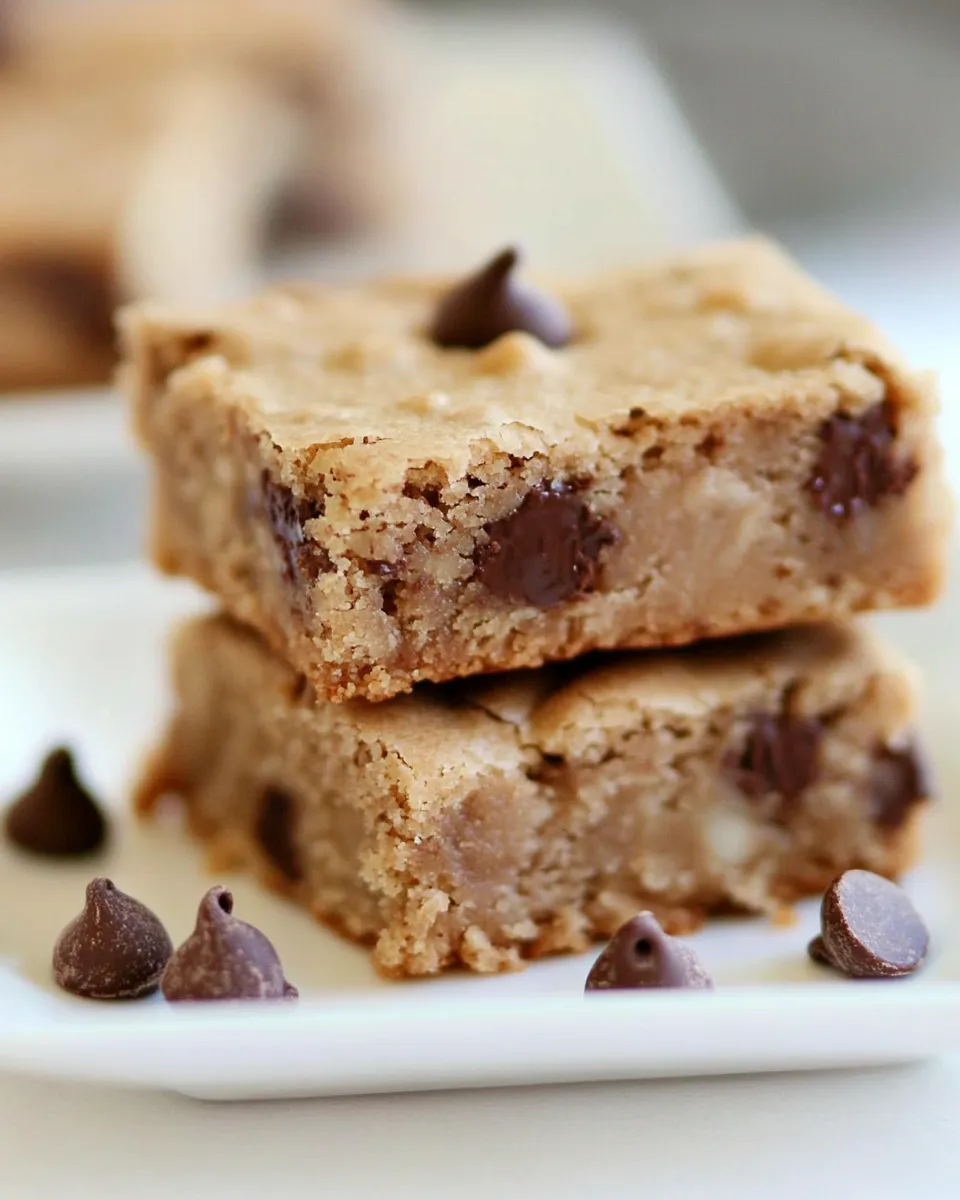
Walnut Chocolate Blondies
These walnut chocolate blondies are the kind of bar cookie I reach for when I want something deeply satisfying without fuss. They bring together rich brown sugar, nutty walnuts, and gooey chocolate chunks in a dense, tender bite. The method is simple, the cleanup is minimal, and the result travels well to potlucks, school lunches, or a quiet coffee break at home.
I like recipes that are straightforward and forgiving. This one uses melted butter and a brief, careful fold of dry ingredients to keep the texture fudgy rather than cake-like. The balance of sweetness and crunch is dependable, and you can be confident the oven time will yield a moist center and a set top if you follow the steps.
Below you’ll find a clear ingredient list with notes, a faithful step-by-step guide, and practical tips to avoid common mistakes. Keep the ingredients exact, measure carefully, and you’ll have a pan of blondies that slices clean and tastes like a small, perfect celebration.
Ingredients

- 10 tablespoons unsalted butter — melts into the base for a rich, slightly caramelized flavor; use unsalted so you control the salt level.
- 2 cups light brown sugar — provides moisture and that toffee-like depth that defines blondies.
- 1 teaspoon pure vanilla extract — enhances the sweetness and rounds out flavors.
- 3 eggs beaten — bind the batter and add structure; beaten before adding for even incorporation.
- 3 cups all-purpose flour — the building block of the batter; measure by spooning into the cup and leveling for accuracy.
- 1 teaspoon baking powder — a small lift so the bars aren’t overly dense while keeping a tender crumb.
- Large pinch salt — heightens the sweetness and balances the flavors; adjust slightly if you use salted butter.
- ½ cup chopped walnuts — provide crunch and an earthy nutty note; toast them briefly for extra flavor if you like.
- 1 cup semisweet chocolate chunks — pockets of melted chocolate through the blondie; chunks give texture more than chips.
Shopping List
Before you begin, make sure you have everything on hand. This recipe relies on pantry staples but demands the exact amounts listed above for best results. If you plan to toast the walnuts or substitute anything (see Smart Substitutions), note that on your shopping run so you don’t need an extra trip.
Buy a good-quality semisweet chocolate and fresh walnuts. Fresh brown sugar with some moisture will keep the blondies tender; if your brown sugar is hard, give it a moment in a covered bowl with a slightly damp paper towel to rehydrate.
Walnut Chocolate Blondies: Step-by-Step Guide
- Preheat oven to 350°F. Line an 8×11-inch baking tray with foil, leaving some overhang on two opposite sides to use for lifting the bars out later.
- In a large, heavy pan over low heat, gently melt 10 tablespoons unsalted butter, stirring until melted. Remove the pan from the heat.
- Add 2 cups light brown sugar to the melted butter and stir until combined. Let the mixture cool for about 1 minute.
- In a small bowl, beat 3 eggs until blended. Stir the beaten eggs and 1 teaspoon pure vanilla extract into the butter-sugar mixture until combined.
- Sift 3 cups all-purpose flour, 1 teaspoon baking powder, and a large pinch salt together, then sift the mixture over the wet ingredients. Stir only until the dry ingredients are just incorporated—do not overmix.
- Fold in ½ cup chopped walnuts and 1 cup semisweet chocolate chunks until evenly distributed.
- Pour the batter into the prepared pan and spread it into an even layer.
- Bake for 25 minutes, or until the top is just firm (a toothpick inserted near the center should come out with moist crumbs, not wet batter).
- Cool in the baking tray until firm enough to lift. Use the foil overhang to lift the blondies onto a wire rack and cool completely. Remove the foil and cut into squares.
Why Walnut Chocolate Blondies is Worth Your Time
These blondies deliver big flavor with minimal babysitting. The brown sugar and melted butter create a chewy, almost caramel-like base that contrasts beautifully with the chocolate chunks. The walnuts add texture and a toasty note that keeps each bite interesting.
They’re also fast. From start to finish you’re looking at a short active prep time and a single 25-minute bake. That economy makes them ideal for last-minute gatherings or a weekend baking session when you want reliable, crowd-pleasing results without complicated steps.
Finally, they’re versatile. You can scale the treats up or down, change the mix-ins, or cut them into thick squares or thinner bars depending on how you plan to serve them. They hold together well, so they’re portable and perfect for school lunches and coffee breaks.
Smart Substitutions

Substitutions can help when you need them, but keep in mind swaps will affect texture and flavor. Here are practical, tested alternatives:
- Walnuts — swap with pecans for a similar richness, or use toasted hazelnuts for a slightly sweeter, nuttier profile.
- Semisweet chocolate chunks — you can use chocolate chips or coarsely chopped dark chocolate if you prefer stronger chocolate notes.
- Unsalted butter — if you only have salted, use it but reduce the extra salt (or omit the large pinch) to avoid over-salting.
- Light brown sugar — dark brown sugar will deepen the molasses flavor and make the bars a touch moister.
Toolbox for This Recipe
The equipment list is short and straightforward. These tools keep the process smooth and help you get an even bake.
- 8×11-inch baking tray — the specified pan size gives you the right thickness for 25 minutes of baking.
- Foil — for lining with overhang so you can lift the set bars from the pan cleanly.
- Large, heavy pan — melts the butter evenly; a saucepan or skillet with a heavy bottom works best.
- Small bowl — for beating the eggs ahead of time.
- Sifter or fine-mesh sieve — for evenly distributing flour and leavening.
- Spatula — for folding in mix-ins and spreading batter in the pan.
- Wire rack — for cooling the pan so the blondies set properly.
- Toothpick — to test for doneness (moist crumbs, not wet batter).
Pitfalls & How to Prevent Them
Common mistakes are easy to avoid if you watch three things closely: temperature, mixing, and timing.
1) Hot eggs: If you stir the eggs into butter that’s too hot, you’ll scramble them. Remove the pan from heat and let it cool for about a minute before adding the beaten eggs. The step in the recipe already calls this out—follow it.
2) Overmixing: Once you add the sifted dry ingredients, stir only until just incorporated. Overmixing develops gluten and turns the blondies cakey and tough. Fold gently and stop when you no longer see streaks of flour.
3) Baking time: Ovens vary. The 25-minute guideline aims for moist crumbs. Start checking at 22 minutes if your oven runs hot, and remember that residual heat will continue to set the center as the pan cools. A toothpick with moist crumbs is perfect; wet batter means more time is needed.
Seasonal Adaptations
Change one element to make these feel seasonal without overhauling the recipe.
Fall: Toast the walnuts and stir in ½ teaspoon of ground cinnamon or a pinch of pumpkin pie spice for a warming touch.
Winter: Add a teaspoon of orange zest to the batter alongside the vanilla for a bright citrus lift that pairs beautifully with dark chocolate.
Summer: Fold in ½ cup dried cherries or chopped dried apricots with the chocolate for a fruity contrast to the sweet base.
Behind the Recipe
This recipe works because it treats brown sugar and butter as the flavor engine. Melting the butter first allows the sugar to integrate smoothly and contributes to that glossy, dense texture. The eggs set the structure lightly, but because there’s no creaming step and minimal mixing, the battter stays tender and fudgy rather than airy.
Chocolate chunks rather than chips give pockets of melting chocolate that reconnect with the buttery base, and the walnuts add a needed textural counterpoint. The small amount of baking powder gives a gentle lift so the bars hold together without becoming cake-like.
Storage Pro Tips
Cool the bars completely before storing. Warm blondies will trap steam and become gummy.
Room temperature: Store in an airtight container for up to 3 days. Place a sheet of parchment between layers to prevent sticking.
Refrigerator: For longer life (up to 1 week), refrigerate in an airtight container. Bring to room temperature or warm briefly in a low oven to regain chewiness.
Freezer: Wrap individual squares tightly in plastic wrap and place in a freezer-safe bag for up to 3 months. Thaw overnight in the fridge or at room temperature. Reheat briefly in a low oven or microwave for a warm, fresh-baked feel.
Popular Questions
Can I use margarine or a butter substitute?
Butter provides flavor and mouthfeel that substitutes struggle to match. Margarine may work in a pinch, but expect a difference in flavor and texture.
Can I make this in a different sized pan?
You can, but the thickness and bake time will change. A smaller pan yields thicker bars and may need more time; a larger pan will make thinner bars and bake faster. Stick to the 8×11-inch size for the intended texture and timing.
Why do you sift the dry ingredients?
Sifting ensures even distribution of baking powder and salt and helps prevent overworking. It makes the dry mix lighter so you can fold more gently into the wet ingredients.
How do I know when they’re done?
The top should be just firm. A toothpick inserted near the center should come out with moist crumbs—not raw batter. They’ll continue to set as they cool in the pan.
The Takeaway
Follow the recipe as written, pay attention to the small steps—cooling the butter slightly before adding eggs, sifting the dry ingredients, and resisting the urge to overmix—and you’ll get reliably excellent walnut chocolate blondies. They’re fast, forgiving, and endlessly adaptable. Bake a pan, cut them into squares, and enjoy a simple, deeply satisfying treat that’s worth the few minutes it takes to prep.

Walnut Chocolate Blondies
Ingredients
Ingredients
- 10 tablespoonsunsalted butter
- 2 cupslight brown sugar
- 1 teaspoonpure vanilla extract
- 3 eggsbeaten
- 3 cupsall-purpose flour
- 1 teaspoonbaking powder
- Large pinchsalt
- 1/2 cupchopped walnuts
- 1 cupsemisweet chocolate chunks
Instructions
Instructions
- Preheat oven to 350°F. Line an 8x11-inch baking tray with foil, leaving some overhang on two opposite sides to use for lifting the bars out later.
- In a large, heavy pan over low heat, gently melt 10 tablespoons unsalted butter, stirring until melted. Remove the pan from the heat.
- Add 2 cups light brown sugar to the melted butter and stir until combined. Let the mixture cool for about 1 minute.
- In a small bowl, beat 3 eggs until blended. Stir the beaten eggs and 1 teaspoon pure vanilla extract into the butter-sugar mixture until combined.
- Sift 3 cups all-purpose flour, 1 teaspoon baking powder, and a large pinch salt together, then sift the mixture over the wet ingredients. Stir only until the dry ingredients are just incorporated—do not overmix.
- Fold in ½ cup chopped walnuts and 1 cup semisweet chocolate chunks until evenly distributed.
- Pour the batter into the prepared pan and spread it into an even layer.
- Bake for 25 minutes, or until the top is just firm (a toothpick inserted near the center should come out with moist crumbs, not wet batter).
- Cool in the baking tray until firm enough to lift. Use the foil overhang to lift the blondies onto a wire rack and cool completely. Remove the foil and cut into squares.
Equipment
- 8x11-inch baking tray
- Foil
- large heavy pan
- Small Bowl
- Sifter
- Wire Rack