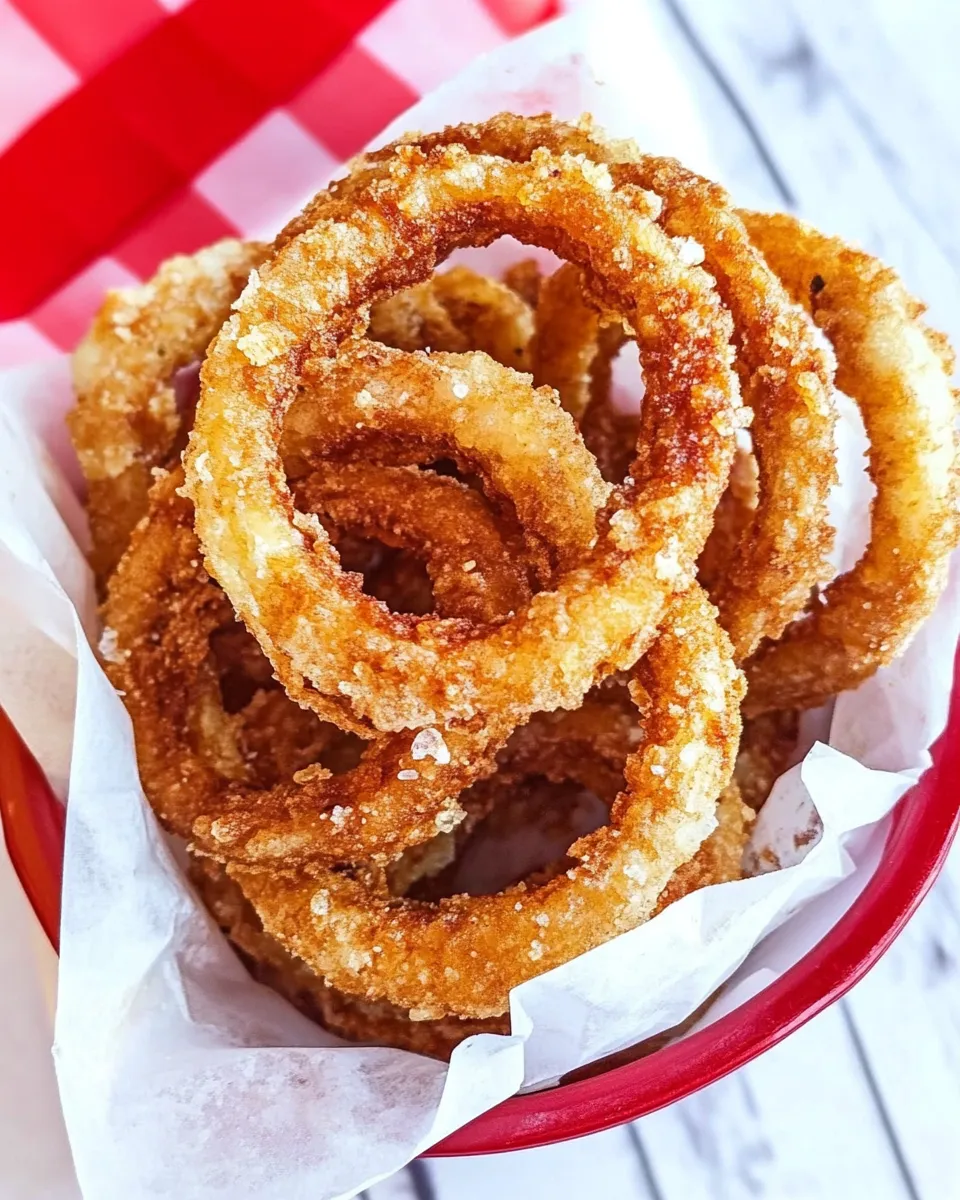
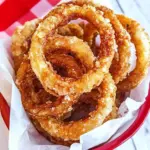
Dairy Queen Onion Rings
If you’ve ever bitten into a Dairy Queen onion ring, you know the crisp, golden exterior and the sweet, tender onion inside are irresistible. I’ve tested this method until the coating behaves exactly like the fast-food favorite: thin, crunchy, and not too bready. No gimmicks—just technique and the right balance of coatings.
This recipe uses sweet onions, a simple three-step coating (flour, buttermilk dip, cracker crumbs + cornmeal), and a quick deep-fry. It’s practical for a weekend snack or a make-ahead party platter. I’ll walk you through precise steps, equipment notes, substitutions, and the little mistakes that undo the best batter so you don’t repeat them.
Read straight through before you begin. The method is straightforward, but timing and temperature make the difference between limp rings and something you’d happily serve to guests. Let’s get the oil warming.
Gather These Ingredients

Ingredients
- 2 Vidalia onions or 1015 sweet onions sliced into rings — Sweet onions are milder and caramelize slightly while frying; slice to 1/2-inch for the right bite.
- 2 cups flour — For initial dredging; it helps the wet layer stick evenly to the onion.
- 2 cups Buttermilk — Adds tang and helps the outer coating adhere while tenderizing the onion ring slightly.
- 1 cup water — Pairs with the buttermilk to loosen the dip so crumbs cling without becoming heavy.
- 2 cups fine cracker crumbs — Gives a delicate crunch similar to the original; fine crumbs coat more uniformly than coarse ones.
- 2 cups white cornmeal — Blends with cracker crumbs to add grainy texture and additional crunch.
- vegetable oil for frying — Neutral-flavored oil with a high smoke point; you need enough to submerge rings about 2 inches.
Stepwise Method: Dairy Queen Onion Rings
- Slice the 2 Vidalia onions or 1015 sweet onions into 1/2-inch rings. Set aside any very small rings for another use.
- Place 2 cups flour in a shallow bowl for dredging.
- In a large bowl, combine 2 cups buttermilk and 1 cup water; whisk to blend.
- In a separate bowl, mix 2 cups fine cracker crumbs and 2 cups white cornmeal.
- Pour vegetable oil for frying into a deep pot or deep-fryer to a depth of about 2 inches (enough to submerge rings). Heat oil to about 350°F (175°C).
- Working one ring at a time: dredge the ring in the flour, shaking off excess; dip it into the buttermilk-water mixture, allowing excess to drip; then press both sides into the cracker crumbs–cornmeal mixture so the ring is evenly coated. Place the coated ring on a tray or plate.
- When the oil reaches temperature, fry the rings in a single layer in batches (do not overcrowd). Fry each batch about 2–3 minutes, until golden brown, turning once if needed.
- Use a slotted spoon or spider to remove rings and drain them on a wire rack set over a baking sheet (or on paper towels) in a single layer.
- Repeat steps 6–8 until all sliced rings are coated and fried.
- Let drain briefly on the rack, then serve warm.
Why This Recipe is a Keeper
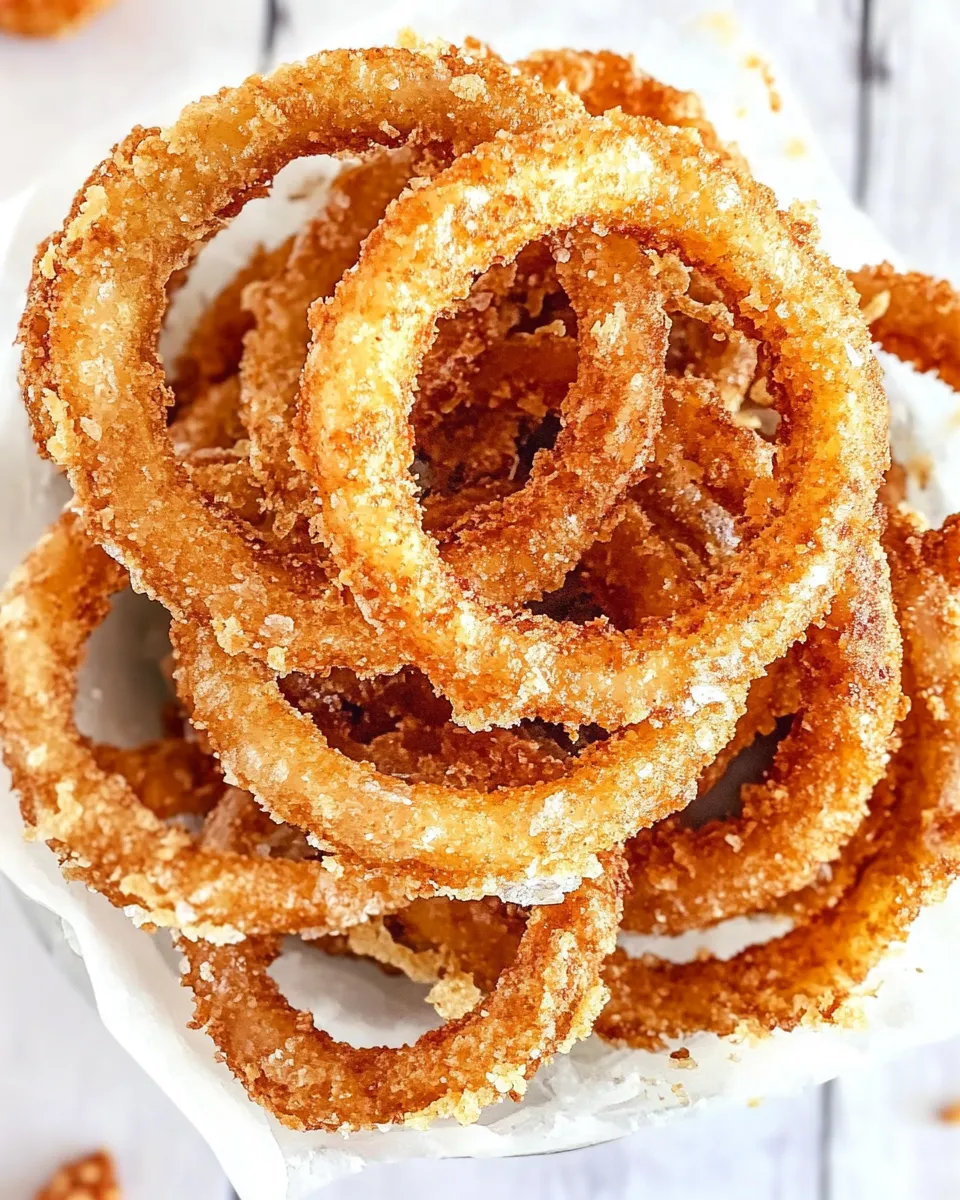
This method nails three things that make onion rings addictive: the right onion, a thin but dependable coating, and oil temperature control. Sweet onions provide natural sweetness and a soft texture after frying. The flour–buttermilk–cracker crumb/cornmeal progression creates a coating that adheres without becoming thick and doughy. Finally, frying at ~350°F crisps the exterior quickly while keeping the onion tender.
I keep this recipe in my rotation because it’s forgiving. If you slow down and prep your stations—flour, wet, crumbs—you’ll get consistent results every time. It’s also flexible for serving: make a few batches for family snacks or run through the full amount for a gathering.
Allergy-Friendly Substitutes
- Gluten-free — Swap the 2 cups flour for a 1:1 gluten-free flour blend (use one designed for frying). Replace the 2 cups fine cracker crumbs with fine gluten-free crackers or finely crushed gluten-free cornflakes. Ensure your cornmeal is certified gluten-free.
- Dairy-free — Replace 2 cups buttermilk with 2 cups unsweetened dairy-free yogurt thinned with 1 cup water and a teaspoon of white vinegar for tang. It won’t be identical, but it’ll coat and lend acidity.
- Corn allergy — Omit the 2 cups white cornmeal and increase fine cracker crumbs by 2 cups, or use panko for crunch if corn is an issue.
Before You Start: Equipment
Have these ready before you turn on the burner. They make the process faster and safer.
Non-negotiable
- Deep pot or deep-fryer — To hold ~2 inches of oil safely and keep temperature steady.
- Instant-read thermometer — Accurate oil temp is the key variable for crispness and oil absorption.
- Slotted spoon or spider — For scooping rings without excess oil.
- Wire rack + baking sheet — For draining in a single layer so rings stay crisp.
Nice-to-have
- Tongs — Helpful for arranging rings gently when placing them in oil.
- Two shallow bowls and one plate/tray — Keeps the coating line tidy and prevents cross-contamination of wet and dry mixes.
Mistakes Even Pros Make
- Oil too cool — If you fry below 350°F, the coating soaks up oil and becomes soggy. Always wait for 350°F before the first batch.
- Overcrowding the pan — Overcrowding drops oil temperature and causes uneven cooking. Fry in single layers or small batches.
- Inconsistent ring size — Very thin or tiny rings cook too fast and can burn; very thick rings take too long and may not cook through. Stick to 1/2-inch rings and set tiny pieces aside.
- Skipping the rack — Stacking fried rings on paper towels traps steam and softens the crust. A wire rack lets steam escape and preserves crispness.
- Relying on timing alone — Times are guides. Watch for color: golden brown means done. Oils, pan size, and batch size change cooking times slightly.
Smart Substitutions
If you don’t have exactly what’s listed, these swaps retain the spirit of the recipe and keep texture close to the original.
- Buttermilk — If you’re out, mix 2 cups regular milk with 2 tablespoons lemon juice or white vinegar and let sit 5–10 minutes to thicken slightly. It’s not identical but will do the job for adhesion and tang.
- Fine cracker crumbs — Use finely crushed saltine crackers or finely ground pretzels. Panko will give a lighter, airier crust—use a blend of panko and fine crumbs for balance.
- White cornmeal — Yellow cornmeal works too; it will add a touch more color and corny flavor. For a subtler taste, use medium-fine grits.
- Vegetable oil — Canola, peanut, or sunflower oil are fine alternatives. Avoid olive oil due to lower smoke point and flavor that competes with the onion.
Behind-the-Scenes Notes
Two small, often overlooked details make a big difference: the flour step and the cracker-crumb/cornmeal ratio. The flour creates a dry surface for the buttermilk to adhere to—skip it and the wet layer slides off. The mix of fine cracker crumbs with cornmeal balances tenderness and crunch; too much cornmeal and you get a gritty exterior, too little and the ring will be soft.
Also, prepare everything in stations. Once the oil is hot, the frying moves quickly. If you’re coating on a crowded countertop, the buttermilk layer will pick up extra crumbs and get mushy. Use a clean plate or tray to hold freshly coated rings until they go into the oil.
Freezer-Friendly Notes
These onion rings are best fresh, but you can freeze them if needed. Freeze in a single layer on a baking sheet until solid, then transfer to a freezer bag for up to 1 month. Reheat from frozen in a preheated 400°F oven for 8–12 minutes, flipping once, or refry at 350°F for 2–3 minutes until hot and crisp. Expect slightly less crispness than freshly fried rings, but they’ll still be enjoyable.
Common Qs About Dairy Queen Onion Rings
- Can I bake these instead of frying? — You can, but they won’t reach the same level of crispness. Bake on a rack at 425°F, spray with oil, and flip halfway through. Bake times vary, usually 12–18 minutes.
- Why are my rings greasy? — Usually oil temperature was too low or batches were too large. Let oil return to 350°F between batches and keep batch sizes small.
- Why did the coating fall off? — Either the initial flour step was skipped or the buttermilk layer was too watery or had excess crumbs stuck to it. Dry dredge, drip off excess wet, then press into crumbs.
- Can I use a different type of onion? — Yes. Yellow or sweet onions work best for frying. Red onions are more pungent and will yield a sharper flavor; white onions can be used, but sweetness and texture differ slightly.
- How do I keep them warm for serving? — Hold on a wire rack set in a 200–225°F oven. This keeps them warm and lets steam escape so they remain crisper than if covered or stacked.
Final Thoughts
These Dairy Queen-style onion rings rely on technique more than magic ingredients. Use sweet onions, set up stations, and maintain oil temperature. The flour, buttermilk, and fine crumb + cornmeal lineup is simple but effective. With practice you’ll get consistent, golden rings every time.
Make a double batch for a party—they disappear fast. Serve alongside a good dipping sauce: classic ketchup, a smoky chipotle mayo, or a tangy ranch all work. Keep an eye on the oil, and enjoy the crunch.
Dairy Queen Onion Rings
Ingredients
Ingredients
- 2 Vidalia onionsor 1015 sweet onions sliced into rings
- 2 cupsflour
- 2 cupsButtermilk
- 1 cupswater
- 2 cupsfine cracker crumbs
- 2 cupswhite cornmeal
- vegetable oilfor frying
Instructions
Instructions
- Slice the 2 Vidalia onions or 1015 sweet onions into 1/2-inch rings. Set aside any very small rings for another use.
- Place 2 cups flour in a shallow bowl for dredging.
- In a large bowl, combine 2 cups buttermilk and 1 cup water; whisk to blend.
- In a separate bowl, mix 2 cups fine cracker crumbs and 2 cups white cornmeal.
- Pour vegetable oil for frying into a deep pot or deep-fryer to a depth of about 2 inches (enough to submerge rings). Heat oil to about 350°F (175°C).
- Working one ring at a time: dredge the ring in the flour, shaking off excess; dip it into the buttermilk-water mixture, allowing excess to drip; then press both sides into the cracker crumbs–cornmeal mixture so the ring is evenly coated. Place the coated ring on a tray or plate.
- When the oil reaches temperature, fry the rings in a single layer in batches (do not overcrowd). Fry each batch about 2–3 minutes, until golden brown, turning once if needed.
- Use a slotted spoon or spider to remove rings and drain them on a wire rack set over a baking sheet (or on paper towels) in a single layer.
- Repeat steps 6–8 until all sliced rings are coated and fried.
- Let drain briefly on the rack, then serve warm.
Equipment
- deep pot or deep fryer
- Slotted spoon or spider
- Wire Rack
- Baking Sheet