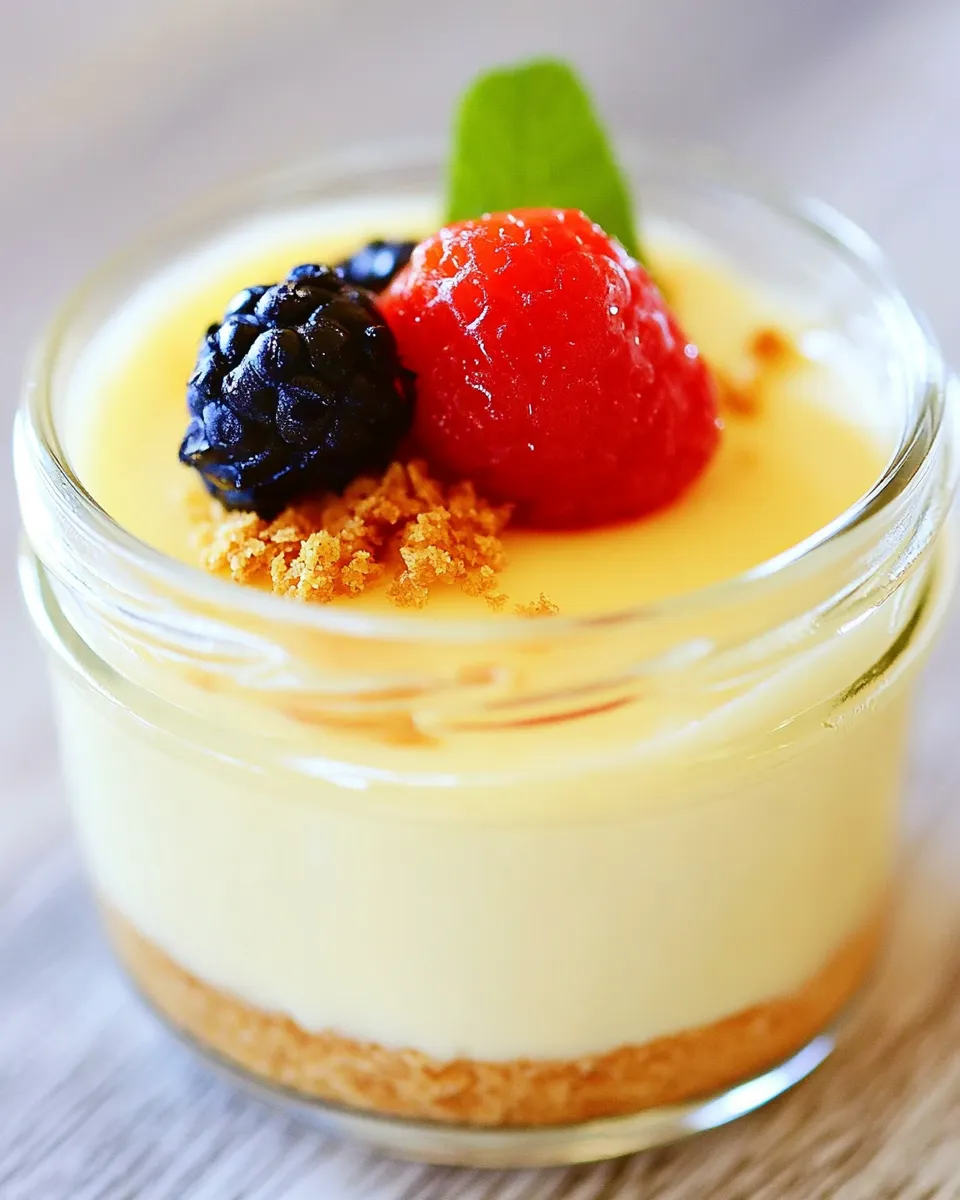
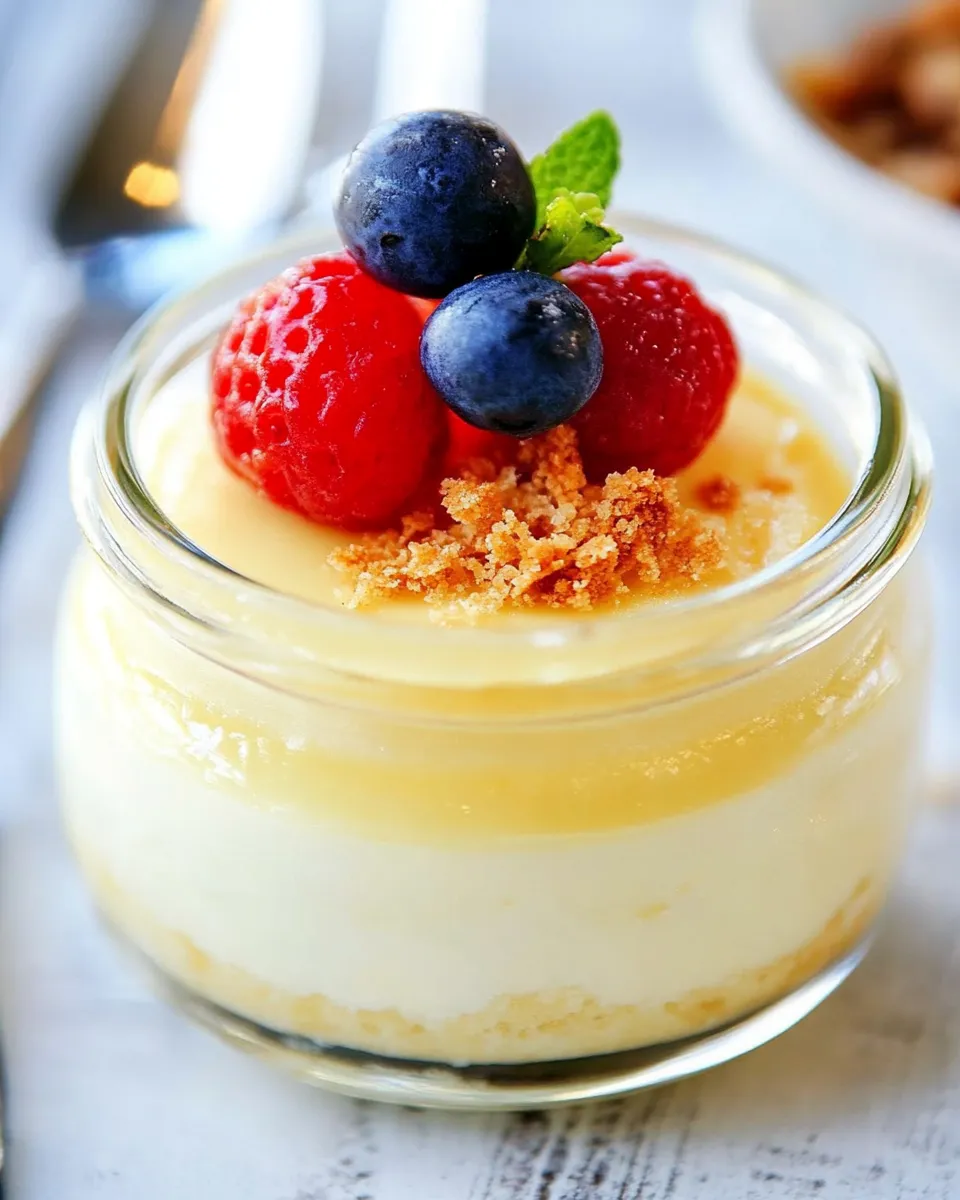
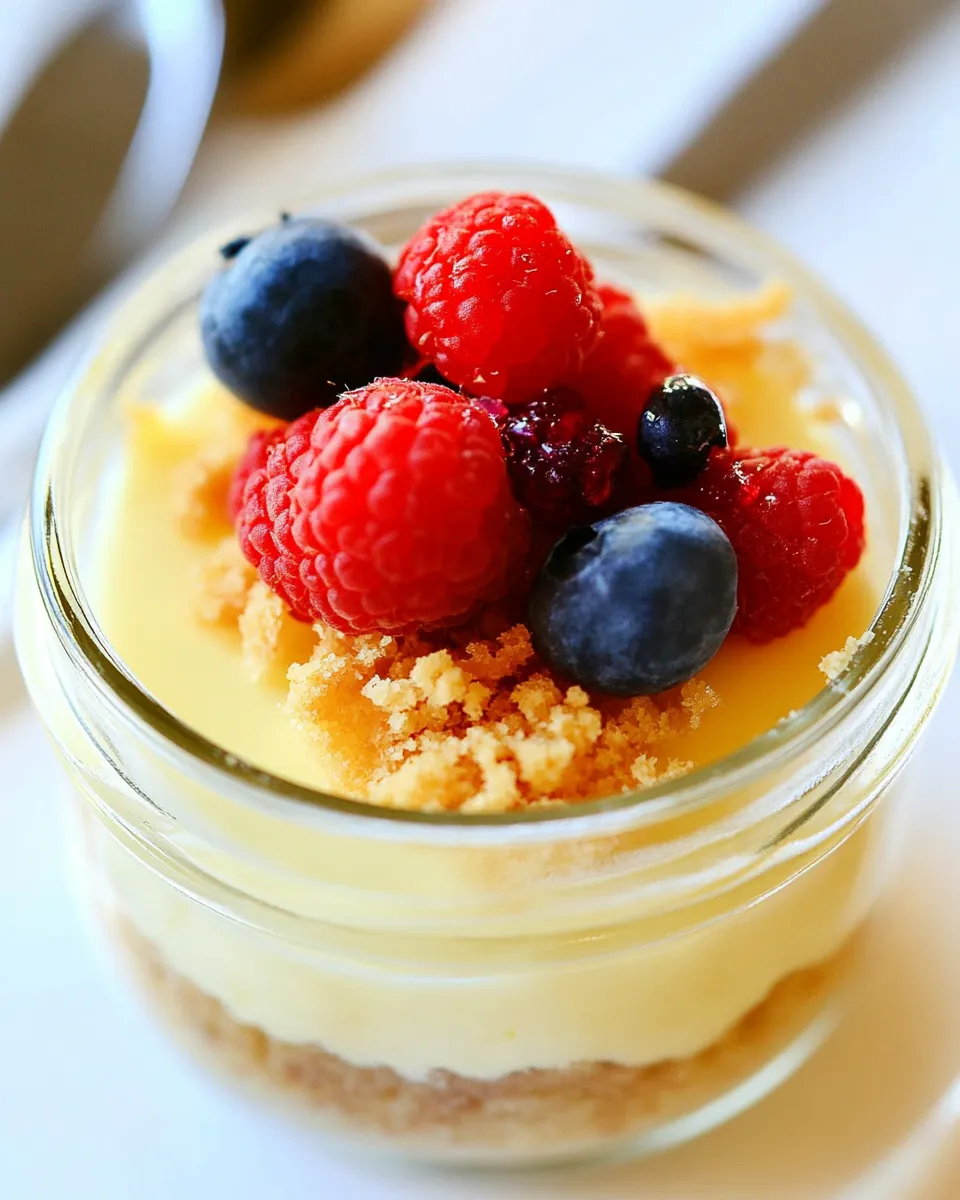
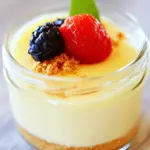
Cheesecake in a Jar
I write a lot about desserts, but this one I make when I want something tidy, personal, and reliably delicious. Cheesecake in a jar is portable, stress-free, and perfect for picnics, potlucks, or a quiet dessert for two. The jars do the portioning for you and create a tidy presentation without extra fuss.
The recipe below is straightforward: a classic cream cheese batter, lemon-scented sugar, a touch of vanilla, and fresh berries on top. You bake each jar in a water bath so the texture stays creamy and sets evenly. There’s no crust to worry about, which speeds things up and keeps the flavor pure.
Read through once, gather the few ingredients, and give the cream cheese time to come to room temperature. The method is forgiving if you follow the order of steps. I’ll cover equipment, common mistakes, timing, and quick swaps so you can make these tonight with confidence.
What Goes In

- ½ cup plus 2 tablespoons granulated sugar — sugar sweetens and, when mixed with lemon zest, releases bright, aromatic oils for lift.
- zest of one lemon — adds fresh citrus perfume; zest only, avoid the bitter white pith.
- 2 packages cream cheese, 8 oz each; room temperature — the base of the cheesecake; room temperature ensures a smooth batter without lumps.
- 2 large eggs; room temperature — bind and enrich the custard; adding them one at a time keeps the batter even.
- ¼ cup heavy cream — loosens the batter and adds silkiness to the finished texture.
- 1 ½ teaspoons pure vanilla extract — rounds the flavor; pure vanilla gives a cleaner, deeper taste than imitation.
- 1 cup fresh berries — for topping; use a single variety or a mix depending on season and sweetness.
Directions: Cheesecake in a Jar
- Preheat the oven to 350°F and place a rack in the middle position. Set a large pot or kettle of water on the stove to come to a boil for the water bath (you will pour this into a larger pan later).
- Ensure the cream cheese and eggs are at room temperature.
- In the bowl of a stand mixer fitted with the paddle attachment (or using a hand mixer), combine the granulated sugar and lemon zest. Mix until the sugar is evenly moistened and fragrant.
- Add the cream cheese and beat until the mixture is smooth and no large lumps remain, stopping to scrape down the bowl as needed.
- Add the eggs one at a time, fully incorporating each egg before adding the next. Scrape down the bowl between eggs to keep the batter even.
- Add the heavy cream and vanilla extract and mix just until the batter is smooth and homogenous. Scrape the bowl and paddle once more to ensure everything is combined.
- Place clean canning jars (lids and bands removed) on a baking sheet or tray and pour the cheesecake batter into the jars until each is about 3/4 full.
- Set the filled jars in a larger baking pan or roasting pan. Carefully pour the boiling or very-hot water from the pot into the larger pan until the water reaches about halfway up the sides of the jars (pour slowly to avoid splashing into the jars).
- Bake for 25 to 30 minutes, until the edges of each cheesecake appear set but the centers still have a slight jiggle.
- Carefully remove the larger pan from the oven. Using oven mitts or a towel, lift the jars out of the water bath and place them on a cooling rack. Allow the jars to cool completely to room temperature.
- Once cooled, refrigerate the jars upright (with lids on) for at least 5 hours to fully set.
- Before serving, top each cheesecake with the fresh berries and serve.
Why This Recipe Belongs in Your Rotation
This cheesecake-in-a-jar method is low-effort with a high payoff. Portions are pre-measured, so you won’t waste leftovers. The jars travel well and look intentional — perfect for gatherings where you want something homemade but not cumbersome. The texture is consistently creamy because the water bath prevents overbaking and cracking.
The ingredient list is short and familiar. You don’t need crust components or extra toppings to get a satisfying dessert. If you want to dress them up, fresh berries or a sprinkle of citrus zest are enough to elevate the jars without masking the classic cream cheese flavor.
Finally, it’s adaptable. Once you’re comfortable with the method, you can experiment with flavored toppings, sauces, or crumb layers added before baking. For everyday dinners or special events, this is a reliable option that looks polished with minimal effort.
Low-Carb/Keto Alternatives
If you’re cutting carbs, the main change is swapping the sugar and berries. Use a granulated erythritol or monk fruit blend measured to match the sweetness of the ½ cup plus 2 tablespoons granulated sugar—keep in mind erythritol behaves differently in texture and browning. Reduce zest only if you find it intensifies the perceived sweetness.
For toppings, replace fresh berries with a few sliced strawberries or a spoonful of mashed blackberries in moderation, or skip fruit entirely and add a thin layer of unsweetened whipped cream spiked with a calorie-free sweetener. Keep the cream cheese and heavy cream the same to preserve the classic mouthfeel.
Must-Have Equipment
These few tools make the process predictable and tidy:
- Stand mixer with paddle attachment or hand mixer — for smooth, lump-free cream cheese batter.
- Canning jars (clean, lids removed for baking) — standard 8- to 12-ounce jars work well; use identical jars for even baking.
- Large roasting pan or baking pan — to hold jars for the water bath.
- Large pot or kettle — to boil and pour the hot water into the roasting pan.
- Cooling rack — to bring jars to room temperature evenly after baking.
Mistakes That Ruin Cheesecake in a Jar
Watch for these common errors and how to avoid them:
- Using cold cream cheese or cold eggs — cold ingredients lead to lumps and uneven batter. Bring them fully to room temperature before starting.
- Overmixing after adding eggs — incorporate eggs until just combined. Overmixing can whip in air and cause cracking or a less creamy texture.
- Pouring water too quickly into the pan — splashes into the jars will water down the batter. Pour slowly so the water rises without disturbing the jars’ contents.
- Baking too long — the centers should still jiggle slightly at 25–30 minutes. Overbaking dries the custard and changes the texture from creamy to cakey.
- Skimping on chill time — the jars need at least 5 hours in the fridge to fully set. Cutting that short results in loose centers and messy servings.
Fresh Takes Through the Year
Spring: Top with a mix of strawberries and thinly sliced rhubarb that’s been lightly macerated with a touch of sugar. The bright acidity balances the creaminess.
Summer: Use seasonal berries — blueberries, raspberries, or a mix — and finish with a tiny drizzle of honey. If you want texture, sprinkle a few crushed toasted almonds on top just before serving.
Fall: Stir 1/4 to 1/2 teaspoon of cinnamon or pumpkin pie spice into the batter for a gentle autumnal note. Top with a compote made from cooked apples or pear slices.
Winter: Add 1 teaspoon of orange zest to the sugar with the lemon zest and top with macerated cranberries or a spoonful of preserved fruit for a festive touch.
Notes on Ingredients
Granulated sugar — the recipe calls for ½ cup plus 2 tablespoons. Mixing the sugar with lemon zest releases citrus oils and keeps the flavor fresh. If you prefer less sweetness, reduce by 1 to 2 tablespoons, but keep in mind sugar affects texture.
Cream cheese — full-fat, regular cream cheese is the standard for texture and taste. Low-fat varieties will yield a looser, less rich result. Room temperature is essential; it blends smoothly without lumps.
Eggs — using large eggs at room temperature helps create a smooth custard. Cold eggs can cause the batter to seize or stay lumpy.
Heavy cream & vanilla — these finish the batter. Heavy cream thins and enriches the mix; vanilla adds depth. Use pure vanilla extract for the best flavor.
Fresh berries — choose ripe but firm berries so they hold up on top of the jars. Wash and dry them thoroughly to avoid introducing extra moisture to the tops before serving.
Make-Ahead & Storage
Make-ahead: You can bake the jars, cool them to room temperature, then cover and refrigerate for up to 2 days before adding fresh berries and serving. The texture will firm up in the fridge and taste even better the next day.
Storage: With lids on, these cheesecakes keep well in the refrigerator for up to 4 days. Store upright and make sure lids are airtight to prevent absorption of fridge odors.
Freezing: You can freeze the jars (without fresh berry toppings) for up to 1 month. Thaw in the refrigerator overnight and add fresh fruit before serving. Note: texture may be slightly changed after freezing and thawing, but still perfectly enjoyable.
Quick Q&A
Q: Can I use smaller or larger jars? A: Yes — adjust portion counts accordingly. Keep jars the same size for even bake time; smaller jars may finish sooner, larger jars may need a few extra minutes.
Q: Do I need to seal the jars for baking? A: No. Remove lids and bands before baking. Replace lids only after jars cool and you move them to the fridge.
Q: What if my batter has lumps after beating? A: Scrape the bowl, beat a little longer, and press any stubborn lumps through a fine sieve if needed. Properly softened cream cheese should prevent this.
Q: Can I add a crust layer? A: Yes. If you want a crust, briefly press a thin layer of crushed cookies or graham crumbs into the bottom of each jar before adding batter. Baking time may change slightly; start checking at 25 minutes.
Make It Tonight
Gather the cream cheese, eggs, sugar, lemon, cream, vanilla, and berries. Take the time to bring the cream cheese and eggs to room temperature now — that small delay pays off. Follow the steps in order: zest the lemon into the sugar, beat the cream cheese smooth, add eggs one at a time, fold in cream and vanilla, fill jars, bake in a water bath, cool, and chill.
Plan around the chill time: bake in the evening, refrigerate overnight, and top with berries just before serving. You’ll have neat, individual cheesecakes with minimal cleanup and a reliably lovely result.
Cheesecake in a Jar
Ingredients
Ingredients
- 1/2 cup plus 2 tablespoons granulated sugar
- zest of one lemon
- 2 packages cream cheese 8 oz each; room temperature
- 2 large eggs; room temperature
- 1/4 cup heavy cream
- 1 1/2 teaspoons pure vanilla extract
- 1 cup fresh berries
Instructions
Instructions
- Preheat the oven to 350°F and place a rack in the middle position. Set a large pot or kettle of water on the stove to come to a boil for the water bath (you will pour this into a larger pan later).
- Ensure the cream cheese and eggs are at room temperature.
- In the bowl of a stand mixer fitted with the paddle attachment (or using a hand mixer), combine the granulated sugar and lemon zest. Mix until the sugar is evenly moistened and fragrant.
- Add the cream cheese and beat until the mixture is smooth and no large lumps remain, stopping to scrape down the bowl as needed.
- Add the eggs one at a time, fully incorporating each egg before adding the next. Scrape down the bowl between eggs to keep the batter even.
- Add the heavy cream and vanilla extract and mix just until the batter is smooth and homogenous. Scrape the bowl and paddle once more to ensure everything is combined.
- Place clean canning jars (lids and bands removed) on a baking sheet or tray and pour the cheesecake batter into the jars until each is about 3/4 full.
- Set the filled jars in a larger baking pan or roasting pan. Carefully pour the boiling or very-hot water from the pot into the larger pan until the water reaches about halfway up the sides of the jars (pour slowly to avoid splashing into the jars).
- Bake for 25 to 30 minutes, until the edges of each cheesecake appear set but the centers still have a slight jiggle.
- Carefully remove the larger pan from the oven. Using oven mitts or a towel, lift the jars out of the water bath and place them on a cooling rack. Allow the jars to cool completely to room temperature.
- Once cooled, refrigerate the jars upright (with lids on) for at least 5 hours to fully set.
- Before serving, top each cheesecake with the fresh berries and serve.
Equipment
- Oven
- Stand mixer
- Paddle Attachment
- Hand Mixer
- Large Pot
- Baking Sheet
- canning jars
- roasting pan or large baking pan
- Cooling Rack