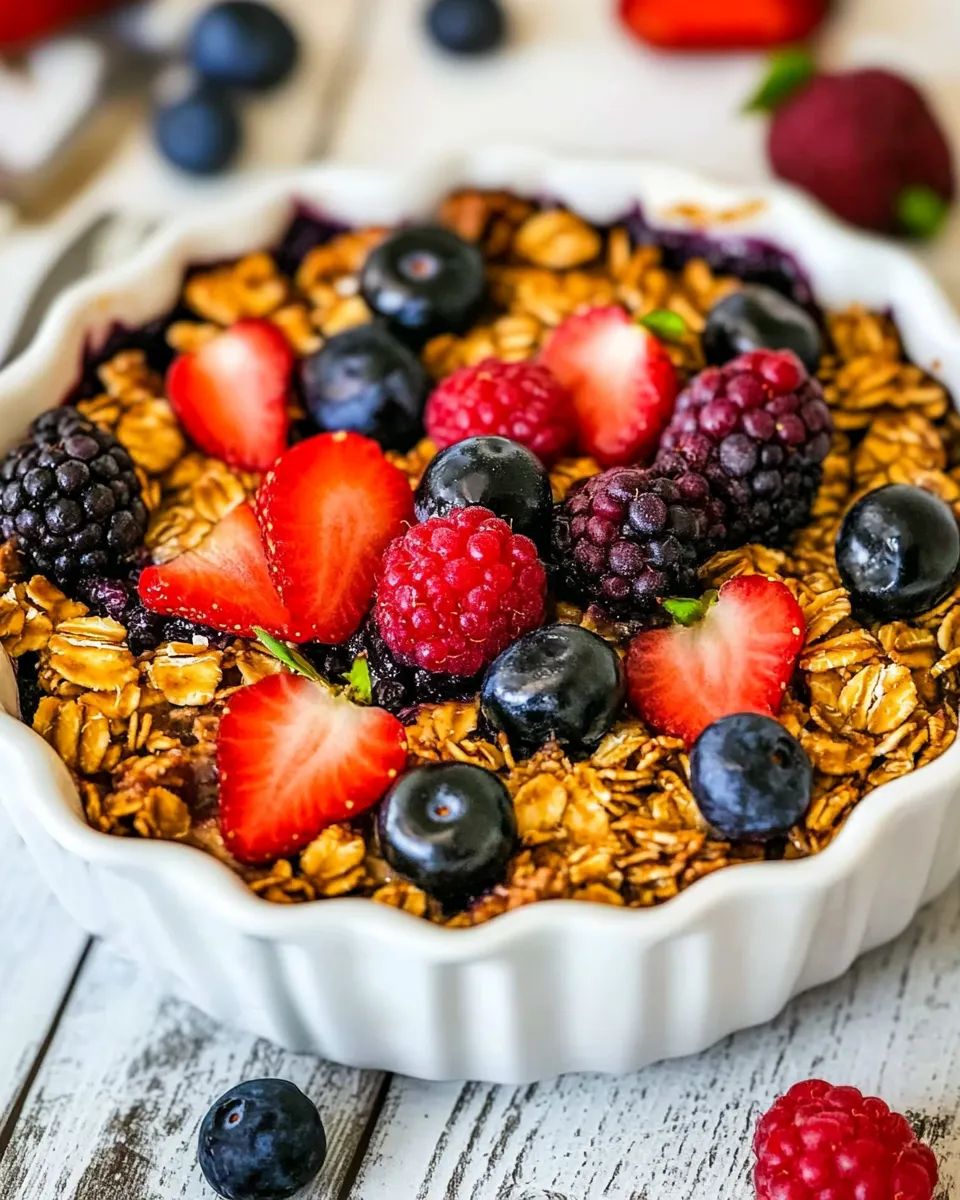
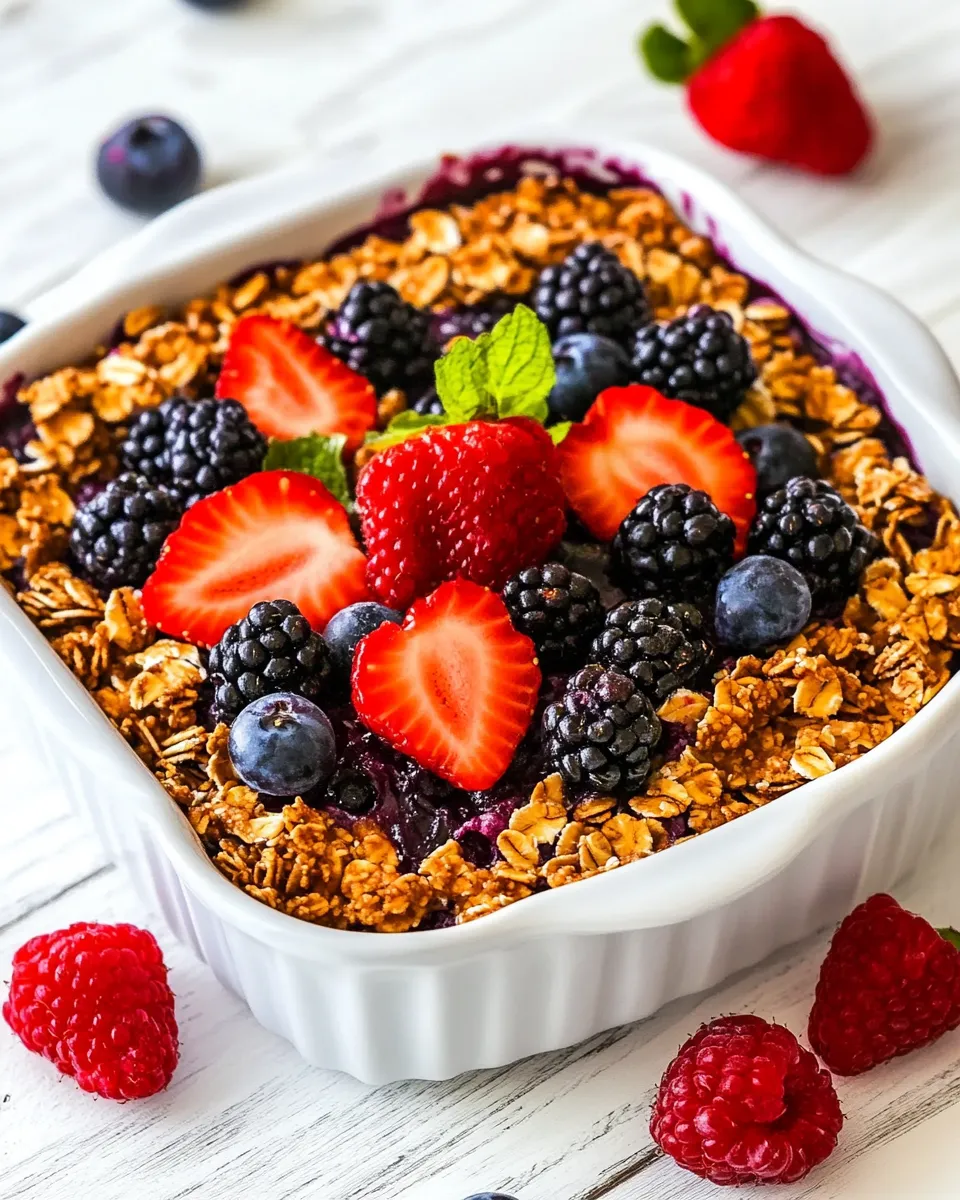
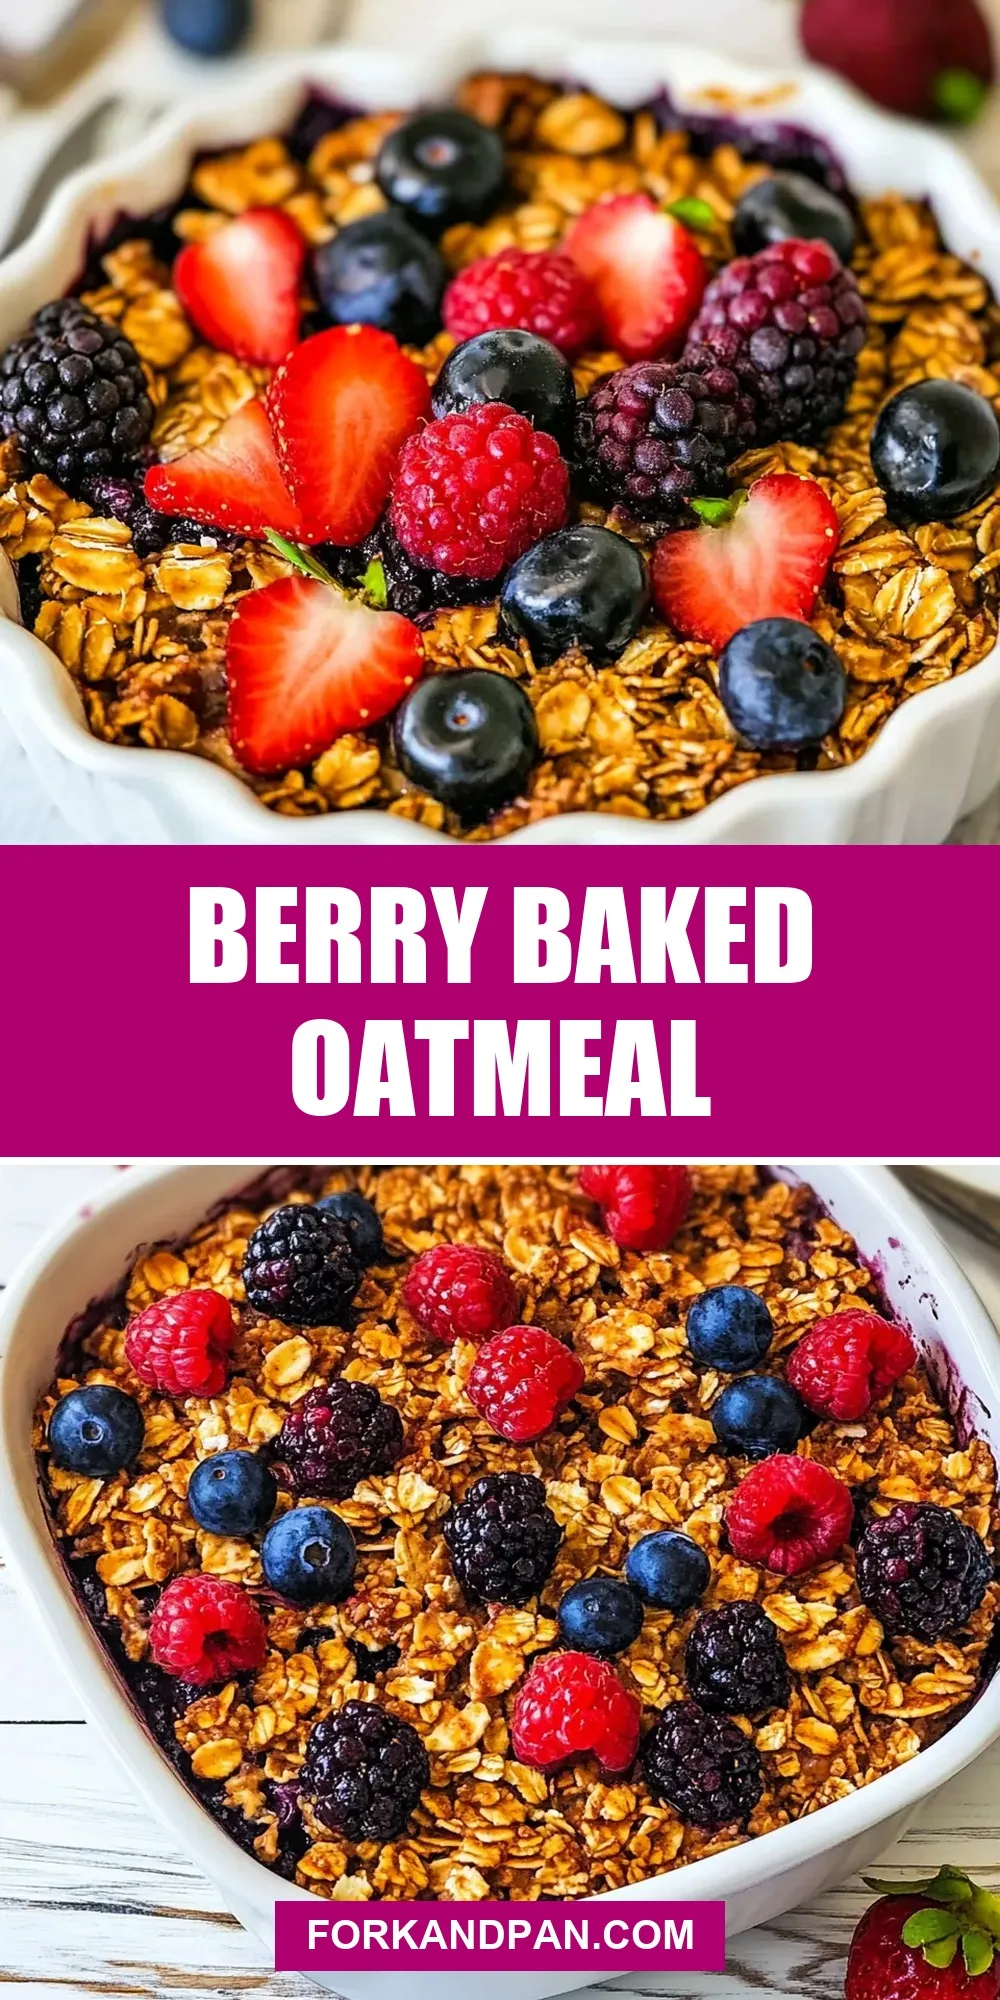
Berry Baked Oatmeal
I love breakfasts that feel like a hug and start the day with purpose. This Berry Baked Oatmeal does exactly that: it’s warm, sliceable, and holds together so well you can eat it at the table or pack a slice for the commute. It’s one of those recipes I come back to when mornings are busy but I still want something whole and satisfying.
There’s no fuss here. The oats, chia, and a touch of maple syrup do the heavy lifting. Greek yogurt and eggs give structure and creaminess, while frozen berries add bursts of acidity and color without taking prep time. You can mix the batter in one bowl and let the oven do the rest.
This post walks through the ingredients, the step-by-step method, common mistakes to avoid, and simple swaps for dietary needs. Read the short, practical tips and you’ll get consistent results from the first bake.
What Goes In

Below I list every ingredient used in the recipe and a quick note about why each one matters or how to use it well. These are the exact items the recipe relies on; stick to them the first few times for best results.
Ingredients
- 2 cups old fashioned rolled oats — The base and texture; use old-fashioned (not instant) rolled oats for a tender, chewy bake.
- 2 tablespoons chia seeds — Helps bind and adds a little thickness and nutrition; they also absorb liquid so the bake isn’t soggy.
- 1 teaspoon baking powder — Provides a gentle lift so the top sets nicely without being cake-like.
- 2 teaspoons ground cinnamon — Warms the flavor and pairs beautifully with berries.
- ½ teaspoon fine sea salt — Balances sweetness and brightens the flavors.
- ½ cup Greek yogurt — Adds creaminess and contributes protein; it keeps the interior tender.
- 2 large eggs — The main binder that helps the slices hold together when cut.
- 1 cups milk of choice (almond milk, soy milk, etc.) — Keeps the batter moist; use whatever milk you prefer.
- ½ cup maple syrup — Natural sweetener and flavor builder; it also helps with browning.
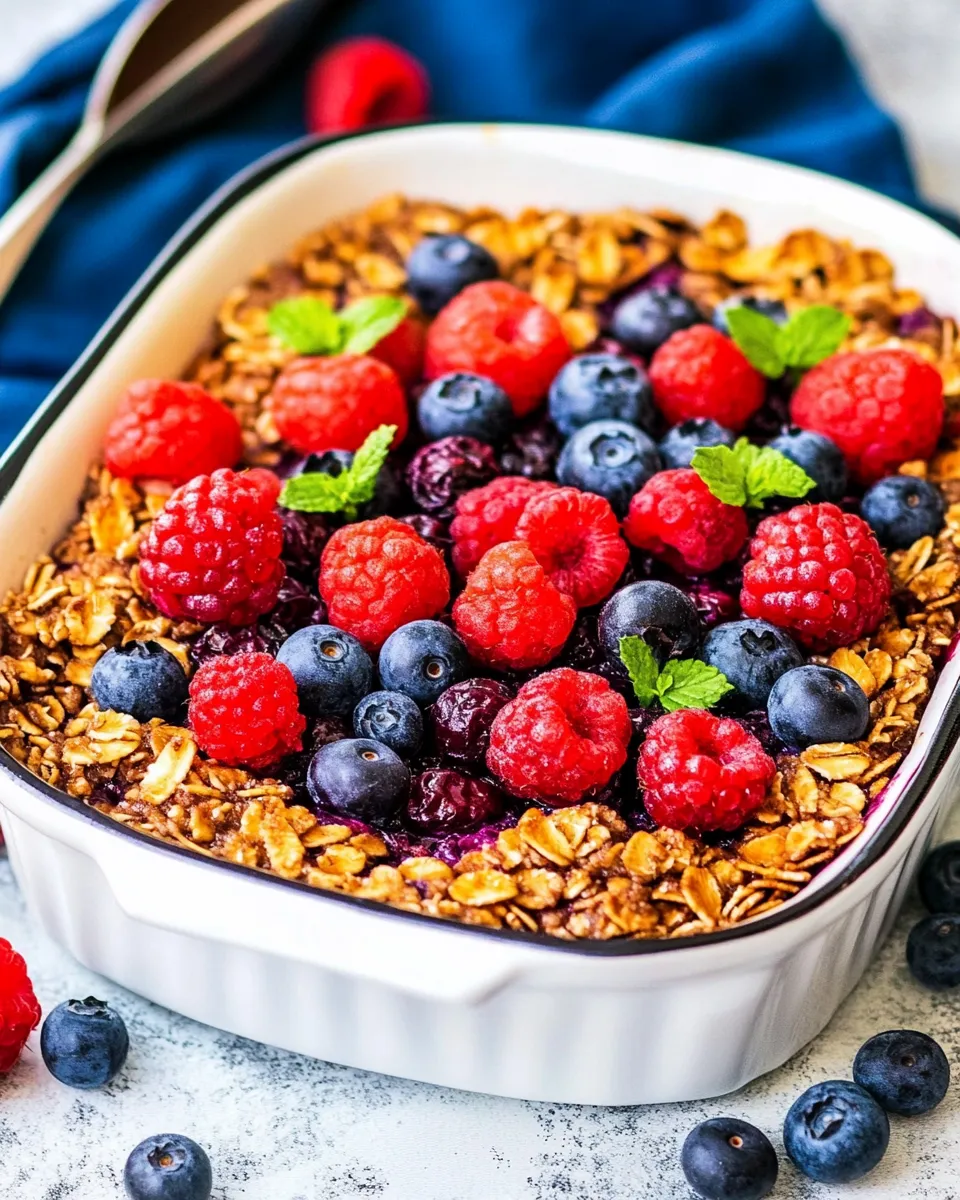
- 1 heaping cup frozen berries (like wild blueberries and raspberries) — Adds tartness and color; frozen berries work great straight from the freezer.
Berry Baked Oatmeal: From Prep to Plate
- Preheat the oven to 350°F. Lightly grease an 8-inch square pan and press a piece of parchment paper into the bottom (leave a little overhang for easy removal). A metal pan will bake more evenly than glass or ceramic.
- In a large bowl, combine 2 cups old fashioned rolled oats, 2 tablespoons chia seeds, 1 teaspoon baking powder, 2 teaspoons ground cinnamon, and ½ teaspoon fine sea salt. Stir to evenly distribute the dry ingredients.
- In a separate bowl, whisk ½ cup Greek yogurt, 2 large eggs, 1 cups milk of choice, and ½ cup maple syrup until smooth.
- Pour the wet mixture into the dry ingredients and stir until just combined. Fold in 1 heaping cup frozen berries (do not thaw).
- Transfer the mixture to the prepared pan and spread it evenly. If you like, sprinkle a few extra frozen berries on top.
- Bake at 350°F for 40–45 minutes, until the top is set and the center is firm (it should not jiggle when you gently shake the pan).
- Let the baked oatmeal cool in the pan for at least 15 minutes before slicing. Use the parchment overhang to lift it out for easier slicing, if desired.
- Store leftovers in an airtight container in the refrigerator for up to 5 days, or freeze individual slices tightly wrapped for up to 3 months.
Why It Works Every Time
The formula in this bake is forgiving because every ingredient has a clear job. Rolled oats provide structure and texture; they retain bite without becoming mush when baked rather than simmered. The chia seeds act as a secondary binder and absorb extra liquid, which helps the set without overcooking.
Greek yogurt and eggs bring protein and stability. The yogurt adds moisture and a slight tang that brightens the overall flavor, while the eggs help the finished slabs hold their shape when sliced. Baking powder gives a mild lift so the oatmeal feels light rather than dense.
Finally, frozen berries simplify timing. They thaw during baking and release just enough juice to flavor the oats without making the center runny. The oven temperature and time are tuned so the top sets while the interior finishes tenderly—follow them and you’ll get the desired texture every time.
Allergy-Friendly Substitutes
If you need to adapt this for allergies or preferences, start with the built-in flexibility: the recipe already calls for “milk of choice.”
- Dairy intolerance: Use a plant-based milk you tolerate (soy, almond, oat). Choose a plant-based yogurt to replace Greek yogurt if needed.
- Gluten sensitivity: Use certified gluten-free rolled oats; that keeps the texture identical while avoiding cross-contamination.
- Egg-free: Increase the chia slightly to help bind (since chia seeds are already in the batter). You can also use a commercial egg replacer following its package directions, but results will vary—test once before serving guests.
- Low-sugar: Reduce the maple syrup or swap for a lower-calorie sweetener you like. Taste the wet mix before combining and adjust if necessary.
Cook’s Kit
- 8-inch square metal baking pan (recommended) — metal yields the most even bake.
- Parchment paper — makes it easy to lift the slab out for slicing.
- Two mixing bowls — one for dry, one for wet; keeps mixing simple.
- Whisk and rubber spatula — whisk for the wet mix, spatula for folding and spreading.
- Measuring cups and spoons — accuracy matters for texture.
Slip-Ups to Skip
Here are the common mistakes I see and how to avoid them.
- Using instant oats: They absorb too quickly and turn mushy; stick to old fashioned rolled oats for the right bite.
- Thawing the berries first: Thawed berries can bleed too much color and make the batter watery. Fold them in frozen.
- Underbaking: The center should be firm, not jiggly. If it’s still soft at 45 minutes, give it another 5–8 minutes and check again.
- Skipping the parchment overhang: Without it, it’s harder to remove the slab from the pan without crumbling. The little overhang is worth the extra step.
Nutrition-Minded Tweaks
If you’re watching calories or sugar, small changes can make a difference without sacrificing satisfaction. Cut back on maple syrup a bit, or serve smaller slices with a dollop of plain yogurt to keep the perception of indulgence while lowering sugar per serving.
To increase protein, keep the Greek yogurt in the recipe and consider pairing a slice with an extra spoonful of yogurt on the side. If fiber is your focus, the chia seeds in the mix already help—don’t omit them.
Testing Timeline
- Prep time: about 10 minutes. The recipe is quick to assemble—measure, mix, fold, and pan.
- Bake time: 40–45 minutes at 350°F. Check at 40 minutes; the center should be firm and the top set.
- Cooling: let it rest at least 15 minutes in the pan so it firms up and slices cleanly.
- Make-ahead: you can mix the dry ingredients the night before and add wet ingredients in the morning. Alternatively, assemble and refrigerate the unbaked pan overnight; you might need to add a few minutes to the bake time if starting from cold.
Keep-It-Fresh Plan
Store slices in an airtight container in the refrigerator for up to 5 days. Reheat gently in the microwave for 20–40 seconds or warm in a low oven to regain that just-baked texture. For longer storage, wrap individual slices tightly and freeze for up to 3 months. Thaw in the fridge overnight or microwave straight from frozen, adding a few extra seconds to heat through.
Your Top Questions
Can I make this in a different pan size? An 8-inch square is recommended because the depth helps the oatmeal set properly. If you use a larger pan, the bake will be thinner and will finish faster—reduce the bake time and watch closely.
Will fresh berries work? Yes, but they can be more watery. If using fresh berries, fold them in gently and be prepared for slightly more moisture; bake until the center is firm.
Can I add nuts or seeds on top? Yes, a sprinkle on top before baking adds texture. If you have allergies or preferences, omit them—this recipe is satisfying even without extra toppings.
Bring It Home
This Berry Baked Oatmeal is what I reach for when I want an easy, wholesome breakfast that still feels special. It’s simple to scale, forgiving in practice, and delicious warm or cold. Follow the recipe exactly the first time to learn how it behaves in your oven, then adjust small things—sweetness, toppings, or slices—based on what your household likes.
Make a batch on Sunday, and you’ll have breakfast ready for the week. Slice it, pack it, or eat it straight out of the pan. Either way, it’s reliable, nourishing, and just sweet enough to start the day well.

Berry Baked Oatmeal
Ingredients
Ingredients
- 2 cupsold fashioned rolled oats
- 2 tablespoonschia seeds
- 1 teaspoonbaking powder
- 2 teaspoonsground cinnamon
- 1/2 teaspoonfine sea salt
- 1/2 cupGreek yogurt
- 2 largeeggs
- 1 cupsmilk of choice almond milk, soy milk, etc.
- 1/2 cupmaple syrup
- 1 heaping cupfrozen berries like wild blueberries and raspberries
Instructions
Instructions
- Preheat the oven to 350°F. Lightly grease an 8-inch square pan and press a piece of parchment paper into the bottom (leave a little overhang for easy removal). A metal pan will bake more evenly than glass or ceramic.
- In a large bowl, combine 2 cups old fashioned rolled oats, 2 tablespoons chia seeds, 1 teaspoon baking powder, 2 teaspoons ground cinnamon, and ½ teaspoon fine sea salt. Stir to evenly distribute the dry ingredients.
- In a separate bowl, whisk ½ cup Greek yogurt, 2 large eggs, 1 cup milk of choice, and ½ cup maple syrup until smooth.
- Pour the wet mixture into the dry ingredients and stir until just combined. Fold in 1 heaping cup frozen berries (do not thaw).
- Transfer the mixture to the prepared pan and spread it evenly. If you like, sprinkle a few extra frozen berries on top.
- Bake at 350°F for 40–45 minutes, until the top is set and the center is firm (it should not jiggle when you gently shake the pan).
- Let the baked oatmeal cool in the pan for at least 15 minutes before slicing. Use the parchment overhang to lift it out for easier slicing, if desired.
- Store leftovers in an airtight container in the refrigerator for up to 5 days, or freeze individual slices tightly wrapped for up to 3 months.
Equipment
- 8-inch square pan
- Parchment Paper
- Mixing Bowls
- Whisk
Notes
Nutrition information is for one of 6 large slices made with unsweetened soy milk. This is automatically calculated using generic ingredients and is just an estimate, not a guarantee.
Vegan Note:
This recipe can likely be made vegan using your favorite dairy-free yogurt and
flax eggs
instead of regular eggs. The center will be slightly softer in this case, so it might not slice as cleanly as the photos in this post.