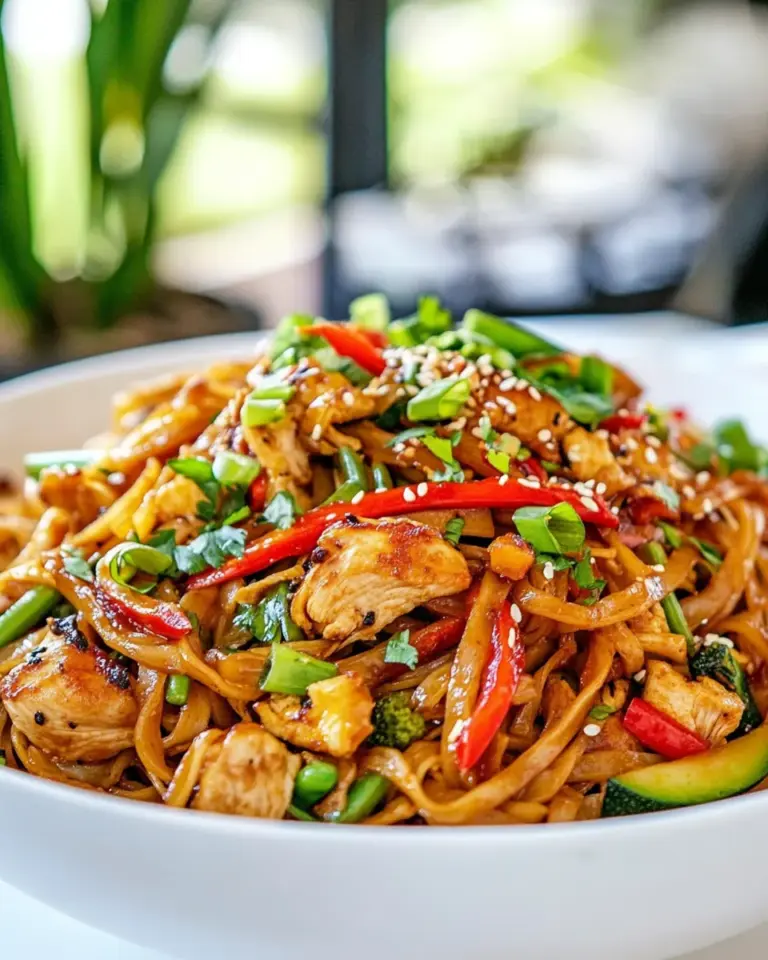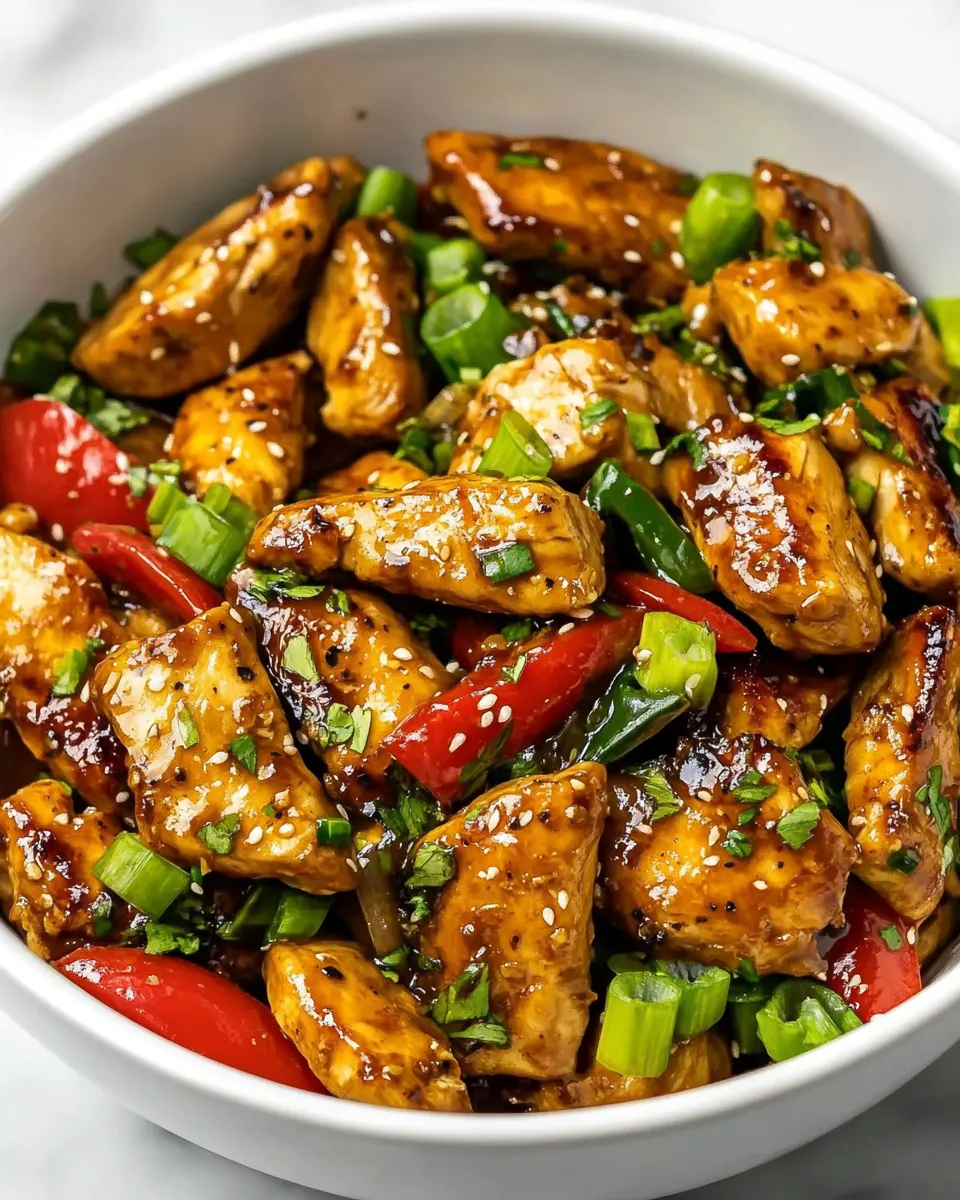
Teriyaki Chicken Stir Fry
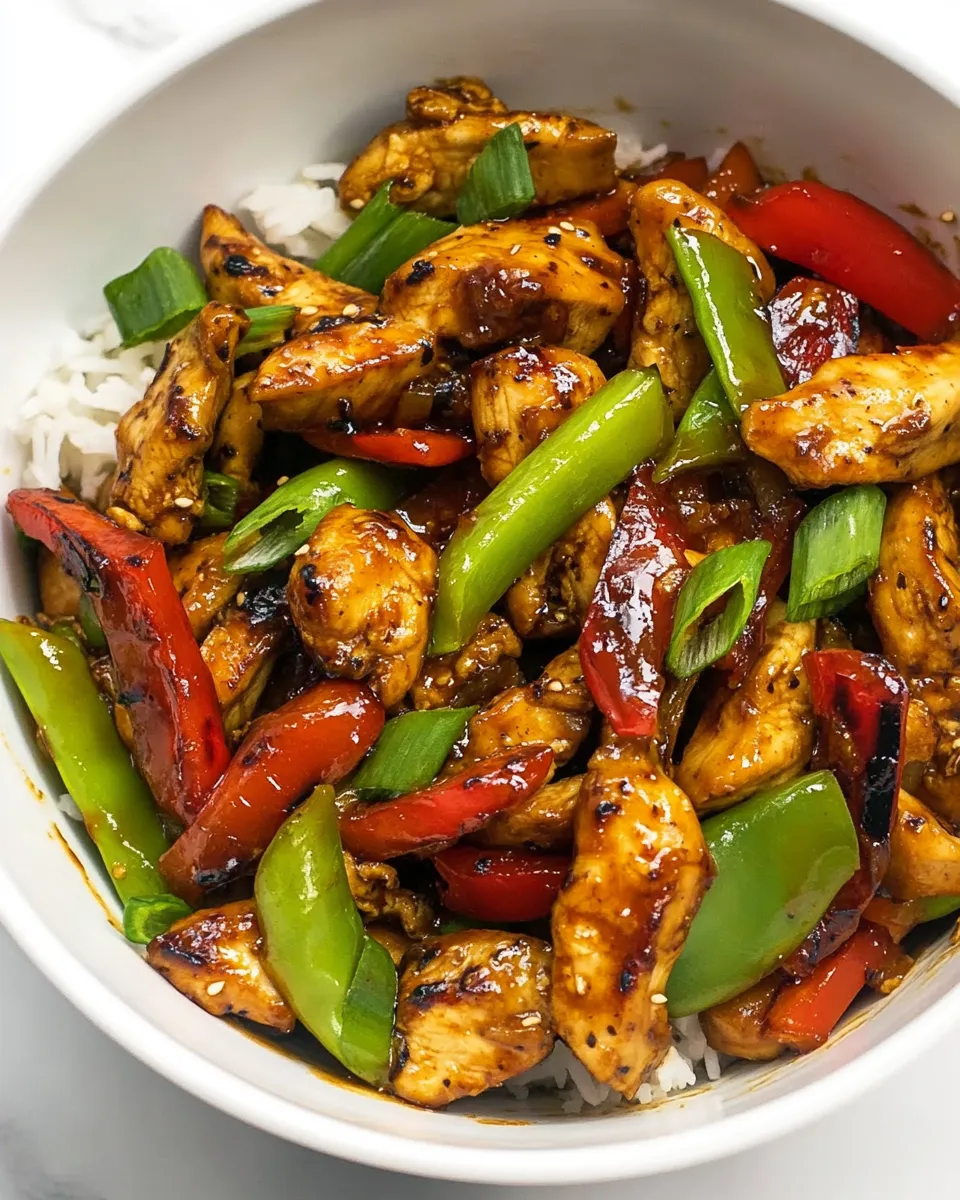
This teriyaki chicken stir fry is the kind of weeknight dinner that feels like a gift: quick, tidy, and reliably delicious. It hits the sweet-salty balance with a glossy sauce that clings to tender chicken pieces and crisp-tender vegetables. No complicated techniques, just a straightforward sequence that gets dinner on the table in about 20–30 minutes.
I like it because it rewards a little prep with a big payoff. Dice the chicken, prep the broccoli and peppers, whisk the sauce, then let the skillet do most of the work. The sauce is built to be forgiving — if it gets too thick, a splash of water brings it back to life. Sprinkle on the toasted sesame seeds at the end for a tiny, toasty finish.
Below you’ll find the ingredient list exactly as used, step-by-step instructions copied from the tested method, and practical notes for substitutions, equipment, leftover care, and common pitfalls. This is a reliable template you can return to again and again.
Ingredients at a Glance

- ¼ cup (60 ml) low-sodium soy sauce — provides the salty, umami backbone; use Tamari for a gluten-free option (already noted in the ingredient).
- ¼ cup (60 ml) water — thins and balances the sauce so it isn’t overpowering.
- 2 tablespoon (30 g) honey — primary sweetener that gives the sauce its glossy sheen.
- 1 tablespoon brown sugar — adds depth and a hint of molasses to round out the honey.
- 1 tablespoon (15 ml) rice vinegar — brightens the sauce and keeps it from tasting one-dimensional.
- ½ teaspoon toasted sesame oil — small amount for aroma and toasty flavor; a little goes a long way.
- 2 teaspoon fresh ginger — peeled and grated for fresh, zesty lift.
- 2 teaspoon fresh garlic — peeled and minced to add savory depth.
- 2 teaspoon cornstarch — thickens the sauce to a glossy, clingy consistency.
- 1 tablespoon (15 ml) vegetable oil — for cooking the chicken; keep extra on hand if the skillet is dry when you sauté the vegetables.
- 1 ¼ pounds (650 g) chicken breasts — boneless and skinless, diced into ¾-inch cubes so they cook quickly and evenly.
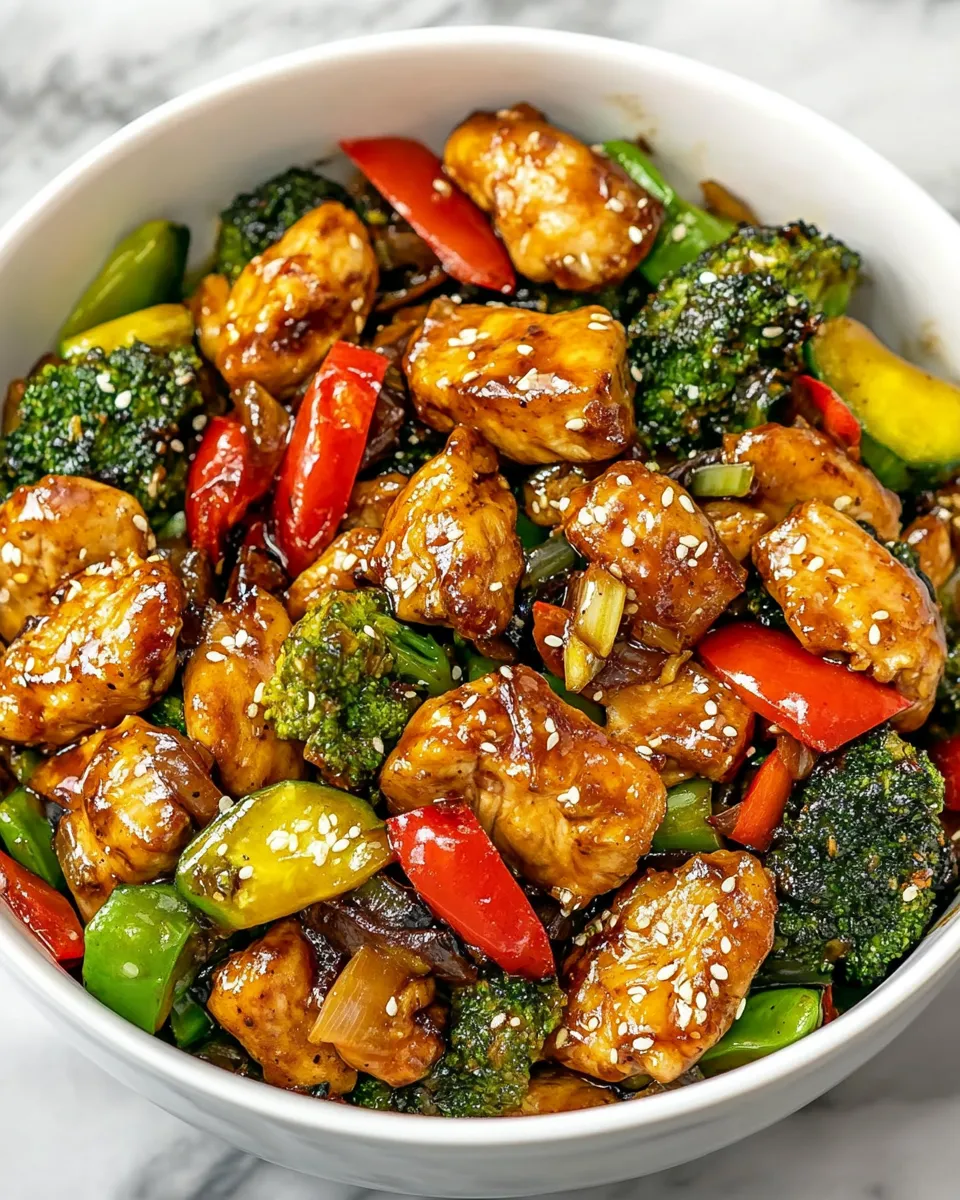
- 3 cups broccoli florets — one of the primary vegetables, gives texture and color.
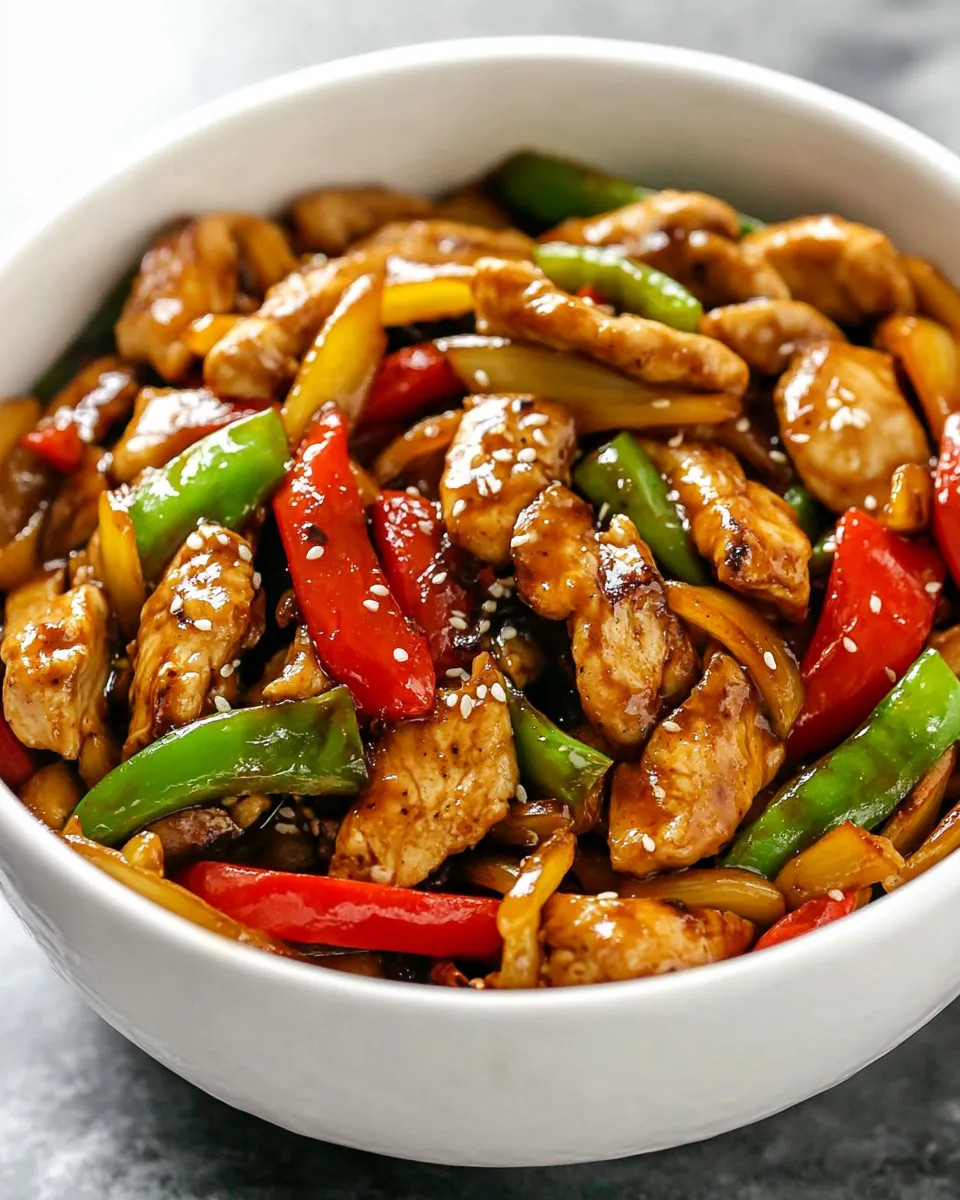
- 2 bell peppers — diced (red and green are listed); they add sweetness and crunch.
- 1 teaspoon (5 ml) toasted sesame seeds — finish for texture and a mild nutty note.
Teriyaki Chicken Stir Fry: Step-by-Step Guide
- In a small bowl or jug, whisk together the soy sauce, 1/4 cup (60 ml) water, honey, brown sugar, rice vinegar, toasted sesame oil, grated ginger, minced garlic, and cornstarch until smooth. Set the sauce aside.
- Heat the 1 tablespoon (15 ml) vegetable oil in a large skillet over medium-high heat until hot. Add the diced chicken in a single layer and cook, stirring occasionally, about 5 minutes, until the pieces are golden and cooked through. Transfer the chicken to a plate and set aside.
- If the skillet looks dry, add a little more vegetable oil. Add the broccoli florets and diced bell peppers to the skillet and sauté over medium-high heat, stirring occasionally, 3–4 minutes, until the vegetables are just softened and still slightly crisp.
- Give the prepared sauce a quick whisk, then pour it into the skillet with the vegetables. Bring to a simmer over medium heat and cook, stirring, 2–3 minutes, until the sauce thickens and coats the vegetables. If the sauce becomes too thick, add a splash of water to loosen it.
- Return the cooked chicken to the skillet and stir to coat everything evenly with the sauce. Cook 1–2 minutes more, until the chicken is heated through and well glazed.
- Remove the skillet from the heat, sprinkle with the toasted sesame seeds, and serve immediately.
Why It Deserves a Spot
This recipe balances speed and satisfaction. The sauce mixes in one bowl, the chicken cooks fast because it’s diced small, and the vegetables stay bright because they’re not overcooked. It’s flexible and forgiving in timing; a short additional simmer won’t ruin it, and the cornstarch gives you a predictable glaze every time.
It’s also approachable for cooks at any level. There’s no special equipment required, no long marinating steps, and the technique—sear protein, sauté vegetables, return protein, glaze—is a pattern you can reuse with other ingredients. The final result is both family-pleasing and presentable enough for guests if you keep your mise en place tidy.
Smart Substitutions
Stick to the spirit of the dish: a savory-sweet, lightly tangy glaze and crisp-tender vegetables. A few safe switches:
- Soy sauce → Tamari — already called out in the ingredients for a gluten-free swap.
- Honey and brown sugar — they work together for sweetness; if you prefer it less sweet, reduce the brown sugar slightly and taste before glazing.
- Vegetable oil — any neutral oil you already have can be used; add a touch more if the pan looks dry when the vegetables go in.
- Thickness — the cornstarch amount is tuned for a glossy sauce; if you like it saucier, increase the water in step 1 and whisk again before adding.
Toolbox for This Recipe
- Large skillet or sauté pan — roomy surface for searing and tossing ingredients; a wok also works if you have one.
- Small bowl or jug — to whisk the sauce so it’s lump-free before it hits the pan.
- Sharp knife and cutting board — an even dice on the chicken and vegetables ensures uniform cooking.
- Spatula or wooden spoon — for stirring and scraping the pan as you bring the sauce to a simmer.
Steer Clear of These
- Overcrowding the pan — if the chicken goes in too crowded it will steam instead of sear. Work in a single layer so pieces brown nicely.
- Overcooking the vegetables — broccoli and bell peppers are best when they keep a little snap. Cook them just until tender-crisp.
- Adding cornstarch without mixing — if the cornstarch isn’t dissolved into the sauce before hitting the heat you’ll risk lumps. Whisk thoroughly.
- Waiting too long to glaze — return the chicken to the sauce only after the sauce has thickened, that way the glaze adheres evenly.
Holiday-Friendly Variations
For a holiday table, presentation matters. Keep the recipe the same but make small adjustments that elevate the plate without changing the ingredient list.
- Bigger batch, same formula — double the sauce and protein if you’re feeding a crowd; work in two batches in the skillet to maintain good sear and crispness.
- Vegetable adjustment — add extra diced bell peppers or extra broccoli florets from the existing list to make the dish feel more abundant and colorful.
- Finish with seeds — don’t skip the toasted sesame seeds; they add a subtle crunch and a polished look.
Chef’s Notes
Timing and heat
High-ish heat helps you get a nice color on the chicken without drying it out. Keep the pan hot when searing the chicken, then adjust to medium-high for the vegetables and sauce. The total active cook time is short; mise en place (having everything ready) makes a big difference here.
Texture tricks
Dicing the chicken into roughly ¾-inch cubes creates quick, even cooking. If you want more bite from the vegetables, cut them slightly larger; for quicker cooking, dice them smaller. The cornstarch in the sauce should be fully dissolved before it hits the pan so it thickens smoothly.
Flavor balance
The rice vinegar is the acid that brightens the whole dish. If the sauce seems flat, a tiny extra splash of the vinegar will lift it. If it’s too sharp, a pinch more brown sugar will round it out.
Leftovers & Meal Prep
Cool the stir fry to room temperature, then store in an airtight container in the refrigerator for up to 3 days. The sauce tightens as it cools; when reheating, add a splash of water and warm gently on the stovetop over medium-low heat, stirring until the sauce loosens and the chicken is heated through. Avoid microwave reheating without adding moisture — the chicken can dry out.
If you plan to meal prep, keep the sauce and cooked vegetables with the chicken together only if you’ll be reheating within a day or two. Otherwise, store vegetables separately for longer-lasting texture and add them in when reheating for a fresher mouthfeel.
Reader Q&A
Is this gluten-free?
Use Tamari in place of the low-sodium soy sauce to make the dish gluten-free. The ingredients list already includes that option alongside the soy sauce.
Can I make the sauce ahead?
Yes. Whisk the sauce and store it in the fridge up to a day before cooking. Give it a quick re-whisk before pouring into the hot pan; cornstarch can settle and needs a bit of mixing to reincorporate.
What if the sauce gets too thick?
Step 4 covers this: add a splash of water while cooking to loosen it. Add water a little at a time so you don’t over-thin the glaze.
How do I keep the chicken tender?
Don’t overcook it. The diced chicken only needs about 5 minutes in a hot skillet when cut to the specified size. Remove it once it’s golden and cooked through, and finish glazing in the final minute or two to prevent drying.
Bring It Home
This Teriyaki Chicken Stir Fry is a dependable recipe to keep in your weeknight rotation. It’s fast, forgiving, and scales well. Follow the step-by-step guide exactly the first time, and then make small adjustments to sweetness or thickness based on your taste. Keep the ingredients listed on hand — soy sauce (or Tamari), honey, brown sugar, rice vinegar, sesame oil, ginger, garlic, cornstarch, a neutral oil, chicken, broccoli, bell peppers, and toasted sesame seeds — and you’ll have a go-to that’s both comforting and bright.
Make it once, and you’ll see how small technique choices (hot pan, single layer sear, quick vegetable sauté) make a big difference. I hope this guide helps you cook it confidently and enjoy every glossy, savory bite. When you try it, come back and let me know what small tweaks worked for you — I love hearing the variations readers discover.

Teriyaki Chicken Stir Fry
Ingredients
Ingredients
- ?1/4 cup 60 mllow-sodium soy sauceuse Tamari for gluten free
- ?1/4 cup 60 mlwater
- ?2 tablespoon 30 ghoney
- ?1 tablespoonbrown sugar
- ?1 tablespoon 15 mlrice vinegar
- ?1/2 teaspoontoasted sesame oil
- ?2 teaspoonfresh gingerpeeled and grated
- ?2 teaspoonfresh garlicpeeled and minced
- ?2 teaspooncornstarch
- ?1 tablespoon 15 mlvegetable oilplus more if needed for the vegetables
- ?1 1/4 pounds 650 gchicken breastsboneless and skinless, diced into 3/4-inch cubes
- ?3 cupsbroccoli florets
- ?2 bell peppersdiced red and green
- ?1 teaspoon 5 mltoasted sesame seeds
Instructions
Instructions
- In a small bowl or jug, whisk together the soy sauce, 1/4 cup (60 ml) water, honey, brown sugar, rice vinegar, toasted sesame oil, grated ginger, minced garlic, and cornstarch until smooth. Set the sauce aside.
- Heat the 1 tablespoon (15 ml) vegetable oil in a large skillet over medium-high heat until hot. Add the diced chicken in a single layer and cook, stirring occasionally, about 5 minutes, until the pieces are golden and cooked through. Transfer the chicken to a plate and set aside.
- If the skillet looks dry, add a little more vegetable oil. Add the broccoli florets and diced bell peppers to the skillet and sauté over medium-high heat, stirring occasionally, 3–4 minutes, until the vegetables are just softened and still slightly crisp.
- Give the prepared sauce a quick whisk, then pour it into the skillet with the vegetables. Bring to a simmer over medium heat and cook, stirring, 2–3 minutes, until the sauce thickens and coats the vegetables. If the sauce becomes too thick, add a splash of water to loosen it.
- Return the cooked chicken to the skillet and stir to coat everything evenly with the sauce. Cook 1–2 minutes more, until the chicken is heated through and well glazed.
- Remove the skillet from the heat, sprinkle with the toasted sesame seeds, and serve immediately.
Equipment
- Small Bowl
- Whisk
- Large Skillet
Notes
When cooking the chicken in a cast iron skillet, add them to the skillet and let them cook for 1 minute without disturbing, this will give them a golden color.
Feel free to add more vegetables to the stir fry, you can also add water chestnuts, shredded cabbage, or even fresh herbs if you like.
If the sauce thickens too quickly, loosen it up with a splash of water. If it doesn’t thicken to the desired consistency, add 1 teaspoon of cornstarch mixed with 1 teaspoon of water. Keep in mind that cornstarch must be cooked to 203°F/95°C before it starts thickening.
Store the leftovers in an airtight container in the fridge for up to 3 days. Reheat in a skillet with a splash of water until just warmed through.