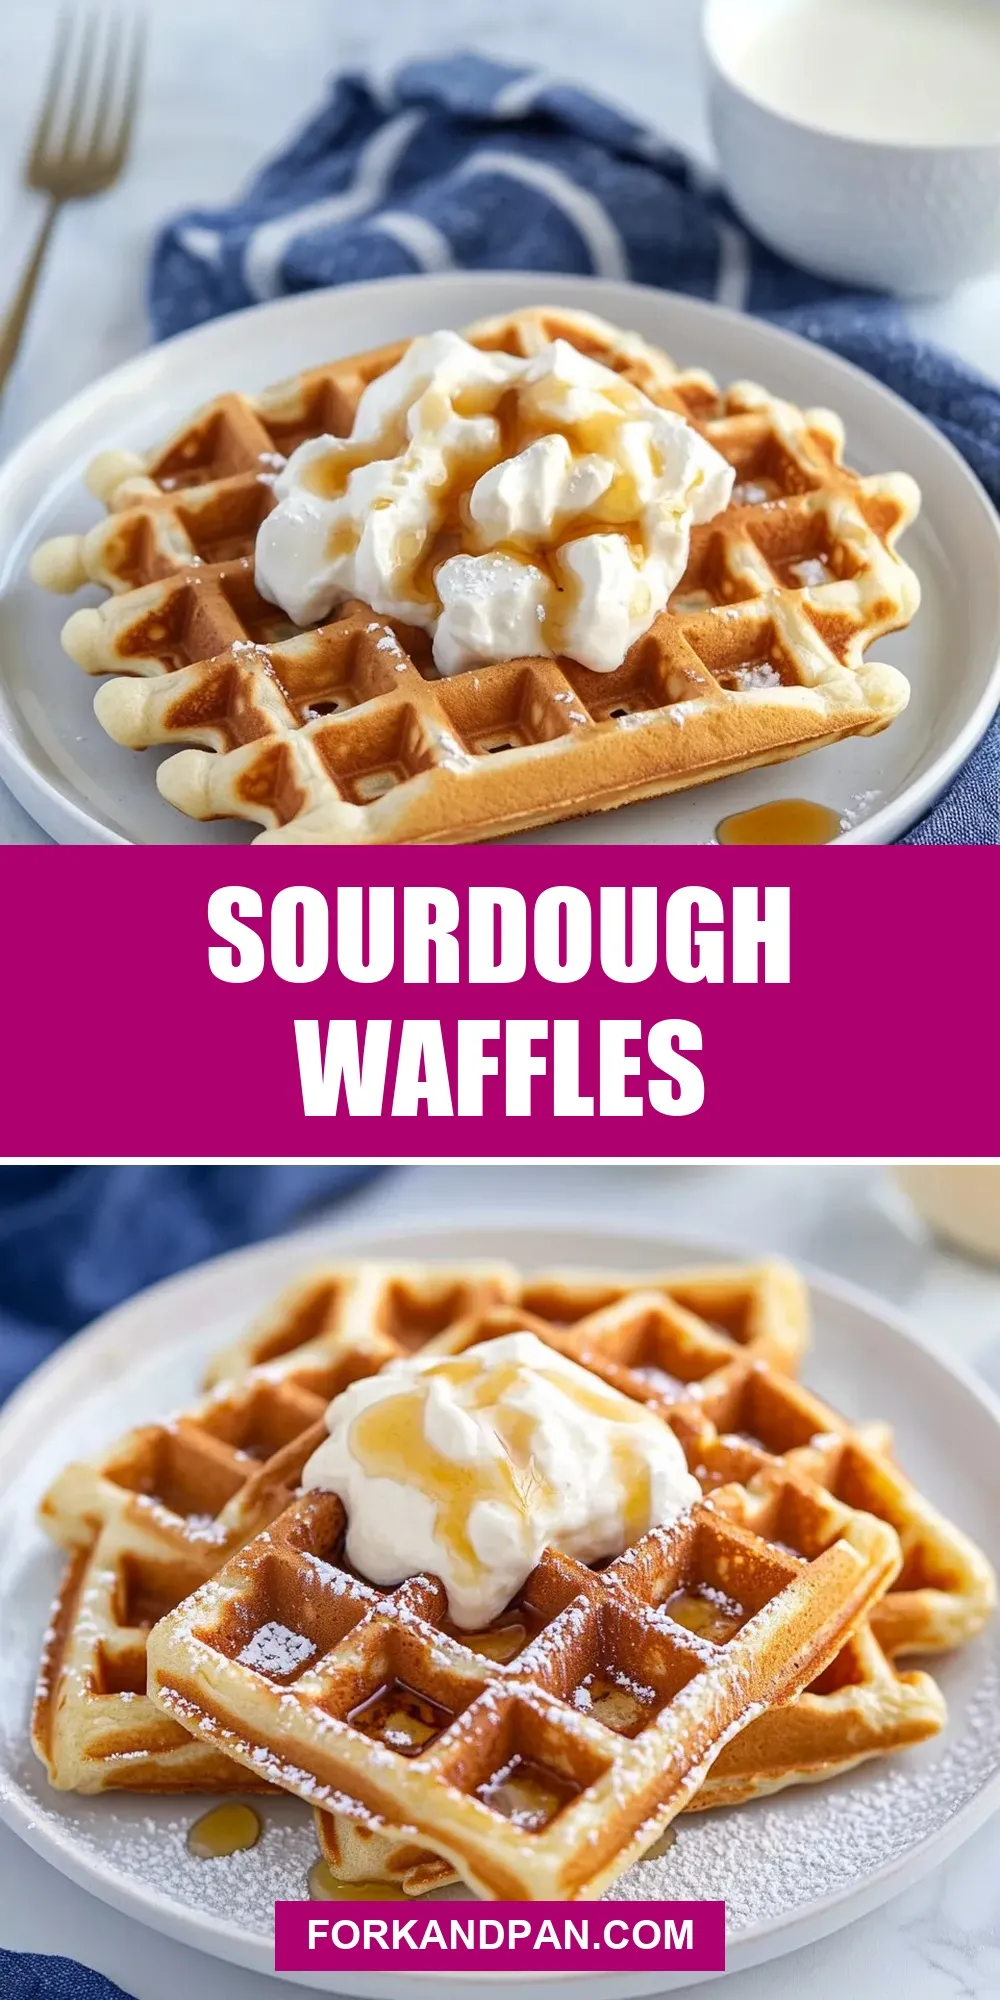
Sourdough Waffles
These sourdough waffles are the kind of breakfast that feels thoughtful without taking over your morning. They get a gentle tang from a ripe starter, lift from baking powder and soda, and a crisp exterior from a touch of butter. The recipe is straightforward and forgiving — perfect for a weekend when you want something better than plain toast but not a complicated project.
I test recipes the way I cook at home: practical steps, small tips that actually matter, and a few clear options so you can adapt without guessing. Below you’ll find the ingredient lineup, an exact step-by-step build using a tried-and-true method, gear recommendations, common mistakes and fixes, and ideas to accommodate different diets.
If you keep a sourdough starter on the counter, this is one of the best ways to use it beyond bread. Make the batter quickly, let it rest briefly, then steam-and-crisp your way to waffles that are light inside and golden-crisp outside.
The Ingredient Lineup

- 1 ½ cups (215 g) all purpose flour — the structure for the waffles; use the weight if you have a scale for consistency.
- 3 Tablespoons (40 g) granulated sugar — adds a touch of sweetness and helps with browning.
- 1 teaspoon baking powder — gives lift and lightness alongside the starter.
- 1 teaspoon baking soda — reacts with the starter and buttermilk to boost rise and tenderness.
- ¾ teaspoon fine sea salt — balances flavor; don’t skip or reduce too much.
- ¾ cup (200 g) sourdough starter — active or recently fed works best; it contributes flavor and some leavening.
- 2 large eggs — for structure and richness; room temperature eggs blend more evenly.
- 1 cup buttermilk, see note — hydrates and adds acidity to react with baking soda; if you don’t have cultured buttermilk, make a quick substitute (see Dietary Customizations).
- 4 Tablespoons butter, melted and cooled — adds richness and helps crisp the exterior; cool it so it doesn’t scramble the eggs.
- 1 teaspoon vanilla — rounds the flavor; optional but recommended.
Build Sourdough Waffles Step by Step
- In a large bowl whisk together the flour, sugar, baking powder, baking soda, and salt until evenly combined.
- In a separate bowl whisk the sourdough starter, eggs, buttermilk, melted and cooled butter, and vanilla until blended.
- Pour the wet mixture into the dry ingredients and gently mix until mostly smooth; a few small lumps are fine. Do not overmix.
- Let the batter rest 10 minutes at room temperature.
- Preheat your waffle maker to medium (or to the setting recommended by the manufacturer). If you plan to keep waffles warm, preheat a low oven (about 200°F / 95°C) and place a baking sheet or wire rack inside.
- If your waffle maker needs greasing, brush it lightly with some of the cooled melted butter from the recipe.
- Pour about 1/3 cup of batter into the center of the preheated waffle maker (or the amount recommended by your appliance). Close and cook 2–3 minutes, or until the waffle is golden brown and crisp and the steam has mostly stopped.
- Transfer the cooked waffle to the baking sheet or wire rack in the warm oven (if using) or keep on a rack to prevent sogginess. Repeat with the remaining batter, brushing the waffle maker as needed.
- Serve the waffles immediately.
Reasons to Love Sourdough Waffles
There are a few simple reasons this recipe earns a regular spot in my rotation. First, the sourdough starter gives a subtle, pleasant tang that cuts through sweet toppings and makes the flavor more interesting than plain waffles. Second, the mix of baking powder and baking soda ensures a reliable lift even if your starter isn’t super active. Third, the batter comes together quickly and rests for only ten minutes — no long ferment required.
Texture-wise, these waffles are crisp on the outside and tender inside. The melted butter in the batter helps the surface brown and stay crisp after cooking. And because the recipe uses familiar pantry staples, it’s easy to pull together at the last minute for weekend breakfast or brunch.
Vegan & Vegetarian Swaps
- Vegetarian — the recipe as written is vegetarian friendly (contains eggs and dairy). For lacto-vegetarian diets, use regular buttermilk and butter.
- Vegan (optional swaps) — replace eggs with a commercial egg replacer or two “flax eggs” (2 tbsp ground flax + 6 tbsp water, mixed and rested). Use plant-based milk soured with 1 tbsp vinegar to mimic buttermilk, and swap the butter for a neutral oil or vegan butter (melted and cooled). The texture will be slightly different — expect softer interiors and less crispness unless you increase oil slightly or cook a touch longer.
What You’ll Need (Gear)

- Large mixing bowl and medium mixing bowl — one for dry, one for wet.
- Whisk and spatula — whisk dry ingredients and combine wet; spatula for folding the batter gently.
- Measuring cups and spoons and a kitchen scale (optional) — the scale gives consistency, especially for flour.
- Waffle maker — any standard waffle iron will work; note manufacturer’s fill amount and heat settings.
- Basting brush — for a light coating of butter on the plates if needed.
- Baking sheet and wire rack — to keep waffles crisp in a warm oven while you finish the batch.
Common Errors (and Fixes)
- Problem: Soggy waffles. Fix: Transfer waffles to a wire rack set over a baking sheet in a low oven (about 200°F / 95°C) instead of stacking them. Stacking traps steam and softens the exterior.
- Problem: Waffles stick to the iron. Fix: Ensure the waffle maker is well preheated and lightly brush the plates with cooled melted butter between batches. Some irons require a spray or a full brush; follow your manufacturer’s guidance.
- Problem: Overmixed batter leading to dense waffles. Fix: Stir until mostly smooth — a few small lumps are okay. Overmixing develops gluten and will toughen the texture.
- Problem: Bland flavor. Fix: Make sure your starter has some tang (recently fed or at peak) or add a touch more vanilla. Don’t skimp on the salt — it enhances flavor.
- Problem: Uneven browning. Fix: Preheat the waffle iron fully and use the manufacturer-recommended setting. If your iron runs cool, cook a bit longer than 2–3 minutes until steam mostly stops.
Dietary Customizations
- Lower sugar — reduce the granulated sugar slightly (start with 1–2 tbsp) for a less sweet waffle; remember toppings add sweetness.
- Gluten-free — this recipe is written for all-purpose flour. For a gluten-free version, use a 1:1 gluten-free flour blend that includes xanthan gum and test for texture; gluten-free batter can be more fragile and may need an extra egg or binder.
- Dairy-free — swap buttermilk for unsweetened plant milk soured with 1 tablespoon vinegar or lemon juice, and use melted coconut oil or vegan butter for the butter.
- Egg-free — see Vegan swaps above; use flax eggs or a commercial egg replacer. Note that rise and texture change when eggs are removed.
- Lower-fat — reduce butter to 2 tablespoons and brush the iron with a neutral oil spray as needed; waffles will be less rich and possibly less crisp.
Author’s Commentary
I make these waffles when I want something a little livelier than regular batter but still quick. The starter gives personality — not overpowering sourness, just a clean hint that pairs beautifully with maple syrup, yogurt, or fresh fruit. I like to keep the butter melted and cooled rather than hot; it blends smoothly without cooking the eggs.
Ten minutes of rest is purposeful: it gives the flours a moment to hydrate and lets any small air pockets settle into a batter that behaves predictably in the waffle iron. Also, using both baking powder and baking soda hedges against inconsistent starter activity. In practice, that combination reliably produces light, crisp waffles even if your starter’s energy varies.
If you want to make this ahead for a crowd, you can double the recipe and keep finished waffles warm in the oven while you finish the batch. For freezer-friendly waffles, cool completely, then flash-freeze on a tray and move to a freezer bag — reheat in a toaster or oven for best texture.
How to Store & Reheat
Cool waffles completely on a wire rack to avoid sogginess before storing. For short-term storage, place cooled waffles in an airtight container or zip-top bag in the refrigerator for up to 3 days.
- To reheat refrigerated waffles, use a toaster or toaster oven on medium until heated through and crisp. A 350°F (175°C) oven for 8–10 minutes also works.
- To freeze, flash-freeze the waffles on a baking sheet until firm, then transfer to a freezer-safe bag for up to 2 months. Reheat from frozen in a toaster or in a 375°F (190°C) oven for 10–12 minutes, flipping once for even crisping.
Ask & Learn
If you try these, tell me how your starter performed and whether you prefer them with a classic maple-and-butter approach or a savory twist. Common questions I see: “Can I use a discard starter?” Yes — discard works fine, though a very cold or inactive starter produces less tang. “Can I make batter ahead?” You can hold it covered in the fridge up to a few hours, but let it come back to room temperature before cooking for best results.
Share your timing, your waffle iron model (if relevant), or any tweaks you made. I read each comment and will help troubleshoot if your waffles come out too soft, too pale, or stick to the iron.
Wrap-Up
Sourdough Waffles are a small, practical way to showcase your starter beyond baking loaves. The method is straightforward: mix dry, whisk wet, fold gently, rest briefly, and cook until steam has mostly stopped. The payoff is a waffle with a bright, pleasant tang and a satisfyingly crisp exterior — great for lazy weekends or a special weekday breakfast.
Keep the steps simple, preheat your iron, and don’t rush the cooling step if you’re making a batch. With a little practice you’ll dial in the timing for your specific waffle maker and personal texture preferences. Happy cooking — and if you post photos, tag them so I can see how your Sourdough Waffles turned out.

Sourdough Waffles
Ingredients
Ingredients
- 1 1/2 cups 215 gall purpose flour
- 3 Tablespoons 40 ggranulated sugar
- 1 teaspoonbaking powder
- 1 teaspoonbaking soda
- 3/4 teaspoonfine sea salt
- 3/4 cup 200 gsourdough starter
- 2 large eggs
- 1 cupbuttermilk see note
- 4 Tablespoonsbutter melted and cooled
- 1 teaspoonvanilla
Instructions
Instructions
- In a large bowl whisk together the flour, sugar, baking powder, baking soda, and salt until evenly combined.
- In a separate bowl whisk the sourdough starter, eggs, buttermilk, melted and cooled butter, and vanilla until blended.
- Pour the wet mixture into the dry ingredients and gently mix until mostly smooth; a few small lumps are fine. Do not overmix.
- Let the batter rest 10 minutes at room temperature.
- Preheat your waffle maker to medium (or to the setting recommended by the manufacturer). If you plan to keep waffles warm, preheat a low oven (about 200°F / 95°C) and place a baking sheet or wire rack inside.
- If your waffle maker needs greasing, brush it lightly with some of the cooled melted butter from the recipe.
- Pour about 1/3 cup of batter into the center of the preheated waffle maker (or the amount recommended by your appliance). Close and cook 2–3 minutes, or until the waffle is golden brown and crisp and the steam has mostly stopped.
- Transfer the cooked waffle to the baking sheet or wire rack in the warm oven (if using) or keep on a rack to prevent sogginess. Repeat with the remaining batter, brushing the waffle maker as needed.
- Serve the waffles immediately.
Equipment
- Whisk
- Large Bowl
- Mixing Bowl
- Waffle Maker
- Basting Brush
- baking sheet or wire rack
- Oven