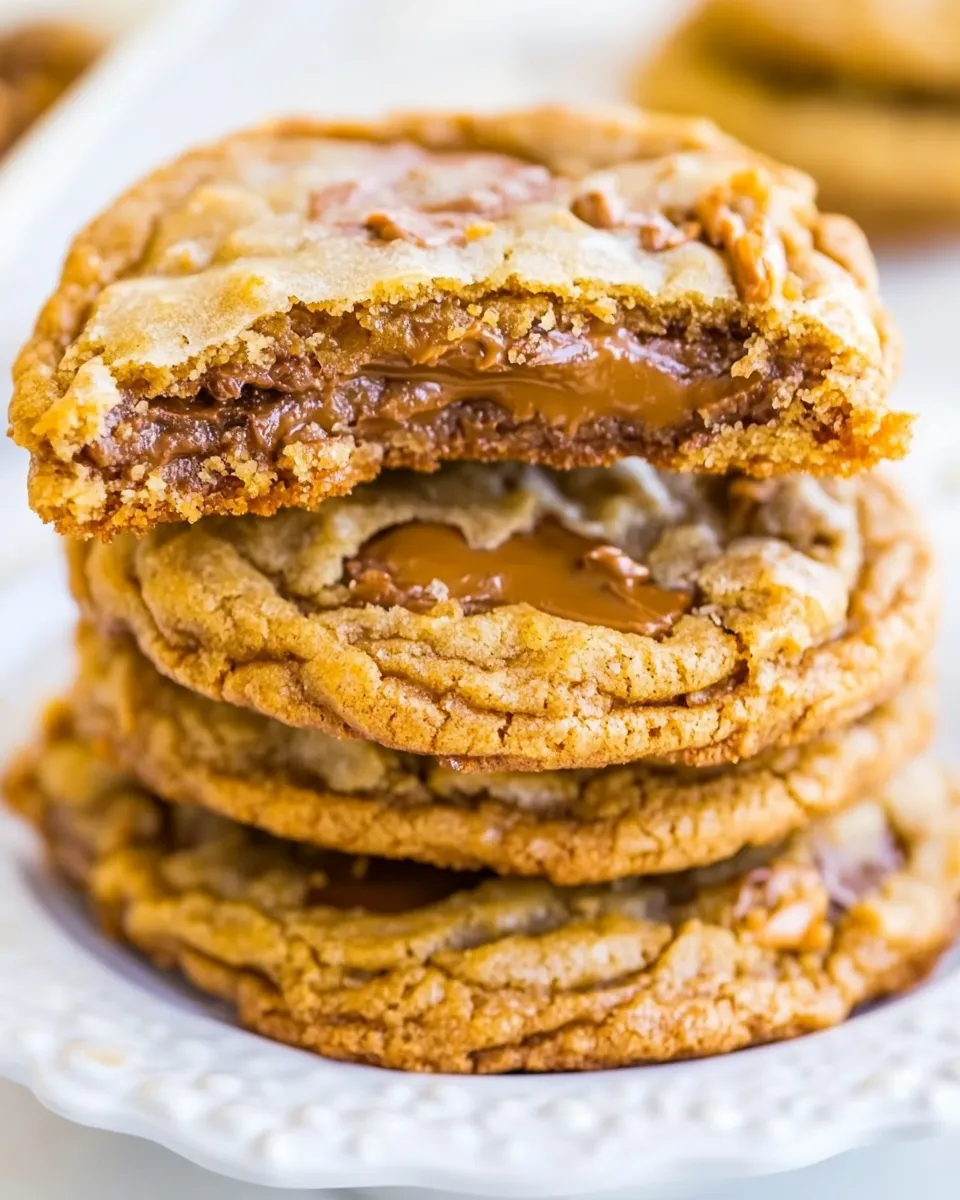
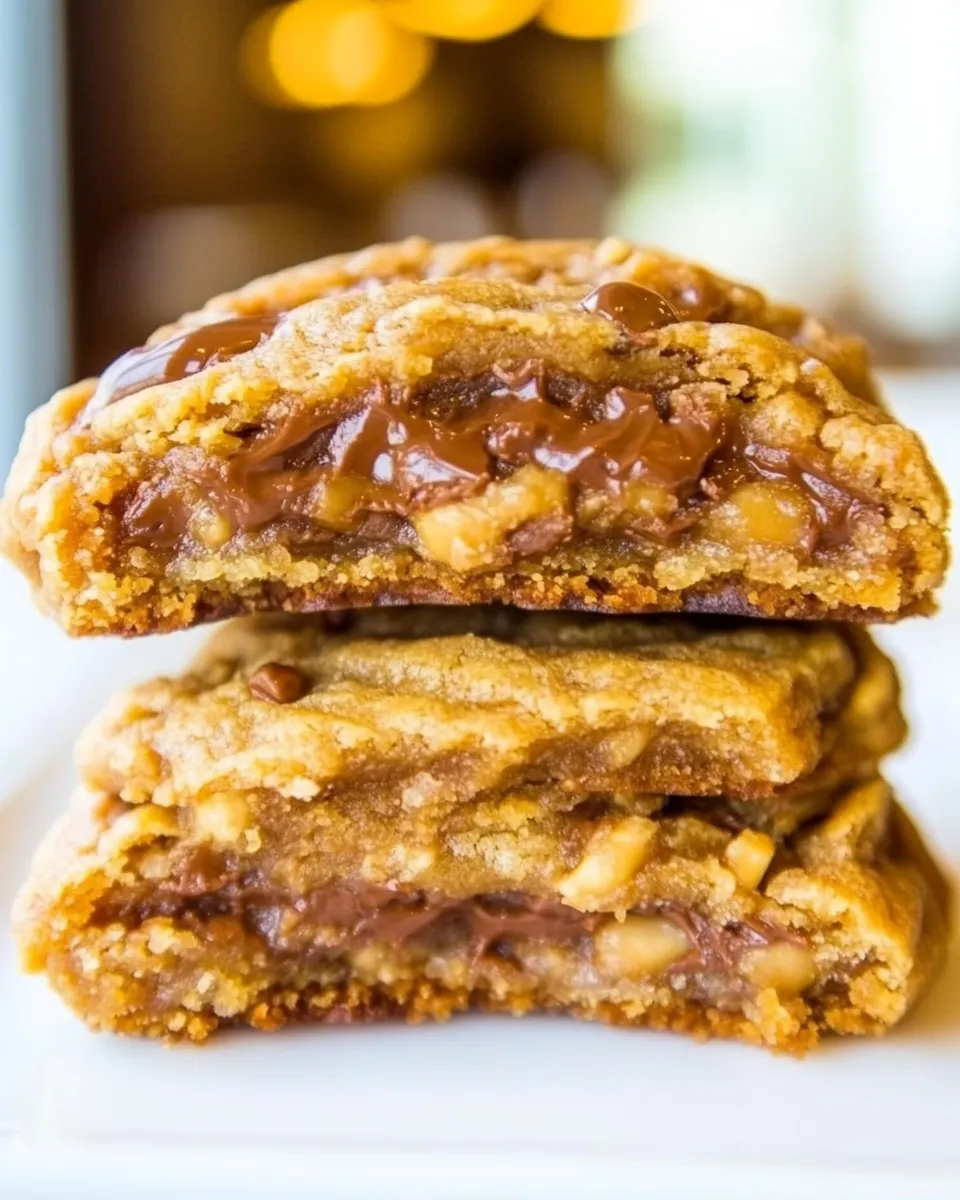
Soft and Chewy Toffee and Milk Chocolate Peanut Butter Cookies
These cookies are my go-to when I want something that feels indulgent but takes almost no thought to pull together. They deliver on every promise in the name: soft, chewy, buttery peanut butter with hits of crunchy, buttery toffee and sweet milk chocolate. The texture is exactly what you want in a cookie that hangs onto its center while the edges stay tender.
I make them when I need a reliable treat for a packed lunchbox, a last-minute hostess gift, or a countertop stash for unexpected company. The recipe is forgiving in technique but strict on one thing: chilling the dough. Do not skip that step—trust me on this.
Below you’ll find the exact ingredients I use (no substitutions in the ingredient list), the step-by-step method as written, troubleshooting notes, and sensible tips for storage and small variations. Practical, not precious—let’s bake.
What Goes In

- 1 cup creamy peanut butter — Do not use natural or homemade peanut butter, it’s too runny and can separate – see note below.
- 1 cup light brown sugar — packed; contributes moisture and chew through its molasses content.
- 1 large egg — binds the dough and adds tenderness.
- 1 tablespoon vanilla extract — rounds flavor and lifts the peanut butter and toffee.
- 1 teaspoon baking soda — leavening that gives a bit of lift without making the cookies cakey.
- one 8-ounce bag Heath Milk Chocolate Toffee Bits — the crunchy, buttery toffee and chocolate pockets that make these cookies special.
Cook Soft and Chewy Toffee and Milk Chocolate Peanut Butter Cookies Like This
- Attach the paddle to a stand mixer or use an electric hand mixer. Add 1 cup creamy peanut butter, 1 cup packed light brown sugar, 1 large egg, and 1 tablespoon vanilla extract to the mixing bowl. Beat on medium-high speed until the mixture is fully combined and the sugar is no longer gritty, about 5–8 minutes.
- Add 1 teaspoon baking soda and beat on medium-low speed for about 1 minute, until evenly incorporated.
- Add the 8-ounce bag of Heath Milk Chocolate Toffee Bits and stir on low speed or fold in by hand just until the toffee is evenly distributed; do not overmix.
- Using a medium (2-inch) cookie scoop, portion heaping mounds of dough (about 2 to 3 tablespoons each). Place the mounds on a large plate, cover with plastic wrap, and refrigerate for at least 2 hours (up to 5 days). Chilling is mandatory—do not bake warm dough or the cookies will spread too much.
- When ready to bake, preheat the oven to 350°F (175°C). Line a baking sheet with a Silpat or parchment paper, or lightly grease the sheet. Arrange chilled dough mounds on the sheet at least 2 inches apart (about 8 per sheet).
- Bake for 8–9 minutes, until the edges are set and the tops are barely set. The centers may look slightly underbaked; the cookies will firm up as they cool. Avoid baking longer or the cookies will become crisp.
- Let the cookies cool on the baking sheet for 5–10 minutes, then transfer them to a wire rack to finish cooling.
Why This Recipe Works
The base is simple: creamy peanut butter and brown sugar. Brown sugar brings moisture through its molasses, which gives the cookies chew and a slightly caramelized flavor. Creamy peanut butter supplies the fat and structure—its consistency helps the dough come together without adding flour.
Baking soda gives a moderate lift and encourages gentle spread; it’s the right choice here because we want chew, not cake. The toffee bits add tiny shards of caramelized crunch and pockets of milk chocolate that contrast the soft center. And chilling the dough is the non-negotiable step: cold dough spreads much less, so you keep thick, chewy centers with set edges.
Mix time matters, too. Mixing long at the start dissolves the sugar into the peanut butter and creates a uniform, tender crumb. But once the toffee is in, minimal handling prevents breaking those bits and prevents overworking the dough.
Low-Carb/Keto Alternatives
This recipe was written using the ingredients listed above, and as written it’s not low-carb or keto-friendly. The combination of light brown sugar and toffee bits contributes most of the carbohydrates and sugars.
If you need a lower-carb version, expect trade-offs. You would need to replace the brown sugar with a low-carb sweetener that measures like sugar and swap the toffee bits for a sugar-free or very-low-sugar mix-in. Also consider that texture will change: brown sugar adds moisture and chew, and many sweeteners produce a different mouthfeel and spread. Test small batches before scaling up.
Prep & Cook Tools
- Stand mixer with paddle attachment — preferred for hands-off mixing and even texture. A hand mixer works fine too.
- Electric hand mixer — alternative to stand mixer; same mixing steps apply.
- Medium (2-inch) cookie scoop — creates uniform cookie sizes so they bake evenly.
- Baking sheet — lined with Silpat or parchment for easy release and cleanup.
- Silpat or parchment paper — prevents sticking and promotes even bottoms.
- Wire cooling rack — cools cookies evenly and prevents soggy bottoms.
- Large plate and plastic wrap — for chilling dough mounds if you don’t want to use a baking sheet.
- Measuring cups and spoons — accurate measuring keeps texture consistent.
Don’t Do This
Do not bake the dough warm. The recipe explicitly requires chilling the scooped dough for at least 2 hours; warm dough will spread excessively and flatten into thin, crisp cookies.
Don’t overbake. These cookies should come out with set edges and centers that look just slightly underdone. They firm up as they cool. Bake them longer and you lose the soft, chewy interior.
Avoid overmixing after adding the toffee bits. Stir them in only until distributed. Overmixing will break the toffee and can overly develop whatever structure is present, changing the texture.
Don’t use natural or homemade peanut butter. The moisture separation and runny texture will throw off the dough’s balance and the finished texture.
Seasonal Flavor Boosts
Subtle additions can make these cookies feel seasonal without changing the core recipe:
- Autumn: Stir in a small pinch of ground cinnamon or a touch of pumpkin spice for warmth.
- Winter: Add a few drops of peppermint extract to the vanilla for a holiday twist, or top each warm cookie with a few sea salt flakes for contrast.
- Summer: Fold in a few chopped salted roasted peanuts for an extra crunchy finish and to offset sweeter toffee pockets.
Use these sparingly—start with tiny amounts so the peanut butter and toffee remain the stars.
Behind-the-Scenes Notes
Texture is the play between moisture and structure. This recipe relies on the moisture-locking properties of brown sugar and the binding and fat from creamy peanut butter. No flour means the dough depends on those components to hold shape and provide chew.
Heath toffee bits are resilient but will soften slightly during baking; they won’t melt into the dough the way chocolate chips do. That’s why a gentle fold is important: you want the signature toffee crunch to remain distributed, not pulverized.
Timing matters. The initial 5–8 minutes of mixing in step one dissolves sugar and helps create a smooth dough; skimp here and you may feel grittiness in the finished cookie. Conversely, overmixing later will result in broken toffee and a denser bite.
Storage Pro Tips
Room Temperature
Store completely cooled cookies in an airtight container at room temperature for up to 4 days. Layer with parchment to prevent sticking. If they lose a bit of chew, a 5–8 second zap in the microwave brings back softness.
Refrigerator & Freezer
Unbaked dough: Scoop and freeze the dough mounds on a lined tray until solid, then transfer to a freezer bag for up to 3 months. Bake from frozen—add 1–2 minutes to the bake time and watch closely so edges don’t overbake.
Baked cookies: Freeze cooled cookies in a single layer until firm, then stack with parchment between layers in an airtight container for up to 3 months. Thaw at room temperature for 20–30 minutes before serving.
Helpful Q&A
Q: Can I use natural peanut butter?
A: No. The recipe specifies creamy peanut butter (not natural or homemade). Natural varieties separate and are runny, which will alter the dough’s structure and spread.
Q: Why is chilling mandatory?
A: Chilling firms up the fat in the peanut butter and gives the dough time to hydrate, which limits spread. If you skip chilling, the cookies will be flat and crisp rather than tall and chewy.
Q: My cookies came out crisp—what happened?
A: Likely overbaked or baked from warm dough. Reduce bake time by a minute, ensure dough has chilled, and follow the 8–9 minute window closely. Oven temperatures vary; use the lower end if your oven runs hot.
Q: Can I make the dough ahead?
A: Yes. The recipe allows chilling the scooped dough for up to 5 days in the fridge. You can also freeze scooped mounds for longer storage.
Final Bite
These Soft and Chewy Toffee and Milk Chocolate Peanut Butter Cookies balance easy technique with dependable results. Follow the rules that matter—use creamy peanut butter, chill the dough, and pull them at the right moment in the oven—and you’ll have cookies that are soft inside with buttery toffee crunch in every bite. They travel well, freeze beautifully, and are a dependable, crowd-pleasing recipe to keep in your regular rotation.
Bake a batch, leave a plate out, and see how quickly they disappear. Then make another.

Soft and Chewy Toffee and Milk Chocolate Peanut Butter Cookies
Ingredients
Ingredients
- 1 cupcreamy peanut butter Do not use natural or homemade peanut butter, it’s too runny and can separate – see note below
- 1 cuplight brown sugar packed
- 1 large egg
- 1 tablespoonvanilla extract
- 1 teaspoonbaking soda
- one 8-ounce bag Heath Milk Chocolate Toffee Bits
Instructions
Instructions
- Attach the paddle to a stand mixer or use an electric hand mixer. Add 1 cup creamy peanut butter, 1 cup packed light brown sugar, 1 large egg, and 1 tablespoon vanilla extract to the mixing bowl. Beat on medium-high speed until the mixture is fully combined and the sugar is no longer gritty, about 5–8 minutes.
- Add 1 teaspoon baking soda and beat on medium-low speed for about 1 minute, until evenly incorporated.
- Add the 8-ounce bag of Heath Milk Chocolate Toffee Bits and stir on low speed or fold in by hand just until the toffee is evenly distributed; do not overmix.
- Using a medium (2-inch) cookie scoop, portion heaping mounds of dough (about 2 to 3 tablespoons each). Place the mounds on a large plate, cover with plastic wrap, and refrigerate for at least 2 hours (up to 5 days). Chilling is mandatory—do not bake warm dough or the cookies will spread too much.
- When ready to bake, preheat the oven to 350°F (175°C). Line a baking sheet with a Silpat or parchment paper, or lightly grease the sheet. Arrange chilled dough mounds on the sheet at least 2 inches apart (about 8 per sheet).
- Bake for 8–9 minutes, until the edges are set and the tops are barely set. The centers may look slightly underbaked; the cookies will firm up as they cool. Avoid baking longer or the cookies will become crisp.
- Let the cookies cool on the baking sheet for 5–10 minutes, then transfer them to a wire rack to finish cooling.
Equipment
- Stand mixer
- Electric hand mixer
- Paddle Attachment
- cookie scoop (2-inch)
- Baking Sheet
- Silpat or parchment paper
- Wire Rack
Notes
*
Step 1 note:
If beating with a hand mixer rather than a stand mixer, 7 minutes+ may be necessary. Don’t shortcut this step. Stop to scrape down the bowl as necessary. Batter may seem oily; this is okay.
Note regarding peanut butter:
Although natural peanut butter or homemade peanut butter may work, I recommend using storebought peanut butter like Jif, Skippy, Peter Pan or similar so that cookies bake up thicker and spread less. Using natural or homemade peanut butter tends to result in thinner and flatter cookies that are prone to spreading while baking.
Storage:
Cookies will keep airtight at room temperature for up to 1 week, or in the freezer for up to 4 months. Alternatively, unbaked cookie dough can be stored in an airtight container in the refrigerator for up to 5 days, or in the freezer for 4 months, so consider baking only as many cookies as desired and save the remaining dough to be baked in the future when desired.