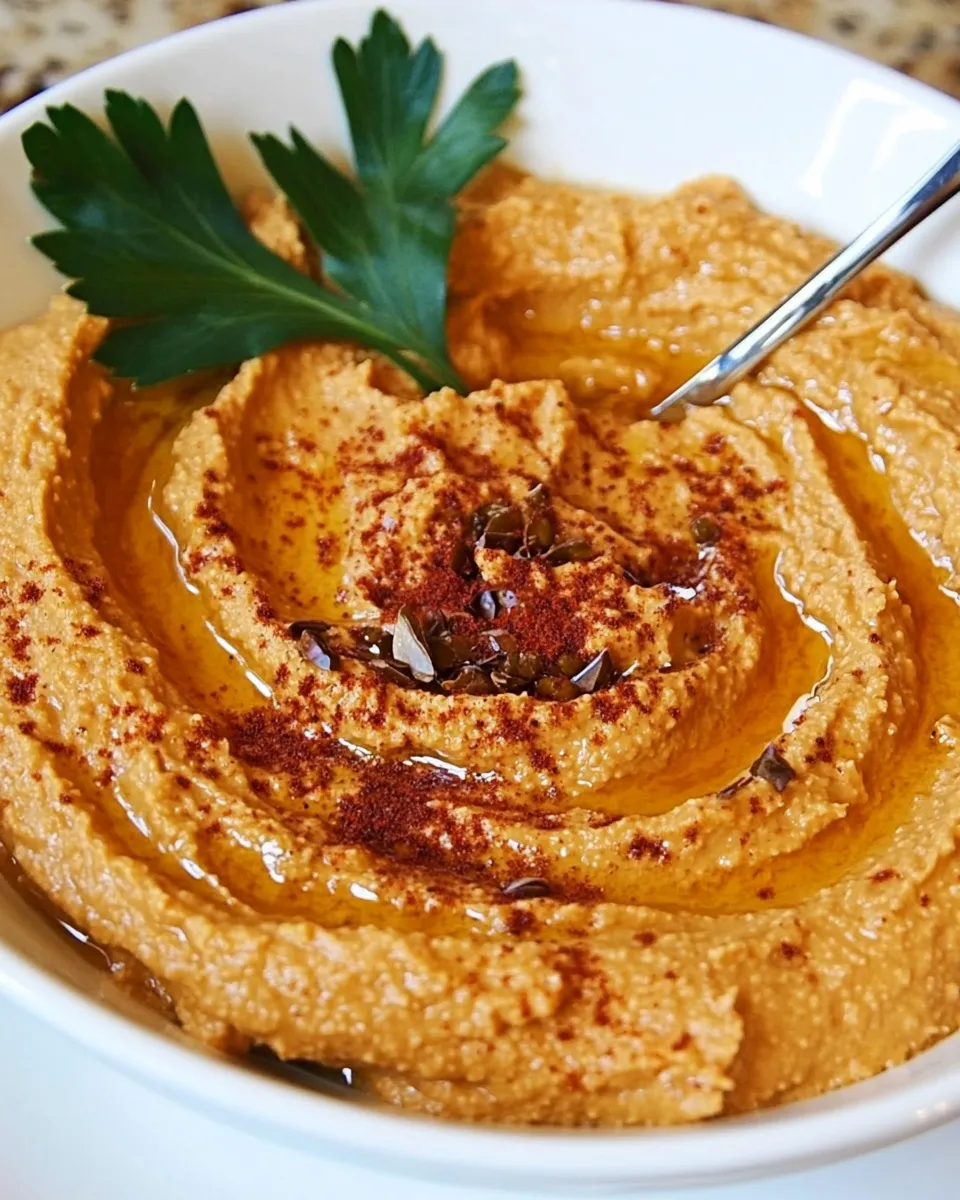
Roasted Tomato Hummus
I fell for this hummus the first time I made it because the roasted tomatoes cut through the tahini in such a bright, savory way. It’s familiar hummus behavior — creamy chickpeas, tahini richness — but with a smoky, slightly sweet tomato note that keeps you going back for another chip. The texture is forgiving and the flavor is not precious; it improves with small adjustments as you taste.
This version is straightforward enough for weeknight prep and flexible enough to be a party dip. Use slow roasted tomatoes if you have them, or the scant sun-dried tomato option the recipe gives you. Either way, the method is the same: blend deliberately, taste often, and don’t be shy about tweaking lemon and salt at the end.
I’ll walk you through the shopping basics, the exact steps (I follow the recipe below), what can go sideways, and professional-level tips that make a noticeable difference. No fluff — just usable notes so your hummus comes out smooth, bright, and exactly how you like it.
Shopping List

Buy quality pantry staples and a few fresh bits. You don’t need fancy ingredients, but a good tahini and fresh lemons make the most difference for flavor. If you want to plan for snacks, pick up pita, crackers, and some crisp crudités.
Ingredients
- 1/2 cup slow roasted tomatoes (or use scant 1/2 cup sun-dried tomatoes and a little water) — provides concentrated tomato flavor and sweetness; sun-dried tomatoes are a drier alternative, so the recipe accounts for a little water.
- 1 can (15.5 oz.) garbanzo beans (also called chickpeas) — the base of the hummus; drained and rinsed for best texture and flavor.
- 2 T garlic puree (or less if you’re not a huge garlic fan) — quick, even garlic distribution; reduce to taste or substitute fresh garlic if preferred.
- 1/4 cup tahini sauce — gives creaminess and that nutty backbone; stir the jar before measuring if it’s separated.
- 3 T fresh lemon juice (see notes) — brightens the dip; the recipe uses 2 T up front and reserves 1 T for final adjustment.
- 2 T olive oil, plus more for drizzling on finished hummus if desired — adds silkiness and mouthfeel; use extra-virgin for flavor or a lighter oil if you prefer.
- 1/4 cup water — used in two 2-tablespoon increments to reach the right creaminess without thinning too fast.
- 1/2 tsp. sea salt, or to taste — start with this and adjust at the end; salt brings out tahini and tomato flavors.
- Optional: Sumac for sprinkling on finished hummus — a lemony, slightly tangy garnish that complements the roasted tomato.
Directions: Roasted Tomato Hummus
- Drain the can of garbanzo beans in a colander, then rinse under cold running water until the foam is gone. Leave the beans in the colander to continue draining while you prepare the other ingredients.
- Fit a food processor with the steel blade. Add 1/2 cup slow roasted tomatoes (or scant 1/2 cup sun-dried tomatoes plus a little water) and 2 tablespoons garlic puree (or less, to taste). Process about 30 seconds — process a little longer if using sun-dried tomatoes — until the tomatoes are broken down.
- Add the drained garbanzo beans to the processor. Process 1–2 minutes, stopping occasionally to scrape down the sides with a spatula, until the beans and tomatoes are completely blended and the mixture starts to become smooth.
- Add 1/4 cup tahini, 2 tablespoons fresh lemon juice (reserve the remaining 1 tablespoon for later), 2 tablespoons olive oil, half the water (2 tablespoons), and 1/2 teaspoon sea salt. Process another 30 seconds to 1 minute, until well blended and mostly smooth.
- Check the hummus consistency. If it’s too thick, add the remaining 2 tablespoons of water and process until you reach your desired creaminess.
- Taste and adjust seasoning: if you want more lemon, add the reserved 1 tablespoon fresh lemon juice; if you want more salt, add small amounts to taste. Process a few seconds more after any additions.
- Transfer hummus to a serving bowl, drizzle with extra olive oil if desired, and sprinkle with sumac if using.
- Store any leftovers in a container with a tight lid in the refrigerator; it will keep for several weeks. Serve with pita, lavash, crackers, celery, carrots, or red pepper strips.
Why This Recipe is a Keeper

This hummus checks a lot of boxes: it’s fast, forgiving, and the roasted tomatoes add a layered, slightly smoky sweetness that lifts the whole dip. The tomato element keeps the profile interesting without adding extra steps; you can use jarred slow-roasted tomatoes or the sun-dried shortcut the recipe provides.
The method focuses on blending in stages — tomatoes first, chickpeas next, then emulsifying with tahini and oil — so the texture develops smoothly. That sequence is the difference between a chunky dip and stationery-worthy, scoopable hummus.
Ingredient Swaps & Substitutions

- Slow roasted tomatoes / sun-dried tomatoes — The recipe already allows sun-dried tomatoes if you don’t have slow roasted ones. If using sun-dried packed in oil, reduce added oil slightly.
- Garbanzo beans — Swap canned for home-cooked chickpeas if you prefer; drain them well and reserve some of the cooking liquid only if you need to loosen the texture.
- Garlic puree — Use 1–2 small cloves of fresh garlic instead, minced, if you don’t have the puree. Adjust to taste; raw garlic can be fierce.
- Tahini — If tahini is too bitter for you, stir the jar well and measure again; a fresher jar typically tastes milder. For a lower-tahini version, cut tahini by a tablespoon and increase olive oil or a neutral yogurt for creaminess (if not vegan).
- Olive oil — Any neutral-flavored oil works in a pinch; mild avocado oil keeps the mouthfeel similar.
Tools & Equipment Needed
Essential
- Food processor with steel blade — required for the smooth texture this recipe aims for.
- Colander — for draining and rinsing the chickpeas.
- Measuring cups and spoons — to follow the recipe amounts precisely.
- Spatula — to scrape the sides during processing so everything blends evenly.
Nice to Have
- Small serving bowl for presentation — a shallow bowl makes garnishing easier.
- Glass jar or airtight container for storing leftovers — for neat stacking in the fridge.
Things That Go Wrong
Here are the common issues I see and how to fix them.
- Grainy or gritty hummus — usually from insufficient processing. Run the processor longer, scraping down the bowl between bursts. Warm chickpeas (briefly warmed in hot water then drained) blend more smoothly than cold ones.
- Too thick — you added all the water at once or your tahini is particularly thick. Add the remaining water by tablespoon, processing in short bursts, until you reach the texture you want.
- Too thin — stop adding water and add another spoonful of tahini or more drained chickpeas; then reprocess until it firms up.
- Bitter tahini — some jars are naturally more bitter. Balance with a bit more lemon and salt, or use a different brand next time.
- Overpowering garlic — use less garlic puree next time or add a small amount of neutral yogurt to mellow raw garlic’s edge.
- Salt imbalance — always finish with a taste test. Add small pinches of salt and process briefly; you can always add more, but you can’t take it out.
Make It Fit Your Plan
Meal prep: this hummus makes a strong batch for snacks all week. Portion into single-serve containers for grab-and-go lunches, or keep one larger container for weekend entertaining. It pairs with pita, crackers, and raw veggies — or use as a sandwich spread for an instant upgrade.
Dietary: it’s naturally vegetarian and vegan. To make it lower in fat, reduce the olive oil slightly and accept a firmer texture; you can also cut tahini back a touch but expect less of the nutty flavor.
Pro Perspective
Small technique tweaks that matter: warm your chickpeas briefly under hot water to help the processor soften them; cold beans can resist the blade and require more time. Pulse the tomatoes first to break them down before adding chickpeas — this helps emulsify the mixture rather than leaving small bits of tomato.
Emulsification is the secret to glossy hummus: add the oil slowly if you want an extra-silky texture. Scrape frequently. Taste at the end and add lemon or salt in small increments — acidity and salt sharpen tahini and tomato notes differently, and a little shift can take the dip from good to memorable.
Make Ahead Like a Pro
You can make this hummus a day ahead and let the flavors meld; the roasted tomato note deepens overnight. Store it in an airtight container and press a piece of plastic wrap directly onto the surface before sealing to prevent a dry skin from forming.
The recipe notes it will keep for several weeks in the refrigerator. In my kitchen I recommend consuming it within 1–2 weeks for best flavor and freshness; if you want to freeze for longer storage, spoon hummus into a freezer-safe container with a thin layer of olive oil on top and freeze for up to 2 months. Thaw in the refrigerator and rewhisk or process briefly to restore creaminess.
Your Top Questions
- Can I use a blender instead of a food processor? Yes, a high-powered blender will work; you may need to add a touch more liquid and stop to scrape the sides frequently.
- Why is my hummus bitter? Check the tahini brand — older or lower-quality tahini can taste bitter. Balance with lemon and salt or try a different tahini next time.
- Can I use dried chickpeas? Absolutely. Cook them until very tender, then drain and proceed. Save a few spoonfuls of the cooking liquid if you need to loosen the hummus.
- How do I reduce the garlic? Start with 1 tablespoon garlic puree or one small clove of fresh garlic, then taste and add more only if you want it stronger.
Time to Try It
Make this hummus when you want something that feels both familiar and a little special. Use the sun-dried tomato option on busy nights, and the slow roasted tomatoes when you can source them. Blend in stages, taste as you go, and don’t be afraid to nudge lemon or salt at the end. Enjoy it as a snack, a party dip, or a building block for sandwiches and bowls.
Tag a friend, share a bowl, and tell me how you like the balance — more lemon, more tahini, or extra sumac on top. I’ll be trying this with grilled flatbread next week and I think you’ll like it too.

Roasted Tomato Hummus
Ingredients
Ingredients
- 1/2 cup slow roasted tomatoes or use scant 1/2 cup sun-dried tomatoes and a little water
- 1 can 15.5 oz. garbanzo beans (also called chickpeas)
- 2 T garlic puree or less if you’re not a huge garlic fan
- 1/4 cup tahini sauce
- 3 T fresh lemon juice see notes
- 2 T olive oil plus more for drizzling on finished hummus if desired
- 1/4 cup water
- 1/2 tsp. sea salt or to taste
- Optional: Sumac for sprinkling on finished hummus
Instructions
Instructions
- Drain the can of garbanzo beans in a colander, then rinse under cold running water until the foam is gone. Leave the beans in the colander to continue draining while you prepare the other ingredients.
- Fit a food processor with the steel blade. Add 1/2 cup slow roasted tomatoes (or scant 1/2 cup sun-dried tomatoes plus a little water) and 2 tablespoons garlic puree (or less, to taste). Process about 30 seconds — process a little longer if using sun-dried tomatoes — until the tomatoes are broken down.
- Add the drained garbanzo beans to the processor. Process 1–2 minutes, stopping occasionally to scrape down the sides with a spatula, until the beans and tomatoes are completely blended and the mixture starts to become smooth.
- Add 1/4 cup tahini, 2 tablespoons fresh lemon juice (reserve the remaining 1 tablespoon for later), 2 tablespoons olive oil, half the water (2 tablespoons), and 1/2 teaspoon sea salt. Process another 30 seconds to 1 minute, until well blended and mostly smooth.
- Check the hummus consistency. If it’s too thick, add the remaining 2 tablespoons of water and process until you reach your desired creaminess.
- Taste and adjust seasoning: if you want more lemon, add the reserved 1 tablespoon fresh lemon juice; if you want more salt, add small amounts to taste. Process a few seconds more after any additions.
- Transfer hummus to a serving bowl, drizzle with extra olive oil if desired, and sprinkle with sumac if using.
- Store any leftovers in a container with a tight lid in the refrigerator; it will keep for several weeks. Serve with pita, lavash, crackers, celery, carrots, or red pepper strips.
Equipment
- Colander
- food processor (steel blade)
- Spatula
- Serving Bowl
- container with tight lid