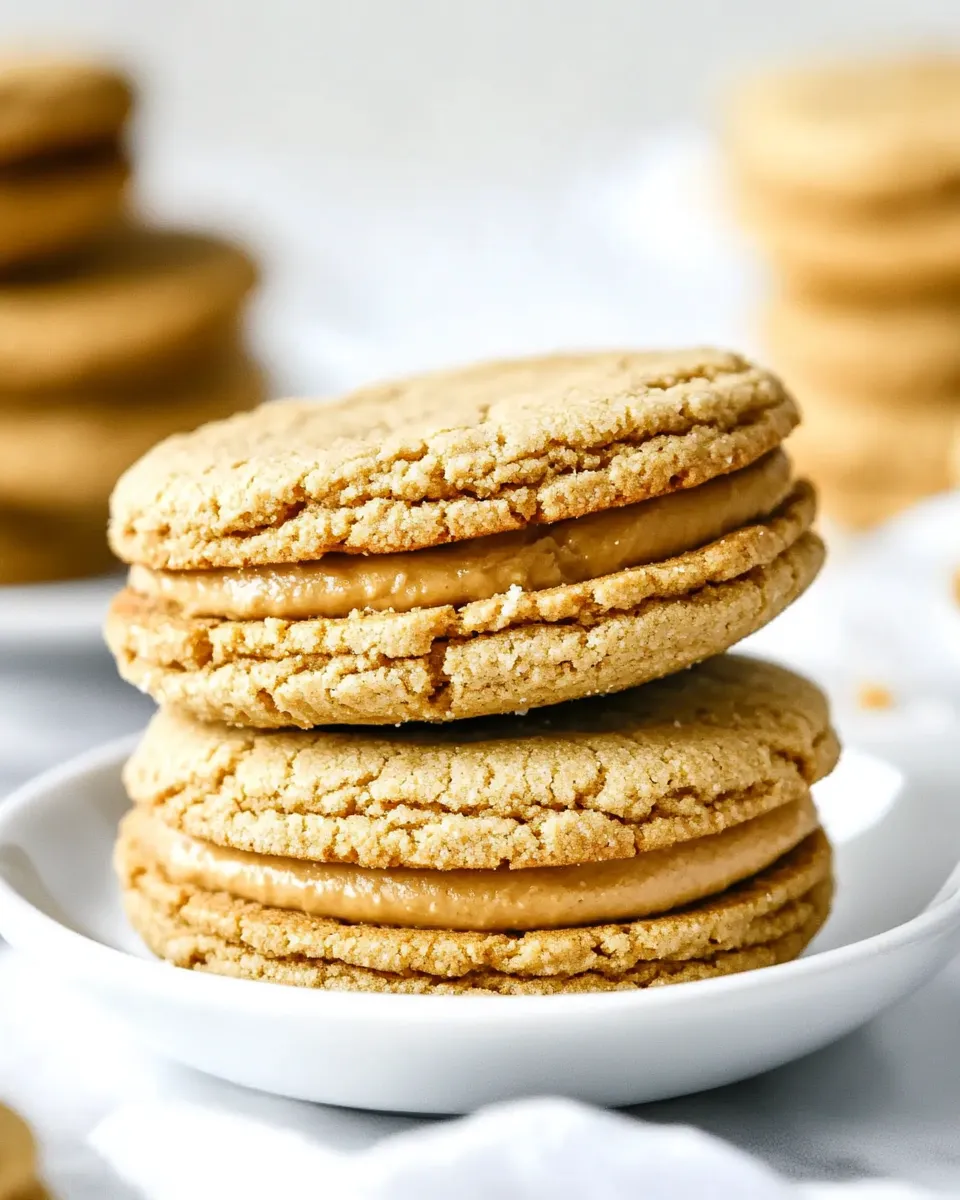
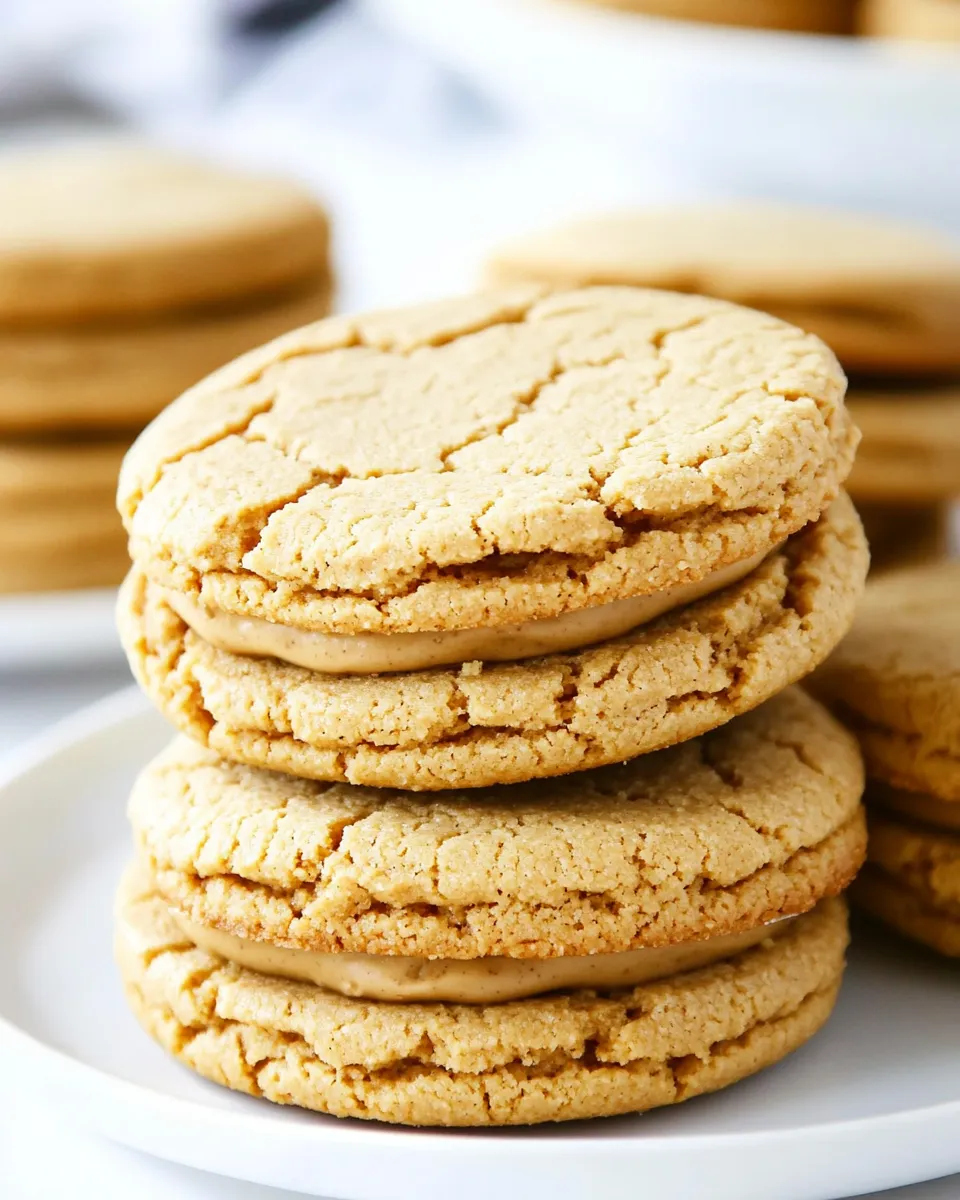
Peanut Butter Cookie Sandwiches
These are the kind of cookies I make when I want something comforting, fast, and reliably delicious. Crisp-but-chewy peanut butter cookies cradle a whipped, peanut-buttery filling that’s sweet without being cloying. They look homemade and taste like a reward for doing the little things right in the kitchen.
I keep the method straightforward so the cookies come out consistent every time. You don’t need fancy equipment — just a mixer, a baking sheet, and a few pantry staples. The filling is slightly adjustable for texture, and the sandwiches hold up well at room temperature for a few days.
Below you’ll find a clear ingredient rundown, step-by-step directions preserved exactly as tested, and practical tips for getting great results. If you want to make these for a party, a school bake sale, or a quiet weekend treat, this post will get you there without guesswork.
Ingredient Rundown

- 1 cup creamy peanut butter — base for the cookie dough; provides peanut flavor and tenderness.
- 1/2 cup unsalted butter, softened — adds richness and helps cream the dough to the right texture.
- 1 cup brown sugar, packed — brings moisture and a deeper caramel note to the cookie.
- 1/2 cup white sugar — balances sweetness and helps the cookies set.
- 2 eggs — bind the dough and add structure.
- 1 teaspoon vanilla extract — lifts and rounds the peanut flavor.
- 1 1/2 cups AP flour — all-purpose flour for the cookie’s body; measure accurately for consistent texture.
- 1/2 teaspoon baking powder — gives a little lift so cookies aren’t flat.
- 1/2 teaspoon baking soda — reacts with the sugars and peanut butter for proper spread.
- 1 1/4 cups creamy peanut butter — used in the filling to echo the cookie flavor and create a cohesive sandwich.
- 6 tablespoons unsalted butter, room temperature — makes the filling creamy and stable.
- 1 3/4 cups powdered sugar — sweetens and thickens the filling to a spreadable consistency.
- 4-6 tablespoons heavy cream — thins and lightens the filling; add sparingly to reach desired fluffiness.
- 1 1/2 teaspoon vanilla extract — rounds the filling and adds warmth.
Directions: (Peanut Butter Cookie Sandwiches)
- Preheat oven to 350°F (177°C). Line baking sheets with parchment paper or non-stick mats.
- Make the cookie dough: In a stand or electric mixer, cream together 1 cup creamy peanut butter and 1/2 cup unsalted butter (softened) until very smooth.
- Add 1 cup brown sugar (packed) and 1/2 cup white sugar to the peanut butter mixture and beat until very creamy.
- Add 2 eggs and 1 teaspoon vanilla extract; mix until well combined.
- In a separate bowl, whisk together 1 1/2 cups all-purpose flour, 1/2 teaspoon baking powder, and 1/2 teaspoon baking soda.
- Add the dry ingredients to the wet mixture and mix just until combined. Do not overmix.
- Roll the dough into 1 tablespoon balls and place them 2–3 inches apart on the prepared baking sheets. Press each ball with a fork to create a criss-cross pattern.
- Bake at 350°F for 10–12 minutes, or until the edges are golden. Let cookies cool on the baking sheet for 5–10 minutes, then transfer to a wire rack to cool completely. (Bake longer for crisper cookies.)
- Make the filling: In a stand or electric mixer, beat 1 1/4 cups creamy peanut butter and 6 tablespoons unsalted butter (room temperature) until very creamy.
- Gradually add 1 3/4 cups powdered sugar and mix until well blended.
- Add 1/4 cup (4 tablespoons) heavy cream and 1 1/2 teaspoons vanilla extract. Beat on medium speed for 2–3 minutes until very smooth and fluffy. If the filling is too thick, add up to 2 more tablespoons heavy cream (for a total of up to 6 tablespoons), 1 tablespoon at a time, until you reach the desired consistency.
- Assemble the sandwiches: Spoon a heaping tablespoon of filling onto the bottom side of half the cooled cookies. Top with the remaining cookies, pressing gently to spread the filling to the edges.
- Store assembled cookie sandwiches in an airtight container at room temperature for up to 3 days; refrigerate after that.
Reasons to Love Peanut Butter Cookie Sandwiches
These sandwiches hit several sweet spots. The cookie has a classic peanut-butter texture — slightly crisp at the edge, tender inside — while the filling is silky and intensely peanut-forward. Together they make a compact, hand-held treat that travels well.
They’re forgiving. The method doesn’t demand perfect technique, and small differences in mixing or baking time only change the cookie’s chewiness, not the overall flavor. You can batch-make the cookies and assemble later, which makes them great for prep-ahead gatherings.
Finally, they’re deeply nostalgic without being childish. Adults and kids both enjoy them, and they hold up on a dessert table next to fancier offerings.
If You’re Out Of…
- Parchment paper — use a silicone baking mat or lightly grease the sheet and expect slightly more bottom browning.
- Stand mixer — an electric hand mixer or a vigorous hand-stir with a sturdy wooden spoon works; cream until smooth.
- Fork for criss-cross — a small spatula or the bottom of a glass can flatten the balls; the pattern is decorative but not structural.
- Heavy cream — if you don’t have cream, add the filling’s liquid a teaspoon at a time using any neutral liquid you’re comfortable with (note: this will affect flavor and richness).
Tools of the Trade
- Stand mixer or electric mixer — speeds up creaming and ensures a smooth filling.
- Baking sheets — two will keep you baking efficiently.
- Parchment paper or silicone mats — prevent sticking and simplify cleanup.
- Wire rack — cool cookies completely before filling so the filling doesn’t melt.
- Spoons and measuring cups — accurate measuring keeps texture consistent.
- Small cookie scoop (1 tablespoon) — makes uniform cookies and consistent sandwiches.
Frequent Missteps to Avoid
Overmixing the dough after the flour goes in. Mix just until combined. Overworking develops gluten and makes dry, tough cookies.
Baking too long. The cookies will continue to set once out of the oven. Pull them when the edges are golden and the centers still look slightly soft. Let them cool on the sheet for 5–10 minutes before moving to a wire rack.
Assembling while cookies are warm. If the cookie is warm, the filling will melt and squeeze out, and the sandwiches won’t hold their shape. Always cool completely before filling.
Making the filling too thin all at once. Add the heavy cream slowly; a few extra tablespoons can rescue an over-thick filling, but adding too much at once will make it runny.
Make It Year-Round
These sandwiches aren’t seasonal — peanut butter and sugar keep well, and the recipe requires nothing perishable beyond eggs and butter. Bake a double batch in cooler months when your kitchen is less temperamental; in summer, keep assembled sandwiches chilled briefly before transport to prevent softening.
For gifting, wrap individual sandwiches in parchment and store in a single-layer tin. They travel well and hold their shape for parties, potlucks, and cookie exchanges.
Cook’s Commentary
Texture notes
I aim for a cookie that’s slightly crisp on the edge and tender in the middle. The balance of brown and white sugar is purposeful: brown sugar adds chew and depth, white sugar helps structure and crisp the edge. If you prefer a crisper sandwich, bake toward the upper end of the time range.
Flavor notes
The double hit of creamy peanut butter — in the cookie and the filling — keeps the flavor cohesive. The vanilla in both components ties everything together and keeps the sweetness from tasting one-note.
Make-Ahead & Storage
Cookies ahead
Bake the cookies and store them in an airtight container at room temperature for up to 3 days before filling. If you need longer storage, freeze the cooled cookies in a single layer on a baking sheet, then transfer to a freezer-safe bag for up to 2 months. Thaw at room temperature before filling.
Filled sandwiches
As directed, store assembled cookie sandwiches in an airtight container at room temperature for up to 3 days. After 3 days, refrigerate. Chilled sandwiches will firm the filling and keep for up to a week refrigerated; bring to room temperature for a few minutes before serving for softer filling.
Quick Q&A

- Can I use chunky peanut butter? Yes, but expect a chunkier texture in both cookie and filling. The recipe was developed with creamy peanut butter for smoothness.
- Can I make the filling less sweet? Reduce powdered sugar slightly, but do so gradually — the filling also needs sugar for structure.
- Can I freeze assembled sandwiches? Yes. Freeze on a sheet until solid, then pack in a freezer-safe container for up to 2 months. Thaw in the fridge to avoid sogginess.
- Do I need to chill the dough? No. This recipe is designed to be rolled and pressed without chilling, making it quick to bake.
Final Bite
These Peanut Butter Cookie Sandwiches are dependable, satisfying, and simple to make. Follow the directions exactly for the best repeatable result, and you’ll have a stack of sandwiches that please both kids and adults. They’re a great recipe to keep in your rotation — easy enough for a weekday treat, good enough to bring to a gathering. Make them once, and you’ll find yourself reaching for the jar of peanut butter more often.

Peanut Butter Cookie Sandwiches
Ingredients
Ingredients
- 1 cupcreamy peanut butter
- 1/2 cupunsalted butter softened,
- 1 cupbrown sugar packed
- 1/2 cupwhite sugar
- 2 eggs
- 1 teaspoonvanilla extract
- 1 1/2 cupsAP flour
- 1/2 teaspoonbaking powder
- 1/2 teaspoonbaking soda
- 1 1/4 cupscreamy peanut butter
- 6 tablespoonsunsalted butter room temperature
- 1 3/4 cupsPowdered sugar
- 4-6 tablespoonsheavy cream
- 1 1/2 teaspoonvanilla extract
Instructions
Instructions
- Preheat oven to 350°F (177°C). Line baking sheets with parchment paper or non-stick mats.
- Make the cookie dough: In a stand or electric mixer, cream together 1 cup creamy peanut butter and 1/2 cup unsalted butter (softened) until very smooth.
- Add 1 cup brown sugar (packed) and 1/2 cup white sugar to the peanut butter mixture and beat until very creamy.
- Add 2 eggs and 1 teaspoon vanilla extract; mix until well combined.
- In a separate bowl, whisk together 1 1/2 cups all-purpose flour, 1/2 teaspoon baking powder, and 1/2 teaspoon baking soda.
- Add the dry ingredients to the wet mixture and mix just until combined. Do not overmix.
- Roll the dough into 1 tablespoon balls and place them 2–3 inches apart on the prepared baking sheets. Press each ball with a fork to create a criss-cross pattern.
- Bake at 350°F for 10–12 minutes, or until the edges are golden. Let cookies cool on the baking sheet for 5–10 minutes, then transfer to a wire rack to cool completely. (Bake longer for crisper cookies.)
- Make the filling: In a stand or electric mixer, beat 1 1/4 cups creamy peanut butter and 6 tablespoons unsalted butter (room temperature) until very creamy.
- Gradually add 1 3/4 cups powdered sugar and mix until well blended.
- Add 1/4 cup (4 tablespoons) heavy cream and 1 1/2 teaspoons vanilla extract. Beat on medium speed for 2–3 minutes until very smooth and fluffy. If the filling is too thick, add up to 2 more tablespoons heavy cream (for a total of up to 6 tablespoons), 1 tablespoon at a time, until you reach the desired consistency.
- Assemble the sandwiches: Spoon a heaping tablespoon of filling onto the bottom side of half the cooled cookies. Top with the remaining cookies, pressing gently to spread the filling to the edges.
- Store assembled cookie sandwiches in an airtight container at room temperature for up to 3 days; refrigerate after that.
Equipment
- stand mixer or electric mixer
- Baking Sheets
- parchment paper or non-stick baking mats
- Mixing Bowl
- Fork
- Wire Rack
Notes
Candy: Add chopped candy such as Twix, Butterfinger, KitKat, Snickers, Skor, toffee bits or Reese’s. You can also add whole Rollos or America’s favorite – a Hersey kiss on top!
Nuts:chopped walnuts, pecans, almonds, or even peanuts.
Sweet and salty:try adding chopped pretzels or crushed potato chips for a sweet and salty treat.
Crumble on top of ice cream or chocolate pie
Use dough as a pie crust
Mix into brownie batter
Roll balls per instructions and flatten with the criss-cross pattern.
Fit as many dough balls as you can on a parchment/nonstick lined baking sheet without touching.
Place the baking sheet in the freezer and freeze the balls until outsides are hard (about 1-2 hours).
Transfer to a freezer size plastic bag and freeze.
Peanut Butter Cookie dough should freeze well for up to 3 months.
To BAKE: Place frozen cookie dough balls on a lined baking sheet and bake according to instructions, adding a couple extra minutes to cook time.
Fit as many COOLED baked Peanut Butter Cookies on a parchment/nonstick mat lined baking sheet without touching.
Place the baking sheet(s) in the freezer and freeze until solid (about 1 hour).
Transfer to a freezer size plastic bag and freeze.
To EAT: When you want to enjoy a Peanut Butter Cookie, take it out and let it sit at room temperature, warm in the microwave at 10 second intervals or warm it in the oven for a few minutes.