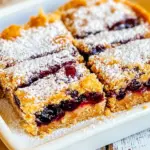
Peanut Butter and Jelly Bars
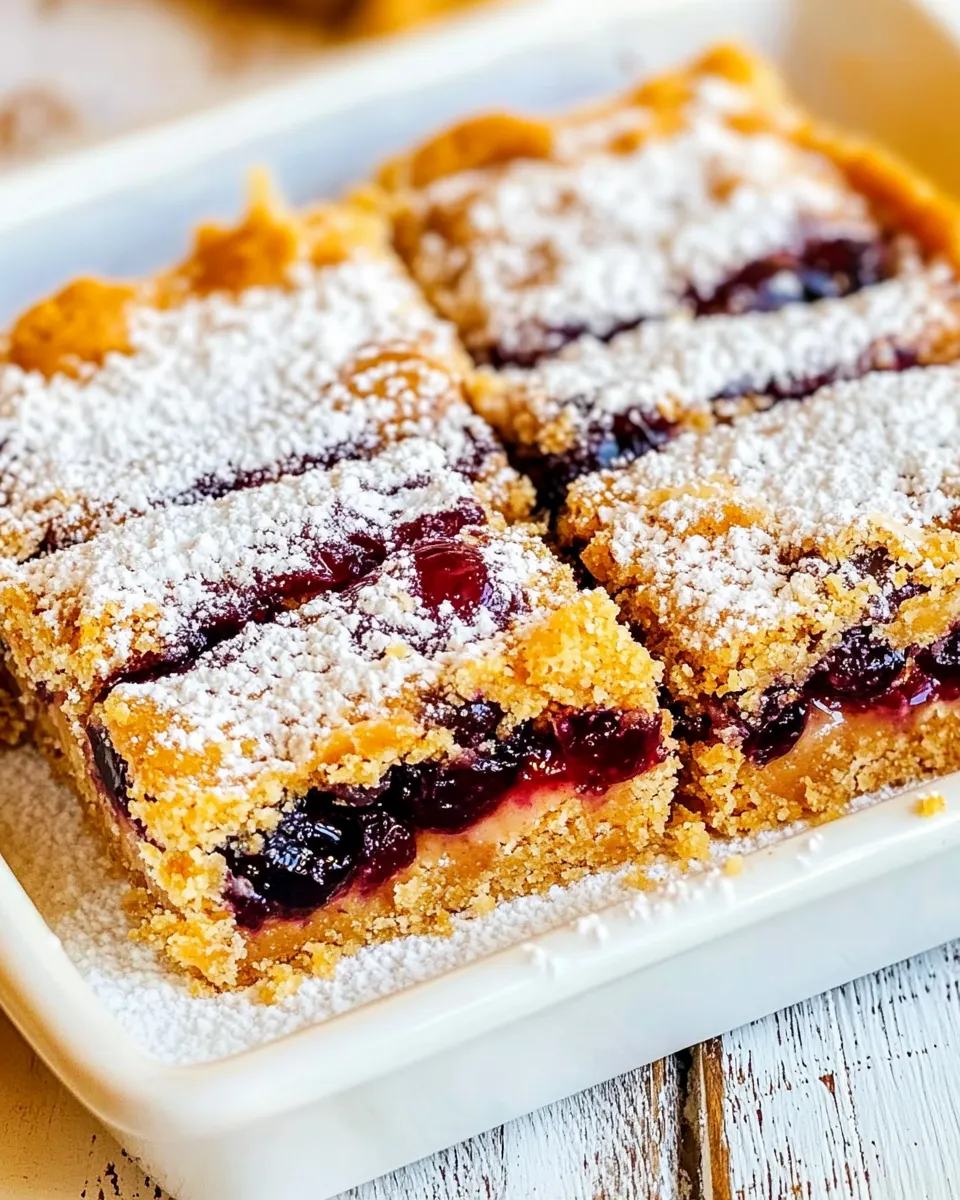
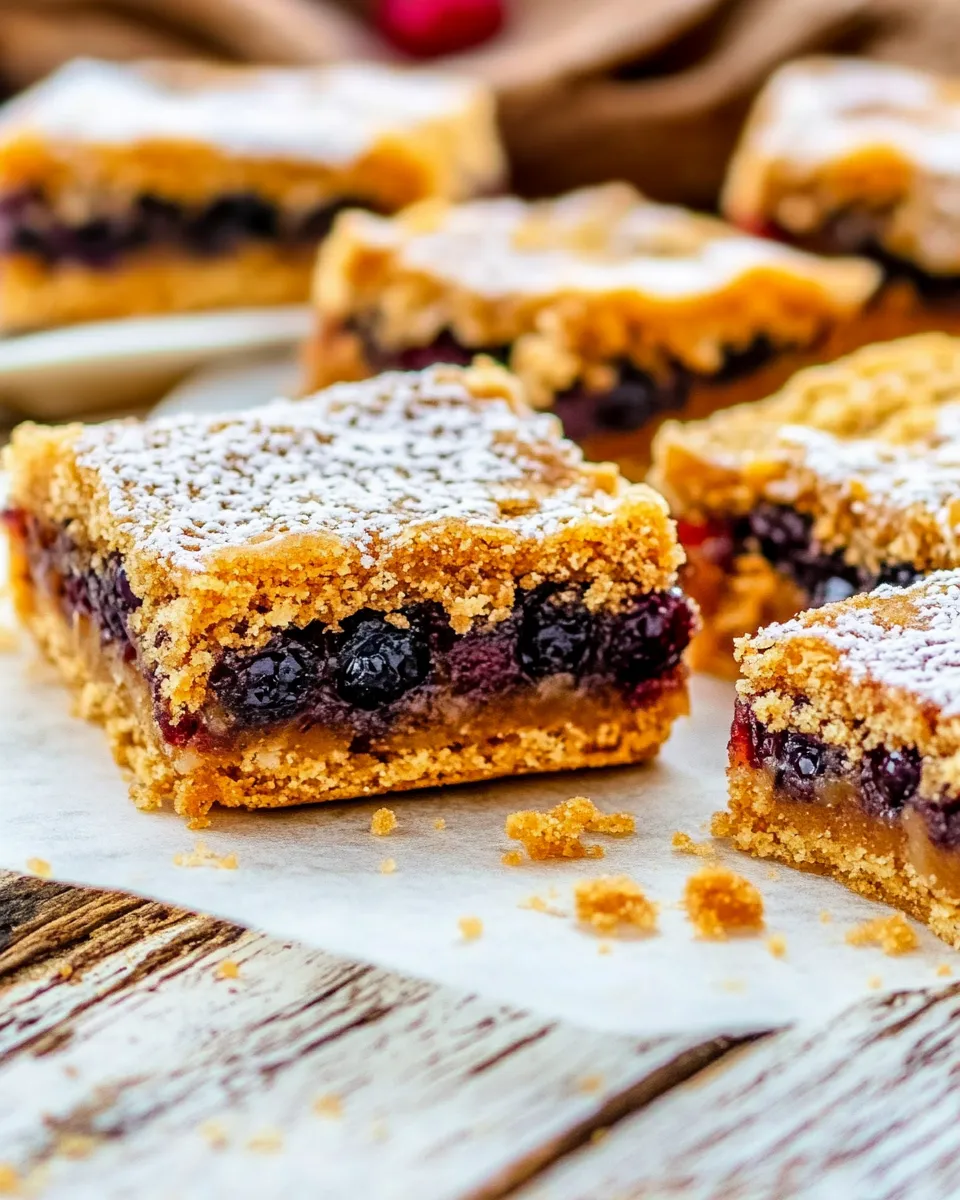
These bars are the grown-up kid-lunch you didn’t know you needed. They deliver everything good about a PB&J—sweet jam, salty peanut flavor, buttery shortbread—into a tray you can cut, stash, and pass around. They bake up tender, slice neatly when cooled, and travel well for potlucks or an afternoon pick-me-up.
I make these whenever I want something comforting but quick: the dough comes together in one bowl, there’s no chilling required, and the steps are straightforward. The jam layer brightens the rich peanut base, and the optional chopped peanuts give a satisfying crunch. Little details—room-temperature butter and eggs, even pressing the base—make a big difference in texture.
Below you’ll find the exact ingredient list and step-by-step directions, followed by practical notes on swaps, equipment, common mistakes to avoid, and storage. Read through once, then get your hands in the dough. These bars are forgiving and very, very shareable.
Ingredient Breakdown

Ingredients
- 1 cup butter (room temperature) — Gives the bars tender, buttery structure; soften but don’t melt the butter for proper creaming.
- 1 ½ cups granulated sugar — Sweetens and helps the dough brown at the edges; measure by scooping and leveling.
- 1 teaspoon vanilla — Adds background warmth and rounds the peanut flavor.
- 2 large eggs (room temperature) — Bind the dough and add richness; room temperature eggs incorporate more smoothly.
- 2 cups creamy peanut butter — Main flavor and fat source; creamy gives an even texture throughout the dough.
- 3 cups all-purpose flour — Provides structure; measure carefully for correct density.
- 1 teaspoon baking powder — Gives a slight lift so the bars aren’t too dense.
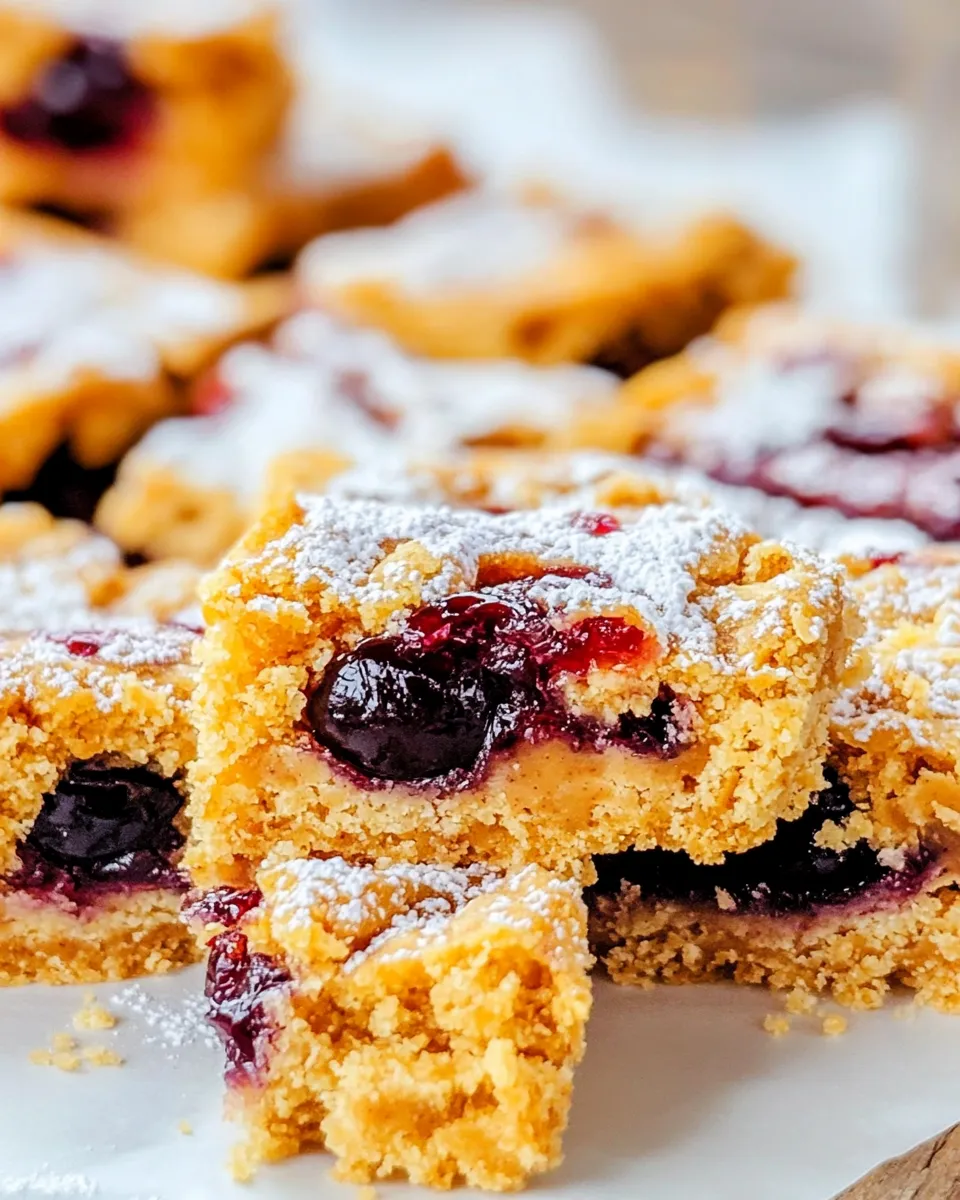
- 1 ½ cups jam (your favorite flavor) — The fruity counterpoint; spread evenly so every bite has jam.
- ⅔ cup salted peanuts, coarsely chopped, optional — Sprinkle over jam for crunch and salt contrast; use as-is or skip.
- powdered sugar for dusting — A light finish that makes slices look bakery-fresh.
Step-by-Step: Peanut Butter and Jelly Bars
- Preheat oven to 350°F. Grease a 13×9-inch baking pan.
- In a large bowl, cream together 1 cup butter (room temperature) and 1 ½ cups granulated sugar until light and fluffy, about 2 minutes.
- Add 2 large eggs (room temperature), 1 teaspoon vanilla, and 2 cups creamy peanut butter. Mix until combined.
- Add 3 cups all-purpose flour and 1 teaspoon baking powder. Mix until a firm, evenly combined dough forms.
- Press about two‑thirds (2/3) of the dough evenly into the bottom of the prepared 13×9-inch pan, smoothing the surface with a spatula or your hands.
- Spread 1 ½ cups jam evenly over the dough layer.
- If using, sprinkle ⅔ cup coarsely chopped salted peanuts evenly over the jam.
- Drop the remaining dough over the jam by teaspoonfuls, spacing them so some jam remains visible.
- Bake in the preheated oven for 25–30 minutes, until the edges are golden and the topping is set.
- Remove from the oven and let cool completely in the pan on a wire rack.
- Dust with powdered sugar before slicing and serving.
Why It’s Crowd-Pleasing
These bars checks all the boxes: familiar flavors, easy portions, and a pleasing balance of sweet and savory. The peanut butter provides a creamy, nutty backbone while the jam adds bright acidity and sweetness. People recognize the PB&J combination, which lowers the barrier to trying something you brought to a gathering.
They’re also low-fuss to serve: no utensils required, easy to pack, and they keep their shape well once cooled. For hosts, that convenience is as big a win as the flavor. For kids and adults alike, the texture contrast—shortbread-like base, jam, and a crumbly top—is instantly satisfying.
Swap Guide
This recipe is deliberately simple, so swaps should be conservative. Stick to ingredients already on the list where possible.
- Jam variations — Use your favorite jam flavor to change the profile. Brighter jams give a fresher bite; deeper, cooked fruit jams give a richer finish.
- Peanut option — The recipe specifies creamy peanut butter. If you only have a different jar of creamy peanut butter (same texture), the recipe will work the same.
- Peanuts on top — The ⅔ cup of coarsely chopped salted peanuts is optional; omit them if you prefer a smoother bar or if serving to someone with a texture preference.
Setup & Equipment
Have these items ready before you start. Preparation is quick, and having tools at hand keeps the process efficient.
- 13×9-inch baking pan — needed for the specified yield and baking time.
- Mixing bowl and hand mixer or stand mixer — to cream butter and sugar properly.
- Spatula and teaspoon — spatula to smooth the base; teaspoon to drop the topping dough.
- Wire rack — to cool the pan completely before slicing.
- Fine mesh sieve or shaker — for dusting powdered sugar neatly.
Don’t Do This
Small mistakes change texture more than flavor. Avoid these common missteps.
- Do not skip bringing butter and eggs to room temperature. Cold butter won’t cream properly; cold eggs can make the dough uneven.
- Don’t press all the dough into the pan. The recipe calls for pressing about two-thirds into the pan and dropping the rest on top. Compressing the entire mass will eliminate the jam pockets and change the texture.
- Avoid overbaking. Remove the pan when the edges are golden and the topping is set. Overbaked bars become dry and lose the tender shortbread quality.
Seasonal Spins
Because the jam is flexible, the recipe adapts by season without touching the core ingredient list. In warm months, a brightly flavored jam feels lighter; in colder months, a deeper fruit preserves adds cozy richness. You can also lean into holiday pairings by choosing jam flavors that complement the season’s treats (think tart versus jammy).
The optional salted peanuts give a nutty crunch that works year-round. If you prefer a cleaner look for special occasions, skip the chopped nuts and dust liberally with powdered sugar right before serving for a simple, festive appearance.
Cook’s Notes
Texture & Mixing
Cream the butter and sugar until light and fluffy—about two minutes at medium speed. This step incorporates air so the base isn’t overly dense. When you add the flour and baking powder, mix only until combined. The goal is a firm, cohesive dough, not overworked gluten.
Spreading the Jam
Spread the jam evenly on the pressed base for consistent bites. If your jam is very runny, spoon it and spread gently so it doesn’t soak into the base. For chunkier jams, a thin layer works best so the topping adheres.
Cooling Fully
Let the bars cool completely in the pan on a wire rack before slicing. Cutting while warm causes the jam to smear and the pieces to crumble. A full cool gives clean slices and better shelf life.
Prep Ahead & Store
These bars are make-ahead friendly. Bake them, cool completely, dust with powdered sugar, cover, and store at room temperature for up to 3 days. For longer storage, wrap tightly and refrigerate for up to a week—bring to room temperature before serving for the best texture.
If you need to freeze, wrap individual slices or the whole pan (if using foil-safe pan) tightly in plastic wrap and then foil. Freeze up to 2 months. Thaw in the refrigerator overnight, then bring to room temperature before dusting with powdered sugar and serving.
Ask the Chef
Q: My dough is crumbly and won’t press together. A: Your dough should be firm but cohesive. If it’s too crumbly, you likely overmeasured the flour. Pressing firmly with your hands can help finish bringing it together. If needed, a teaspoon of milk can help, added sparingly—mix just until it holds.
Q: The top bits sank into the jam during baking. A: Drop the remaining dough by teaspoonfuls with plenty of spacing so some jam remains visible. Tighter placement can cause pieces to merge and settle as they bake. Also, check oven temperature; an oven running cool can cause excess spreading.
Q: Can I omit the powdered sugar? A: Yes. Powdered sugar is purely decorative and adds a touch of sweetness. The bars are flavorful without it.
Save & Share
If you loved these Peanut Butter and Jelly Bars, save the recipe to your favorites and share with friends. They’re a crowd-pleaser at school bake sales, office parties, and family gatherings. Slice them into squares, stack them in a container with parchment between layers, and they’re ready to give or take on the go.
When you bake a batch, take a photo and note which jam flavor you used—seeing how different jams play with the peanut base is half the fun. Enjoy the process and the simple comfort these bars bring.
Peanut Butter and Jelly Bars
Ingredients
Ingredients
- 1 cupbutterroom temperature
- 1 1/2 cupsgranulated sugar
- 1 teaspoonvanilla
- 2 largeeggsroom temperature
- 2 cupscreamy peanut butter
- 3 cupsall-purpose flour
- 1 teaspoonbaking powder
- 1 1/2 cupsjam your favorite flavor
- 2/3 cupsalted peanutscoarsely chopped optional
- powdered sugarfor dusting
Instructions
Instructions
- Preheat oven to 350°F. Grease a 13×9-inch baking pan.
- In a large bowl, cream together 1 cup butter (room temperature) and 1 ½ cups granulated sugar until light and fluffy, about 2 minutes.
- Add 2 large eggs (room temperature), 1 teaspoon vanilla, and 2 cups creamy peanut butter. Mix until combined.
- Add 3 cups all-purpose flour and 1 teaspoon baking powder. Mix until a firm, evenly combined dough forms.
- Press about two‑thirds (2/3) of the dough evenly into the bottom of the prepared 13×9-inch pan, smoothing the surface with a spatula or your hands.
- Spread 1 ½ cups jam evenly over the dough layer.
- If using, sprinkle ⅔ cup coarsely chopped salted peanuts evenly over the jam.
- Drop the remaining dough over the jam by teaspoonfuls, spacing them so some jam remains visible.
- Bake in the preheated oven for 25–30 minutes, until the edges are golden and the topping is set.
- Remove from the oven and let cool completely in the pan on a wire rack.
- Dust with powdered sugar before slicing and serving.
Equipment
- 9×13 baking dish
- nonstick spray
- Offset Spatula
- Hand Mixer
- Mixing Bowl
- Offset spatulahelpful for spreading jam
- Sifterfor dusting powdered sugar