No Bake Heavenly Oreo Dessert
I love desserts that give you an “I made this!” moment with minimal fuss. This No Bake Heavenly Oreo Dessert is one of those recipes: robust flavor, easy technique, and a texture that makes people take a second bite. It’s the sort of dish I bring when I want to impress without spending hours in the kitchen.
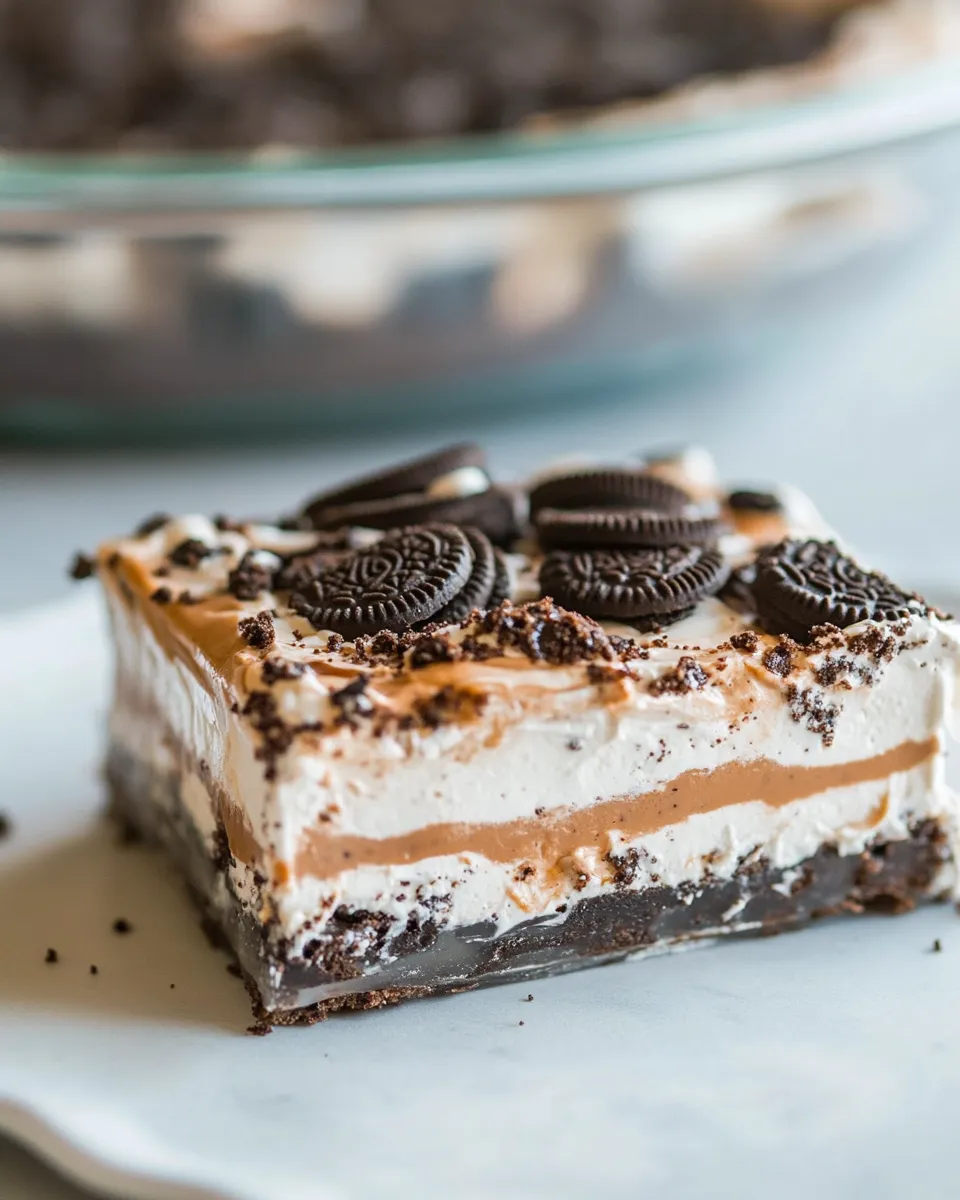
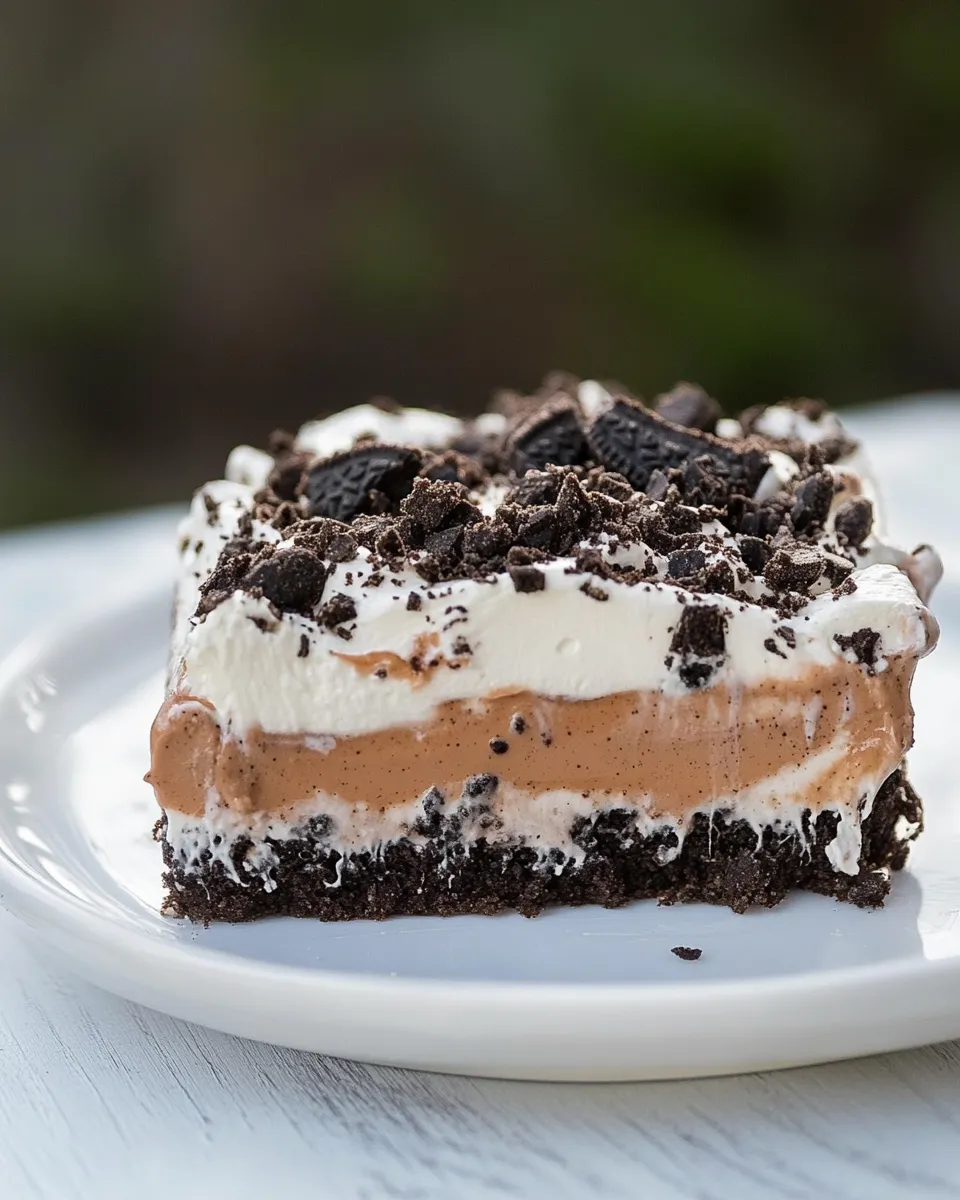
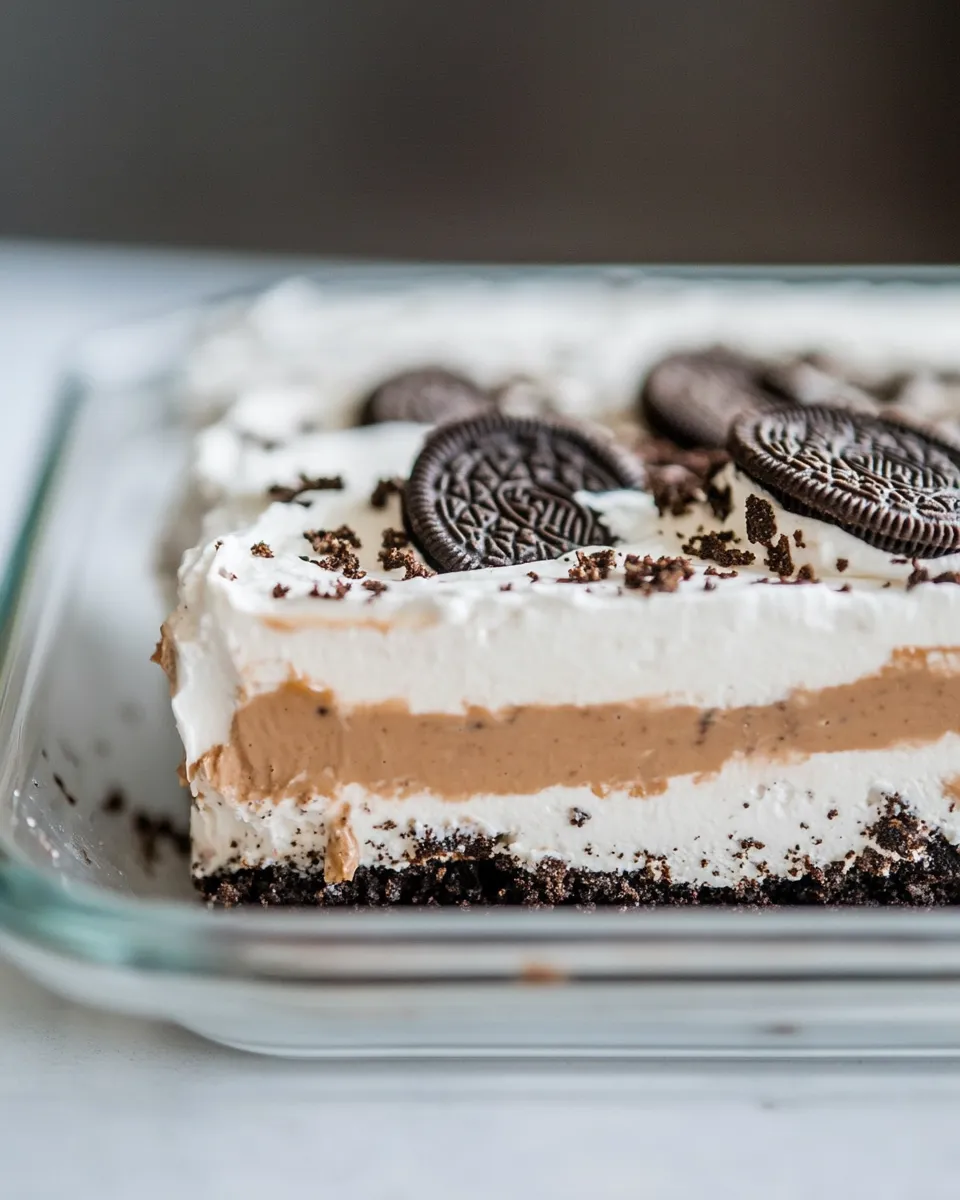
There are four layers here — a crunchy Oreo crust, a whipped cream cheese layer, a silky chocolate pudding middle, and a cloud of Cool Whip crowned with extra Oreo crumbs. Each layer is straightforward on its own, and assembled together they become something richer than the sum of their parts.
I’ll walk you through the exact ingredient list, the step-by-step method, storage tips, simple swaps if you’re on a budget, and common slip-ups to avoid. No fluff. Just practical, dependable guidance so your pan comes out picture-perfect every time.
Gather These Ingredients

Ingredients
- 15.35 ounce (435.17 g) Double Stuff Oreo Cookies — the base of the crust and final crunchy topping; reserve a little for garnish.
- ½ cup (113.5 g) unsalted butter, melted and slightly cooled — binds the cookie crumbs and gives a firm, sliceable crust.
- 8 ounces (226.8 g) cream cheese — provides tang and structure to the cream layer; room temperature beats easier.
- 1 cup (120 g) powdered sugar — sweetens the cream cheese without grittiness; sift if lumpy.
- 8 ounce (226.8 g) tub Cool Whip — folded into the cream cheese for lightness; adds stability and airy texture.
- 5.1 ounce (144.58 g) box instant chocolate pudding — makes the smooth chocolate layer; the instant variety sets quickly.
- 3 cups (854 ml) milk — hydrates the pudding mix; whole milk gives the creamiest result, but 2% works fine.
- 8 ounce (226.8 g) tub Cool Whip — the final whipped topping for a soft, neutral finish that holds crumbs.
No Bake Heavenly Oreo Dessert — Do This Next
- Prepare the cookies: Place all 15.35 ounces (435.17 g) Double Stuff Oreos in a large zip-top bag and crush with a rolling pin or mallet until you have mostly small crumbs with a few small chunks. Remove and set aside ½ cup of the crumbs for the topping. Transfer the remaining crumbs to a 9×13-inch pan.
- Make and chill the crust: Pour the ½ cup (113.5 g) melted, slightly cooled unsalted butter over the crumbs in the pan. Use a fork (or the bottom of a measuring cup) to mix until all crumbs are moistened. Press the mixture into an even layer across the bottom of the pan. Refrigerate the crust while you prepare the next layer.
- Make the cream cheese layer: In a mixing bowl, beat the 8 ounces (226.8 g) cream cheese on medium speed for about 3 minutes, until light and fluffy. Reduce speed to medium-low and gradually add the 1 cup (120 g) powdered sugar until incorporated. Increase to medium speed and beat 30 seconds more. Gently fold in one 8-ounce (226.8 g) tub of Cool Whip with a rubber spatula until blended. Spread this cream cheese mixture in an even layer over the chilled crust. Refrigerate while you make the pudding.
- Make the pudding layer: In a large bowl, whisk the 5.1-ounce (144.58 g) box instant chocolate pudding mix with 3 cups (854 ml) milk for 2 minutes. Let the pudding sit for 5 minutes to set. Use an offset spatula or a spoon to spread the pudding in an even layer over the cream cheese layer.
- Finish the dessert: Spread the remaining 8-ounce (226.8 g) tub of Cool Whip evenly over the pudding layer. Sprinkle the reserved ½ cup of Oreo crumbs over the top.
- Chill and serve: Cover the pan and refrigerate for at least 4 hours (or overnight) before cutting and serving.
Reasons to Love No Bake Heavenly Oreo Dessert
- The texture contrast — crunchy Oreo crust against creamy pudding and whipped layers — keeps each bite interesting.
- It’s almost entirely hands-off after assembly; the refrigerator does the setting for you.
- Minimal equipment and ingredients deliver a dessert that looks like you worked harder than you did.
- It feeds a crowd. A 9×13 pan is party-ready and slices neatly when fully chilled.
- Make-ahead friendly: it improves if made the day before because layers settle and flavors marry.
Budget & Availability Swaps
- Cookie: If Double Stuff Oreos are hard to find or pricey, use regular Oreos and scrape some of the filling into the crumbs for extra flavor. Quantity-wise stick with the same weight/volume.
- Butter: If unsalted butter is limited, use salted butter but reduce any additional salt in other recipes served with it. The role is binding and flavor.
- Pudding: Instant chocolate pudding boxes are standard; if unavailable, a homemade chocolate pudding can work but will change the “instant set” timing and texture.
- Cool Whip: Freshly whipped heavy cream (about 2 cups whipped to soft peaks) can replace each 8-ounce tub, but folded-in homemade whipped cream is slightly looser and less stable.
- Cream cheese: Store brands work fine. For a tang boost, use a slightly older cream cheese that’s not ultra-fresh, but always beat until smooth to avoid lumps.
Cook’s Kit
Essential tools
- 9×13-inch pan — the recipe is sized for this pan for even layer thickness.
- Large mixing bowls — at least two, one for the cream cheese layer and one for pudding.
- Electric mixer — hand or stand mixer for a smooth cream cheese mixture.
- Rolling pin or mallet and a large zip-top bag — for crushing the Oreos cleanly.
- Offset spatula or large spoon — for smoothing layers evenly.
Nice-to-haves
- Measuring cups and kitchen scale — helpful for precise amounts.
- Rubber spatula — minimizes waste when folding Cool Whip into the cream cheese.
- Plastic wrap or foil — to cover the pan while chilling to prevent fridge odors.
Slip-Ups to Skip
- Don’t skip cooling the melted butter slightly — hot butter can overly soften crumbs and make a greasy crust.
- Avoid using cold cream cheese. Cold cream cheese will create lumps; bring it to room temperature first for a smooth beat.
- Don’t rush the pudding set time. The pudding needs the full 5 minutes to thicken enough to spread without sinking into the cream cheese layer.
- Press the crust evenly and firmly. An uneven or loose crust makes slices fall apart.
- Don’t cut into the dessert too soon. Cutting while still warm or insufficiently chilled will give you messy slices.
Seasonal Spins
- Holiday: Add a drizzle of warmed chocolate ganache over the top and finish with crushed peppermint for a festive twist.
- Summer: Fold in thinly sliced strawberries between the pudding and whipped topping for bright, fresh notes.
- Fall: Stir a teaspoon of cinnamon into the cream cheese layer for a subtle autumnal warmth that pairs well with chocolate.
- Birthday: Add colorful sprinkles to the top layer before serving for an instant celebration vibe.
Little Things that Matter
- Reserve the crumb garnish. Setting aside ½ cup of crumbs at the start gives you a crisp, unchanged topping for texture contrast.
- Level your layers. Use an offset spatula or the back of a spoon and take your time to get clean, even layers — it makes the finished look that much better.
- Room temperature ingredients: cream cheese should be soft but not warm. Cool Whip should be cold. These temperatures help with proper incorporation and final texture.
- Chill time: at least 4 hours is necessary for clean slices; overnight is ideal for best texture and flavor melding.
Keep-It-Fresh Plan
- Storage: Cover the pan tightly with plastic wrap or a lid and refrigerate. Properly covered, this dessert keeps well for 3–4 days.
- Freezing: You can freeze individual slices wrapped in plastic and foil for up to 1 month. Thaw in the refrigerator overnight before serving. Note: the texture will be slightly softer after freezing.
- Make-ahead: Assemble up to 24 hours ahead. The chips and crumbs retain their crunch better if you add the topping no earlier than a few hours before serving, but it’s fine to add it up front if you’re short on time.
- Transport: If you need to bring this somewhere, keep it in a shallow cooler with ice packs to maintain its chill until just before serving.
No Bake Heavenly Oreo Dessert FAQs
- Can I substitute fresh whipped cream for Cool Whip? — Yes. Use about 2 cups of whipped heavy cream for each 8-ounce Cool Whip tub, folded gently into the cream cheese. The homemade version is softer and may not hold as long in warm conditions.
- My pudding was too runny — what went wrong? — Instant pudding must be whisked for the full 2 minutes and then allowed to sit 5 minutes to thicken. Make sure you measured milk accurately and used instant pudding.
- How can I get cleaner slices? — Chill fully (4 hours to overnight) and use a sharp knife warmed under hot water and wiped dry between slices.
- Can I make this in smaller pans? — Yes. A similar depth is ideal; if you use an 8×8 pan, expect thicker layers and fewer servings. Adjust your serving expectations, not the ingredients.
- Is there a gluten-free version? — Use a certified gluten-free chocolate sandwich cookie in place of Oreos and confirm your pudding mix and other items are GF. The technique remains the same.
Bring It Home
This No Bake Heavenly Oreo Dessert is one of my go-to crowd pleasers because it’s reliable and forgiving. Follow the steps in order, mind the chill time, and you’ll have tidy, delicious bars that look like weekend-worthy baking without the oven hassle.
Serve them straight from the fridge with a hot coffee or a cold glass of milk. If you want to dress them up, add a drizzle of chocolate, a few fresh berries, or a sprinkle of flaky sea salt across the top crumbs. Simple additions, big results.
Enjoy — and when someone asks for the recipe, you can confidently say you made it yourself. That’s the best kind of kitchen win.
No Bake Heavenly Oreo Dessert
Ingredients
Ingredients
- 15.35 ounce 435.17 gDouble Stuff Oreo Cookies
- 1/2 cup 113.5 gunsalted butter melted and slightly cooled
- 8 ounces 226.8 gcream cheese
- 1 cup 120 gpowdered sugar
- 8 ounce 226.8 gtub Cool Whip
- 5.1 ounce 144.58 gbox instant chocolate pudding
- 3 cups 854 mlmilk
- 8 ounce 226.8 gtub Cool Whip
Instructions
Instructions
- Prepare the cookies: Place all 15.35 ounces (435.17 g) Double Stuff Oreos in a large zip-top bag and crush with a rolling pin or mallet until you have mostly small crumbs with a few small chunks. Remove and set aside ½ cup of the crumbs for the topping. Transfer the remaining crumbs to a 9×13-inch pan.
- Make and chill the crust: Pour the ½ cup (113.5 g) melted, slightly cooled unsalted butter over the crumbs in the pan. Use a fork (or the bottom of a measuring cup) to mix until all crumbs are moistened. Press the mixture into an even layer across the bottom of the pan. Refrigerate the crust while you prepare the next layer.
- Make the cream cheese layer: In a mixing bowl, beat the 8 ounces (226.8 g) cream cheese on medium speed for about 3 minutes, until light and fluffy. Reduce speed to medium-low and gradually add the 1 cup (120 g) powdered sugar until incorporated. Increase to medium speed and beat 30 seconds more. Gently fold in one 8-ounce (226.8 g) tub of Cool Whip with a rubber spatula until blended. Spread this cream cheese mixture in an even layer over the chilled crust. Refrigerate while you make the pudding.
- Make the pudding layer: In a large bowl, whisk the 5.1-ounce (144.58 g) box instant chocolate pudding mix with 3 cups (854 ml) milk for 2 minutes. Let the pudding sit for 5 minutes to set. Use an offset spatula or a spoon to spread the pudding in an even layer over the cream cheese layer.
- Finish the dessert: Spread the remaining 8-ounce (226.8 g) tub of Cool Whip evenly over the pudding layer. Sprinkle the reserved ½ cup of Oreo crumbs over the top.
- Chill and serve: Cover the pan and refrigerate for at least 4 hours (or overnight) before cutting and serving.
Equipment
- 9x13-inch pan
- large zip-top bag
- rolling pin or mallet
- Mixing Bowl
- Electric Mixer
- Rubber spatula
- fork or measuring cup
- Offset Spatula
- Refrigerator
Notes
Nutritional values are based on one serving