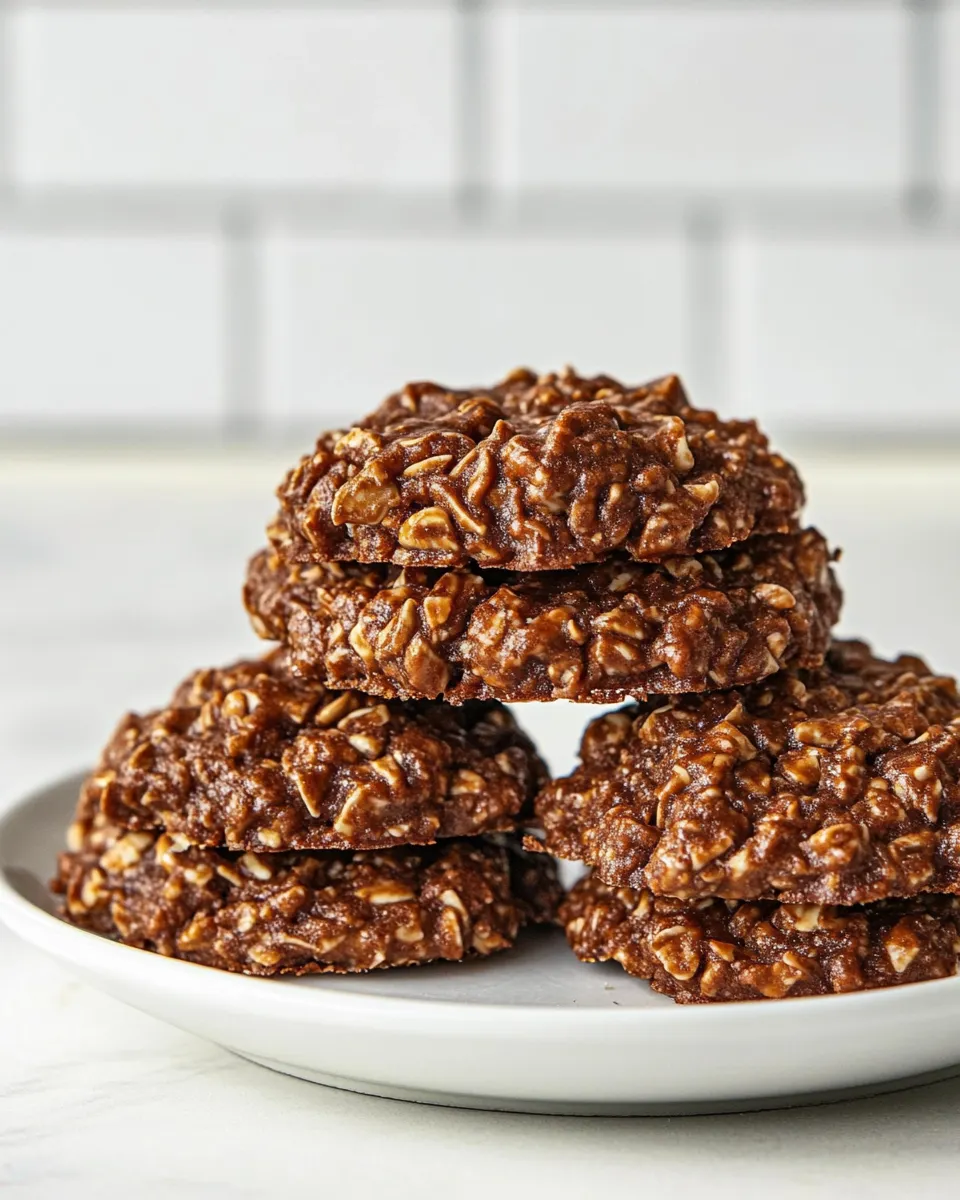
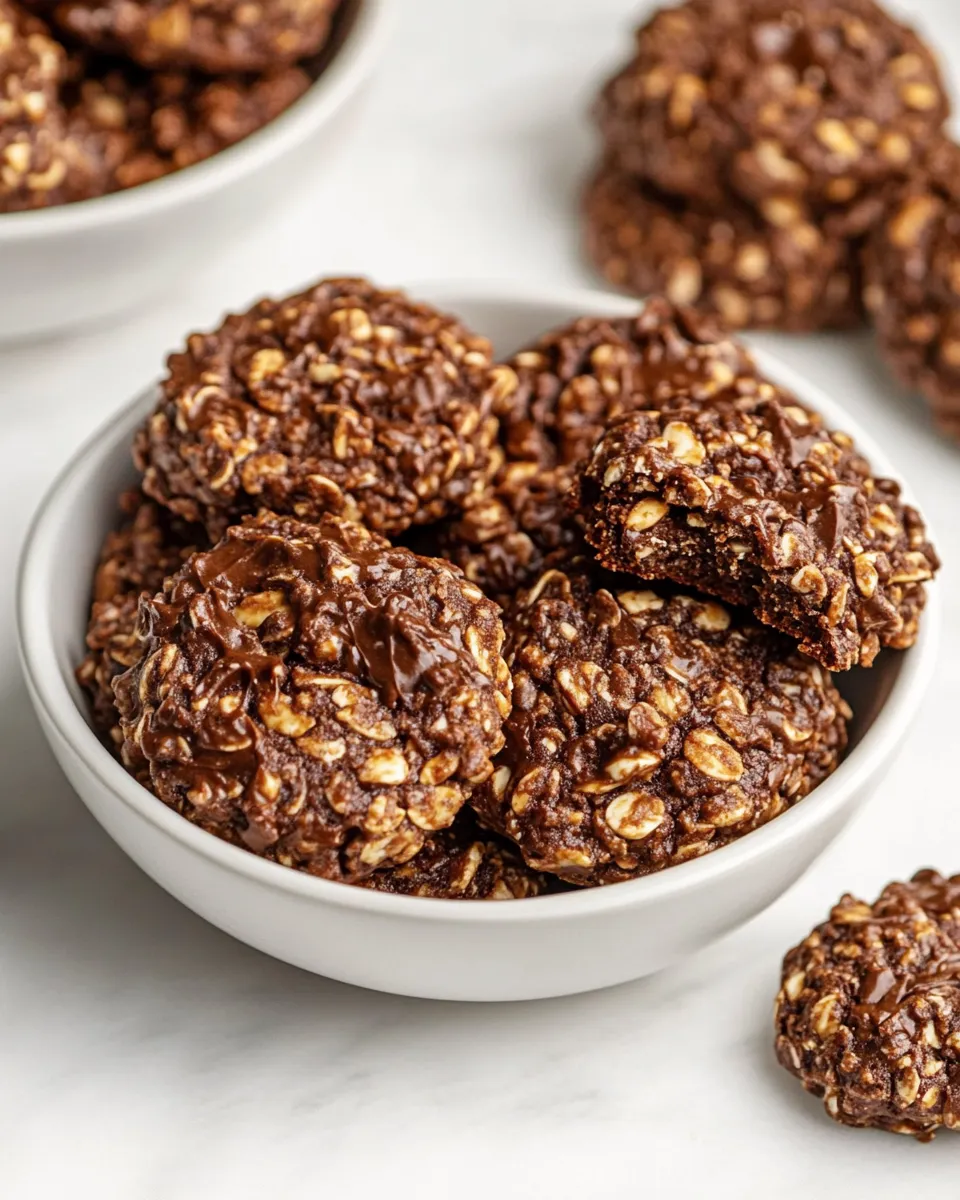
No-Bake Cookies
These cookies are one of those small, reliable joys you go to when you want something warm, chocolatey, and ready in less than an hour without turning on the oven. They come together on the stovetop in a single pan, then set on a sheet. No-Bake Cookies are forgiving, fast, and a true weeknight — or last-minute guest — lifesaver.
I keep a jar of quick oats and a bag of cocoa in the pantry for this exact situation. The method is straightforward: melt, boil briefly, fold in peanut butter and oats, then scoop. The timing is precise only for the boil; otherwise, it’s about watching for texture and trusting your rhythm.
Below I’ll walk you through the ingredients and the exact steps, point out the mistakes I see most often, and offer practical swaps so you can adapt to what you already have. No fluff. Just a clear path to chewy, set cookies that taste like comfort.
What We’re Using

- 1/2 cup unsalted butter, cut into tablespoon pieces — brings richness and helps the sugar dissolve evenly; use unsalted to control sodium.
- 2 cups granulated sugar — sweetens and creates the syrup base; dissolve fully to avoid grainy cookies.
- 1/2 cup milk — thins the sugar syrup so it boils correctly; whole milk gives the best mouthfeel.
- 1/4 cup unsweetened cocoa powder — gives the chocolate flavor; sift if lumpy for a smoother mixture.
- 1/2 cup creamy peanut butter — adds fat, flavor, and chew; creamy integrates best for a smooth finish.
- 2 teaspoons pure vanilla extract — lifts and rounds the chocolate; add off heat to preserve aroma.
- 1/2 teaspoon kosher salt — balances sweetness and enhances chocolate notes.
- 3 cups quick oats — the structure and chew; quick oats absorb the hot mixture fastest for reliable set.
Cook No-Bake Cookies Like This
- Line two large baking sheets with parchment paper or silicone baking mats and set aside.
- Place 1/2 cup unsalted butter (cut into tablespoon pieces), 2 cups granulated sugar, 1/2 cup milk, and 1/4 cup unsweetened cocoa powder in a medium saucepan.
- Heat the saucepan over medium heat, stirring frequently to dissolve the sugar and prevent scorching, until the mixture comes to a rolling boil (boiling around the edges and in the middle).
- Once it reaches a rolling boil, continue boiling for 1 minute, stirring occasionally; start timing when the mixture is fully boiling.
- Remove the pan from the heat and immediately stir in 1/2 cup creamy peanut butter, 2 teaspoons pure vanilla extract, and 1/2 teaspoon kosher salt until the peanut butter is melted and the mixture is smooth.
- Stir in 3 cups quick oats until they are evenly coated and fully incorporated.
- Drop rounded 2-tablespoon spoonfuls of the mixture onto the prepared baking sheets (about 2 tablespoons per cookie), spacing them slightly apart.
- Let the cookies sit at room temperature until cooled and hardened, about 20 to 30 minutes.
Why Cooks Rave About It
No-Bake Cookies hit a sweet spot: minimal equipment, pantry staples, and results that feel homemade and comforting. They don’t require exact oven temperatures or delicate baking windows. That simplicity makes them popular in busy kitchens and with home cooks who appreciate immediate gratification.
The method concentrates flavor quickly. Boiling the sugar and cocoa together intensifies the chocolate while the peanut butter adds a salty, nutty counterpoint. Quick oats give a tender chew; they absorb just enough of the hot syrup to set without turning gummy. You get candy-like texture with cookie familiarity, and that combination is why people keep coming back to this recipe.
Ingredient Swaps & Substitutions
Substitutions work, but they change texture and timing. If you must swap, do it with intention.
– Milk: You can use 2% or whole milk for richer cookies. Non-dairy milks (soy, oat) will work, but they may thin the syrup differently. Expect similar results but test one batch first.
– Peanut butter: Natural or stirred-separation peanut butter can be used, but it’s looser and may slightly change the set. If using natural, stir well and measure after stirring. Chunky peanut butter will add texture but may not melt as smoothly.
– Sugar: This recipe relies on granulated sugar to form the quick syrup. Substituting brown sugar or coconut sugar will affect flavor and moisture; use caution and expect denser cookies.
– Oats: Quick oats are recommended for consistency. Old-fashioned rolled oats will work but yield a chewier, heartier cookie. Avoid steel-cut oats; they won’t soften enough.
What You’ll Need (Gear)
No fancy tools. Here’s what I use every time:
– Medium saucepan: heavy-bottomed is best so the sugar doesn’t scorch. A thin pan heats unevenly and burns easily.
– Wooden spoon or heatproof silicone spatula: for stirring while boiling.
– Measuring cups and spoons: accurate sugar and milk measures matter.
– Tablespoon or small cookie scoop: for consistent drops — about 2 tablespoons per cookie.
– Two large baking sheets lined with parchment or silicone mats: allow cookies to cool on a flat, nonstick surface.
Mistakes That Ruin No-Bake Cookies
These are the missteps I see most often. Avoid them and you’ll save time and food.
1) Not bringing the mixture to a full rolling boil before timing. If you start your one-minute timer before it’s truly boiling throughout, the sugar won’t reach the right concentration and the cookies won’t set properly. You’ll end up with soft, sticky disks that never firm up.
2) Overheating or scorching the mixture. High heat and a thin pan will burn the sugar/cocoa. Stir frequently and keep medium heat. Burned flavor is impossible to fix.
3) Adding the peanut butter or oats too early. If peanut butter goes in before you remove from heat, the aroma can fade and separation sometimes occurs. And if oats go in while the mixture is too hot, they can clump; add them after stirring in peanut butter so they coat evenly.
Make It Your Way
Once you know the basic mechanics, tweak texture and flavor to suit your household.
Texture options
– Chewier: swap quick oats for 2 cups quick oats + 1 cup old-fashioned oats. The larger flakes give more chew.
– Firmer: slightly reduce the milk by a tablespoon if you want a thicker syrup that sets firmer. Make this change sparingly; it affects boil behavior.
Flavor options
– Chocolate-forward: increase the cocoa to 1/3 cup for more chocolate intensity. Watch the boil; more cocoa thickens the syrup.
– Nut-free: swap peanut butter for sunflower seed butter, keeping the same amount. The color and taste change, but the set is similar.
Little Things that Matter
Small details make a big difference with this recipe. Use a heavy-bottomed pan to spread heat evenly. Stir the mixture constantly while heating to dissolve sugar and avoid hotspots. When it hits a rolling boil, watch closely — the difference between under- and overcooking is seconds.
Also, work quickly once you remove the pan from the heat. The mixture cools fast; if you wait too long before adding oats, the peanut butter won’t incorporate smoothly and the oats can clump. Use a cookie scoop or tablespoon to keep portion sizes uniform so cookies set at the same rate.
Meal Prep & Storage Notes
These cookies store well at room temperature in an airtight container for up to 3 days. Layer with parchment paper if stacking to prevent sticking. For longer storage, freeze baked cookies in a single layer until firm, then transfer to a zip-top bag; they’ll keep for 2 months. Thaw at room temperature for 15–20 minutes before serving.
If they soften slightly at room temperature in warm kitchens, refrigerate them briefly to firm up. They’re still great chilled — the texture tightens and the flavors concentrate.
Handy Q&A
Q: My cookies never set. What went wrong?
A: Most likely the syrup didn’t reach a full rolling boil for the required 1 minute. Make sure the mixture is boiling across the entire surface, not just bubbling at the edges. Also check that your measurements were accurate.
Q: Can I use natural peanut butter?
A: Yes, but stir it first and be mindful that natural peanut butter can be runnier. Measure after stirring; you may need to adjust slightly if the mixture becomes too loose.
Q: Why do my cookies taste grainy?
A: Graininess comes from undissolved sugar. Stir frequently during heating and bring the mixture to a proper boil so the sugar fully dissolves.
The Last Word
No-Bake Cookies are a practical, satisfying dessert that rewards attention to a few technical points: heat management, timing at the boil, and quick mixing. Follow the steps, keep your tools ready, and work with the rhythm of the recipe. You’ll get reliably tasty cookies every time.
Make a double batch for gatherings or keep a single sheet for evening snacks. They’re forgiving, fast, and exactly the kind of recipe to have in your repertoire when you want good results with a minimum of fuss.
No-Bake Cookies
Ingredients
Ingredients
- 1/2 cupunsalted butter cut into tablespoon pieces
- 2 cupsgranulated sugar
- 1/2 cupmilk
- 1/4 cupunsweetened cocoa powder
- 1/2 cupcreamy peanut butter
- 2 teaspoonspure vanilla extract
- 1/2 teaspoonkosher salt
- 3 cupsquick oats
Instructions
Instructions
- Line two large baking sheets with parchment paper or silicone baking mats and set aside.
- Place 1/2 cup unsalted butter (cut into tablespoon pieces), 2 cups granulated sugar, 1/2 cup milk, and 1/4 cup unsweetened cocoa powder in a medium saucepan.
- Heat the saucepan over medium heat, stirring frequently to dissolve the sugar and prevent scorching, until the mixture comes to a rolling boil (boiling around the edges and in the middle).
- Once it reaches a rolling boil, continue boiling for 1 minute, stirring occasionally; start timing when the mixture is fully boiling.
- Remove the pan from the heat and immediately stir in 1/2 cup creamy peanut butter, 2 teaspoons pure vanilla extract, and 1/2 teaspoon kosher salt until the peanut butter is melted and the mixture is smooth.
- Stir in 3 cups quick oats until they are evenly coated and fully incorporated.
- Drop rounded 2-tablespoon spoonfuls of the mixture onto the prepared baking sheets (about 2 tablespoons per cookie), spacing them slightly apart.
- Let the cookies sit at room temperature until cooled and hardened, about 20 to 30 minutes.
Equipment
- Baking Sheets
- Saucepan(I recommend All Clad cookware!)
- Parchment Paper(I find that this brand doesn't burn)
Notes
Store the cookies in an airtight container for up to 3 days or in the fridge for up to 1 week. You can also freeze the cookies.