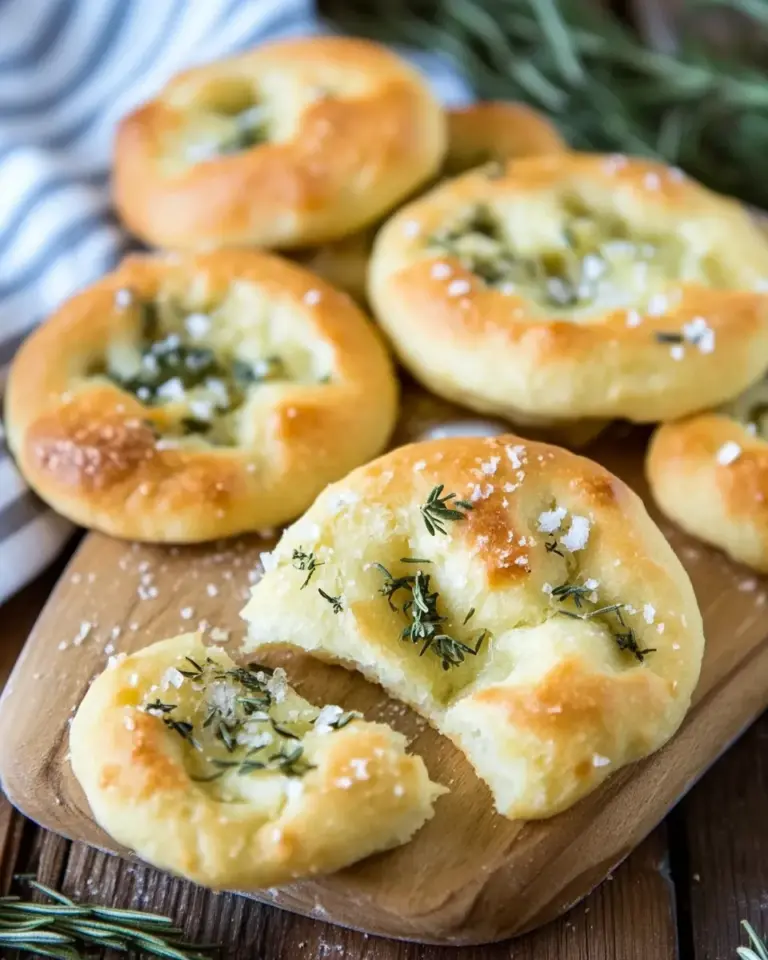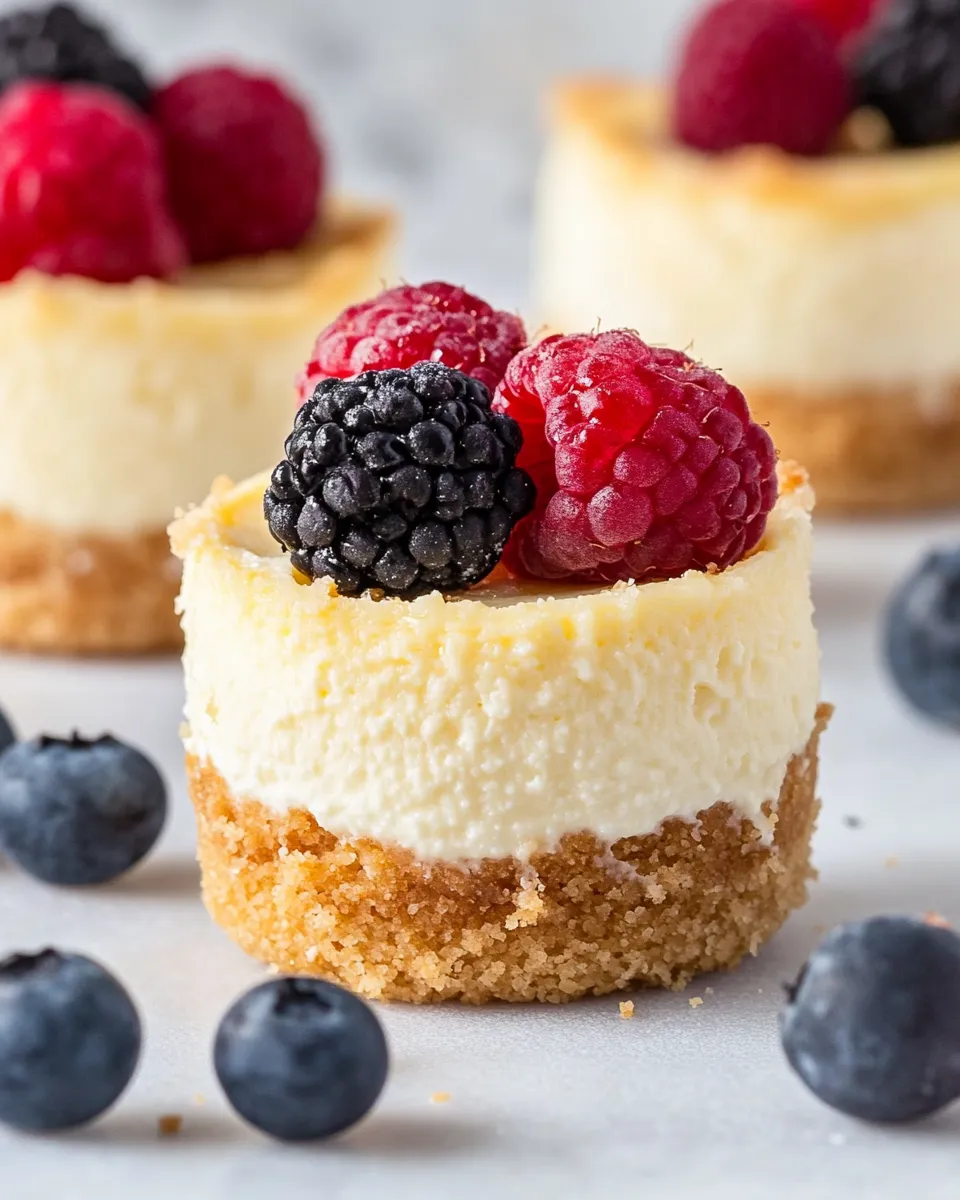
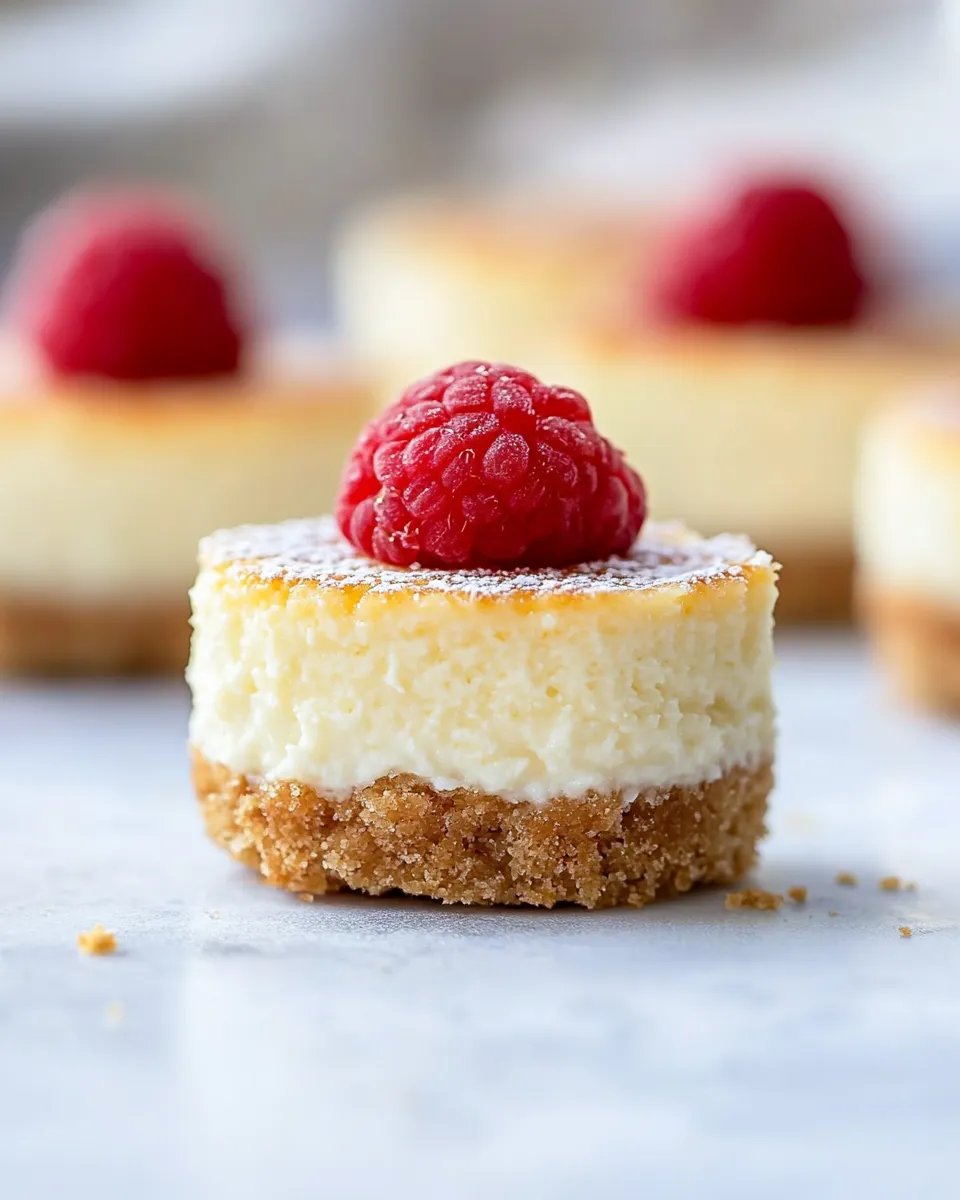
Mini Ricotta Cheesecakes
These mini ricotta cheesecakes are the kind of dessert I reach for when I want something bright, lightly sweet, and reliably elegant. They’re small, portable, and uncomplicated to make — no water bath, no long chilling time, and they finish with a citrus-honey flavor that’s pleasantly grown-up. I like them for brunch guests or a simple after-dinner treat.
What I value most is the texture: airy but creamy, with the slightly grainy, welcome character of real ricotta. The honey and citrus rinds do most of the flavor work, while the mini graham cracker shells keep things tidy. If you’re comfortable with a blender and a baking sheet, you’re already set.
Below I’ll walk through the exact ingredients and step-by-step baking directions I use, followed by troubleshooting tips, tool recommendations, and a few serving ideas that don’t complicate the original — just enhance it.
What Goes In

- 16 ounces ricotta cheese (I prefer whole milk ricotta) — The base of the filling: gives body and that lightly grainy, creamy texture.
- 3 eggs — Provide structure and help the filling set while keeping it tender.
- 1 egg white — Reserved for brushing the crust rims so the filling glues to the crust and keeps a neat edge.
- 1/3 cup honey — Sweetener and flavor lift; use a mild honey so it doesn’t overpower the citrus.
- 1 teaspoon vanilla extract — Rounds and warms the citrus and honey without stealing the spotlight.
- 1 tablespoon freshly grated orange rind (from about ½ of a medium orange) — Bright, floral citrus note that partners beautifully with ricotta.
- 1 teaspoon freshly grated lemon rind (from about ½ of a medium lemon) — Adds sharp citrus lift to balance the honey.
- 1/2 teaspoon cinnamon — A whisper of spice for depth; it’s subtle but important.
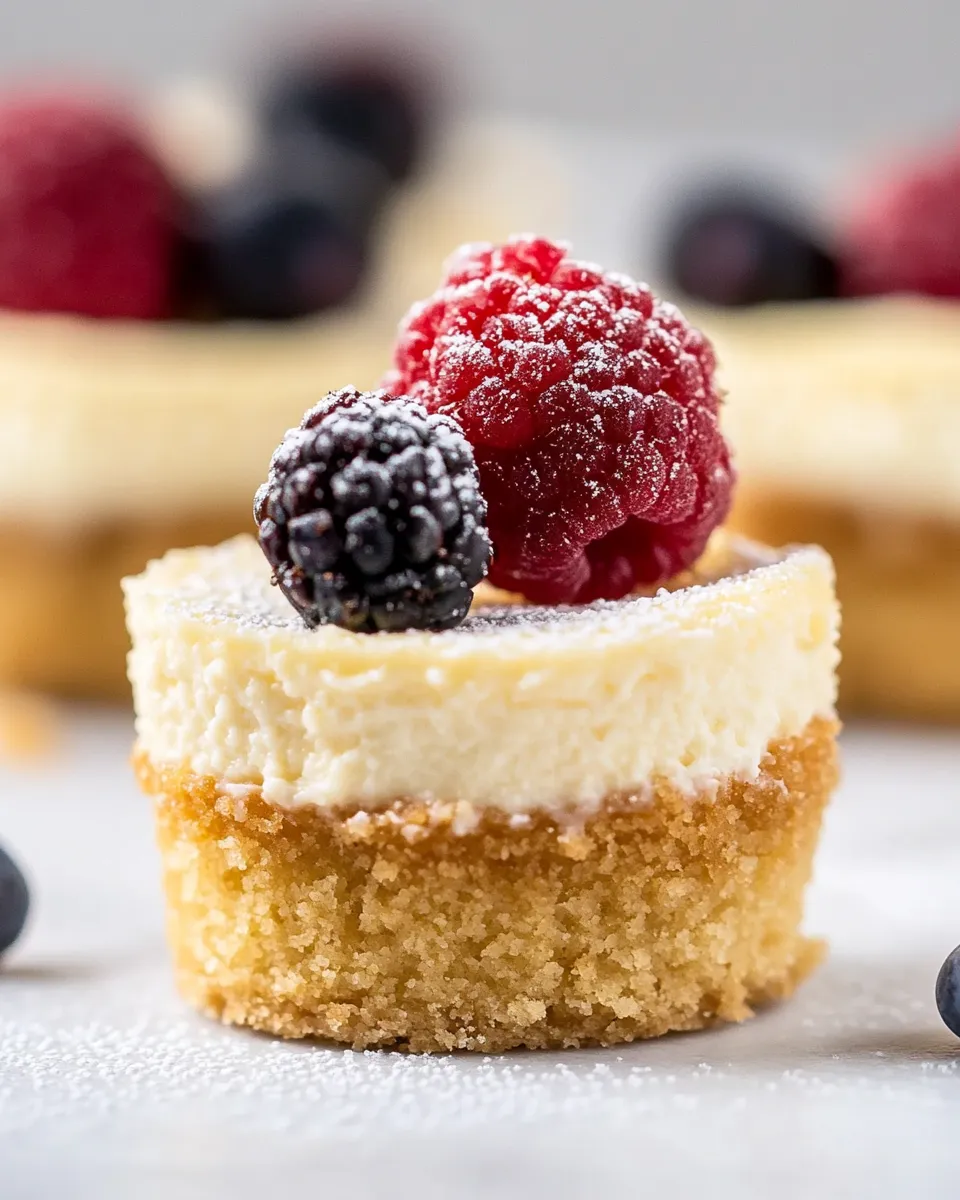
- 10 mini graham cracker crusts (I used Keebler) — Ready-made shells save time and keep portions consistent.
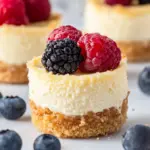
- Raspberries (optional) — Fresh-topping option; they add color and a bright tart contrast to the honeyed filling.
Mastering Mini Ricotta Cheesecakes: How-To
- Preheat the oven to 325°F (163°C). Arrange the 10 mini graham cracker crusts on a baking sheet for stability.
- Crack the 3 whole eggs into a bowl and set aside. Reserve the separate 1 egg white in a small bowl for brushing the crust rims.
- Lightly whisk the reserved egg white with a fork (just until slightly frothy). Use a pastry brush or clean fingertip to brush the rim of each mini crust with the egg white; set the crusts aside.
- In a blender or food processor, combine 16 ounces ricotta cheese, the 3 whole eggs, 1/3 cup honey, 1 teaspoon vanilla extract, 1 tablespoon freshly grated orange rind, 1 teaspoon freshly grated lemon rind, and 1/2 teaspoon cinnamon. Blend until the mixture is smooth and no large lumps remain.
- Divide the ricotta filling evenly among the 10 prepared crusts, filling each one nearly to the top.
- Bake on the baking sheet at 325°F for 34–36 minutes, or until the centers are just set and slightly glossy (they should feel firm to the touch but may have a slight jiggle).
- Remove the cheesecakes from the oven and let them cool completely on a wire rack. Once cooled, top with raspberries if desired.
- Serve at room temperature or refrigerate, covered with plastic wrap, for up to 2 days.
Why Cooks Rave About It
This recipe shows how a short ingredient list can deliver serious results. Ricotta keeps the texture airy and not overly dense, while eggs provide the necessary structure so you don’t need long refrigeration or a water bath. Honey and citrus rind introduce a layered sweetness — honey gives warmth and body, orange and lemon zests give lift and freshness.
Another reason cooks love these is practicality: mini portions are naturally portion-controlled, easy to plate, and perfect for gatherings. The ready-made crusts keep the assembly fast, and the bake time is predictable. Even home bakers with modest experience can get a reliable outcome.
Flavor-Forward Alternatives
Work with what’s already in the recipe to adjust the profile without adding unfamiliar ingredients:
- More citrus punch: Increase the orange or lemon rind by a scant 1/2 teaspoon each for a brighter, zest-forward bite.
- Extra honey finish: Drizzle a tiny amount of the 1/3 cup honey over each cooled cheesecake for a glossy, sweet top.
- Spiced lift: Add a pinch more cinnamon (another 1/8–1/4 teaspoon) for a warmer finish if you prefer a bolder spice note.
- Raspberry garnish: Use the optional raspberries for a tart contrast; scatter a few on top just before serving to keep them fresh.
Cook’s Kit
Tools that make the process smooth:
- Blender or food processor — for a silky, lump-free ricotta filling.
- Pastry brush or clean fingertip — to apply the egg white to crust rims.
- Baking sheet — to stabilize the mini crusts in the oven and make transport easy.
- Wire rack — for even cooling.
- Measuring spoons and cups — the recipe relies on accurate small amounts (especially for the honey and rinds).
- Microplane or fine grater — for zesting the orange and lemon finely so the rind disperses evenly.
Mistakes That Ruin Mini Ricotta Cheesecakes
Watch out for these common pitfalls:
- Overblending the ricotta: Blend until smooth, but excessive blending can warm the mixture and change texture. Pulse to check.
- Skipping the egg-white rim brush: That small step helps the filling adhere to the crust and keeps tidy edges.
- Overbaking: Bake to “just set” — centers should be slightly glossy with a hint of jiggle. Overbaked ricotta becomes dry and grainy.
- Filling the shells too full: Leave a tiny gap under the top to prevent spills or cracking as they expand slightly.
- Serving straight from the fridge without a rest: These are better at room temperature for 10–20 minutes so the flavors open up.
Seasonal Adaptations
Keep the base recipe and lean into seasonal produce when available:
- Spring/Summer: Use the optional raspberries for a seasonal, tart garnish. Their bright acidity works especially well with the honey and citrus rinds.
- Fall/Winter: Lean on the cinnamon and a touch more orange rind to give the filling warmth and holiday familiarity.
- Citrus season: When oranges and lemons are at peak flavor, zest generously (but in small measured increases) to amplify the citrus notes.
Testing Timeline
Plan your time so the process is relaxed:
- Prep and assembly: 15–20 minutes (zesting, blending, filling the 10 crusts).
- Bake time: 34–36 minutes at 325°F (163°C) — use the 34-minute mark to start checking for doneness.
- Cooling: Allow cheesecakes to cool completely on a wire rack — this takes about 30–45 minutes for small tarts at room temperature.
- Optional chill: If you prefer them chilled, cover and refrigerate for at least 1 hour; the recipe notes they keep up to 2 days refrigerated.
Cooling, Storing & Rewarming
Cooling: Remove the baking sheet from the oven and transfer the mini cheesecakes to a wire rack to cool completely. Cooling on a rack prevents soggy bottoms and helps the filling set evenly.
Storing: Once cooled, cover the tray or transfer the mini cheesecakes to an airtight container and refrigerate. They’ll keep well for up to 2 days covered with plastic wrap, as the recipe specifies. The texture is best within that window.
Rewarming/Serving: These are at their best served at room temperature — take them out of the fridge 10–20 minutes before serving. They don’t need reheating; gentle warming would risk changing the ricotta’s texture.
Quick Q&A
Q: Can I use part-skim ricotta?
A: Yes, but whole milk ricotta gives a richer, creamier texture. The recipe works with part-skim, though the filling will be slightly lighter.
Q: Can I make these ahead?
A: Yes. Bake them, cool completely, then cover and refrigerate for up to 2 days. Bring to room temperature before serving for best flavor.
Q: What if my filling has small lumps?
A: Blend until smooth. If small curds remain, pulse more gently rather than overworking the motor to avoid warming the filling.
Q: Do I need to use a water bath?
A: No. These bake reliably without a bath because the portions are small and the temperature is moderate. The result is a tender, set center with minimal fuss.
Before You Go
If you try this recipe, aim to keep the steps tidy and trust the simple ingredient list. The little details — brushing the crust rims with egg white, using fresh citrus rind, and watching the bake time closely — make the difference between good and great. These mini ricotta cheesecakes are forgiving, quick to assemble, and wonderfully adaptable without losing what makes them special.
Share a photo if you make them — I love seeing small desserts that pack a lot of flavor. Happy baking!
Mini Ricotta Cheesecakes
Ingredients
Ingredients
- ?16 ouncesricotta cheese I prefer whole milk ricotta
- ?3 eggs
- ?1 egg white
- ?1/3 cuphoney
- ?1 teaspoonvanilla extract
- ?1 tablespoonfreshly grated orange rind from about 1/2 of a medium orange
- ?1 teaspoonfreshly grated lemon rind from about 1/2 of a medium lemon
- ?1/2 teaspooncinnamon
- ?10 mini graham cracker crusts I used Keebler
- ?Raspberries optional
Instructions
Instructions
- Preheat the oven to 325°F (163°C). Arrange the 10 mini graham cracker crusts on a baking sheet for stability.
- Crack the 3 whole eggs into a bowl and set aside. Reserve the separate 1 egg white in a small bowl for brushing the crust rims.
- Lightly whisk the reserved egg white with a fork (just until slightly frothy). Use a pastry brush or clean fingertip to brush the rim of each mini crust with the egg white; set the crusts aside.
- In a blender or food processor, combine 16 ounces ricotta cheese, the 3 whole eggs, 1/3 cup honey, 1 teaspoon vanilla extract, 1 tablespoon freshly grated orange rind, 1 teaspoon freshly grated lemon rind, and 1/2 teaspoon cinnamon. Blend until the mixture is smooth and no large lumps remain.
- Divide the ricotta filling evenly among the 10 prepared crusts, filling each one nearly to the top.
- Bake on the baking sheet at 325°F for 34–36 minutes, or until the centers are just set and slightly glossy (they should feel firm to the touch but may have a slight jiggle).
- Remove the cheesecakes from the oven and let them cool completely on a wire rack. Once cooled, top with raspberries if desired.
- Serve at room temperature or refrigerate, covered with plastic wrap, for up to 2 days.
Equipment
- Oven
- Baking Sheet
- Blender or food processor
- Wire Rack
- Pastry brush
Notes
Plan to make them at least 2 hours before you want to serve them so they have time to fully cool.
Look for the mini graham cracker crusts near the Jell-O and puddings in your grocery store.
You can do this batter in a 9-inchgraham cracker crust. The baking time will be closer to 1 hour.
The raspberries are purely decoration and for a little additional flavor. You can skip them and use whipped cream on top if you prefer, or try blueberries, diced strawberries, or another favorite fruit.