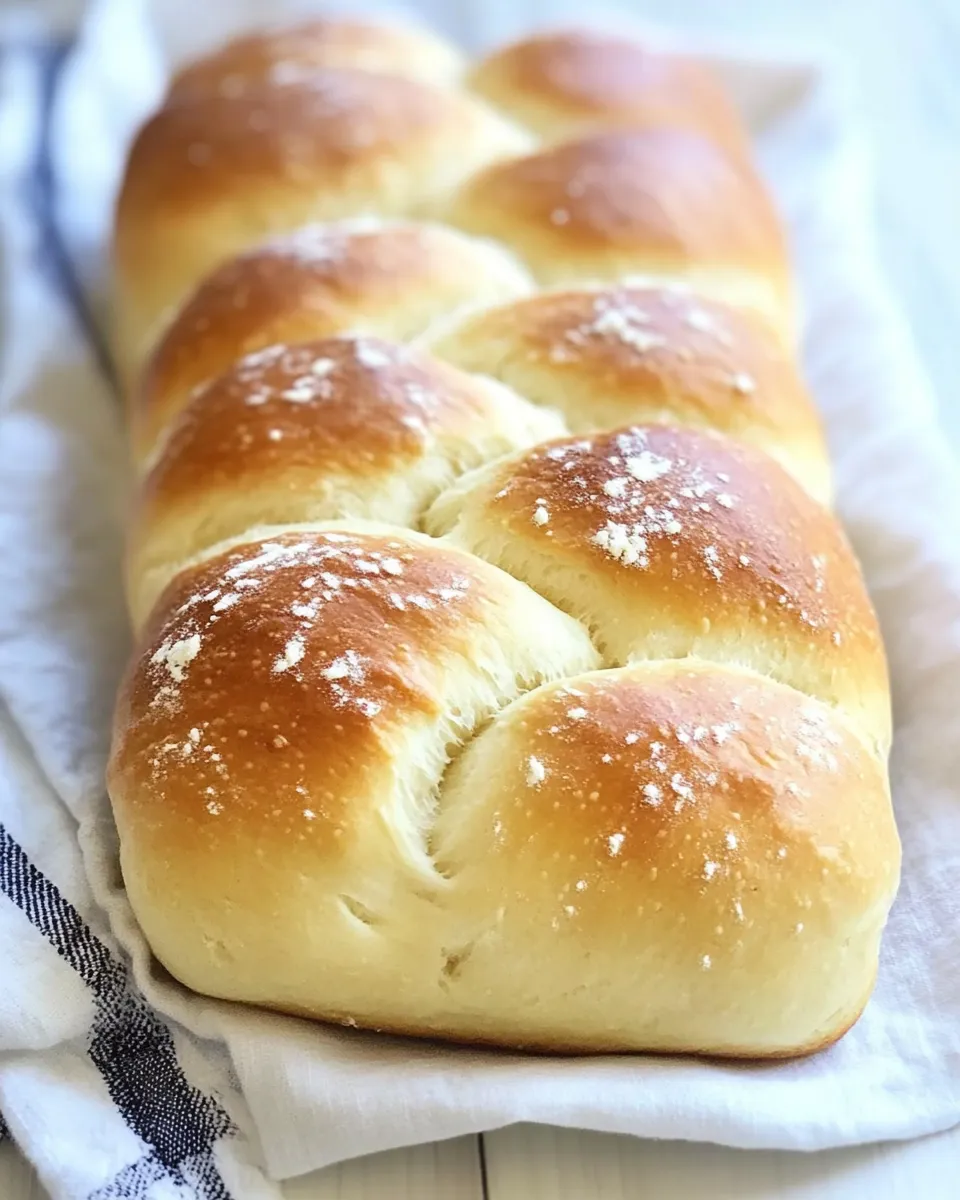
Milk Bread
Light, pillowy, and slightly sweet — this Milk Bread is one of those recipes I make when I want a loaf that feels like a hug. It comes together with ingredients you probably already have and rewards a little patience with texture that’s soft enough to sink your teeth into and sturdy enough for sandwiches.
I like to think of this as practical comfort baking: a simple routine, clear stages, and a result that travels well from breakfast to dinner. You’ll proof, shape, rest, and bake, and along the way I’ll share the small tricks that make the crust glossy and the crumb tender.
Read through the ingredients and method once before starting. Timings assume a warm kitchen; if your house is cool, allow a bit more time for both rises. Now let’s get to the dough and make something worth sharing.
What Goes Into Milk Bread

Ingredients
- 5 1/3 cups bread flour, divided, plus more for surface — Strong flour builds structure for that pillowy crumb; reserve some for dusting when shaping.
- 1 cup heavy cream — Adds richness and tenderness to the dough.
- 1/3 cup honey — Provides gentle sweetness and helps with browning.
- 3 tablespoons nonfat dry milk powder — Boosts the milky flavor and improves crust color; dissolve into the dough paste.
- 2 tablespoons active dry yeast, from about 3 envelopes — The leavening power; make sure it’s fresh for a reliable rise.
- 2 tablespoons kosher salt — Essential for flavor and for strengthening the gluten network.
- 3 large eggs — Two go into the dough early; the remaining one is for egg wash to achieve a glossy finish.
- 1/2 stick unsalted butter, cut into pieces, room temperature (4 tablespoons) — Added during kneading for tenderness and shine.
- nonstick vegetable oil spray — To coat the bowl and the muffin pan so the dough releases cleanly.
- flaky sea salt — Optional finish; sprinkle lightly for a contrast of savory crunch.
Milk Bread — Do This Next
- Measure out 1/3 cup of the bread flour (from the total 5 1/3 cups). In a small saucepan, whisk together that 1/3 cup bread flour, 1 cup heavy cream, and 1/3 cup honey. Cook over medium heat, whisking constantly, until the mixture thickens into a smooth paste, about 5 minutes. Remove from heat and let cool until warm to the touch (lukewarm).
- Fit a stand mixer with the dough hook. Transfer the cooled flour-cream paste to the mixer bowl. Add 3 tablespoons nonfat dry milk powder, 2 tablespoons active dry yeast, 2 tablespoons kosher salt, 2 of the large eggs, and 5 cups bread flour. (Reserve any extra flour for dusting the work surface.)
- Mix on low speed just to combine, then increase to medium speed and knead until the dough is smooth, about 5 minutes.
- With the mixer running on medium, add the 1/2 stick (4 tablespoons) unsalted butter, one piece at a time, allowing each piece to be fully incorporated before adding the next. Continue kneading until the dough is smooth, shiny, and elastic, about 4 minutes more.
- Lightly coat a large bowl with nonstick vegetable oil spray. Transfer the dough to the bowl, turning once to coat all sides with spray. Cover the bowl with plastic wrap and let the dough rise in a warm place until doubled in size, about 1 hour.
- Lightly coat a 6-cup jumbo muffin pan with nonstick spray. Turn the risen dough out onto a lightly floured surface (use reserved flour as needed). Divide the dough into 6 equal pieces. Then divide each of those 6 pieces into 3 equal smaller pieces (18 total pieces).
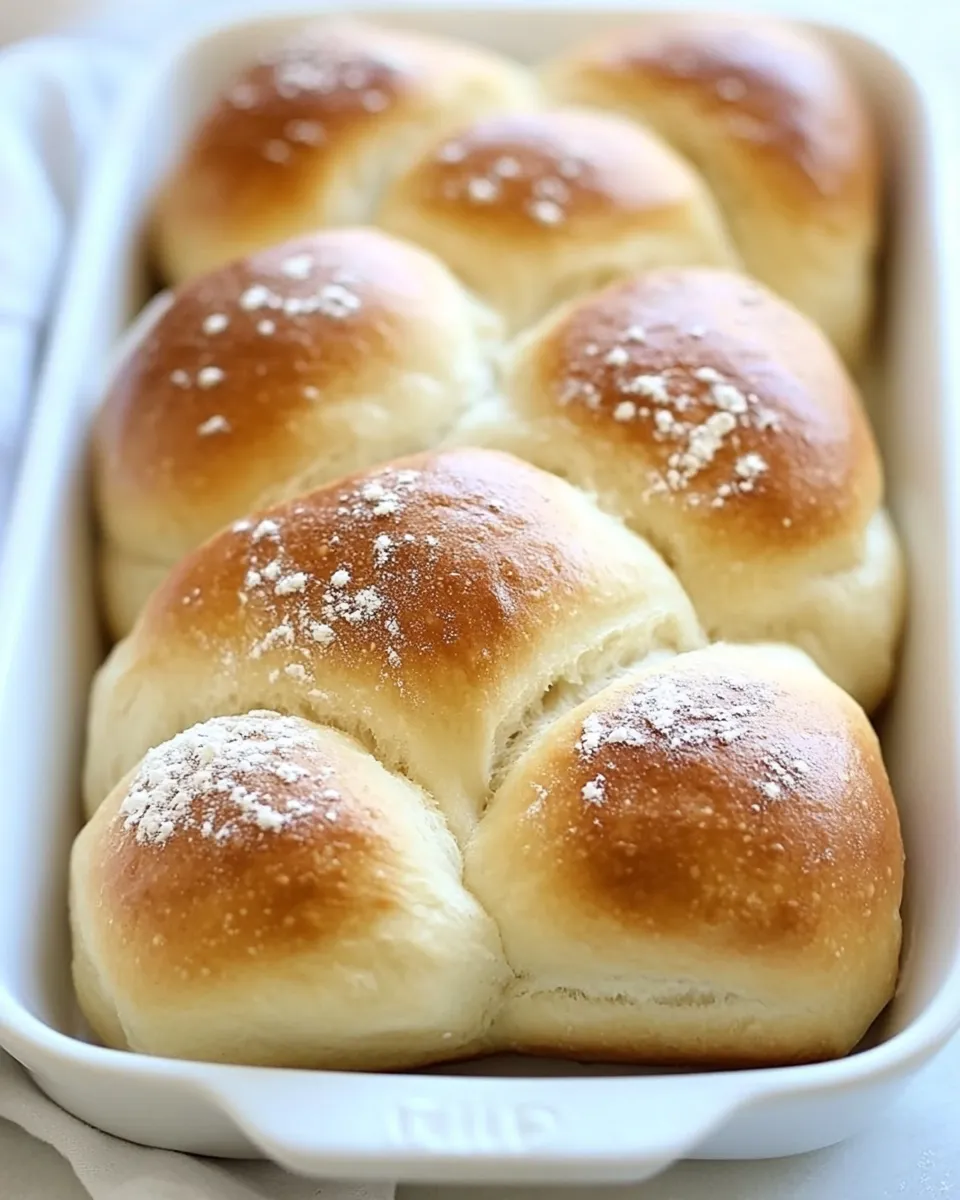
- For each muffin cup, roll or shape 3 small pieces into smooth balls and place them side by side in the cup. Cover the pan loosely with plastic wrap or a clean towel and let the dough rise again in a warm place until doubled in size and puffing over the top of the muffin cups, about 1 hour.
- Preheat the oven to 375°F (190°C). Beat the remaining egg in a small bowl. Brush the tops of the risen dough with the beaten egg. Sprinkle flaky sea salt over the tops as desired.
- Bake the rolls, rotating the pan halfway through baking, until deep golden brown, about 25 to 35 minutes.
- Remove the pan from the oven and let the milk bread cool slightly in the pan (a few minutes) before turning the rolls out onto a rack to cool further or serve.
Top Reasons to Make Milk Bread
It’s versatile. These rolls are sweet enough for breakfast with jam and sturdy enough for a sandwich. They hold fillings without collapsing and toast beautifully.
The texture is the main reason: a soft, uniform crumb with a slightly glossy crust thanks to the egg wash and butter. If you want something that feels homemade but tastes special, this is it.
The process is straightforward. There are two rises and a short bake. Aside from the starter paste and the kneading stage, most of the time is hands-off.
Low-Carb/Keto Alternatives
Milk Bread relies on bread flour for structure and crumb, so there isn’t a direct swap that preserves the texture. For a lower-carb alternative, consider making an almond- or coconut-flour roll recipe specifically designed for keto baking — those use binders like eggs and psyllium husk and different leavening. If you simply want fewer carbs per serving, make smaller rolls to reduce portion size or pair slices with protein-forward fillings to balance the plate.
Equipment at a Glance
- Stand mixer with dough hook — Recommended for reliable kneading; you can knead by hand, but expect more time and elbow grease.
- Small saucepan — For the cream-flour-honey paste that gives the dough its tender crumb.
- 6-cup jumbo muffin pan — The recipe is designed to bake in this; the structure of three small rolls per cup creates the classic pull-apart shape.
- Plastic wrap or clean towel — For covering rises and retaining humidity.
- Cooling rack — Let the rolls cool evenly after a brief rest in the pan.
Things That Go Wrong
Dense or heavy loaf
Cause: under-kneading, too much flour, or yeast that’s past its prime. Fix: Knead until the dough is smooth and elastic, and resist adding excessive flour at once — use just enough for handling.
Slow or no rise
Cause: cool environment or inactive yeast. Fix: Move the dough to a warmer spot (oven with the light on, or near a warm stove) and check the yeast before starting next time.
Cracked or pale tops
Cause: insufficient egg wash or oven temperature not hot enough. Fix: Brush with the beaten egg fully, and ensure oven reaches 375°F (190°C) before baking.
In-Season Flavor Ideas
While the dough itself is gently sweet and milky, you can fold seasonal flavors into or on top of the rolls:
- Spring — Fold in a small amount of lemon zest to the dough or top with a light lemon sugar once cooled for a bright finish.
- Summer — Add finely chopped fresh basil and a tiny pinch of grated Parmesan to two of the three little balls per cup for a savory twist.
- Fall — Mix in a teaspoon of warm spices like cinnamon and nutmeg and a tablespoon of maple syrup in place of some honey for a cozy bake.
- Winter — Stir in a tablespoon of cocoa powder and a handful of mini chocolate chips into a portion of the dough for rich, slightly chocolatey rolls.
Recipe Notes & Chef’s Commentary
The cooked flour and cream paste at the start is the secret to the soft interior. It gelatinizes starches and adds moisture that stays in the crumb after baking. Don’t skip cooling it to lukewarm — too hot will kill the yeast added later.
Salt amount here is significant (2 tablespoons kosher). It’s there not just for flavor but to regulate yeast activity and strengthen the dough. If your kosher salt has larger flakes, measure by weight if accuracy is critical.
Room-temperature butter folds in more smoothly. Add it piece by piece as directed; adding it all at once prevents full incorporation and can lead to a greasy crumb.
Prep Ahead & Store
To prep ahead: complete the first rise, then punch down and refrigerate the dough in an oiled bowl, covered, for up to 24 hours. Bring back to room temperature, reshape, and proceed with shaping and the second rise.
Storage: once baked and cooled, store the rolls in an airtight container at room temperature for up to 3 days. For longer storage, freeze cooled rolls in a freezer-safe bag for up to 3 months. Reheat from frozen at 325°F (160°C) for 10–15 minutes, or thaw at room temperature then warm briefly.
Reader Questions
Can I make this without a stand mixer?
Yes. Mix the paste with the dry ingredients and knead by hand on a floured surface for about 10–15 minutes until the dough is smooth and elastic. It will take a little longer but yields the same result.
What if my kitchen is cold?
Find a warm spot for the rises: an oven with just the light on (no heat), atop a warm appliance, or near a sunny window. Rises will simply take longer; aim for the dough to double rather than watching the clock exactly.
Can I make smaller or larger rolls?
Yes. Adjust baking time accordingly — smaller rolls will need less time, larger ones more. Watch for a deep golden brown color and an internal temperature around 190–200°F (88–93°C) for fully baked bread.
Bring It to the Table
Serve Milk Bread slightly warm for the best texture. For breakfast, split and toast gently, then slather with butter and honey. For lunch or picnic, use a sturdy slice for chicken salad or a fried egg sandwich — the tender crumb holds fillings without disintegrating.
If you’re presenting them as rolls, arrange the six jumbo cups on a platter so guests can pull apart the three little rolls in each cup. That pull-apart format is cozy and shareable — exactly what homemade bread should be.
Make this when you want a loaf that looks and tastes like care went into it, without demanding all afternoon. The method is forgiving, and the payoff is unmistakable: soft, buttery, slightly sweet bread that brings people to the table.
Milk Bread
Ingredients
Ingredients
- 5 1/3 cupsbread flour divided, plus more for surface
- 1 cupheavy cream
- 1/3 cuphoney
- 3 tablespoonsnonfat dry milk powder
- 2 tablespoonsactive dry yeast from about 3 envelopes
- 2 tablespoonskosher salt
- 3 largeeggs
- 1/2 stickunsalted butter cut into pieces, room temperature (4 tablespoons)
- nonstick vegetable oil spray
- flaky sea salt
Instructions
Instructions
- Measure out 1/3 cup of the bread flour (from the total 5 1/3 cups). In a small saucepan, whisk together that 1/3 cup bread flour, 1 cup heavy cream, and 1/3 cup honey. Cook over medium heat, whisking constantly, until the mixture thickens into a smooth paste, about 5 minutes. Remove from heat and let cool until warm to the touch (lukewarm).
- Fit a stand mixer with the dough hook. Transfer the cooled flour-cream paste to the mixer bowl. Add 3 tablespoons nonfat dry milk powder, 2 tablespoons active dry yeast, 2 tablespoons kosher salt, 2 of the large eggs, and 5 cups bread flour. (Reserve any extra flour for dusting the work surface.)
- Mix on low speed just to combine, then increase to medium speed and knead until the dough is smooth, about 5 minutes.
- With the mixer running on medium, add the 1/2 stick (4 tablespoons) unsalted butter, one piece at a time, allowing each piece to be fully incorporated before adding the next. Continue kneading until the dough is smooth, shiny, and elastic, about 4 minutes more.
- Lightly coat a large bowl with nonstick vegetable oil spray. Transfer the dough to the bowl, turning once to coat all sides with spray. Cover the bowl with plastic wrap and let the dough rise in a warm place until doubled in size, about 1 hour.
- Lightly coat a 6-cup jumbo muffin pan with nonstick spray. Turn the risen dough out onto a lightly floured surface (use reserved flour as needed). Divide the dough into 6 equal pieces. Then divide each of those 6 pieces into 3 equal smaller pieces (18 total pieces).
- For each muffin cup, roll or shape 3 small pieces into smooth balls and place them side by side in the cup. Cover the pan loosely with plastic wrap or a clean towel and let the dough rise again in a warm place until doubled in size and puffing over the top of the muffin cups, about 1 hour.
- Preheat the oven to 375°F (190°C). Beat the remaining egg in a small bowl. Brush the tops of the risen dough with the beaten egg. Sprinkle flaky sea salt over the tops as desired.
- Bake the rolls, rotating the pan halfway through baking, until deep golden brown, about 25 to 35 minutes.
- Remove the pan from the oven and let the milk bread cool slightly in the pan (a few minutes) before turning the rolls out onto a rack to cool further or serve.
Equipment
- Stand mixer
- dough hook
- Small Saucepan
- Large Bowl
- 6-cup jumbo muffin pan
- Plastic Wrap
- Pastry brush
- Oven
- Cooling Rack
Notes
Recipe Source:
Bon Appetite
. This recipe makes 6 rolls or one 9×5" loaf.