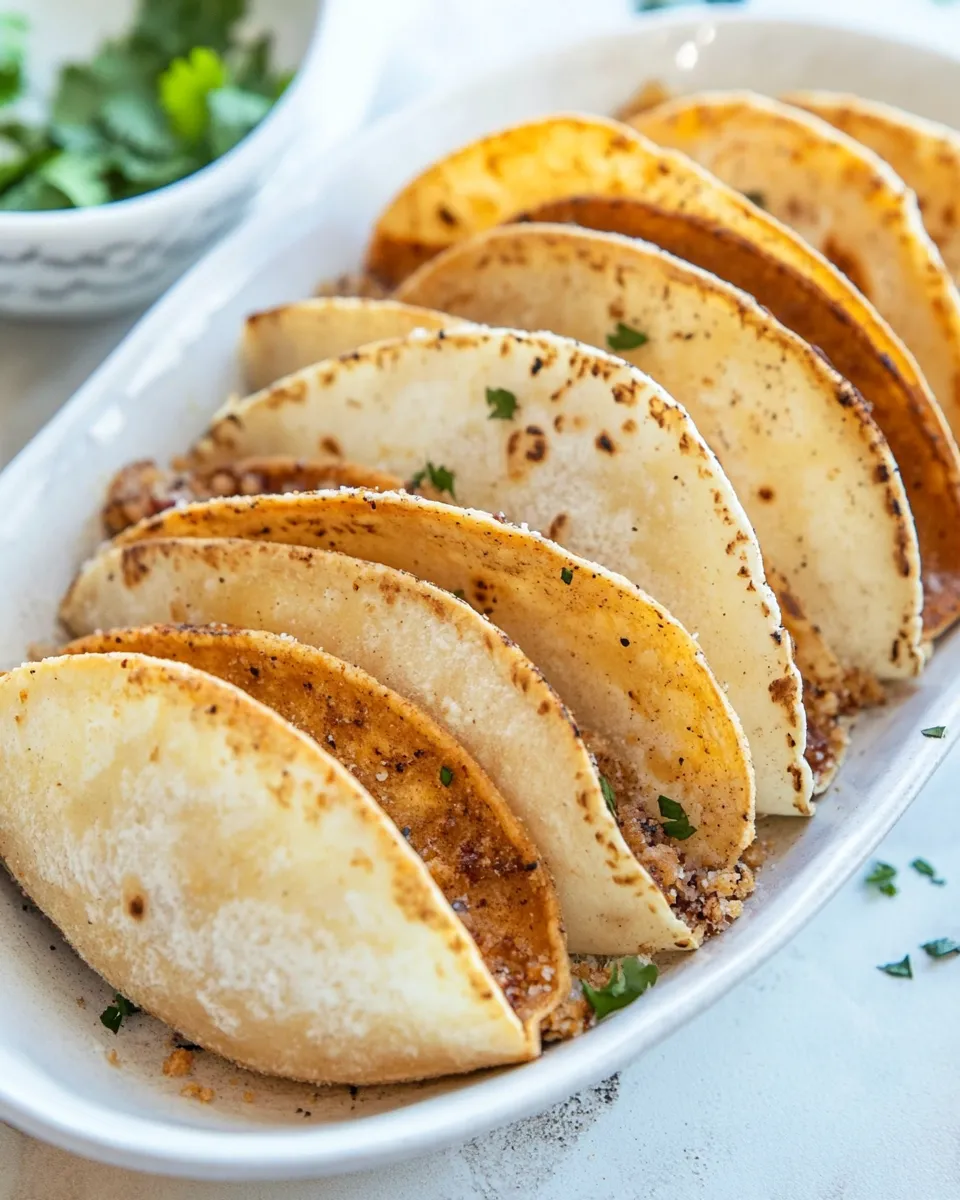
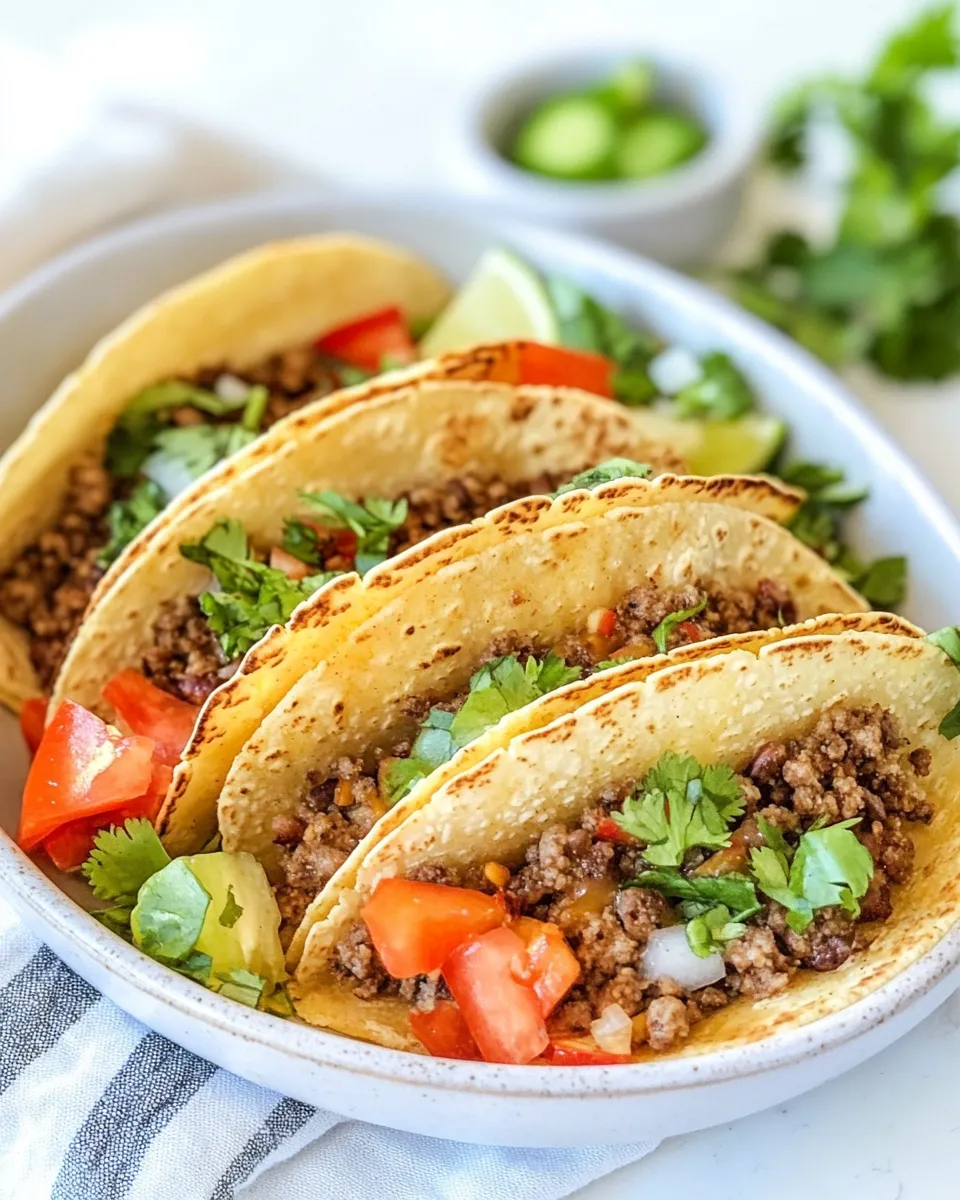
Low Carb Keto Taco Shells
These crunchy, flexible Low Carb Keto Taco Shells are a game-changer for anyone who misses tacos while keeping carbs in check. They crisp up beautifully, hold fillings without falling apart, and have a mild, toasty flavor that pairs with bold fillings like spiced ground meat, roasted vegetables, or fresh salads. This recipe keeps things simple with just three main ingredients and minimal hands-on time, so you can get tacos on the table fast on busy weeknights or for a relaxed weekend meal.
Why you’ll love this recipe

Think tortilla-style shells, but focused and lean: gooey cheese gives structure, coconut flour provides body and a touch of fiber, and psyllium husk powder adds elasticity and chew. The shells crisp at the edges and remain pliable enough to fold around fillings if you prefer soft tacos. They’re a joyful, pop-in-your-hand solution when you want taco night without the carb overload.
Ingredients
- 2 ¼ cups pre-shredded mozzarella (225g), room temperature
- ¼ cup coconut flour (25g)
- 2 teaspoon psyllium husk powder
Equipment
- Baking sheet
- Parchment paper or silicone baking mat
- Mixing bowl
- Spoon or small spatula
- Measuring cups and spoons
- Small bowl of water (optional, for shaping)
- Oven or skillet (see notes below for stovetop option)
Before you start
Pre-shred mozzarella if you don’t have pre-shredded. Let the cheese sit at room temperature so it melts more evenly. We keep the ingredient list exact: 2 ¼ cups (225g) mozzarella, ¼ cup (25g) coconut flour, and 2 teaspoons psyllium husk powder. These proportions balance moisture and structure for the optimal shell.
Step-by-step directions
- Preheat your oven to 375°F (190°C). Line a baking sheet with parchment paper or a silicone baking mat so the shells won’t stick.
- Place the 2 ¼ cups pre-shredded mozzarella (225g) in a microwave-safe bowl. Heat it in the microwave in 20–30 second bursts, stirring between bursts, until the cheese is fully melted and smooth. If you prefer, melt the cheese gently in a small saucepan over low heat, stirring constantly to avoid browning.
- Once the cheese is melted and smooth, sprinkle in the ¼ cup coconut flour (25g) and 2 teaspoon psyllium husk powder. Stir quickly and thoroughly until the dry ingredients are completely incorporated and the mixture becomes slightly thicker and more dough-like.
- Divide the cheese mixture into 6 equal portions on the lined baking sheet. Use a spoon or small spatula to spread each portion into a roughly 6-inch circle. Work quickly while the mixture is still warm and pliable; it will become firmer as it cools.
- Bake the rounds in the preheated oven for 6–8 minutes, or until the edges are golden brown and the centers are set. Keep a close eye so they don’t over-brown—thin spots will crisp faster.
- Remove the baking sheet from the oven. Working quickly while the shells are still flexible, drape each round over the handles of an oven-safe spatula or the edge of a rolling pin to form a taco shape. Alternatively, fold them gently in half to make soft taco shells. If the shells cool and harden before you shape them, return them to the oven for 30–60 seconds to soften slightly, then shape.
- Allow the shaped shells to cool for a minute or two so they hold their form. Place them on a rack or plate to finish cooling; they will crisp further as they rest.
- Fill the shells with your favorite taco ingredients and serve immediately. Leftovers can be stored in an airtight container in the refrigerator for up to 3 days. Re-crisp in a warm oven for a few minutes before serving if needed.
Notes and tips
- Room-temperature cheese melts more evenly. If your mozzarella is very cold, let it sit out 10–15 minutes before melting.
- When spreading the rounds, thinner circles will crisp more, while slightly thicker circles will be chewier. Find the thickness that matches your preference.
- If you prefer a stovetop method, melt the cheese in a nonstick skillet over very low heat, sprinkle the dry ingredients in, stir until combined, then press into rounds in the skillet and cook until set on both sides. Flip carefully and shape while warm.
- Psyllium husk powder helps bind and create elasticity. If you accidentally add more, shells may become very firm; stick to 2 teaspoons for the intended texture.
- For extra flavor, you can sprinkle a pinch of smoked paprika, cumin, or chili powder into the dry ingredients. Keep any additions minimal to maintain the intended balance.
Serving ideas
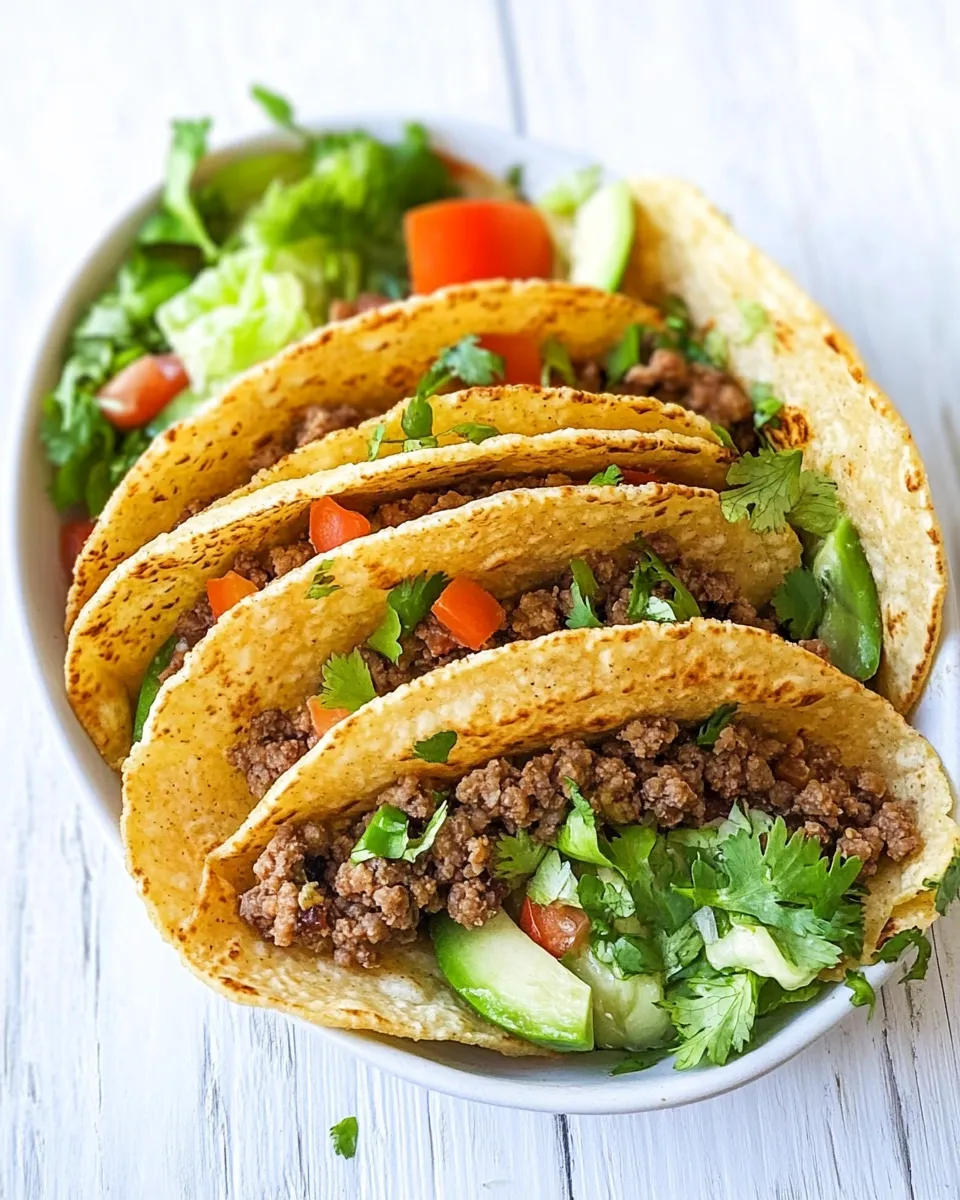
These Low Carb Keto Taco Shells pair beautifully with bold, saucy fillings because they’re sturdy. Try them with:
- Spiced ground beef or lamb with shredded lettuce, diced tomato, and a dollop of yogurt-based sauce.
- Grilled chicken, avocado, pickled red onion, and cilantro for a bright, fresh taco.
- Roasted cauliflower tossed in taco seasoning with shredded cabbage and a squeeze of lime for a vegetarian option.
Make-ahead and storage
Make the shells ahead and store them flat in an airtight container layered with parchment paper to prevent sticking. Keep in the refrigerator up to 3 days. To refresh, warm them in a 350°F (175°C) oven for 3–5 minutes until pliable or crisped to your liking.
Common troubleshooting
- If the mixture seems too dry and won’t spread, warm it a few more seconds and knead briefly in the bowl—residual heat will soften the cheese. Avoid overheating, which can cause oil separation.
- If shells crack when shaping, they’ve cooled too much; pop them back in the oven for 30–60 seconds and try again.
- If shells become greasy, they were likely overheated. Reduce melting time and stir more frequently during melting to prevent separation.
Final thoughts
These Low Carb Keto Taco Shells are a simple, satisfying base for endless taco nights. With three pantry-friendly ingredients and straightforward steps, they deliver on texture and convenience. Whether you want something crispy and hand-held or soft and foldable, this method adapts easily while keeping prep streamlined. Make a batch, experiment with fillings, and enjoy taco night with a low-carb twist!

Low Carb Keto Taco Shells
Ingredients
- 225 g mozzarella, pre-shredded, room temperature
- 2 1/4 cups mozzarella, pre-shredded, room temperature
- 25 g coconut flour
- 1/4 cup coconut flour
- 2 teaspoons psyllium husk powder
Instructions
- Preheat the oven to 175°C (350°F) and line a baking sheet with parchment paper.
- Combine the mozzarella, coconut flour, and psyllium husk powder in a food processor or a bowl and mix with an electric mixer until the mixture resembles small crumbs.
- On the prepared parchment, draw seven 6-inch (15 cm) circles as guides using a round object.
- Scoop about 1/4 cup of the mixture onto each circle and spread it evenly inside the drawn circle.
- Place a second sheet of parchment over the shells and press down firmly with your hands or a rolling pin to compact and flatten the mixture.
- Remove the top parchment and bake for 7 minutes, or until the edges are browned and the shells look set.
- Remove from the oven and drape each warm shell over the side of a large saucepan (or an oven rack) until cooled and crisp to form the taco shape.
Equipment
- Oven
- Baking Sheet
- Parchment Paper
- food processor or electric mixer
- measuring cup (1/4 cup)
- rolling pin or hands
- large saucepan or oven rack for shaping
- Spatula
Notes
- Nutrition: about 1.1 g net carbs per taco shell; makes 7 shells.
- Add cumin or chili powder to the mix for extra spice.
- If you lack a large pot, use an oven rack over the sink to shape shells.
- Psyllium and coconut flour make the shells crisper and sturdier.
- Let shells cool completely before filling to retain shape.