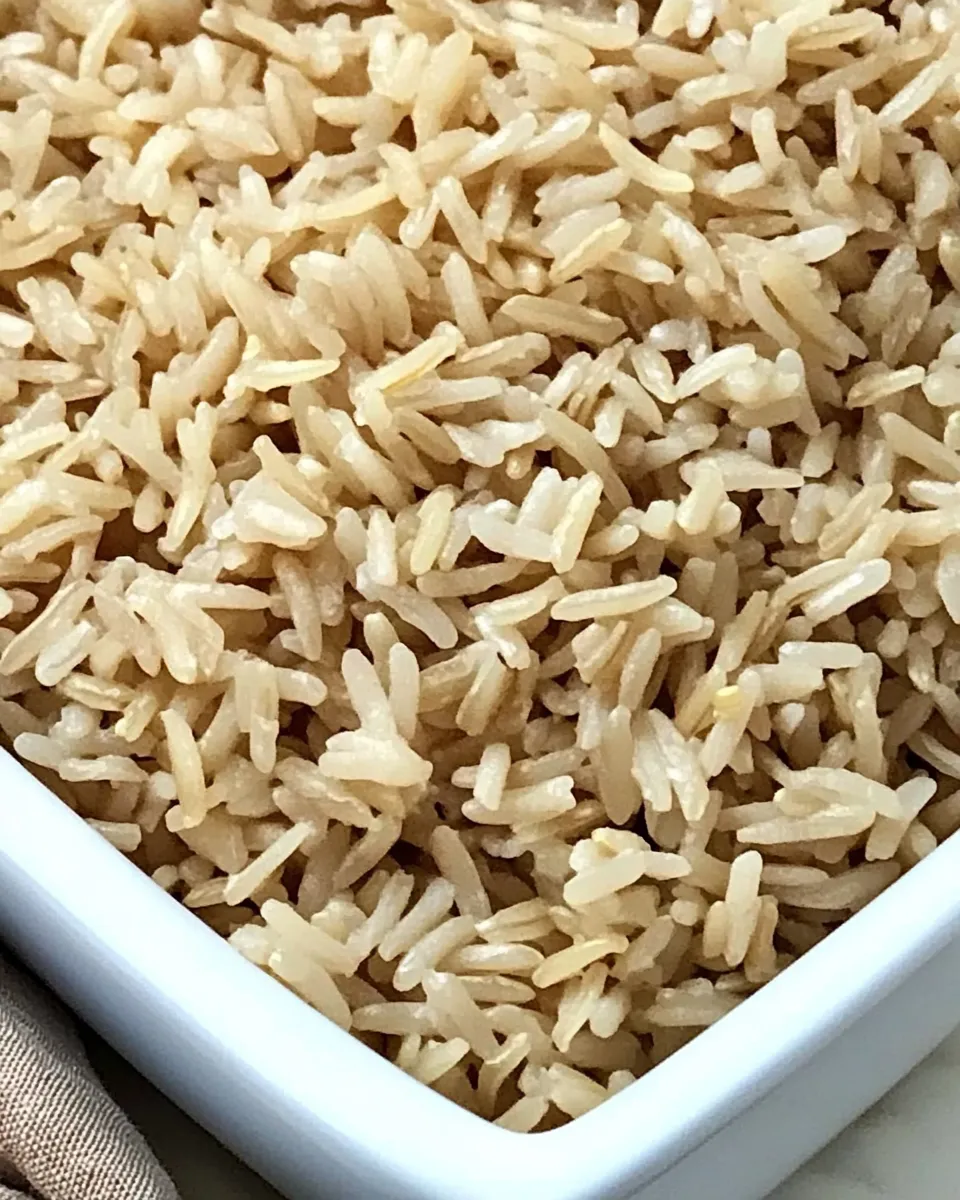
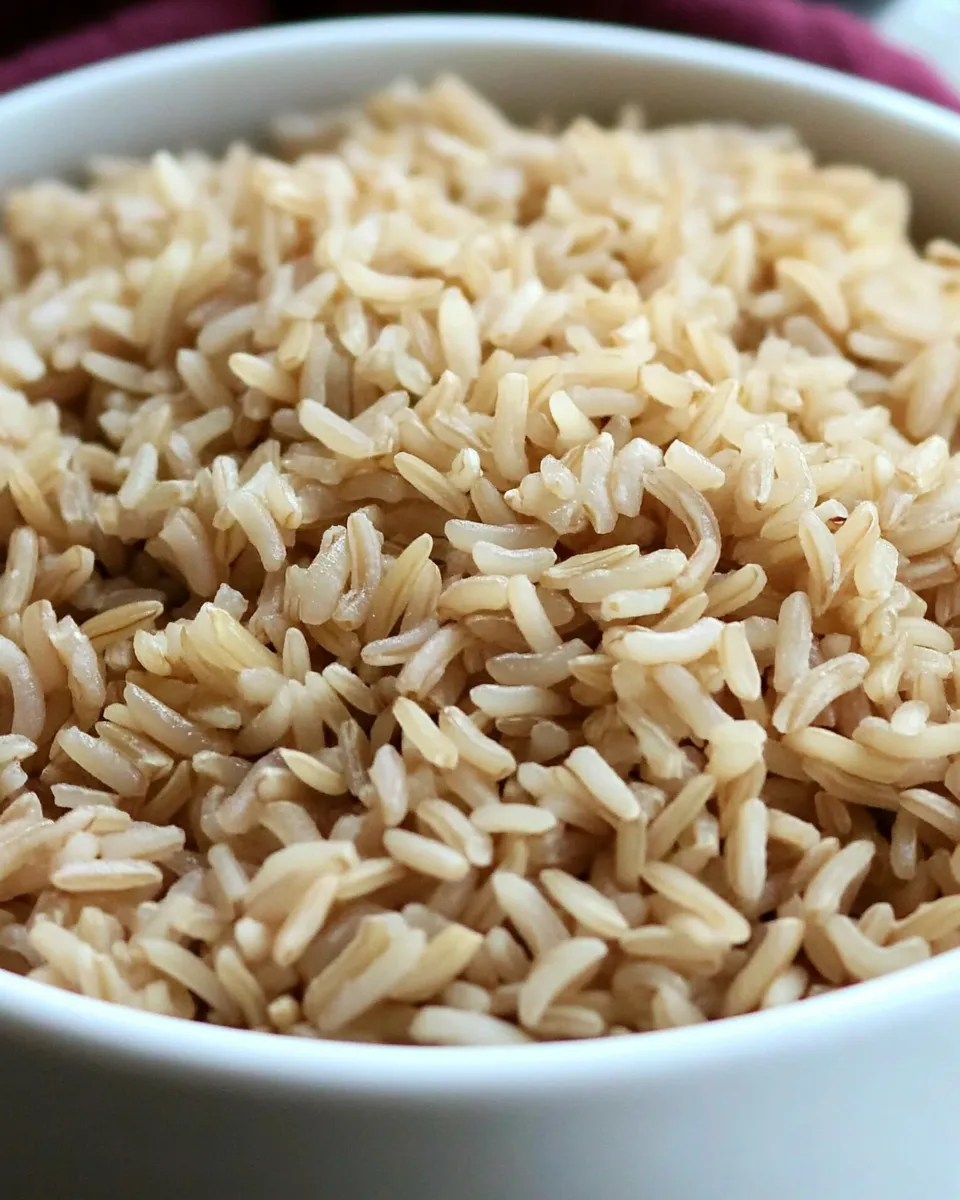
How to make Brown Rice
Brown rice is my pantry anchor. It’s humble, unassuming, and once you know the rhythm, it delivers a nutty, textured bed for everything from simple weeknight bowls to more elaborate dinners. This recipe teaches a straightforward, no-surprises method that reliably produces fluffy grains with that satisfying bite we all love from whole-grain rice.
I test this method every few weeks and tweak heat and timing until it becomes second nature. The directions below are exact and easy to follow. If you stick to the steps—and resist lifting the lid—you’ll be rewarded with rice that holds up to sauces and salads without becoming mushy.
I’ll walk you through what you’ll need, the precise steps, smart swaps, common traps, storage tips, and answers to the questions people ask most often. No gimmicks. Just good, dependable brown rice.
What You’ll Need

- 1 cup long grain brown rice — the foundation: long-grain brown gives the best separate, chewy grains; measure with a level cup.
- 1 1/4 cups water — the exact ratio used here; it produces tender rice without sogginess.
- 1/4 teaspoon salt — seasons the rice through and enhances natural flavor; adjust to taste after cooking if needed.
Directions: Brown Rice
- Place 1 cup long grain brown rice in a fine-mesh strainer and rinse under cold running water for about 30 seconds, rubbing the grains with your fingers; drain well.
- Transfer the rinsed rice to a wide, shallow pot with a tight-fitting lid. Add 1 1/4 cups water and 1/4 teaspoon salt.
- Set the pot over medium-high heat and bring the mixture to a boil, uncovered.
- Once boiling, immediately cover the pot and reduce the heat to low so the rice simmers gently.
- Cook, covered, on low heat for 30 minutes without lifting the lid.
- Turn the heat off and let the rice rest, still covered, for 10 minutes.
- Remove the lid, fluff the rice with a fork, and serve warm.
Why This Brown Rice Stands Out
There are plenty of brown rice methods out there—some call for long soaking, others use more water or pressure cookers. This approach stands out because it’s dependable, minimal, and uses a shallow pot for even evaporation. The 1:1.25 rice-to-water ratio is intentionally lean; it prevents sogginess and keeps grains distinct. The tight-fitting lid and undisturbed cooking are the real keys: steam and gentle simmer finish the grain without toughening the bran.
I prefer this for weeknight cooking because it requires only a short active time up front. The hands-off simmer and rest mean you can prep a salad or sauté dinner components without babysitting the pot. The result is versatile: the rice is firm enough to hold up in fried rice or grain bowls, yet tender enough to enjoy plain with a pat of butter or a drizzle of olive oil.
Easy Ingredient Swaps
Want to adapt this to what you have? Here are reliable swaps that don’t change the technique or timing.
- Different brown rice varieties — short-grain or medium-grain brown rice will work, but texture differs; short-grain will be stickier, so expect more cohesion between grains.
- No salt — feel free to omit the 1/4 teaspoon salt for low-sodium diets. Season after cooking instead with soy sauce, lemon, or herbs.
- Flavor additions — instead of water you can use low-sodium broth to add savory depth. Use the same 1 1/4 cups volume; the ratio remains consistent.
Toolbox for This Recipe
Simple gear is all you need:
- Fine-mesh strainer — rinse the rice thoroughly; this removes dust and surface starch and helps grains separate.
- Wide, shallow pot with tight-fitting lid — the shape matters: a wider surface distributes heat and allows even simmering; a tight lid traps steam.
- Measuring cup and teaspoon — accurate ratio is important; level off the rice and measure water precisely.
- Fork for fluffing — a gentle fork fluffing keeps grains separate without crushing them.
Avoid These Traps
Several small mistakes will turn this dependable method into disappointment. Keep an eye out for these common issues:
- Lifting the lid during cooking — opening the pot lets steam escape and drops the temperature, which can make rice uneven or chewy. Trust the timer.
- Using the wrong pot — a tall, narrow pot increases steam pressure and can cook rice unevenly; use a wide, shallow pot when possible.
- Using too much water — adding excess water yields gummy rice. Stick to 1 1/4 cups for this cup of brown rice unless you intentionally want softer grains.
- Not rinsing the rice — unwashed rice carries surface starch and can clump; a 30-second rinse helps keep grains separate.
- Turning off heat early — finishing the full 30 minutes on low heat is necessary. Turning off before time risks undercooked centers.
Seasonal Spins
Brown rice is a fantastic canvas for seasonal flavors. Keep the technique intact and vary what you pair with it.
- Spring — fold in blanched asparagus tips, peas, chopped herbs, and lemon zest for brightness.
- Summer — top warm rice with grilled vegetables, ripe cherry tomatoes, fresh basil, and a drizzle of olive oil.
- Autumn — stir in roasted squash, toasted pepitas, and a splash of apple cider vinegar for contrast.
- Winter — mix in braised greens, roasted root vegetables, and warm spices like cumin or smoked paprika.
Notes from the Test Kitchen
Timing and heat
During testing, the 30-minute covered simmer at low heat created the most consistent texture across stovetops. If your burner runs hot, reduce to the lowest setting that maintains a barely perceptible simmer. If your burner is weak and you notice no simmer, raise heat slightly until you just hear tiny, regular bubbles before covering and reducing immediately.
Rinsing detail
The rinse is brief but purposeful: about 30 seconds under cold running water while rubbing the grains removes dust and loose bran and prevents surface starch from making the pot glue. Drain thoroughly—standing water in the rice will change the effective water ratio.
Resting matters
That 10-minute rest with the lid on finishes cooking through residual steam and lets the grains relax. Skipping the rest will give you rice that’s denser and less airy.
Keep It Fresh: Storage Guide
Cooked brown rice stores very well when handled properly. Cool it quickly after cooking by spreading it in a shallow pan or leaving the pot uncovered for a short time until it’s no longer steaming, then transfer to an airtight container.
- Refrigerator — keeps for 4–5 days. Reheat with a splash of water and a cover to steam it back to tenderness.
- Freezer — cooled rice freezes nicely for up to 3 months. Freeze in portioned, airtight bags and reheat straight from frozen; add a little water and microwave or steam until hot.
- Food safety — rice can harbor spores; cool quickly and refrigerate within two hours of cooking to reduce risk.
Questions People Ask
Below are concise answers to the questions I get most about brown rice. Short, practical, and tested.
Q: Can I double the recipe?
Yes. Keep the same ratio (1 cup rice : 1 1/4 cups water) and use a pot that keeps the rice in a thin layer. Cooking time remains the same, but check that the water comes to a boil evenly before covering and reducing heat.
Q: Why is my brown rice chewy in the center?
Most often because it didn’t cook the full 30 minutes at low heat or the lid was lifted during cooking. Return to low heat with a little added hot water and cover, giving it another 5–10 minutes if needed.
Q: Can I soak the rice first?
Soaking can reduce cooking time and soften the texture, but it’s optional. If you soak, drain well and slightly reduce the added water, or maintain the same water and shorten simmer time based on texture checks.
Q: Can I use a rice cooker or Instant Pot instead?
Yes. Rice cookers and pressure cookers have their own water ratios and cycles. This stovetop ratio and timing are tuned for a shallow pot; follow your device’s recommended brown rice settings for best results.
The Takeaway
This brown rice method is about restraint and precision: rinse briefly, measure accurately, bring to a boil uncovered, then cover and let a gentle simmer and rest do the work. With 1 cup rice to 1 1/4 cups water, 30 minutes covered cooking, and a 10-minute rest, you’ll get consistently separate, nutty grains that work with everything you cook all week.
Keep the pot wide, the lid tight, and your hands off while it cooks. Little practice, consistent timing, and these simple rules will make brown rice one of the most reliable parts of your meal prep. Try it tonight—pair it with roasted vegetables, a fried egg, or your favorite curry. You’ll be surprised how often this basic technique becomes your go-to.
How to make Brown Rice
Ingredients
Ingredients
- 1 cuplong grain brown rice *see note below
- 1 1/4 cupswater
- 1/4 teaspoonsalt
Instructions
Instructions
- Place 1 cup long grain brown rice in a fine-mesh strainer and rinse under cold running water for about 30 seconds, rubbing the grains with your fingers; drain well.
- Transfer the rinsed rice to a wide, shallow pot with a tight-fitting lid. Add 1 1/4 cups water and 1/4 teaspoon salt.
- Set the pot over medium-high heat and bring the mixture to a boil, uncovered.
- Once boiling, immediately cover the pot and reduce the heat to low so the rice simmers gently.
- Cook, covered, on low heat for 30 minutes without lifting the lid.
- Turn the heat off and let the rice rest, still covered, for 10 minutes.
- Remove the lid, fluff the rice with a fork, and serve warm.
Equipment
- Fine Mesh Strainer
- wide shallow pot with tight-fitting lid
- Fork
- stove
Notes
For short-grain brown rice, use 1 ½ cups water.