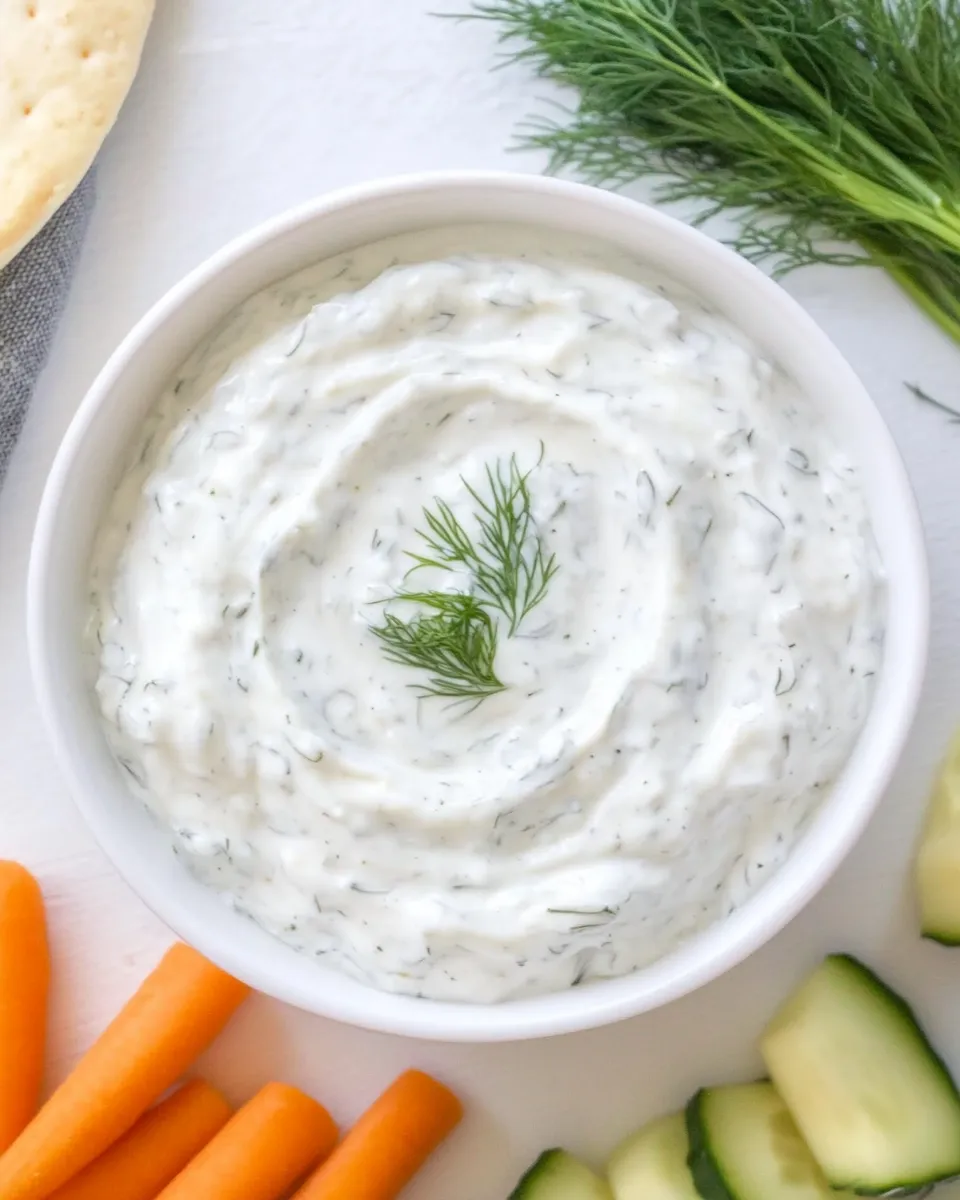
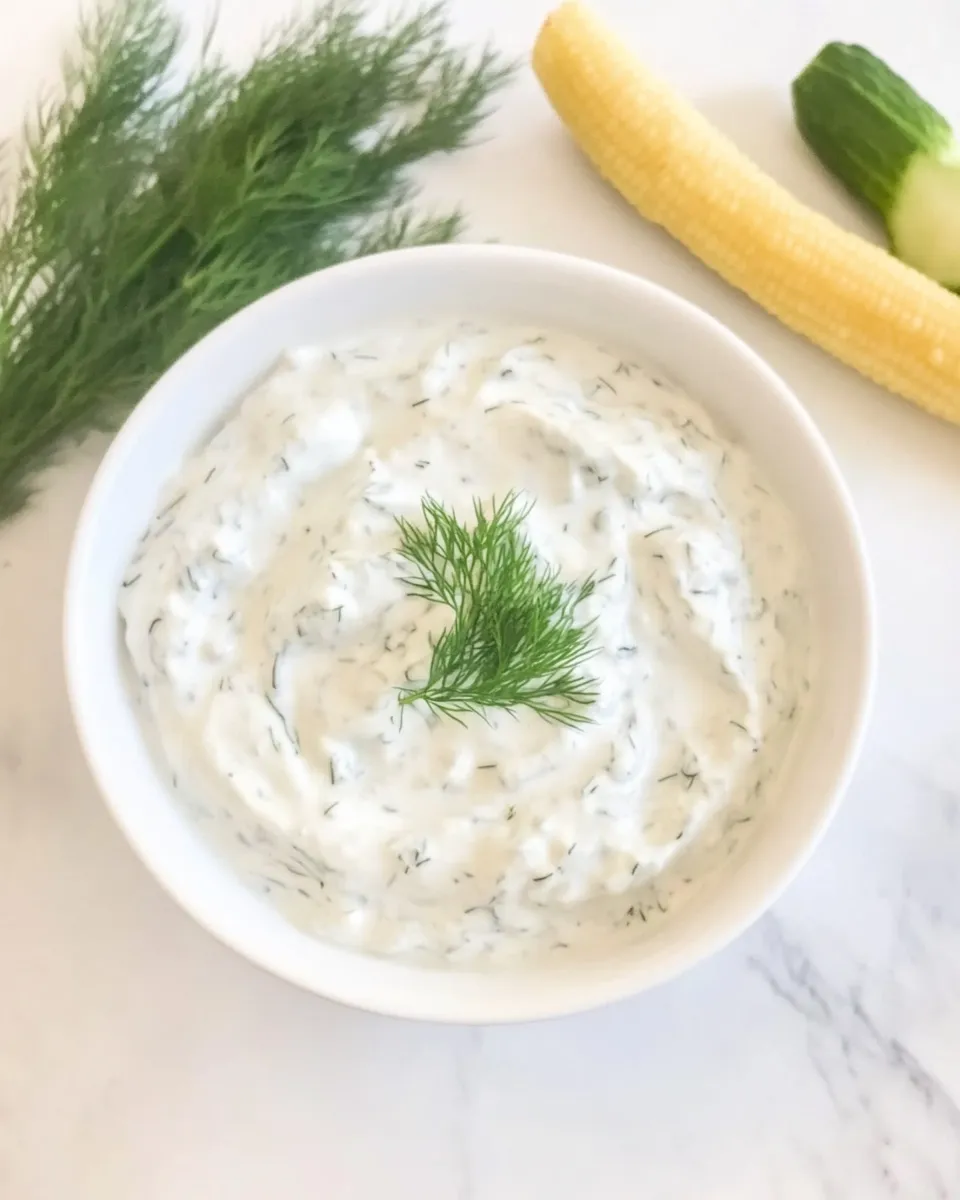
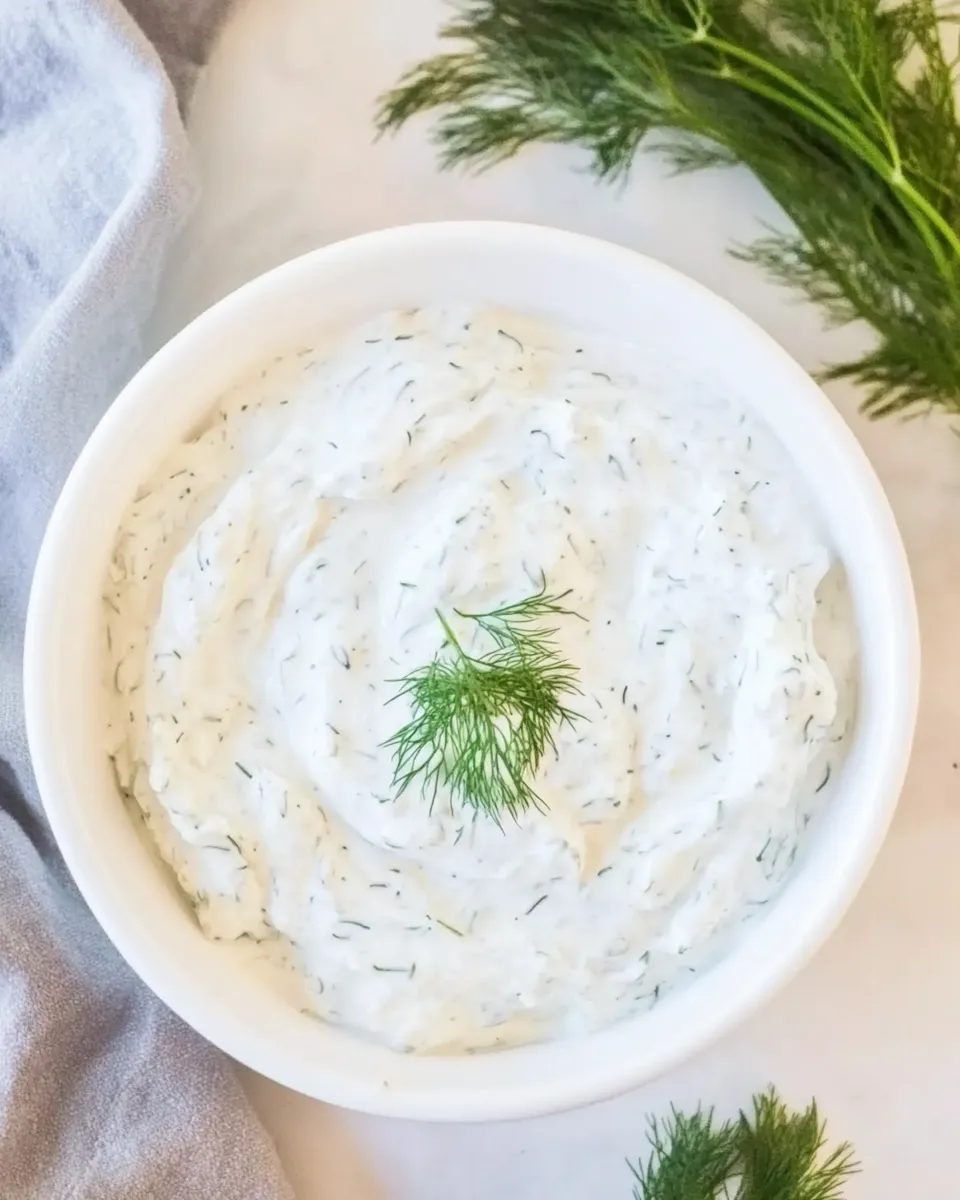
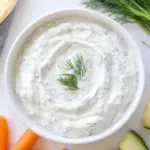
Dill Dip
I make this dill dip almost every week. It’s one of those small recipes that does a lot of work: bright herb flavor, creamy base, and no fussy technique. Whether I’m pulling out a quick appetizer for friends or packing a snack for the week, this dip shows up reliably.
There are no surprises here — just simple ingredients and a clear method. The little details matter: how long you chill it, whether you use mayo or Greek yogurt, and a gentle stir before serving. Those small choices change the character from casual to memorable.
Below you’ll find the ingredient breakdown, the exact steps to follow, and practical notes I’ve learned from making it dozens of times. I keep the tone direct because this is a working recipe, not a showpiece. Read it, make it, and adjust it to your pantry.
Ingredient Rundown

Ingredients
- 1 cup mayonnaise, or plain Greek yogurt — provides the creamy base; Greek yogurt lightens the dip and adds a tangy edge.
- 1 cup sour cream — rounds out the texture and brings cool richness that balances the herbs.
- 1 teaspoon dried dill — the defining flavor; dried dill concentrates, so a little goes a long way.
- 1 tablespoon dried minced onion — gives savory depth without chopping fresh onion; rehydrates in the dip for a subtle onion note.
- 1 tablespoon dried parsley — adds color and a gentle herbal lift, keeping the dill from feeling one-dimensional.
- 1/2 teaspoon seasoned salt, or kosher salt — seasons the whole dip; seasoned salt adds a touch of garlic/onion if your brand does.
Cooking (Dill Dip): The Process
- In a medium mixing bowl, add 1 cup mayonnaise (or plain Greek yogurt) and 1 cup sour cream.
- Add 1 teaspoon dried dill, 1 tablespoon dried minced onion, 1 tablespoon dried parsley, and 1/2 teaspoon seasoned salt (or kosher salt).
- Stir with a spoon or spatula until smooth and all ingredients are well combined.
- Cover the bowl and refrigerate for 60 minutes to let the flavors meld.
- Stir once more before serving, and serve with vegetables, crackers, or chips.
Why It’s My Go-To
This dill dip is dependable. It comes together in minutes and rewards a little patience with a big flavor payoff. The refrigerated resting time isn’t optional in my kitchen — that hour lets the dried herbs rehydrate and blend, so the flavors knit into something balanced and fresh rather than herb-speckled and separate.
I also love how flexible it is. Use it as a classic veggie dip, spoon it over baked potatoes, spread it on sandwiches, or thin it into a quick salad dressing. It’s mild enough to appeal to a crowd, but herb-forward enough to feel intentional. That combination of crowd-pleasing and personality is what keeps it on my weekly rotation.
Finally, it’s forgiving. If you prefer tang, swap in yogurt. If you want it brighter, a squeeze of lemon or a splash of vinegar wakes it up. Those small tweaks let you tailor the dip to whatever you’re serving without changing the method.
Smart Substitutions
Substitutions keep this dip usable when the pantry is lean. Here are straightforward swaps I use regularly, with no math or guesswork required.
- Mayonnaise: swap for plain Greek yogurt to lighten the dip and add tang. Start with a direct 1-for-1 swap.
- Sour cream: if you only have crème fraîche or a thicker yogurt, it will work; expect a slightly different tang profile.
- Dried dill: fresh dill can replace dried, but use it more sparingly — fresh has a softer, brighter presence. Add to taste rather than trying to match dried measurements exactly.
- Dried minced onion: if you have finely chopped fresh onion or shallot, use a small amount and let it sit to mellow; otherwise onion powder can work in a pinch for a smoother texture.
- Seasoned salt: use kosher salt if you prefer control over sodium, then taste and adjust right before serving.
Before You Start: Equipment
Nothing fancy is required. I keep this list short because you want to be efficient, not overwhelmed.
- Medium mixing bowl — for comfortable stirring and chilling.
- Spoon or rubber spatula — to combine without overworking.
- Plastic wrap or a lid — to cover the bowl while it chills.
- Serving bowl and utensils — to present the dip after you stir it once more.
Easy-to-Miss Gotchas
Small missteps are the ones that change a reliable dip into something forgettable. Watch for these.
- Not chilling long enough: the herbs need time. Serve it immediately and the flavors will taste flat and separated.
- Using too much fresh dill without adjusting amounts: fresh dill is subtler in volume but more aromatic; add it in stages and taste.
- Relying on a flavored mayonnaise or pre-seasoned sour cream: check the labels. Extra garlic or chive seasoning can push the dip off-balance.
- Skipping the final stir: the dip settles in the fridge. Stirring once before serving brings everything back together and gives the right texture.
Holiday & Seasonal Touches
This dip adapts well to seasonal tweaks, which is why it appears at spring gatherings and late-fall snack boards alike. A few simple touches let it lean festive or seasonal without reworking the recipe.
Spring and summer: fold in a small handful of finely chopped fresh herbs like chives, parsley, or mint at the end for brightness. Add finely diced cucumber for crunch and a light, garden feel.
Autumn and winter: mix in a small spoonful of horseradish or a pinch of smoked paprika to deepen the flavor profile for heartier boards. Serve alongside warm roasted vegetables to contrast temperatures.
Testing Timeline
Here’s the timeline I follow when testing this dip so I know what to expect at each stage.
- Prep and mix: about 5 minutes. Combine the mayonnaise (or Greek yogurt) and sour cream, add the dried herbs and seasoned salt, and stir until smooth.
- Rest: 60 minutes in the refrigerator. This is the make-or-break window where dried herbs rehydrate and flavors meld.
- Final stir and serve: 1–2 minutes. Stir to reintegrate any liquid that separated, then transfer to a serving bowl.
- Short-term hold: if you’re serving over a few hours, keep it chilled and give it a quick stir before offering it again.
Best Ways to Store
Store the dip in an airtight container in the refrigerator. It keeps its texture and flavor best when chilled and sealed. When I plan ahead, I make it the day before and let it sit overnight for even better integration of flavor.
If you’re worried about leftovers, portion them into a small container so you only open what you need each time; repeated temperature swings make dairy separate faster. For very long-term keep, this dip isn’t a good candidate for freezing — thawing will affect texture and water separation becomes noticeable.
Frequently Asked Questions
Q: Can I make this dip dairy-free? A: You can experiment with dairy-free sour cream and mayonnaise alternatives. Both will change the mouthfeel and may require extra seasoning; taste as you go.
Q: Can I use fresh dill instead of dried? A: Yes. Fresh dill is brighter and more aromatic. Add it toward the end, taste, and adjust. Start with less than you think, then add more if needed.
Q: How long does it last? A: Kept in an airtight container in the fridge, it holds well for several days. Always sniff and look for any changes before serving.
Q: Is it possible to make this ahead? A: Absolutely. Making it a few hours to a day ahead only improves it. Just give it a quick stir before serving.
Q: What should I serve it with? A: Veggie sticks, crispy crackers, pita chips, or as a spread on sandwiches are all excellent. It also pairs well with roasted potatoes or as a dollop on grilled fish.
That’s a Wrap
This dill dip lives on my menu because it’s simple, adaptable, and consistently good. The method is intentionally minimal: mix, chill, stir, serve. That framework lets you focus on small adjustments — swap a base, toss in a fresh herb, or stretch it into a sauce — without worrying about technique.
Make it, taste it after the hour in the fridge, and tweak only if necessary. Once you find the balance that suits your table, it becomes one of those recipes you reach for again and again. Enjoy.
Dill Dip
Ingredients
Ingredients
- 1 cupmayonnaise or plain Greek yogurt
- 1 cupsour cream
- 1 teaspoondried dill
- 1 tablespoondried minced onion
- 1 tablespoondried parsley
- 1/2 teaspoonseasoned salt kosher salt
Instructions
Instructions
- In a medium mixing bowl, add 1 cup mayonnaise (or plain Greek yogurt) and 1 cup sour cream.
- Add 1 teaspoon dried dill, 1 tablespoon dried minced onion, 1 tablespoon dried parsley, and 1/2 teaspoon seasoned salt (or kosher salt).
- Stir with a spoon or spatula until smooth and all ingredients are well combined.
- Cover the bowl and refrigerate for 60 minutes to let the flavors meld.
- Stir once more before serving, and serve with vegetables, crackers, or chips.
Equipment
- Mixing Bowl
- Spoon or Spatula
- Refrigerator
Notes
Sour Cream
: Use full-fat or reduced-fat, not fat-free for the best flavor.
Mayo:
I don't recommend using Miracle Whip or Fat-Free mayonnaise, as the flavor is not as good.
Spice Blend:
Feel free to replace the dried dill, onion, seasoned salt, and dried parsley with 1 tablespoon of
homemade dill seasoning
.
Storage:
Dill Dip will last in an airtight container in the refrigerator for up to 3 days. While safe longer, the dip will begin to become watery.