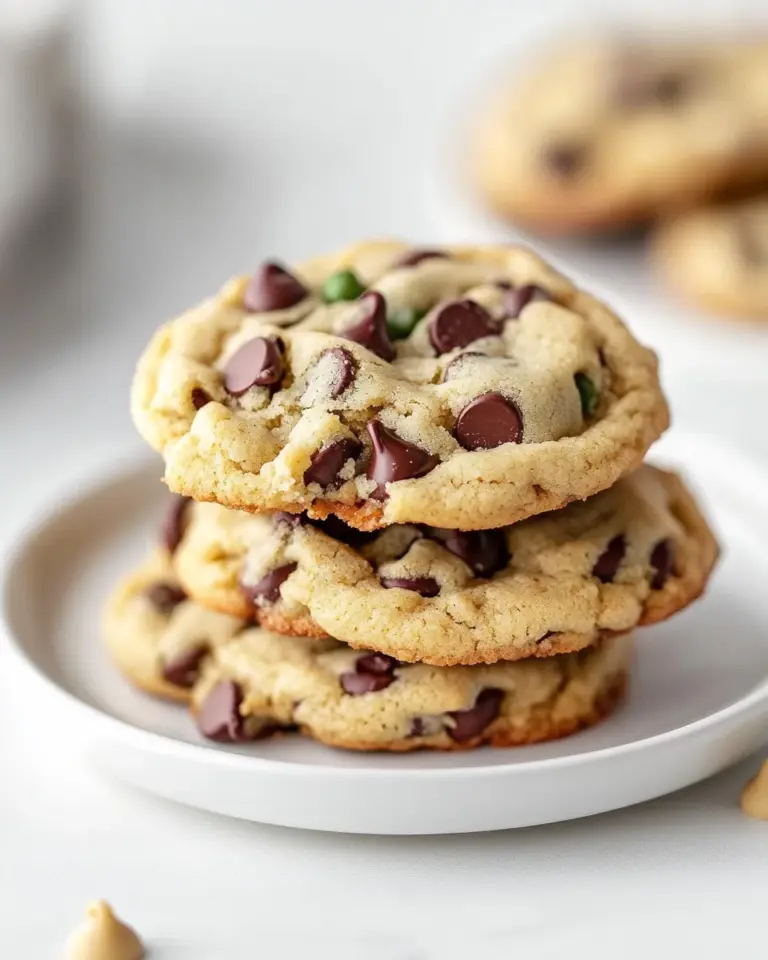
Dark Chocolate Cookies
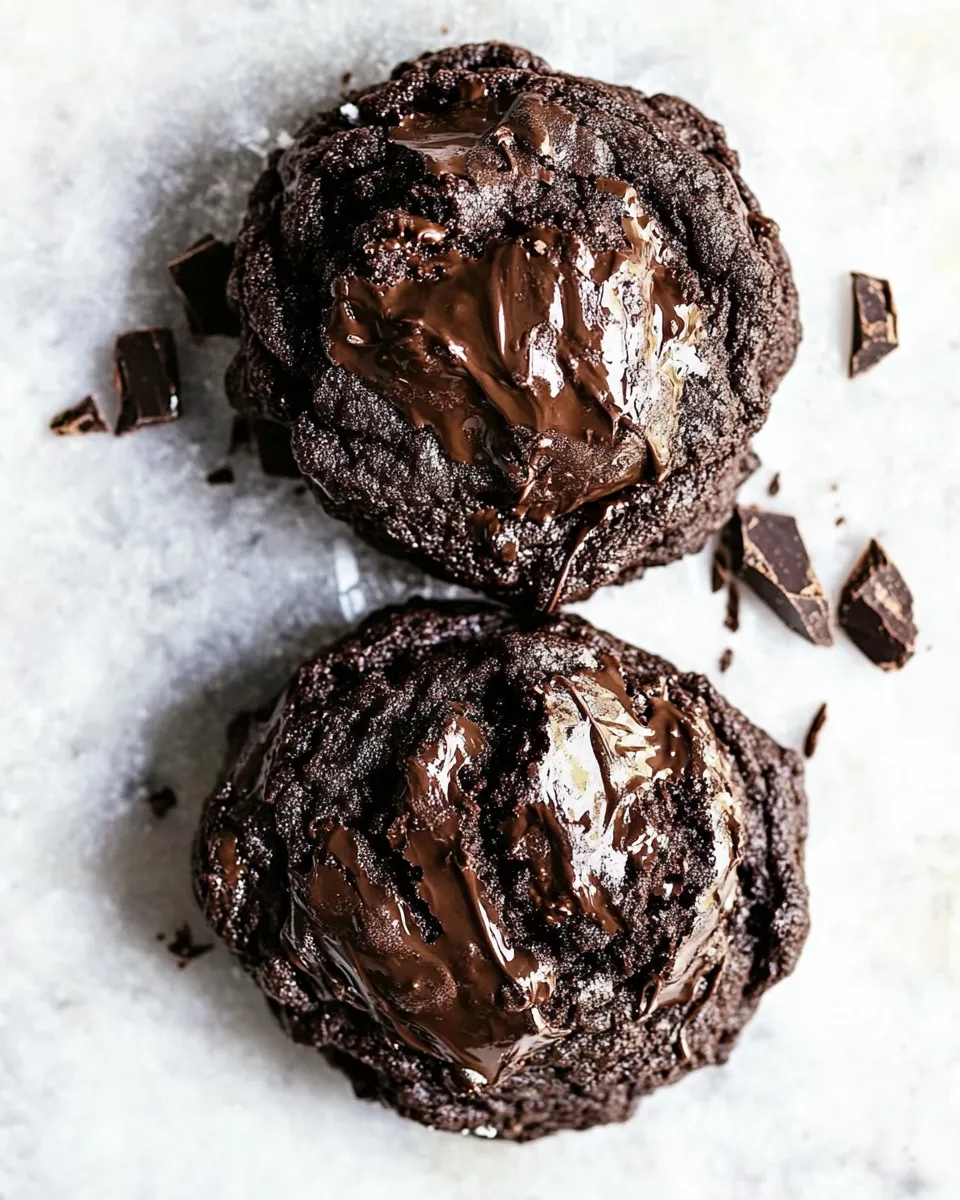
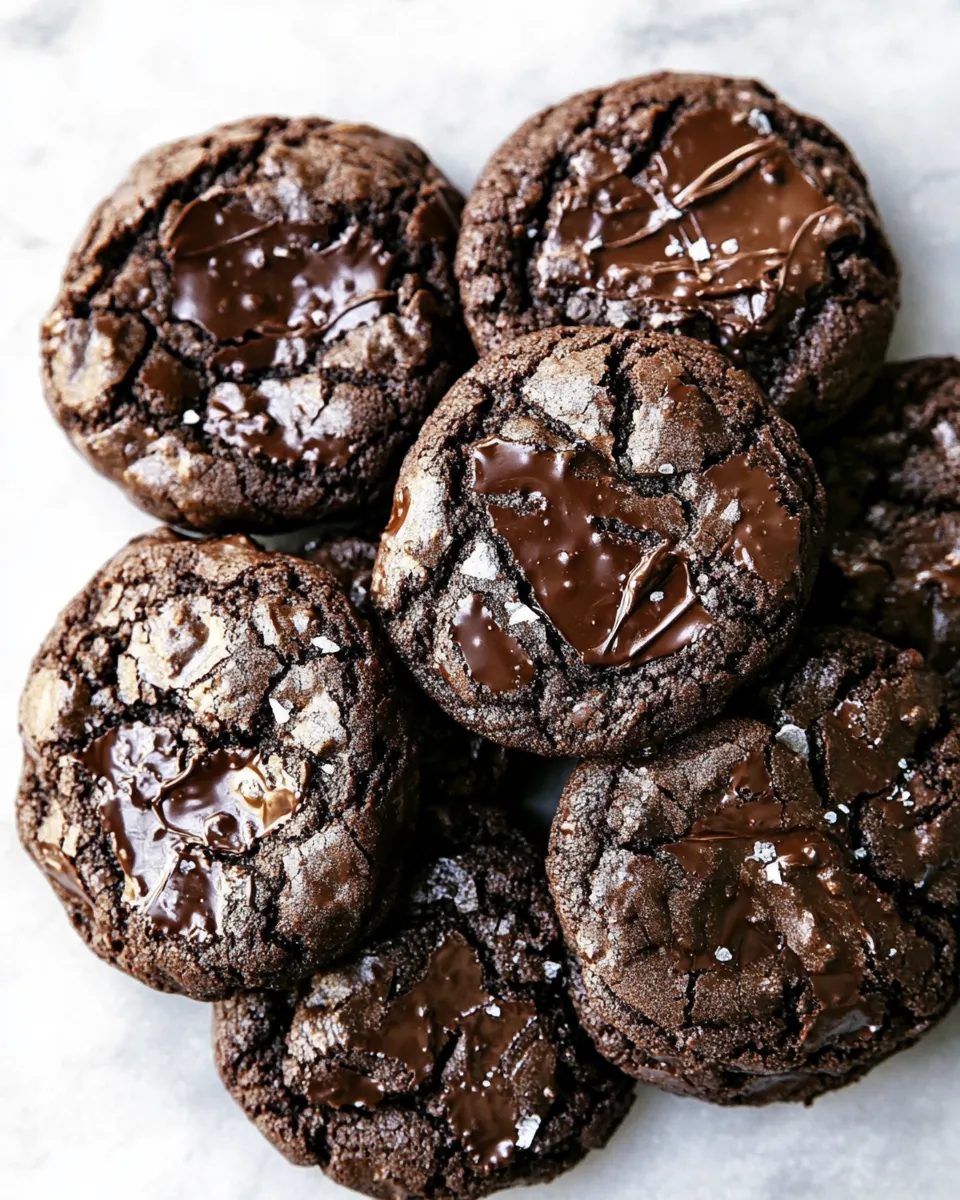
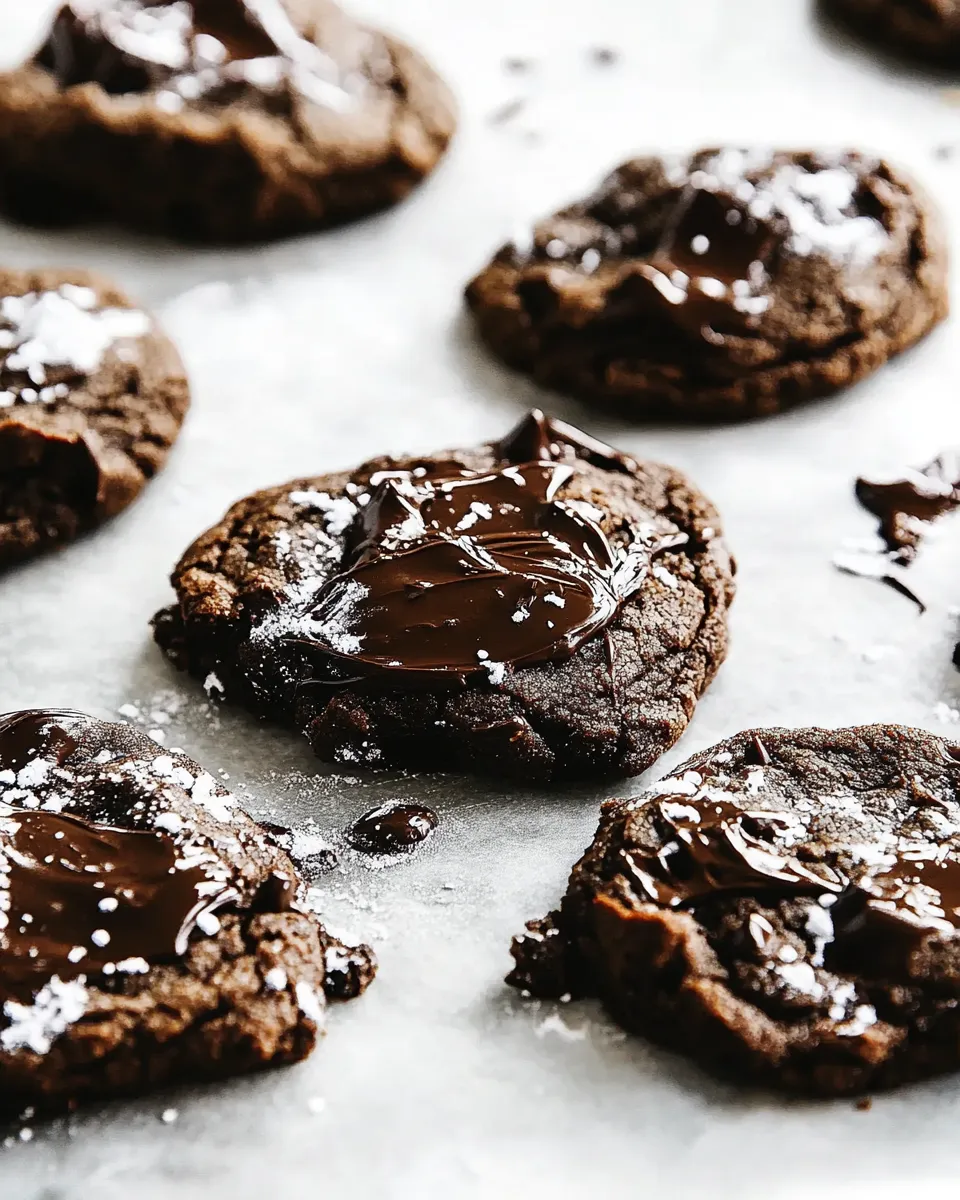
These dark chocolate cookies are exactly what you want when you need something reliably impressive with minimal drama. They marry dense, almost brownie-like interiors with slightly crisped tops and pockets of melted chocolate. I make a batch when I want something rich that still feels effortless.
No fancy techniques. No long ingredient list. The key is timing: warm the chocolate until it’s glossy, whip eggs and sugar until pale, then handle the batter gently. Small choices—type of chocolate, how long you bake—decide whether the cookie tilts fudgy or cakey. That’s where a little direction helps.
Below you’ll find the exact ingredients and step-by-step process I follow in the test kitchen, plus practical tips for substitutions, troubleshooting, equipment, storage, and answers to the questions readers ask most often. Keep the checklist handy; these cookies respond well to predictable, calm baking.
The Essentials

These cookies are quick to make and rewarding: they take only a short bake time and require minimal hands-on mixing. Expect a fudgy center with a tender crumb if you follow the timing closely. The recipe uses melted bittersweet chocolate plus lots of chips, so flavor and texture are both intense.
Plan to bake one sheet at a time for the most even results. If you’re baking multiple batches, allow your baking sheet to cool between rounds. A cooling rack and a quiet half hour to let the cookies rest after baking will give you the best texture.
Ingredients
- ½ cup all-purpose flour — provides structure; sift with the cocoa to avoid lumps.
- ⅓ cup unsweetened cocoa powder — gives the deep chocolate backbone; sift to keep the batter smooth.
- ½ teaspoon salt — balances sweetness and brightens flavor.
- ¼ teaspoon baking powder — a small lift so the cookies puff slightly without becoming cakey.
- 6 ounces bittersweet chocolate, coarsely chopped — I used 60%; the darker the chocolate, the more intense the cookies will be.
- 4 tablespoons unsalted butter, cut into 6 pieces — melts into the chocolate for a glossy, smooth base.
- 2 large eggs at room temperature — beaten with sugar to create volume and structure.
- ⅔ cup granulated sugar — sweetens and helps create that shiny top.
- 1 teaspoon pure vanilla extract — rounds the chocolate and lifts the flavor.
- 12 ounces semi-sweet chocolate chips — about 2 cups; the pockets of melty chocolate are essential for texture contrast.
- Flaky sea salt such as Maldon or Fleur de Sel (optional) — a small pinch on top balances richness and adds a finishing pop.
Cooking Dark Chocolate Cookies: The Process
- Place a rack in the center of the oven and preheat to 350°F (175°C). Line two baking sheets with parchment paper or silicone mats.
- In a small bowl, sift together ½ cup all-purpose flour, ⅓ cup unsweetened cocoa powder, ½ teaspoon salt, and ¼ teaspoon baking powder. Set aside.
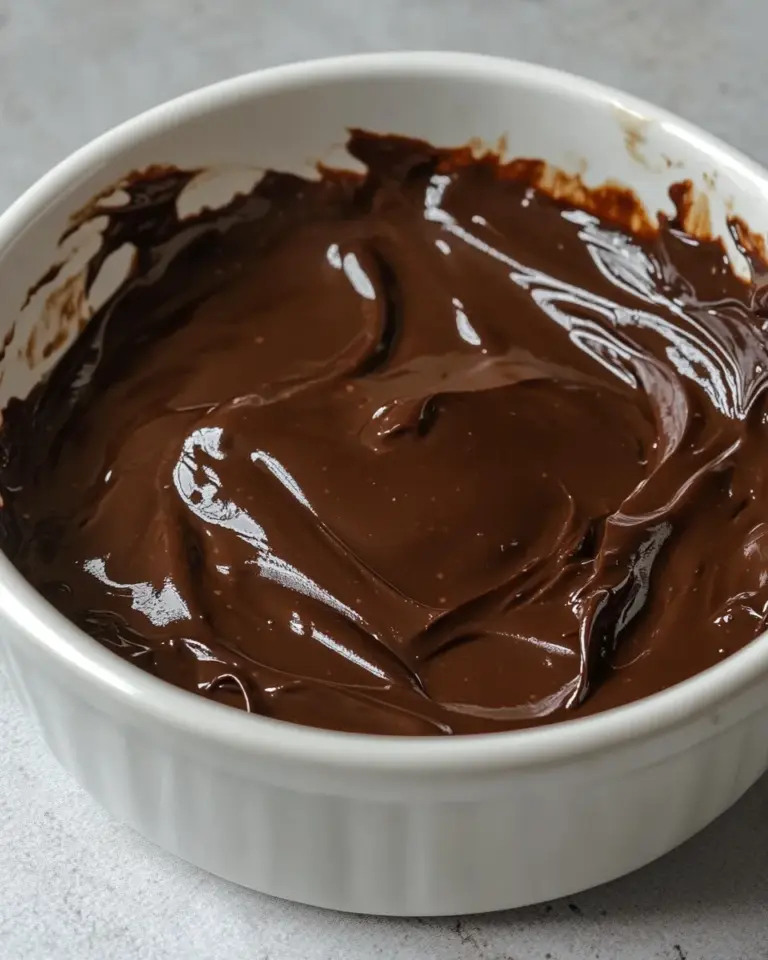
- Set a heatproof bowl over (not touching) a saucepan of simmering water. Add 6 ounces coarsely chopped bittersweet chocolate and 4 tablespoons butter (cut into 6 pieces). Heat, stirring occasionally, until the chocolate and butter are mostly melted.
- Remove the bowl from the saucepan and stir until the chocolate and butter are completely melted and the mixture is smooth and glossy. Let the chocolate mixture cool to room temperature.
- In the bowl of a standing mixer fitted with the paddle attachment, or in a large mixing bowl with a hand mixer or whisk, beat 2 large room-temperature eggs and ⅔ cup granulated sugar on medium-high speed for about 2 minutes, until pale and foamy.
- Add 1 teaspoon pure vanilla extract and beat briefly to combine. Scrape down the bowl.
- Reduce the mixer speed to low and add the cooled chocolate-butter mixture. Mix just until incorporated. Scrape down the bowl.
- With the mixer still on low, gradually add the sifted dry ingredients and mix only until the dry ingredients are just incorporated and no streaks of flour remain. The batter will be thick, shiny, and brownie-like.
- Using a rubber spatula, gently fold in 12 ounces semisweet chocolate chips (about 2 cups) by hand until evenly distributed.
- For small cookies (~2-inch), drop rounded tablespoonfuls of dough onto the prepared baking sheets, leaving about 1 inch between mounds. For larger cookies (~3-inch), drop mounds of about 2 tablespoons of dough, leaving about 2 inches between mounds. If using, sprinkle a small pinch of flaky sea salt on top of each mound.
- Bake one sheet at a time in the center of the oven: 9 minutes for small cookies or 10 minutes for larger cookies. The tops should look slightly dry while the centers remain soft.
- Remove the baking sheet from the oven and let the cookies rest on the sheet for 2 minutes. Then transfer the cookies gently to a cooling rack to cool to room temperature.
- Repeat with the remaining dough, baking one sheet at a time. If you reuse the same baking sheet, allow it to cool completely between batches.
Why This Recipe Belongs in Your Rotation
First, it’s dependable. The technique uses melted chocolate rather than all melted chips, which gives richer flavor and a fudgy texture that doesn’t dry out. Second, it’s simple—no chilling, no creaming butter and sugar for long stretches, and no complicated folding. Third, the cookie is adaptable. Keep the chips, swap the chocolate, or add a sprinkle of sea salt, and it still behaves the same in the oven.
It’s a go-to for last-minute gatherings because the bake time is short and the result feels elevated. The mix-and-bake rhythm is forgiving, so beginners get reliable success and experienced bakers get a satisfying, dark-chocolate punch.
Texture-Safe Substitutions
If you need to tweak textures without breaking the recipe, focus on two things: the chocolate you use and how long you bake. Stronger, higher-percentage chocolate makes a denser, more intense cookie. Milkier chocolate will soften the profile and create a softer crumb.
For a chewier result, use larger mounds (the larger cookie option) and err on the shorter end of the recommended bake time. For a cakier result, add slightly more baking powder—but proceed conservatively; the recipe already includes ¼ teaspoon to preserve its fudgy character.
Equipment & Tools
Use these tools to make the process smooth:
- Heatproof bowl and saucepan — for melting chocolate gently over simmering water.
- Stand mixer with paddle attachment or hand mixer — for whipping the eggs and sugar until pale and foamy.
- Rubber spatula — for folding in the chips without deflating batter.
- Baking sheets, parchment paper or silicone mats — for even baking and easy release.
- Cooling rack — the cookies finish their texture as they cool; don’t skip it.
Troubleshooting Tips
If the cookies spread too much
Make sure the baking sheet is cool before each batch. Warm sheets make the dough run. Also check that you measured flour and cocoa accurately—too little dry ingredients allows excess spread.
If the centers are underbaked or too gooey
Remember the short rest on the sheet after baking. The residual heat continues to set the centers. If they’re still excessively underdone after cooling, your oven may run cool; add 1–2 minutes to the bake time and test again.
If the cookies come out flat and greasy
That usually means the chocolate-butter mixture was too hot when added to the eggs, or the dough was overmixed after the dry ingredients. Let the chocolate mixture cool fully to room temperature before combining. Mix just until ingredients are incorporated.
Tailor It to Your Diet
Want to adapt this recipe? A few practical notes:
- Dairy-free: Use a solid, block-style plant-based butter and confirm the chocolate and chips are labeled dairy-free. That preserves the texture better than softer spreads.
- Lower sugar: Reduce the chips slightly to lower overall sweetness; the batter relies on both the granulated sugar and the chips for balance.
- Nuts and add-ins: Fold in chopped toasted nuts or seeds for crunch. Add-ins change texture, so fold them in gently and use modest quantities so the cookies hold together.
Notes from the Test Kitchen
I tested these with bittersweet chocolate at 60% and again at 72%. Higher percentages deliver a luxurious bitterness—great if you prefer deep, restrained sweetness. The 60% version is more crowd-pleasing and harmonizes nicely with semisweet chips.
Baking one tray at a time made the biggest difference in evenness. On non-insulated sheets, cookies browned faster on the bottoms. Allowing the sheet to cool between batches prevented overbrowning and helped each batch match the first.
Also: the shiny, slightly cracked top is a reliable indicator that the cookie is done; if the top looks wet, it needs more time. Two minutes on the sheet after baking is an intentional step—remove them too soon and they’ll fall apart; too late and the texture firms more than desired.
Best Ways to Store
Room temperature: Store in an airtight container for up to 3 days. Place a sheet of parchment between layers to prevent sticking.
Refrigeration: If you prefer a firmer cookie or need to extend life to about a week, refrigerate in an airtight container. Bring to room temperature before serving so the centers soften again.
Freezing: Freeze baked cookies in a single layer on a tray until solid, then transfer to a freezer-safe container or bag for up to 2 months. Thaw at room temperature. You can also freeze unbaked dough mounds on a tray, then transfer to a bag; bake directly from frozen, adding a minute or two to the bake time.
Reader Q&A
Q: Can I use only chocolate chips and skip the chopped bittersweet chocolate?
A: The chopped bittersweet chocolate and butter melted together give a glossy, rich base that affects both flavor and texture. Using only chips can work, but melt them carefully and let them cool to avoid overheating the eggs. Expect a slightly different texture.
Q: My cookies are too cakey. What went wrong?
A: Likely overmixing, too much baking powder, or over-measuring flour. Mix until just combined and measure dry ingredients by spooning into the cup and leveling, rather than scooping directly from the container.
Q: Can I refrigerate the dough before baking?
A: You can, though these are designed to bake right away. Chilling will firm the dough and may reduce spread, giving a slightly different texture and longer bake times. If you chill, allow scroll time to soften slightly for easier scooping.
Next Steps
Make these cookies once to get the feel of the batter and the bake time in your oven. After that, tweak chocolate percentages and cookie size to match your preference. Try a batch with sea salt and another without; small changes have big flavor effects.
If you liked this recipe, save it to your collection and keep a sheet of parchment in the pantry—these cookies come together faster than you think and they’re always worth the short effort.
Dark Chocolate Cookies
Ingredients
Ingredients
- 1/2 cupall-purpose flour
- 1/3 cupunsweetened cocoa powder
- 1/2 teaspoonsalt
- 1/4 teaspoonbaking powder
- 6 ouncesbittersweet chocolate coarsely choppedI used 60%; the darker the chocolate the more intense the cookies will be
- 4 tablespoonsunsalted buttercut into 6 pieces
- 2 large eggs at room temperature
- 2/3 cupgranulated sugar
- 1 teaspoonpure vanilla extract
- 12 ouncessemi-sweet chocolate chipsabout 2 cups
- Flaky sea saltsuch as Maldon or Fleur de Sel optional
Instructions
Instructions
- Place a rack in the center of the oven and preheat to 350°F (175°C). Line two baking sheets with parchment paper or silicone mats.
- In a small bowl, sift together ½ cup all-purpose flour, ⅓ cup unsweetened cocoa powder, ½ teaspoon salt, and ¼ teaspoon baking powder. Set aside.
- Set a heatproof bowl over (not touching) a saucepan of simmering water. Add 6 ounces coarsely chopped bittersweet chocolate and 4 tablespoons butter (cut into 6 pieces). Heat, stirring occasionally, until the chocolate and butter are mostly melted.
- Remove the bowl from the saucepan and stir until the chocolate and butter are completely melted and the mixture is smooth and glossy. Let the chocolate mixture cool to room temperature.
- In the bowl of a standing mixer fitted with the paddle attachment, or in a large mixing bowl with a hand mixer or whisk, beat 2 large room-temperature eggs and ⅔ cup granulated sugar on medium-high speed for about 2 minutes, until pale and foamy.
- Add 1 teaspoon pure vanilla extract and beat briefly to combine. Scrape down the bowl.
- Reduce the mixer speed to low and add the cooled chocolate-butter mixture. Mix just until incorporated. Scrape down the bowl.
- With the mixer still on low, gradually add the sifted dry ingredients and mix only until the dry ingredients are just incorporated and no streaks of flour remain. The batter will be thick, shiny, and brownie-like.
- Using a rubber spatula, gently fold in 12 ounces semisweet chocolate chips (about 2 cups) by hand until evenly distributed.
- For small cookies (~2-inch), drop rounded tablespoonfuls of dough onto the prepared baking sheets, leaving about 1 inch between mounds. For larger cookies (~3-inch), drop mounds of about 2 tablespoons of dough, leaving about 2 inches between mounds. If using, sprinkle a small pinch of flaky sea salt on top of each mound.
- Bake one sheet at a time in the center of the oven: 9 minutes for small cookies or 10 minutes for larger cookies. The tops should look slightly dry while the centers remain soft.
- Remove the baking sheet from the oven and let the cookies rest on the sheet for 2 minutes. Then transfer the cookies gently to a cooling rack to cool to room temperature.
- Repeat with the remaining dough, baking one sheet at a time. If you reuse the same baking sheet, allow it to cool completely between batches.
Equipment
- Oven
- Baking Sheets
- parchment paper or silicone mats
- Mixing Bowls
- sieve or sifter
- Saucepan
- Heatproof Bowl
- standing mixer or hand mixer
- Rubber spatula
- Cooling Rack
Notes
Actual cookie yield may vary depending upon the size of the dough scooped.
TO STORE: Place cookies in an airtight storage container at room temperature for up to 1 week.
TO FREEZE: Freeze cookies in an airtight freezer-safe storage container for up to 3 months. Thaw and enjoy as desired.