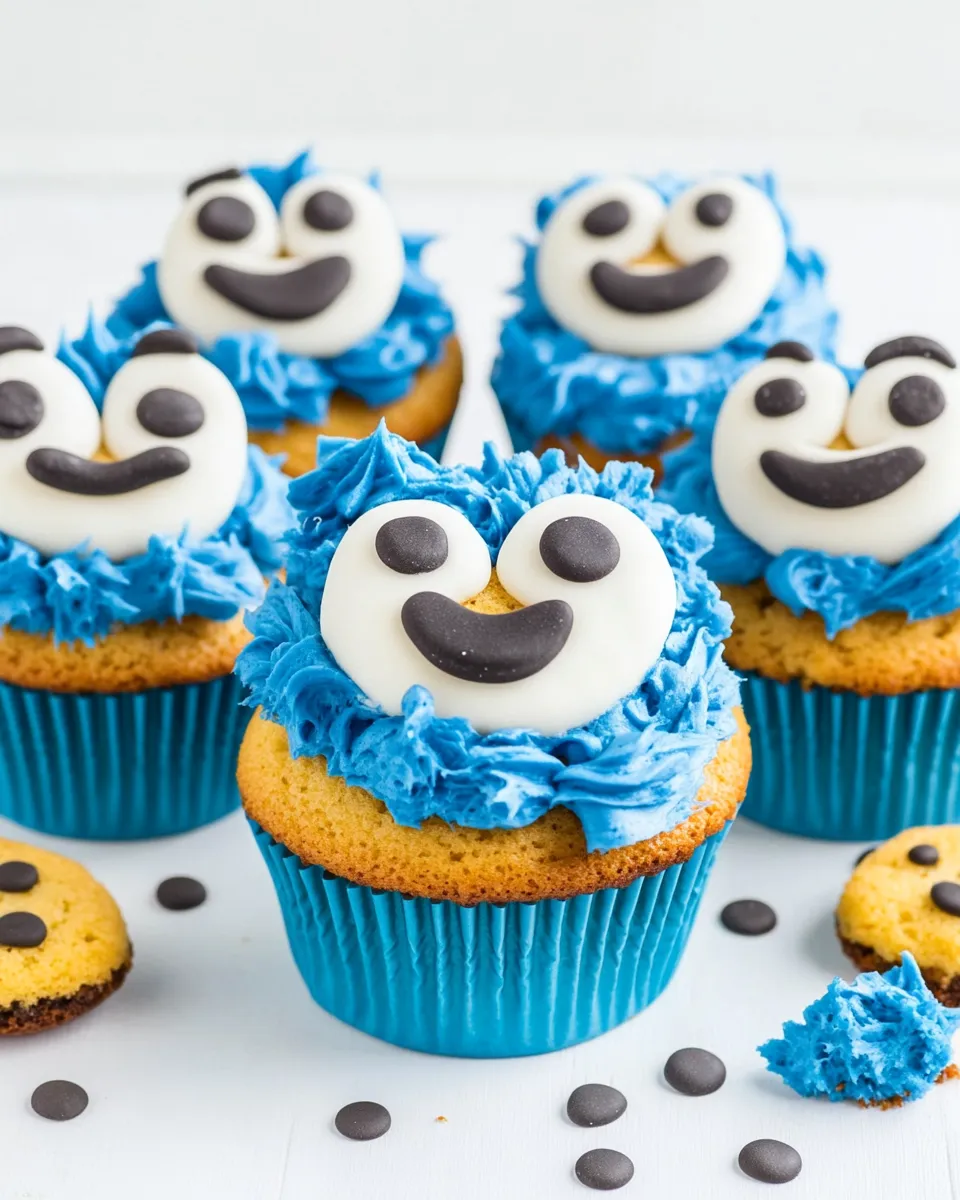
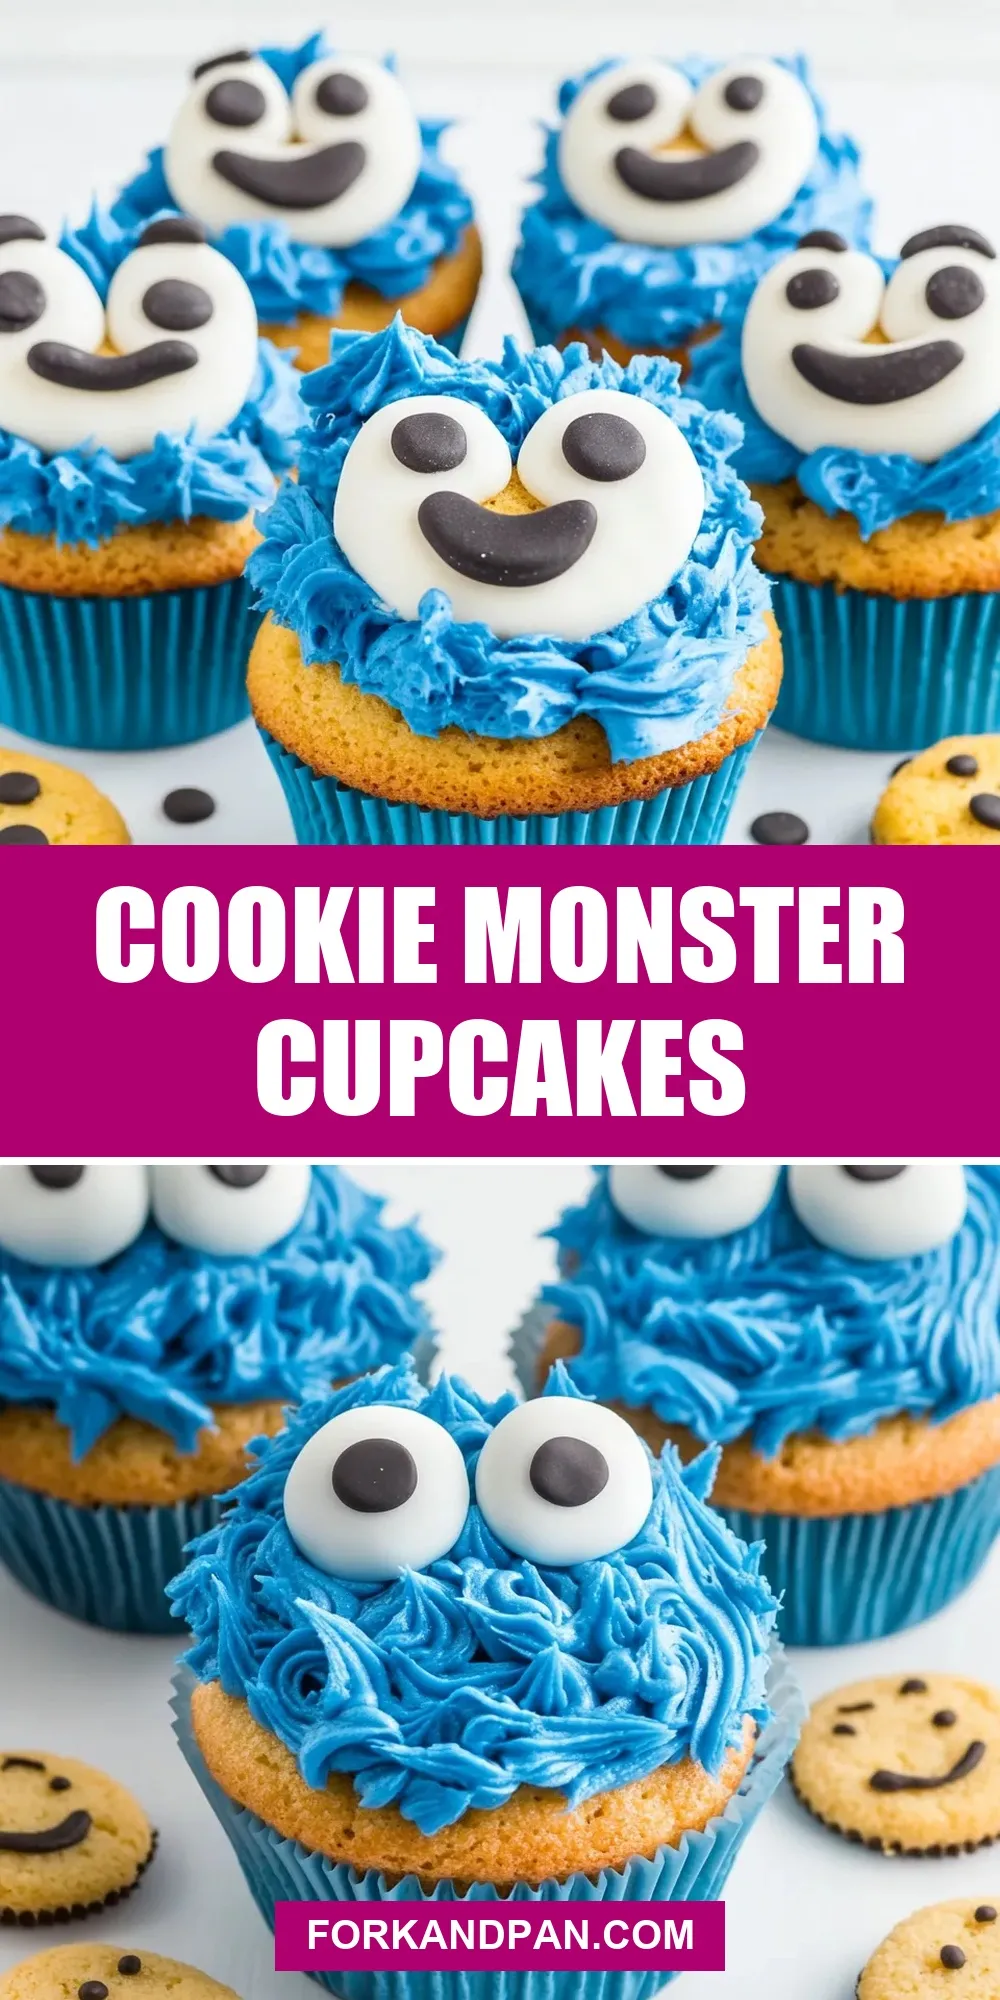
Cookie Monster Cupcakes
These Cookie Monster Cupcakes are the kind of fun recipe that gets requested at every birthday and school bake sale in my circle. They’re unapologetically playful, reliably chocolatey, and simple enough that you can pull them together in an afternoon. I love that they look impressive but don’t require advanced baking skills — perfect when you want a show-stopping treat without the drama.
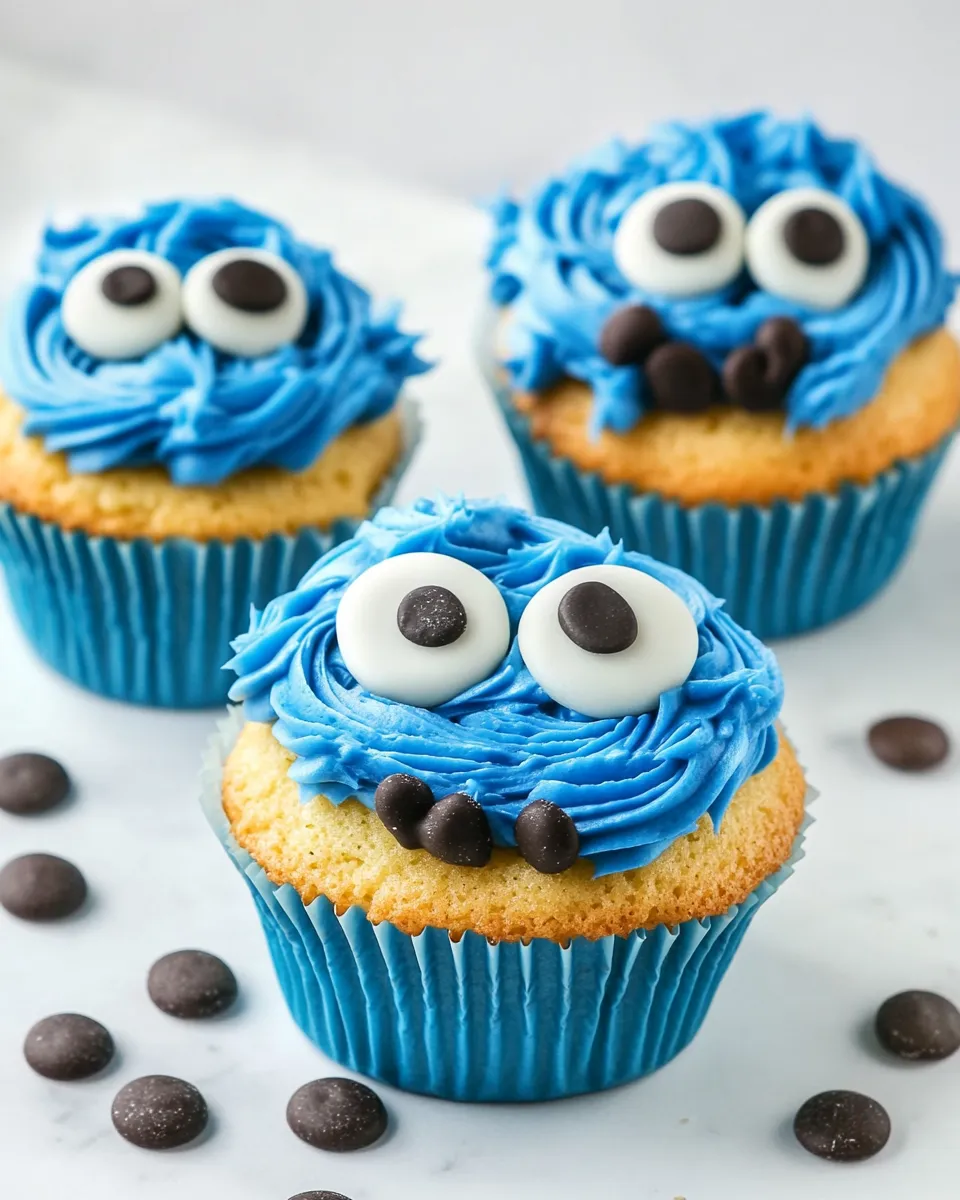
In this recipe you’ll find a straightforward chocolate cupcake base and a classic, spreadable buttercream that we tint the unmistakable Cookie Monster blue. The finishing touches — candy eyes and a cookie half — are what turn a cupcake into a character. I’ll walk you through the exact steps and share the small tricks that make the cupcakes tall, moist, and photo-ready.
Read through the directions before you start. The batter will be thin after adding boiling water, and that’s okay — it’s what keeps the crumb light. Also, a stable, spreadable frosting is key for piping tall, round Cookie Monster heads that hold the eyes and cookie pieces. Let’s get shopping, then bake.
What to Buy

Pick up everything the recipe needs so you can move from mixing to decorating without extra trips. Buy slightly more powdered sugar if you might adjust the frosting texture, and choose good-quality cocoa for a deep chocolate flavor. For the cookie, a classic chocolate chip cookie works best visually; a chunkier cookie will give a more dramatic “bite.”
If you can, grab gel coloring instead of liquid color — gel gives a vibrant blue without thinning the frosting. For the candy eyes, oversized ones make the cupcakes instantly recognizable, but standard large candy eyes are fine too. Finally, stock up on quality paper liners that won’t leak or collapse while baking.
Ingredients
- 1⅓ cups flour — provides structure; don’t overmeasure to keep cupcakes tender.
- 2 cups sugar — sweetens and helps with moistness and crumb texture.
- 1 cup cocoa — gives the chocolate flavor; Dutch-process or natural both work, but flavor varies slightly.
- 1½ teaspoons baking soda — leavening to help cupcakes rise.
- 1½ teaspoons baking powder — additional lift and lightness.
- 1 teaspoon salt — balances sweetness and enhances chocolate notes.
- 2 eggs — binders that add structure and richness.
- 1 cup whole milk — adds moisture and tenderness; room temperature is best.
- ½ cup oil — keeps cupcakes tender and moist; neutral oil (canola/vegetable) works well.
- 2 teaspoons vanilla — rounds out flavors; use pure vanilla if you can.
- 1 cup boiling water — thins the batter for a delicate crumb and intensifies cocoa.
- 1 cup unsalted butter — base for the frosting; room temperature ensures smooth whipping.
- 4 cups powdered sugar — sweetens and stabilizes the buttercream; add gradually when mixing.
- 4 tablespoons heavy whipping cream — adjusts frosting consistency; add only if needed.
- blue gel coloring — for that signature Cookie Monster hue without altering frosting texture.
- 2 large candy eyes — essential decoration; anchors the character’s face.
- 1 chocolate chip cookie — cut in half to create the cookie-in-mouth look.
Directions: Cookie Monster Cupcakes
- Preheat oven to 350°F and line a cupcake tin with paper liners.
- In a large bowl, whisk together 1⅓ cups flour, 2 cups sugar, 1 cup cocoa, 1½ teaspoons baking soda, 1½ teaspoons baking powder, and 1 teaspoon salt.
- In a separate bowl, whisk together 2 eggs, 1 cup whole milk, ½ cup oil, and 2 teaspoons vanilla.
- Pour the wet ingredients into the dry ingredients and mix until combined. Beat the batter on medium speed for 3 minutes.
- Reduce mixer speed to low and slowly add 1 cup boiling water, starting with a small amount and then pouring the remaining water while mixing. The batter will be thin.
- Fill each paper-lined cup about ¾ full with batter. Bake 20 to 25 minutes, or until a toothpick inserted in the center comes out clean.
- Remove cupcakes from the oven and let them cool in the pan for 10 minutes. Transfer cupcakes to a wire rack and let them cool completely.
- For the frosting: beat 1 cup unsalted butter until smooth. Gradually add 4 cups powdered sugar and beat until the mixture is light and creamy.
- If the frosting is too stiff, add up to 4 tablespoons heavy whipping cream a few drops at a time until it reaches a spreadable consistency. If needed during mixing, add the powdered sugar gradually from the measured 4 cups to reach the desired thickness.
- Test the frosting by placing a spoonful on a spoon and turning it upside down; the frosting should stay on the spoon. Adjust only with the measured powdered sugar or the measured heavy cream as described above.
- Add blue gel coloring a small amount at a time and mix until you reach the desired shade of blue.
- Spoon the frosting into a pastry bag fitted with a large star tip, twist the open end to push the frosting toward the tip, and hold the bag straight up and down when piping.
- Pipe the frosting straight up and down onto each cooled cupcake.
- Place the 2 large candy eyes on top of a frosted cupcake.
- Cut the 1 chocolate chip cookie in half and stick one cookie half into the middle of the frosted cupcake so it looks like it is sticking out of the mouth.
Why This Recipe is a Keeper
This cupcake base is moist and chocolate-forward without being dense. The boiling water step sounds strange but it’s the trick that intensifies the cocoa and keeps the crumb tender. The batter’s thinness after adding water is intentional; resist the urge to overmix or add extra flour.
The frosting balances stability and spreadability. The method—butter first, then powdered sugar, then careful cream—helps you control texture so the frosting holds tall piping without crumbling or sagging. And the decoration is delightfully simple: two eyes and a cookie half do all the character work for you.
Finally, it scales. Make a dozen for school, two dozen for parties, or triple the batter for a larger event. The components are pantry-friendly, and the technique works in any standard oven.
Quick Replacement Ideas
- Swap whole milk for 2% milk — you’ll still get moist cupcakes, though slightly less rich.
- Use light olive oil or melted coconut oil in place of neutral oil if you don’t mind subtle flavor changes.
- If candy eyes are unavailable, use small drops of white and dark chocolate or piped white frosting with a chocolate dot.
- Instead of a chocolate chip cookie, use a small brownie bit or a rounded cookie for a different texture.
Tools of the Trade
- Standard 12-cup cupcake tin — for even spacing and consistent baking.
- Paper cupcake liners — to prevent sticking and simplify serving.
- Stand mixer or hand mixer — for smooth batter and silky frosting.
- Large star piping tip and pastry bag — for the signature frosted mound.
- Wire rack — for complete cooling before frosting.
- Offset spatula or spoon — for minor frosting adjustments and smoothing.
Avoid These Mistakes
Do not skip the cooling step. Frosting warm cupcakes makes it melt and collapse. Allow cupcakes to reach room temperature on a wire rack before piping.
Don’t overfill the liners. Fill to about ¾ full as directed. Overfilling leads to misshapen domes and potential overflow.
When adding boiling water, pour slowly while mixing at low speed. Adding it too quickly can splash and create uneven batter. Also, if you add too much cream to the frosting it will be too loose to hold the piping shape; add the heavy cream a teaspoon at a time and test consistency.
Substitutions by Diet
If you need dietary swaps, note that texture and flavor will change. These suggestions keep the spirit of the cupcake but alter characteristics.
- Egg-free: Use 2 commercial egg replacer equivalents or flax eggs (2 tbsp ground flax + 6 tbsp water, chilled). Expect a slightly denser crumb.
- Dairy-free: Replace whole milk with unsweetened almond or oat milk; use vegan butter and a dairy-free cream alternative for the frosting. Gel coloring is typically vegan, but check labels.
- Lower sugar: Reducing sugar in the cupcakes will affect structure and moistness; reduce no more than 25% and consider adding a tablespoon of applesauce to keep moisture.
Insider Tips
Batter and Baking
Bring eggs and milk to room temperature before starting. They incorporate more easily into the batter and encourage even baking. When you beat for the three minutes at medium speed, you’re incorporating air that helps with rise, so be sure to actually time it.
Frosting & Piping
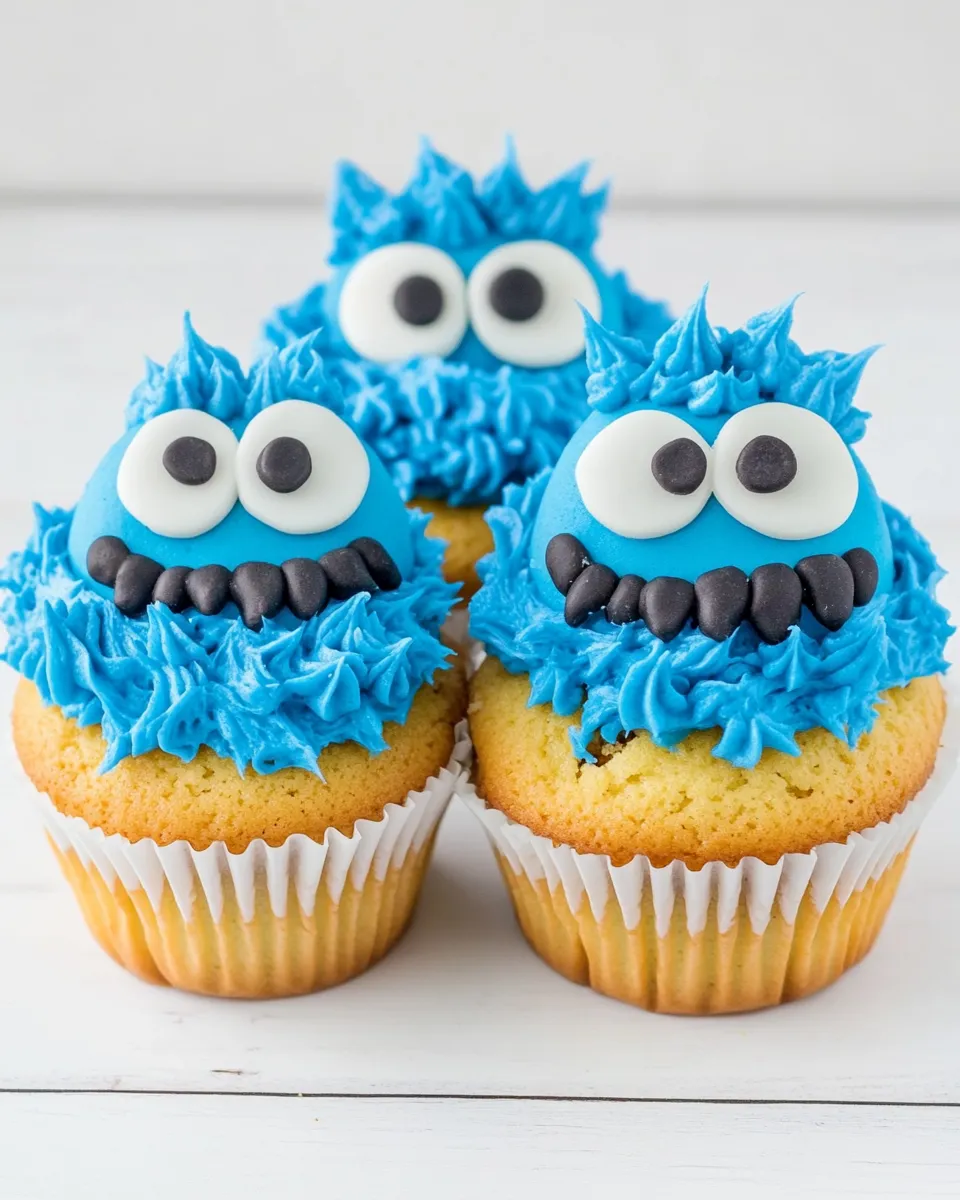
To get tall Cookie Monster heads, load the bag fully and pipe in one firm motion straight up and down. Don’t swirl; short, repeated bursts or a steady upward mound creates the highest, roundest shape. If the frosting creeps down the side of the cupcake, refrigerate the frosted cupcakes for 10 minutes to firm up, then add eyes and cookie halves.
Decoration Placement
Place the candy eyes slightly inward rather than at the very edge of the frosting to avoid them toppling. Push the cookie half in at a slight angle so it appears to be “bitten” out of the frosting — this gives the character life.
Storage Pro Tips
Store frosted cupcakes in a single layer in an airtight container at room temperature for up to 2 days. If your kitchen is warm, refrigerate them; bring to room temperature before serving for best texture, about 20–30 minutes.
Unfrosted cupcakes freeze very well. Cool completely, place them in a single layer on a sheet to flash-freeze for 30 minutes, then transfer to a sealed freezer bag for up to 3 months. Thaw in the refrigerator overnight and bring to room temperature before frosting.
Common Qs About Cookie Monster Cupcakes
Q: The frosting is too soft — how do I firm it up?
A: Chill the frosting for 10–15 minutes, then beat it briefly. If still soft, add a little more powdered sugar gradually from the measured amount. Remember the recipe limits adjustments to the measured powdered sugar and heavy cream — add in small increments.
Q: My cupcakes sank in the center. What happened?
A: Likely underbaked or opened oven door too early. Make sure the toothpick test returns clean and avoid opening the oven during the first 15–18 minutes of bake time.
Q: Can I make the cupcakes a day ahead?
A: Yes. Bake the cupcakes and cool completely. Store unfrosted in an airtight container for up to 24 hours. Frost just before serving for peak appearance and texture.
Ready, Set, Cook
These Cookie Monster Cupcakes strike a fun balance: simple method, bold personality. Follow the steps in order, respect the cooling and frosting checks, and you’ll end up with cupcakes that look like they belong on a Sesame Street set. Invite a friend to help with the piping if you like company — two hands make the decorating faster and more consistent.
If you make them, snap a photo of your Cookie Monster lineup. I love seeing slight variations — sometimes the cookie is more of a crumble, sometimes the eyes go askew. That’s character. Enjoy the baking and the smiles these little blue faces will bring.
Cookie Monster Cupcakes
Ingredients
Ingredients
- 1 1/3 cupsflour
- 2 cupssugar
- 1 cupcocoa
- 1 1/2 teaspoonsbaking soda
- 1 1/2 teaspoonsbaking powder
- 1 teaspoonsalt
- 2 eggs
- 1 cupwhole milk
- 1/2 cupoil
- 2 teaspoonsvanilla
- 1 cupboiling water
- 1 cupunsalted butter
- 4 cupspowdered sugar
- 4 tablespoonsheavy whipping cream
- blue gel coloring
- 2 large candy eyes
- 1 chocolate chip cookie
Instructions
Instructions
- Preheat oven to 350°F and line a cupcake tin with paper liners.
- In a large bowl, whisk together 1⅓ cups flour, 2 cups sugar, 1 cup cocoa, 1½ teaspoons baking soda, 1½ teaspoons baking powder, and 1 teaspoon salt.
- In a separate bowl, whisk together 2 eggs, 1 cup whole milk, ½ cup oil, and 2 teaspoons vanilla.
- Pour the wet ingredients into the dry ingredients and mix until combined. Beat the batter on medium speed for 3 minutes.
- Reduce mixer speed to low and slowly add 1 cup boiling water, starting with a small amount and then pouring the remaining water while mixing. The batter will be thin.
- Fill each paper-lined cup about ¾ full with batter. Bake 20 to 25 minutes, or until a toothpick inserted in the center comes out clean.
- Remove cupcakes from the oven and let them cool in the pan for 10 minutes. Transfer cupcakes to a wire rack and let them cool completely.
- For the frosting: beat 1 cup unsalted butter until smooth. Gradually add 4 cups powdered sugar and beat until the mixture is light and creamy.
- If the frosting is too stiff, add up to 4 tablespoons heavy whipping cream a few drops at a time until it reaches a spreadable consistency. If needed during mixing, add the powdered sugar gradually from the measured 4 cups to reach the desired thickness.
- Test the frosting by placing a spoonful on a spoon and turning it upside down; the frosting should stay on the spoon. Adjust only with the measured powdered sugar or the measured heavy cream as described above.
- Add blue gel coloring a small amount at a time and mix until you reach the desired shade of blue.
- Spoon the frosting into a pastry bag fitted with a large star tip, twist the open end to push the frosting toward the tip, and hold the bag straight up and down when piping.
- Pipe the frosting straight up and down onto each cooled cupcake.
- Place the 2 large candy eyes on top of a frosted cupcake.
- Cut the 1 chocolate chip cookie in half and stick one cookie half into the middle of the frosted cupcake so it looks like it is sticking out of the mouth.
Equipment
- Mixing Bowls
- Mixer
- cupcake tin
- Paper liners
- Wire Rack
- Pastry bag
- large star tip
- toothpick