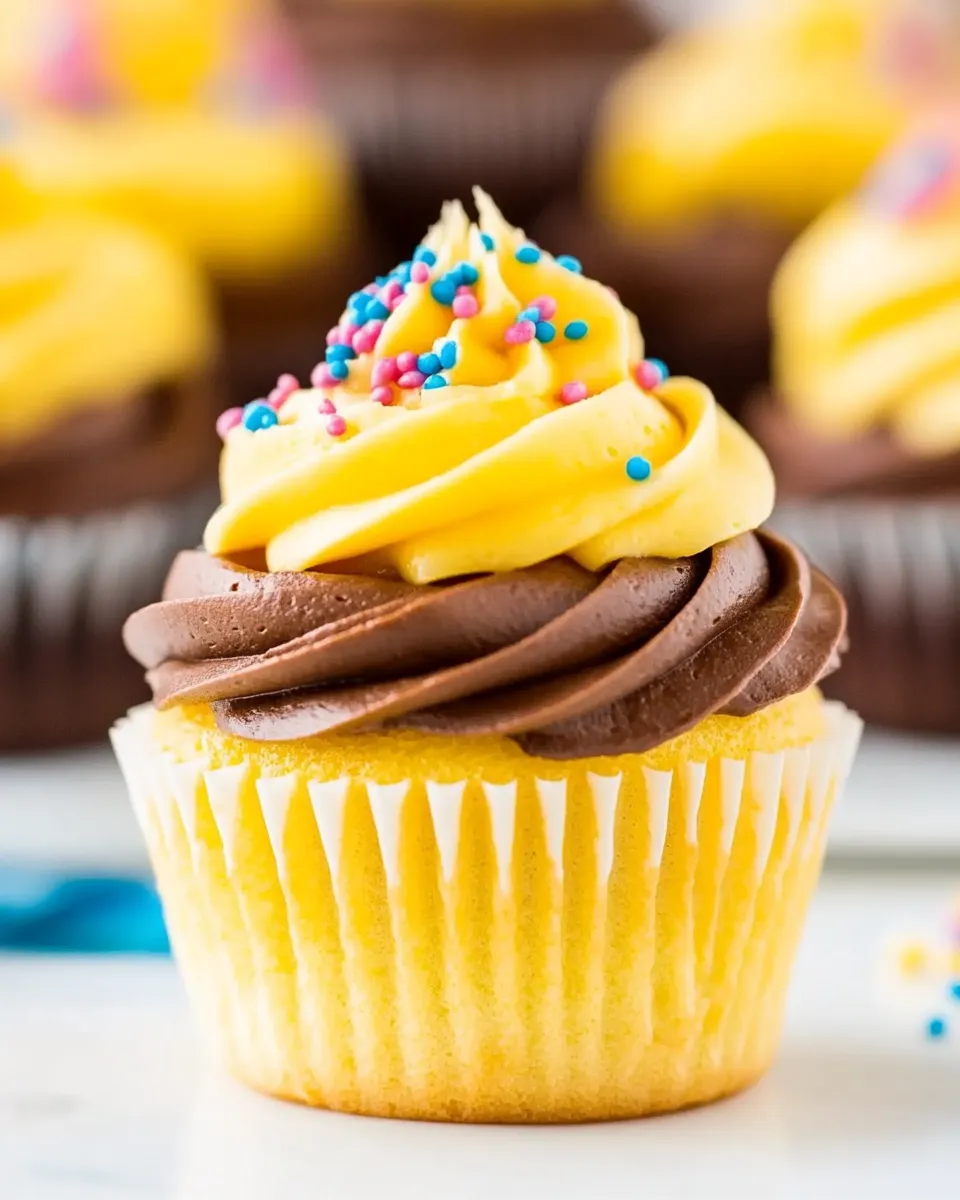
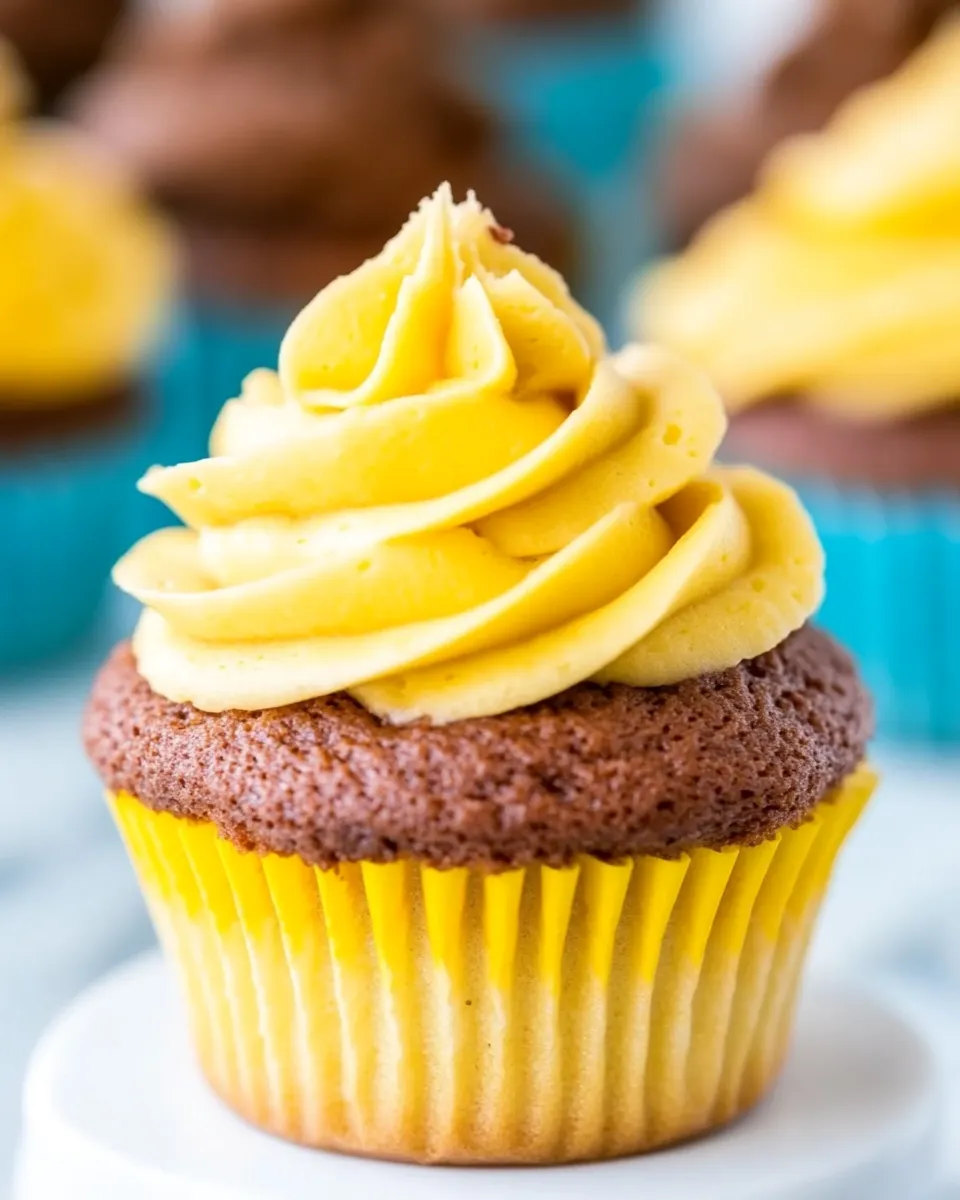
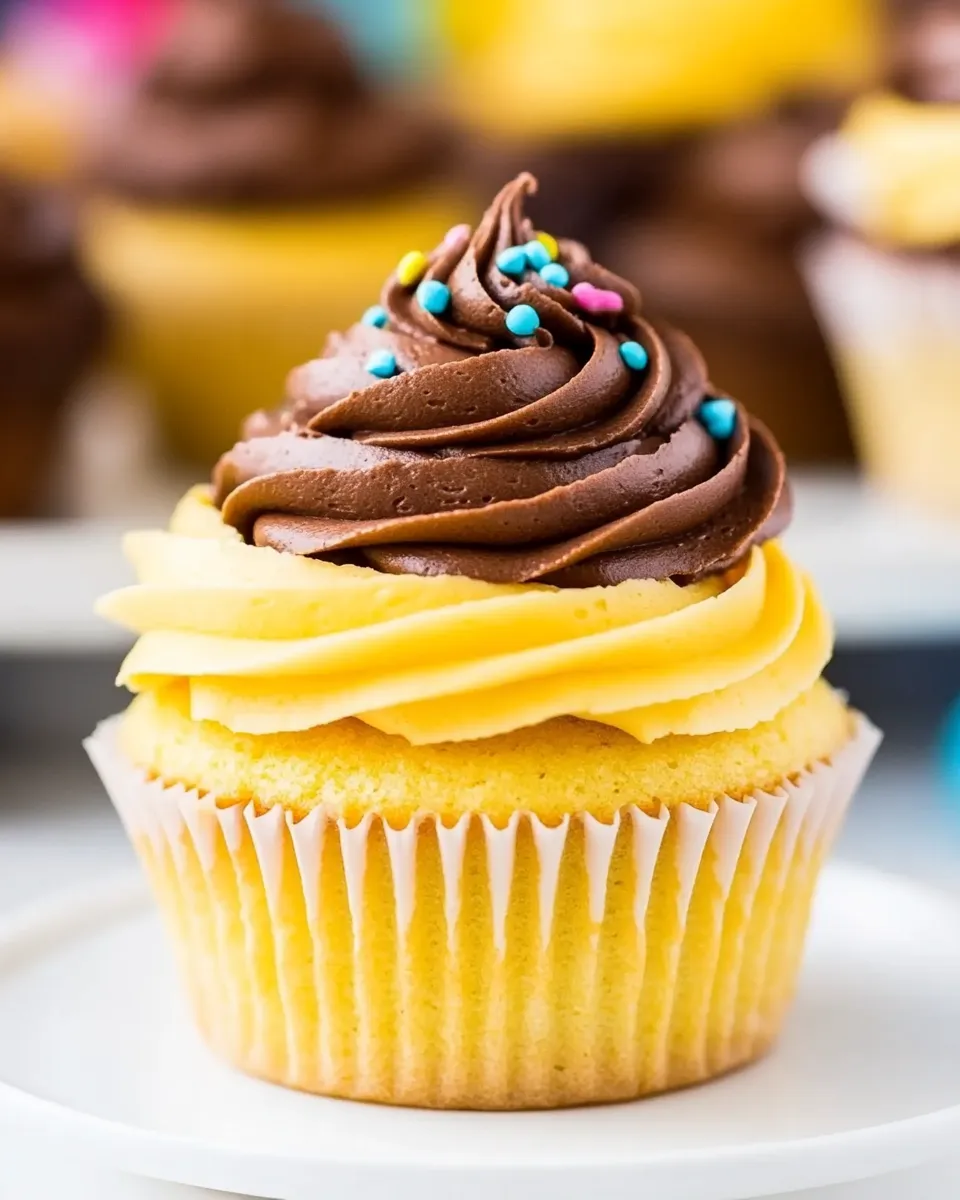
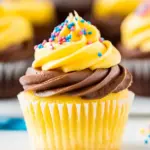
Classic Yellow Cupcakes with Chocolate Frosting
These are the cupcakes I reach for when I want something straightforward, reliable, and universally loved. The crumb is tender and buttery thanks to a combination of cake flour and all-purpose flour. The chocolate buttercream is rich but airy, and it pairs with the yellow cake in the way a familiar song pairs with a long drive—comforting and exactly what you hoped for.
I like to keep the process practical: measure carefully, don’t overmix, and give the buttercream the time it needs to become light and fluffy. There are a few small techniques that make a big difference—temperature of ingredients, the order you add them, how you cool the cupcakes—but nothing flashy or intimidating.
If you’re baking for a crowd, these hold up well and play nicely with simple decorations. If it’s just for the family, they’ll still vanish in a single afternoon. Below you’ll find the exact ingredients, step-by-step directions (unchanged from the tested source), and tips for getting perfect results every time.
What We’re Using

This section lays out the core components and why they’re here. Read the notes so you understand each ingredient’s purpose; that lets you troubleshoot as you bake.
Ingredients
- 1¾cups(218.75g)cake flour — gives a fine, tender crumb; use as measured for the light texture.
- 1¼cups(156.25g)all-purpose flour — adds a little structure so the cupcakes hold up to frosting.
- 1¾cups(350g)granulated sugar — sweetens the batter and helps with browning.
- 2½teaspoons(2.5teaspoons)baking powder — the primary leavening; make sure it’s fresh for proper rise.
- 1teaspoonkosher salt — balances sweetness and enhances flavor.
- 1cup(227g)unsalted butter,at room temperature, cut into ½-inch cubes — provides richness and tenderness; room temperature is important for even mixing.
- 4eggs — add structure and moisture; add them as directed so they incorporate smoothly.
- 1cup(244ml)whole milk — adds moisture and helps achieve the right batter consistency.
- 2teaspoonsvanilla extract — flavor for the cake batter; use pure vanilla for best results.
- 2cups(454g)unsalted butter,at room temperature — this is for the buttercream base; room temperature butter whips light and holds air.
- 5cups(600g)powdered sugar — sweetens and stabilizes the buttercream.
- 2teaspoonsvanilla extract — flavor for the buttercream; adds depth alongside the chocolate.
- 8ounces(226.8g)semisweet chocolate,melted and cooled — the chocolate element for the frosting; cool it before adding so it doesn’t melt the butter.
Stepwise Method: Classic Yellow Cupcakes with Chocolate Frosting
- Preheat the oven to 350°F (177°C). Line a cupcake pan with paper liners and set aside.
- In the bowl of a stand mixer, combine 1 3/4 cups cake flour, 1 1/4 cups all-purpose flour, 1 3/4 cups granulated sugar, 2 1/2 teaspoons baking powder, and 1 teaspoon kosher salt. Mix on low speed for 1 minute to blend.
- With the mixer on low, add 1 cup (227 g) unsalted butter, cut into 1/2-inch cubes, a few pieces at a time. Continue mixing on low until the mixture resembles coarse sand.
- Keeping the mixer on low, add the 4 eggs one at a time, scraping down the sides of the bowl after each addition. With the mixer still on low, slowly pour in 1 cup (244 ml) whole milk and 2 teaspoons vanilla extract and mix just until combined.
- Increase the mixer speed to medium and beat the batter for 2 minutes, until smooth. Scrape the sides and bottom of the bowl as needed to ensure everything is incorporated.
- Fill the prepared liners about two-thirds full (about 1/4 cup of batter per liner). Bake at 350°F for 15–20 minutes, until the centers are set and a toothpick inserted into the center comes out clean.
- Cool the cupcakes in the pan for 10 minutes, then transfer them to a wire rack to cool completely before frosting.
- While cupcakes cool, melt 8 ounces (226.8 g) semisweet chocolate and let it cool to room temperature (use a microwave in short bursts, stirring between bursts, or a double boiler).
- Make the frosting: in the stand mixer fitted with the wire whisk attachment, whip 2 cups (454 g) unsalted butter on medium-high speed for 5 minutes, stopping once or twice to scrape the bowl.
- Reduce the mixer speed to low and gradually add 5 cups (600 g) powdered sugar until incorporated. Increase the speed to medium-high, add 2 teaspoons vanilla extract, and mix until combined.
- Add the cooled melted chocolate to the buttercream and whip at medium-high speed until the frosting is light and fluffy, about 2 minutes, scraping the bowl as needed to fully incorporate the chocolate.
- Frost the cooled cupcakes as desired. Store frosted cupcakes in an airtight container at room temperature for up to 3 days. Unused buttercream can be refrigerated in an airtight container for up to 3 days; bring it to room temperature and briefly rewhip before using.
The Upside of Classic Yellow Cupcakes with Chocolate Frosting
These cupcakes are a practical crowd-pleaser. The cake is neutral enough to pair with many frostings, while the chocolate buttercream here gives familiar richness without being cloying. They present well, freeze or hold at room temperature for short events, and are straightforward to scale up.
Another advantage is the method: creaming butter into the dry mix until crumbly before adding eggs and milk creates a stable batter that handles well. The two-stage butter addition (cake and frosting) means you get that yellow cake taste while keeping the frosting velvety.
No-Store Runs Needed
This recipe mostly uses pantry staples: flours, sugar, butter, eggs, milk, vanilla, and chocolate. If you already keep those on hand, you can make this without an extra trip to the store. The only item some people might not have is semisweet chocolate for the frosting—chocolate chips can work in a pinch if melted, but real baking chocolate gives the best texture and sheen.
Essential Tools for Success
- Stand mixer or sturdy hand mixer — makes creaming and whipping efficient and consistent.
- Cupcake pan and paper liners — a standard 12-cup pan is what this recipe is scaled for.
- Measuring cups and kitchen scale — I use a scale when precise texture matters; gram measures are included above.
- Wire rack — for cooling cupcakes evenly so frosting doesn’t slide off warm cakes.
- Microwave-safe bowl or double boiler — for melting the semisweet chocolate gently and safely.
- Piping bag and tips (optional) — for prettier frosting, though a spatula works fine for a rustic look.
Errors to Dodge
- Overmixing after eggs go in — once the eggs, milk, and vanilla are combined, beat only as directed; overmixing develops gluten and can make cupcakes tough.
- Frosting warm or chocolate too hot — add only cooled melted chocolate to the buttercream. If it’s warm it will melt the butter and produce a greasy mess.
- Frosting warm cupcakes — never frost until cupcakes are completely cool; heat will make the buttercream melt and slide.
- Old leavening — stale baking powder gives poor rise. If rise seems low, check the date on your baking powder.
Allergy-Friendly Swaps
If you need to adapt for allergies, do so with care. I’ll suggest general options but keep in mind texture and flavor will change.
- Egg-free — there are commercial egg replacers and flax or chia “eggs” that can bind, but results may be denser. Use a tested egg-free cupcake formula if avoiding eggs entirely.
- Dairy-free — replace butter in the cake with a solid dairy-free margarine formulated for baking, and swap whole milk for a neutral plant milk (unsweetened soy or oat are good options). For the buttercream, use a stable plant-based baking stick designed to be whipped.
- Chocolate — if semisweet is an issue (allergy or intolerance), use a dairy-free baking chocolate or reduce chocolate and add cocoa powder with a compatible fat substitute, but test proportions first.
Pro Perspective
A few professional habits make a big difference. First: weigh flours when you can. Scooping cups can compress flour and yield dense cupcakes. Second: bring eggs and butter to room temperature before you begin—this ensures they incorporate smoothly. Third: when whipping the buttercream, don’t rush. The full whipping times give you light, stable frosting that pipes nicely.
If you want extra shine on the frosting, let the buttercream sit at room temperature for a bit after piping; a short rest sometimes smooths surface air pockets. For even cupcakes, rotate the pan once halfway through baking if your oven has hot spots.
How to Store & Reheat
Follow the recipe’s guidance: frosted cupcakes store in an airtight container at room temperature for up to 3 days. That keeps the buttercream soft and spreadable without refrigeration. If you refrigerate frosted cupcakes, the buttercream firms and the cake can dry faster.
Unused buttercream can be refrigerated in an airtight container for up to 3 days; bring it to room temperature and briefly rewhip before using. If you freeze unfrosted cupcakes, wrap them well and thaw at room temperature before frosting. Avoid prolonged refrigeration of frosted cupcakes unless necessary for extremely warm conditions; let chilled frosting soften at room temperature before serving.
Quick Questions
Can I make the batter ahead?
You can mix the batter and keep it chilled briefly, but for best rise and texture bake shortly after mixing. Cupcake batter can separate or lose some lift if left too long.
Can I freeze finished cupcakes?
Freeze unfrosted cupcakes wrapped tightly; thaw completely before frosting. You can freeze frosted cupcakes for short periods, but the texture of the buttercream may change slightly.
My frosting seems grainy—why?
Graininess usually comes from powdered sugar not being fully incorporated or from adding chocolate that was too cool before mixing. Ensure powdered sugar is sifted if clumpy and that the melted chocolate is at room temperature when you add it.
Can I reduce the sugar?
Reducing sugar will change texture and stability, especially in the buttercream. If you must, do small reductions and expect a difference in structure and mouthfeel.
Time to Try It
These Classic Yellow Cupcakes with Chocolate Frosting are built to be dependable: clear steps, simple ingredients, and a finish that people recognize and enjoy. Follow the exact order and amounts in the method above, pay attention to temperatures, and give the buttercream its full whipping time. You’ll end up with tender cupcakes and a chocolate frosting that’s both rich and airy.
Make a test batch first if you’re adapting for allergies or using new substitutions. Otherwise, preheat the oven, line the pan, and start—these cupcakes are approachable and forgiving, and they reward careful technique with consistent, delicious results.
Classic Yellow Cupcakes with Chocolate Frosting
Ingredients
Ingredients
- 1 3/4 cups 218.75 gcake flour
- 1 1/4 cups 156.25 gall-purpose flour
- 1 3/4 cups 350 ggranulated sugar
- 2 1/2 teaspoons 2.5 teaspoonsbaking powder
- 1 teaspoonkosher salt
- 1 cup 227 gunsalted butter, at room temperature, cut into 1/2-inch cubes
- 4 eggs
- 1 cup 244 mlwhole milk
- 2 teaspoonsvanilla extract
- 2 cups 454 gunsalted butter, at room temperature
- 5 cups 600 gpowdered sugar
- 2 teaspoonsvanilla extract
- 8 ounces 226.8 gsemisweet chocolate, melted and cooled
Instructions
Instructions
- Preheat the oven to 350°F (177°C). Line a cupcake pan with paper liners and set aside.
- In the bowl of a stand mixer, combine 1 3/4 cups cake flour, 1 1/4 cups all-purpose flour, 1 3/4 cups granulated sugar, 2 1/2 teaspoons baking powder, and 1 teaspoon kosher salt. Mix on low speed for 1 minute to blend.
- With the mixer on low, add 1 cup (227 g) unsalted butter, cut into 1/2-inch cubes, a few pieces at a time. Continue mixing on low until the mixture resembles coarse sand.
- Keeping the mixer on low, add the 4 eggs one at a time, scraping down the sides of the bowl after each addition. With the mixer still on low, slowly pour in 1 cup (244 ml) whole milk and 2 teaspoons vanilla extract and mix just until combined.
- Increase the mixer speed to medium and beat the batter for 2 minutes, until smooth. Scrape the sides and bottom of the bowl as needed to ensure everything is incorporated.
- Fill the prepared liners about two-thirds full (about 1/4 cup of batter per liner). Bake at 350°F for 15–20 minutes, until the centers are set and a toothpick inserted into the center comes out clean.
- Cool the cupcakes in the pan for 10 minutes, then transfer them to a wire rack to cool completely before frosting.
- While cupcakes cool, melt 8 ounces (226.8 g) semisweet chocolate and let it cool to room temperature (use a microwave in short bursts, stirring between bursts, or a double boiler).
- Make the frosting: in the stand mixer fitted with the wire whisk attachment, whip 2 cups (454 g) unsalted butter on medium-high speed for 5 minutes, stopping once or twice to scrape the bowl.
- Reduce the mixer speed to low and gradually add 5 cups (600 g) powdered sugar until incorporated. Increase the speed to medium-high, add 2 teaspoons vanilla extract, and mix until combined.
- Add the cooled melted chocolate to the buttercream and whip at medium-high speed until the frosting is light and fluffy, about 2 minutes, scraping the bowl as needed to fully incorporate the chocolate.
- Frost the cooled cupcakes as desired. Store frosted cupcakes in an airtight container at room temperature for up to 3 days. Unused buttercream can be refrigerated in an airtight container for up to 3 days; bring it to room temperature and briefly rewhip before using.
Equipment
- Stand mixer
- wire whisk attachment
- Cupcake pan
- Paper liners
- Wire Rack
- Microwave or Double Boiler
- Spatula
Notes
Nutritional values are based on one serving