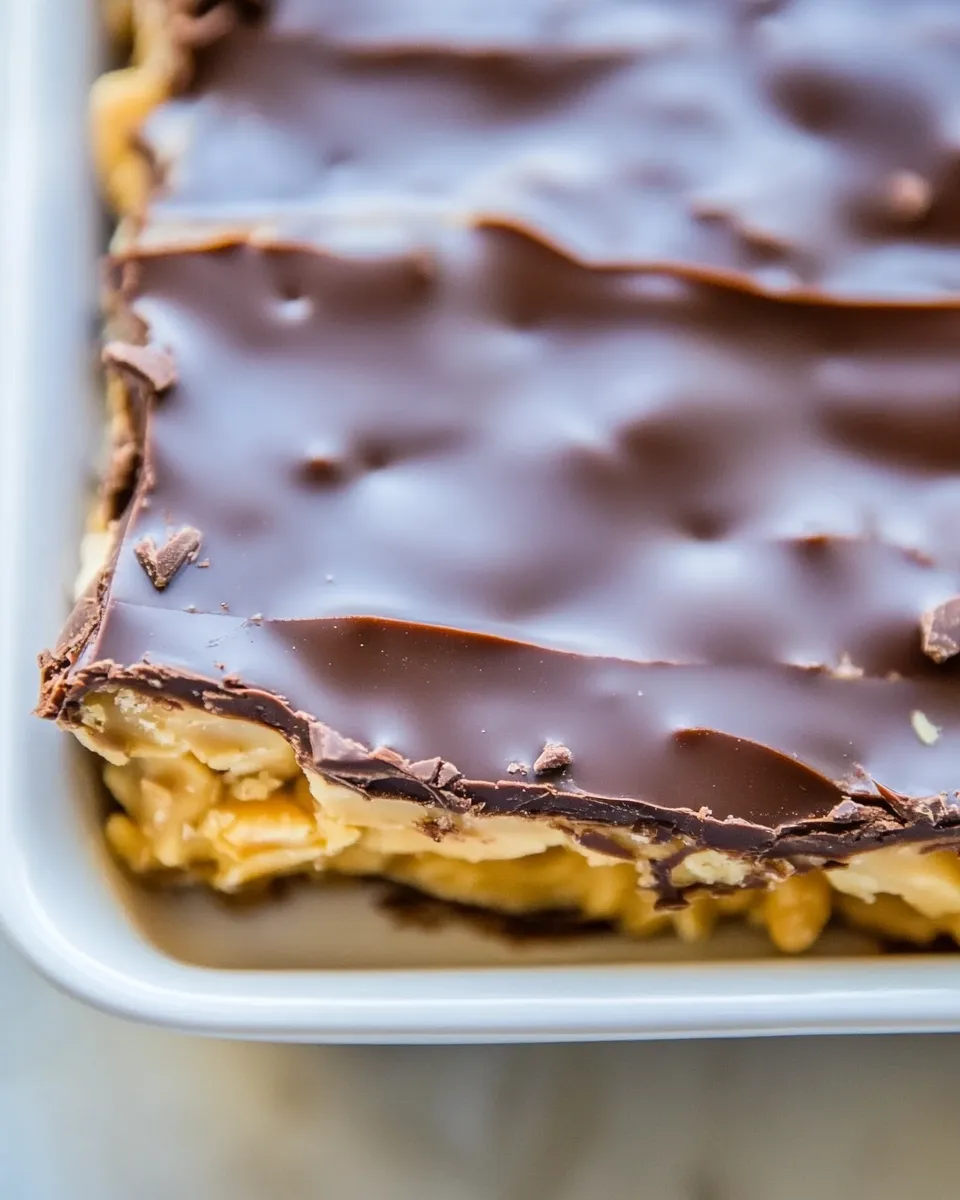
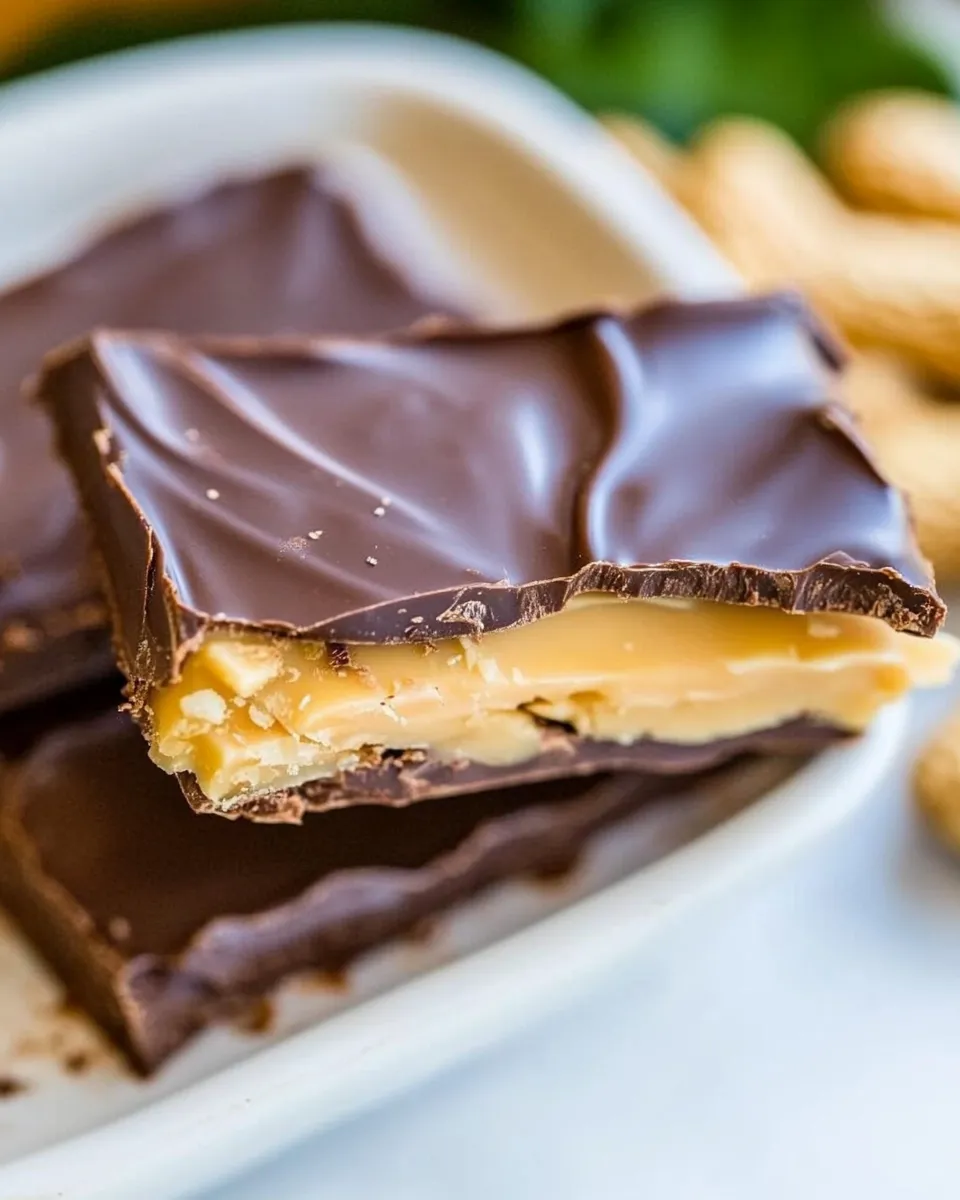
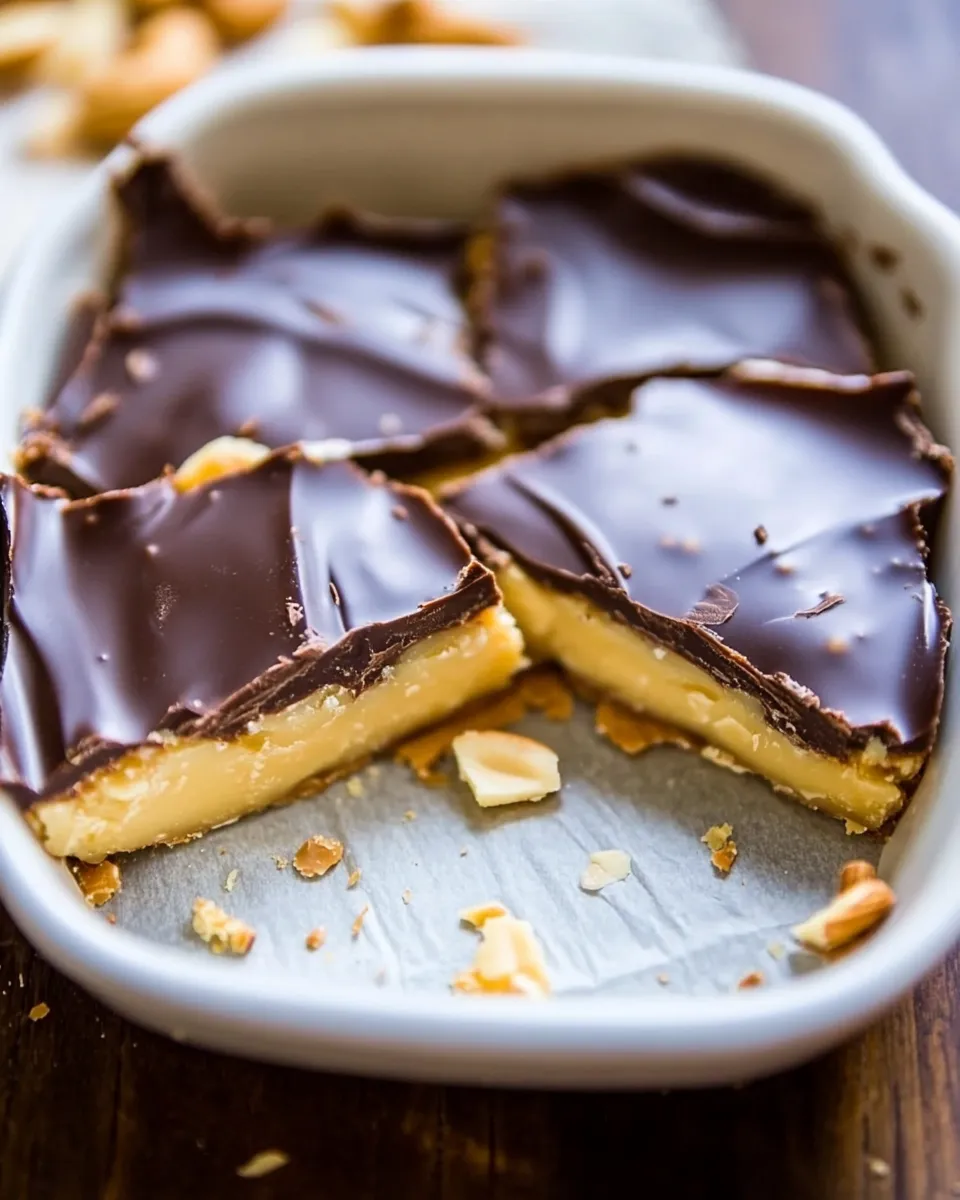
Chocolate-Covered Microwave Peanut Brittle
This chocolate-covered microwave peanut brittle is the kind of recipe I reach for when I need something impressive that doesn’t demand a candy thermometer or hours of standing over the stove. It’s straightforward, forgiving, and delivers that classic crack and snap with a glossy chocolate finish. The microwave method keeps things fast, and the final chocolate layer makes the brittle feel a little indulgent — perfect for gifting or keeping in the cookie jar.
Read the recipe once before you begin, gather your tools, and keep a hot mitt handy. Timing in the microwave matters, but the steps are written to guide you precisely. There’s a small amount of speed required when the brittle finishes in the bowl, but otherwise this is a calm, reliable make that anyone comfortable in a kitchen can do.
Below I walk you through the ingredients with practical notes, give the exact microwave steps (unchanged from the tested method), and share tips that will help the brittle turn out glossy, crisp, and beautifully chocolate-coated. Let’s get to it.
Ingredients at a Glance

- 1 cup granulated sugar — the primary sweetener and the base that caramelizes into brittle.
- ½ cup light corn syrup — light in color, not “lite”; prevents crystallization and keeps the candy smooth.
- 1 cup peanuts — I use honey roasted, or try salted dry roasted; they add crunch and flavor throughout the brittle.
- 1 teaspoon unsalted butter — adds a bit of richness and helps the surface finish shine.
- 2 teaspoons vanilla extract — deepens the flavor; add carefully as it can bubble and splatter.
- 1 teaspoon baking soda — aerates the mixture so the brittle lightens and becomes less dense.
- 1 ½ cups semi-sweet chocolate chips — melts into a smooth chocolate layer over the brittle; semi-sweet balances the sugar.
Make Chocolate-Covered Microwave Peanut Brittle: A Simple Method
- Read the entire recipe before beginning and gather tools: a microwave-safe bowl at least 2 quarts, a spatula, a baking sheet lined with parchment paper, and a hot mitt. Note your microwave wattage—if it differs significantly from 1100 W, you may need to adjust cooking times slightly.
- Line a baking sheet with parchment paper and set it aside.
- In the large microwave-safe bowl, combine 1 cup granulated sugar and ½ cup light corn syrup. Stir briefly to mix.
- Microwave the sugar–corn syrup mixture on high for 4 minutes. Use a hot mitt to remove the bowl (mixture will be very hot), and stir thoroughly.
- Stir in 1 cup peanuts so they are evenly distributed in the hot sugar mixture.
- Return the bowl to the microwave and cook on high for 3½ minutes. Remove with a hot mitt.
- Stir in 1 teaspoon unsalted butter until melted and incorporated.
- Stir in 2 teaspoons vanilla extract. Be careful—adding vanilla may cause bubbling and splattering; stand back and stir gently.
- Microwave the mixture on high for 1½ minutes. Remove carefully with a hot mitt.
- Immediately stir in 1 teaspoon baking soda until evenly distributed; the mixture will foam and become lighter in color.
- Quickly turn the foamy mixture out onto the prepared parchment and spread it into a thin layer about ½ inch thick (or to your desired thickness) using a spatula. Work quickly before it sets.
- Wait about 1 minute for the surface to firm slightly, then evenly sprinkle 1½ cups semi-sweet chocolate chips over the brittle.
- Wait 1–2 minutes for the chips to soften and melt, then use a spatula or knife to smooth the chocolate into an even layer.
- Let the brittle and chocolate set at room temperature for at least 2 hours until fully firm. Once set, break or cut into pieces.
- Store the brittle in an airtight container at room temperature for up to 2 weeks, or in the refrigerator for up to 1 month.
Why This Recipe is a Keeper
Because it simplifies candy-making without sacrificing texture or flavor. The microwave method removes the need for a candy thermometer and constant stirring on the stovetop, yet when you follow the timing the sugar reaches the right stage to give you true brittle texture — crisp, glassy, and satisfying. Adding baking soda at the end is a classic trick that lightens the candy so it’s not dense and chewy.
The chocolate layer does more than look pretty: it gives the brittle contrast in temperature and texture and helps seal in a little richness. You get the toastiness and salt from the peanuts, the caramelized sugar crunch, and a smooth chocolate finish. It’s a small, well-balanced treat that fares well for gifting, parties, or a weekend project.
If You’re Out Of…
- If you’re out of honey-roasted peanuts: use salted dry-roasted peanuts (the recipe notes this option) or any roasted peanuts you prefer.
- If you don’t have light corn syrup: use a light-colored syrup with similar viscosity; avoid “lite” versions that thin the texture. If you must improvise, proceed cautiously — corn syrup helps prevent crystallization.
- If you’re short on semi-sweet chips: substitute another chocolate you enjoy, but note flavor and sweetness will change the finished taste.
- If you don’t have unsalted butter: a small amount of salted butter will work; be mindful of added salt from the peanuts.
Kitchen Gear Checklist
- Microwave-safe bowl (at least 2-quart capacity)
- Spatula (heat-resistant is best)
- Baking sheet lined with parchment paper
- Hot mitt or oven mitt
- Measuring cups and teaspoons
- Sharp knife or additional spatula for smoothing chocolate
- A clear workspace and sturdy surface to turn the hot mixture onto the parchment
Frequent Missteps to Avoid
- Underestimating microwave variability — microwaves vary. If yours is much weaker than 1100 W, add 15–30 seconds to each cook step and watch color closely.
- Waiting too long to stir or to transfer the mixture — after adding baking soda you must move quickly; the mixture foams and sets fast.
- Over-spreading — too-thin a layer turns brittle into shards that can be unpleasant; too-thick becomes heavy. Aim for roughly ½ inch unless you prefer otherwise.
- Adding vanilla recklessly — vanilla can cause violent bubbling if added too close to a hot microwave step; stand back and stir gently.
- Not protecting your hands — always use a hot mitt when removing the bowl; the mixture is extremely hot.
Dietary Swaps & Alternatives
Nut and chocolate options
- Peanuts: stick with roasted peanuts for flavor and crunch. If you prefer, use dry-roasted instead of honey-roasted to reduce sweetness.
- Chocolate: semi-sweet chips are called for, but you can use dark or milk chocolate if you want a more bitter or sweeter finish. Chopped baking chocolate will melt similarly.
Minor dietary adjustments
- Butter: if you need to avoid dairy, a small amount of neutral, firm plant-based butter can be used, though texture and sheen may vary slightly.
- Salt: if you use salted peanuts, you can omit any extra salt — the recipe doesn’t call for added salt beyond the peanuts.
Little Things that Matter
- Read the whole recipe first — it saves frantic moments. The one-minute pause before adding chocolate gives the surface a chance to firm so the chips sit on top instead of sinking.
- Work quickly after adding baking soda. The foaming is what creates the right airy structure; spreading needs to happen while that reaction is active.
- Spread to your preferred thickness but aim for consistency across the sheet so pieces break evenly.
- Let the chocolate fully set at room temperature; chilling can cause condensation if you move it back to room temp later, which can make the chocolate bloom.
Refrigerate, Freeze, Reheat
- Room temperature: store in an airtight container at room temperature for up to 2 weeks (as the recipe specifies).
- Refrigerator: you can keep the brittle in the refrigerator for up to 1 month; refrigeration tightens the chocolate and can lengthen shelf life but may encourage slight chocolate bloom over time.
- Freezing: brittle can be frozen in an airtight, moisture-proof container for longer storage. To avoid condensation on thawing, bring to room temperature inside the closed container before opening. Note that freezing can slightly change crispness and the chocolate surface.
- Reheating: do not microwave brittle to reheat. If you need to soften the chocolate layer for smoothing, work in short bursts with a warm spatula or a low oven heat (watch carefully) — but practice caution so the brittle doesn’t melt.
Reader Q&A
Q: My microwave is 900 W. How should I change the times?
A: Decrease or increase times by about 10–20% based on wattage differences is a common approach. For a 900 W microwave, add around 20–30 seconds to the longer steps and check the sugar color carefully. The recipe’s times were tested for an 1100 W microwave, so visual cues — color and bubbling behavior — will guide you more safely than exact seconds.
Q: The sugar crystallized on me last time. What went wrong?
A: Crystallization happens when undissolved sugar seeds form during heating or stirring. Use the light corn syrup as instructed; it reduces the chance of crystals. Also be sure to stir only when called for and avoid adding any sugar crystals from utensils or the bowl’s rim back into the mixture.
Q: My chocolate layer didn’t smooth well. Any tips?
A: Let the chips sit 1–2 minutes to soften, then spread quickly with a warm spatula or knife. If you want a glossier finish, press gently with a piece of parchment between your hand and the chocolate, smoothing once and then letting it set undisturbed.
Q: Can I use raw peanuts?
A: Roasted peanuts are recommended for flavor and texture. Raw peanuts will work but won’t have the same toasty profile; if using raw, consider toasting them briefly beforehand to bring out the flavor.
Q: How thin should I make the brittle?
A: The recipe suggests about ½ inch thick. Thinner yields crisp, delicate shards; thicker gives heftier pieces. Keep the layer even for consistent pieces.
Final Bite
This Chocolate-Covered Microwave Peanut Brittle is one of those recipes I make when I want candy that feels special but doesn’t require a whole Saturday. Follow the steps, respect the heat, and work quickly when the baking soda reaction starts — and you’ll have glossy, crunchy brittle in a couple of hours that’s wonderful for snacking and giving. If you try it, tell me how you like the chocolate-to-peanut ratio and whether you kept it classic or tweaked a little. Happy candy-making!
Chocolate-Covered Microwave Peanut Brittle
Ingredients
Ingredients
- 1 cupgranulated sugar
- 1/2 cuplight corn syrup light in color, not lite
- 1 cuppeanuts I use honey roasted, or try salted dry roasted
- 1 teaspoonunsalted butter
- 2 teaspoonsvanilla extract
- 1 teaspoonbaking soda
- 1 1/2 cupssemi-sweet chocolate chips
Instructions
Instructions
- Read the entire recipe before beginning and gather tools: a microwave-safe bowl at least 2 quarts, a spatula, a baking sheet lined with parchment paper, and a hot mitt. Note your microwave wattage—if it differs significantly from 1100 W, you may need to adjust cooking times slightly.
- Line a baking sheet with parchment paper and set it aside.
- In the large microwave-safe bowl, combine 1 cup granulated sugar and ½ cup light corn syrup. Stir briefly to mix.
- Microwave the sugar–corn syrup mixture on high for 4 minutes. Use a hot mitt to remove the bowl (mixture will be very hot), and stir thoroughly.
- Stir in 1 cup peanuts so they are evenly distributed in the hot sugar mixture.
- Return the bowl to the microwave and cook on high for 3½ minutes. Remove with a hot mitt.
- Stir in 1 teaspoon unsalted butter until melted and incorporated.
- Stir in 2 teaspoons vanilla extract. Be careful—adding vanilla may cause bubbling and splattering; stand back and stir gently.
- Microwave the mixture on high for 1½ minutes. Remove carefully with a hot mitt.
- Immediately stir in 1 teaspoon baking soda until evenly distributed; the mixture will foam and become lighter in color.
- Quickly turn the foamy mixture out onto the prepared parchment and spread it into a thin layer about ½ inch thick (or to your desired thickness) using a spatula. Work quickly before it sets.
- Wait about 1 minute for the surface to firm slightly, then evenly sprinkle 1½ cups semi-sweet chocolate chips over the brittle.
- Wait 1–2 minutes for the chips to soften and melt, then use a spatula or knife to smooth the chocolate into an even layer.
- Let the brittle and chocolate set at room temperature for at least 2 hours until fully firm. Once set, break or cut into pieces.
- Store the brittle in an airtight container at room temperature for up to 2 weeks, or in the refrigerator for up to 1 month.
Equipment
- microwave-safe bowl (at least 2 quarts)
- Spatula
- Baking Sheet
- Parchment Paper
- hot mitt