Chocolate Cherry Dump Cake
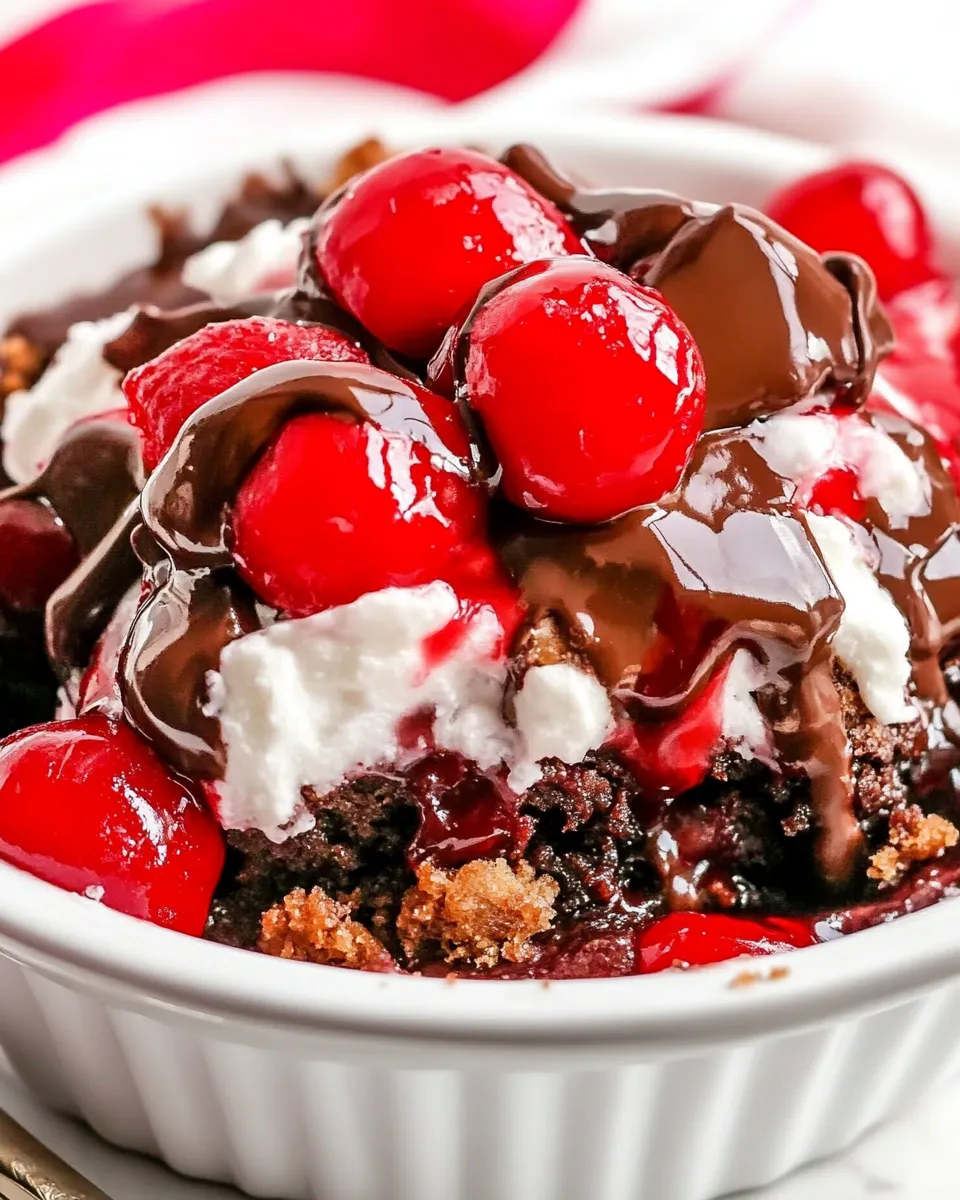
There are desserts that require time, technique and a sink full of dishes. Then there are desserts like this one: honest, fast, and reliably delicious. Chocolate Cherry Dump Cake gives you hot, gooey fruit and a crisp, chocolatey top using three pantry staples and about five minutes of hands-on work.
I make this when friends swing by last minute or when I want something comforting without fuss. The contrast between warm cherry filling and the chocolate cake topping is what keeps people reaching for seconds. It’s forgiving, which I appreciate — it tolerates substitutions and still sings.
Below I’ll walk you through exactly what to gather, how to build it step by step using the recipe as written, and practical notes from my own kitchen so your bake goes smoothly. No fluff. Just clear, useful guidance so you can get it in the oven and on the table.
What You’ll Gather

Gather the three ingredients listed below, a 9 x 13 inch pan, and basic kitchen tools. You don’t need a mixer, and you won’t be folding or whisking anything. The prep is mostly opening cans, sprinkling dry cake mix and dotting butter.
Plan for about 45 minutes in the oven and a few minutes to cool before serving. This dessert is best served warm — scoop of ice cream optional but wholeheartedly recommended.
Ingredients
- 1 box chocolate cake mix — provides the dry topping that bakes into a cake-like crust; use it straight from the box, no additional sugar or eggs needed.
- 3/4 cup unsalted butter cut into thin, small pats — pats of butter melt through the dry mix and create pockets of moist cake and crispy edges; cutting into thin pats speeds even distribution.
- 2 21 oz cans cherry pie filling make sure to give a quick check for pits — the fruit base; drain none of it, dump it straight into the pan, but do give a quick look for any stray pits and remove them.
Build (Chocolate Cherry Dump Cake) Step by Step
- Preheat oven to 350°F (175°C). Lightly grease a 9 x 13 inch baking pan.
- Open both cans of cherry pie filling. Quickly check the filling for any pits and remove if found. Dump the filling into the prepared pan and spread it evenly so the entire bottom is covered.
- Evenly sprinkle the entire box of dry chocolate cake mix over the cherries, covering them completely.
- Using the 3/4 cup unsalted butter cut into thin, small pats, distribute the pats evenly over the dry cake mix so most areas have butter on top.
- Bake in the preheated oven for about 45 minutes, or until the cherry filling is bubbling around the edges.
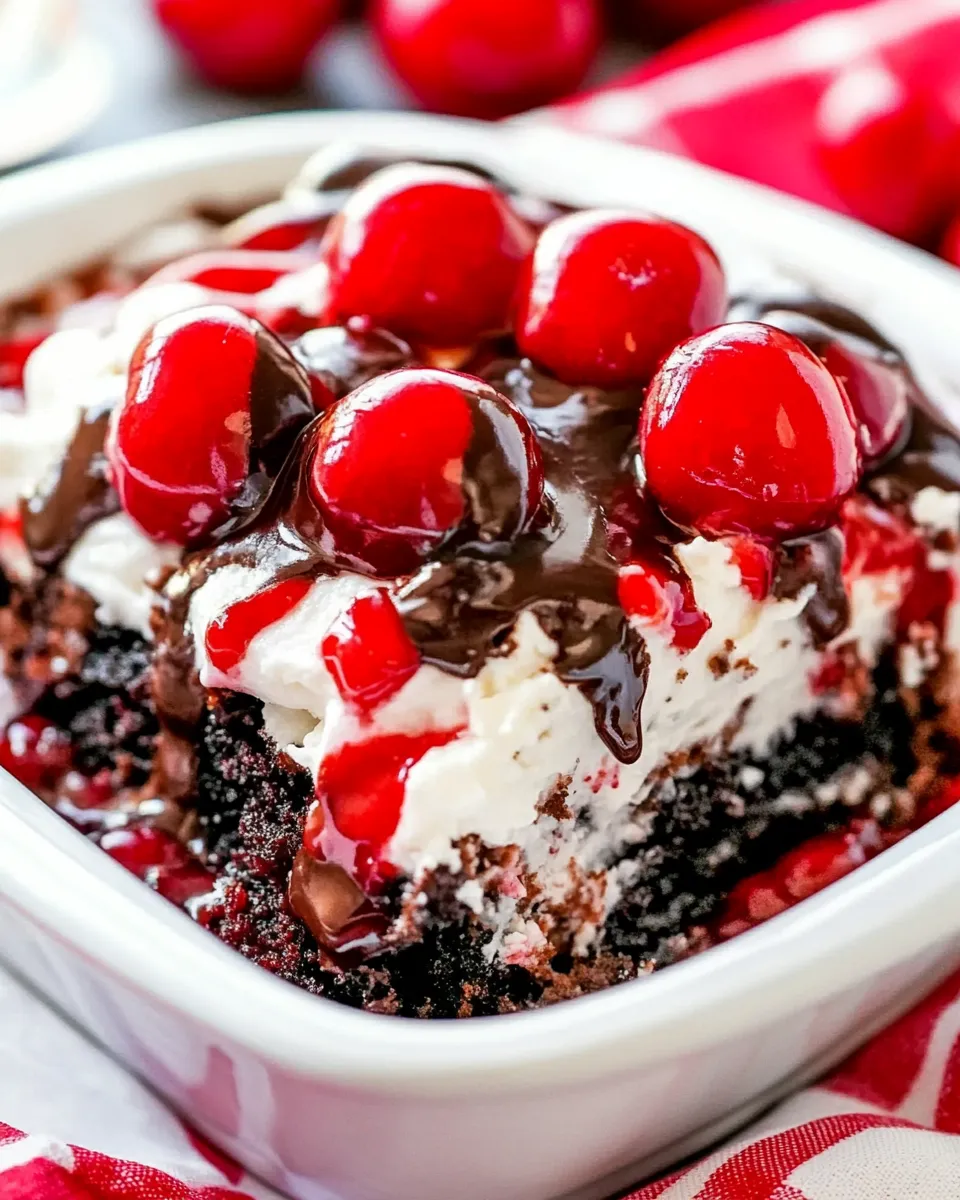
- Remove from the oven and let sit a few minutes to cool slightly before serving. Serve warm on its own or with a scoop of ice cream and/or hot fudge sauce if desired.
What Makes This Recipe Special
It’s the combination of mismatch and harmony. A box mix, canned filling and pats of butter turn into something that looks and tastes homemade. The dry cake mix acts as a shortcut to texture: when butter melts and fat migrates into the powder, it transforms into a delicate top — partially cakey, partially crisp.
The flavor pairing is simple but dramatic; chocolate and cherries have complementary bittersweet and tart notes. Heat blooms the cherry juices and concentrates the flavors, while the chocolate dusting keeps the top rich. For an impression of effort without the actual effort, this recipe is unbeatable.
Also, it’s forgiving. If a pat of butter melts into a particularly buttery pool or a corner gets crisper than the center, that’s part of its charm. It’s a dessert that rewards imperfection.
Quick Replacement Ideas
- Swap the chocolate cake mix for another boxed flavor (vanilla or yellow) if you prefer a lighter top; the technique is the same.
- Use a different canned fruit filling — apple, blueberry, or peach work well — though flavor profiles will change.
- Use salted butter if that’s what you have; skip any extra salt in the rest of the meal to balance it.
- Top with chopped toasted nuts or shredded coconut after baking for a textural lift if you like crunch.
Setup & Equipment
Keep this minimal. You’ll need:
- 9 x 13 inch baking pan — the size in the directions delivers the right fruit-to-topping ratio.
- Oven set to 350°F (175°C).
- Rubber spatula or spoon to spread the cherry filling evenly.
- Knife or small spoon to remove any cherry pits if necessary.
- Measuring cup for the 3/4 cup butter if your butter isn’t pre-measured.
You don’t need mixing bowls, a mixer, or parchment. The fewer tools, the faster the cleanup.
Easy-to-Miss Gotchas
- Don’t skip the quick pit check. Most canned fillings are pitted, but a stray pit can still be lurking; it’s not worth the risk.
- Distribute the butter thinly and evenly. If you leave one large chunk, that area will be very rich and may underbake compared with the rest.
- Covering the cherries completely with the dry mix is important. Bare patches will bubble over differently and can scorch at the edges.
- Watch for the filling bubbling around the edges as your indicator of doneness. Ovens vary; the 45-minute guideline is reliable but check toward the end.
- Don’t stir anything after it’s assembled. The cake mix is not meant to be mixed into the filling; it bakes in place.
Year-Round Variations
Feel free to adapt this for seasons and what’s in the pantry. In summer, swap in a fresh fruit compote or warm berries to echo the brightness of summer fruit. In winter, use spiced canned fillings or add a dusting of cinnamon or a pinch of nutmeg to the top before baking for warmth.
For a holiday version, add orange zest to the cherry filling for a citrus lift, or fold in a handful of chocolate chips on top of the cake mix before dotting with butter so you get molten chocolate pockets.
Recipe Notes & Chef’s Commentary
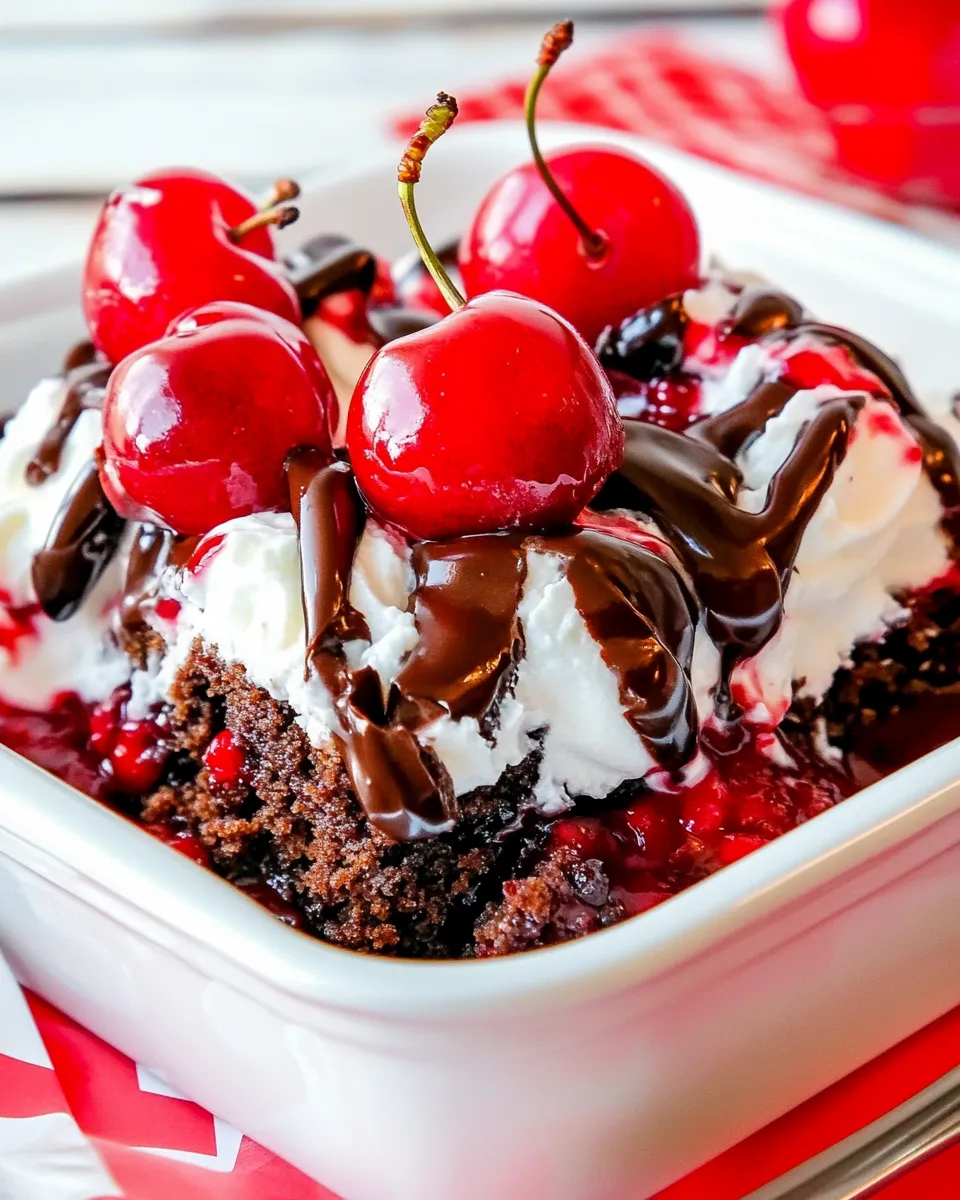
Two things I always point out when I teach this to friends: first, lean into the simplicity. The magic here is structure: can fruit + cake mix + butter = dessert. Second, when serving, give the pan a few minutes to settle. Too hot and it runs too freely; too cool and it doesn’t feel indulgent.
If you want cleaner slices, let it cool longer and chill slightly, then slice with a sharp knife. For the classic warm, rustic scoop: serve straight from the pan with a big spoon and an ice cream scoop on top.
Leftovers (if there are any) keep well in the fridge for a few days. Reheat gently in the microwave or in a warm oven to restore that just-baked feeling.
Keep-It-Fresh Plan
Storage: cover the pan tightly with foil or plastic wrap once it has cooled to room temperature. Refrigerate up to 3–4 days. The topping will soften over time as the cherry juices redistribute, but reheating restores some texture.
Freezing: you can freeze a fully cooled pan wrapped well for up to 2 months. Thaw in the refrigerator overnight, then reheat in a 350°F oven until warmed through.
Reheat gently to avoid drying the top. Microwave reheating is quick and fine for single servings; a 15–30 second burst brings it back to warm and gooey.
Ask & Learn
- Q: Can I use fresh cherries? A: Yes, but you’ll need to cook them down into a saucier filling first or toss them with a little sugar and cornstarch to mimic the canned filling’s viscosity.
- Q: What if my butter melts too fast? A: If you see early browning, reduce the oven temperature by 25°F for the remaining time and tent loosely with foil.
- Q: Can I halve the recipe? A: Yes, but adjust the pan size. A smaller pan will make a deeper bake and may require a slightly longer time. Keep an eye on the bubbling at the edges as your doneness cue.
- Q: Is this suitable for a crowd? A: The 9 x 13 pan serves a good-sized group. Double the recipe and use two pans if you need more.
Ready, Set, Cook
Take the three ingredients out, preheat the oven, and give the cherries a quick look for pits. This is the kind of dessert where speed gets you a hot, crowd-pleasing finish without stress. Follow the steps as written, use the bubbling at the edges as your signal, and top with ice cream if you want to impress without extra work.
When friends ask for the recipe, I tell them the truth: it’s more about assembly than baking. But that doesn’t make it any less special. Enjoy the ease, and enjoy the dessert.

Chocolate Cherry Dump Cake
Ingredients
Ingredients
- 1 boxchocolate cake mix
- 3/4 cupunsalted buttercut into thin small pats
- 221 oz canscherry pie fillingmake sure to give a quick check for pits
Instructions
Instructions
- Preheat oven to 350°F (175°C). Lightly grease a 9 x 13 inch baking pan.
- Open both cans of cherry pie filling. Quickly check the filling for any pits and remove if found. Dump the filling into the prepared pan and spread it evenly so the entire bottom is covered.
- Evenly sprinkle the entire box of dry chocolate cake mix over the cherries, covering them completely.
- Using the 3/4 cup unsalted butter cut into thin, small pats, distribute the pats evenly over the dry cake mix so most areas have butter on top.
- Bake in the preheated oven for about 45 minutes, or until the cherry filling is bubbling around the edges.
- Remove from the oven and let sit a few minutes to cool slightly before serving. Serve warm on its own or with a scoop of ice cream and/or hot fudge sauce if desired.
Equipment
- Oven
- 9 x 13-inch baking pan
- Spoon or Spatula
Notes
If you can't find 21 oz cans of cherry pie filling, feel free to use ones that contain slightly more or less. You could also use a different flavor cake mix. This recipe is flexible!