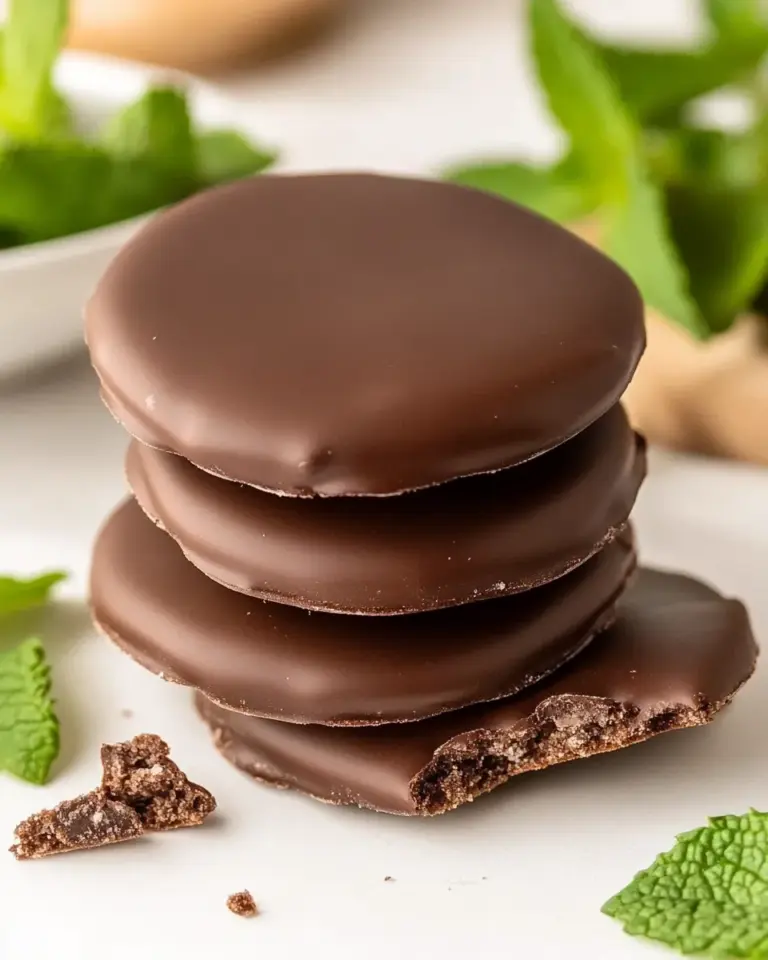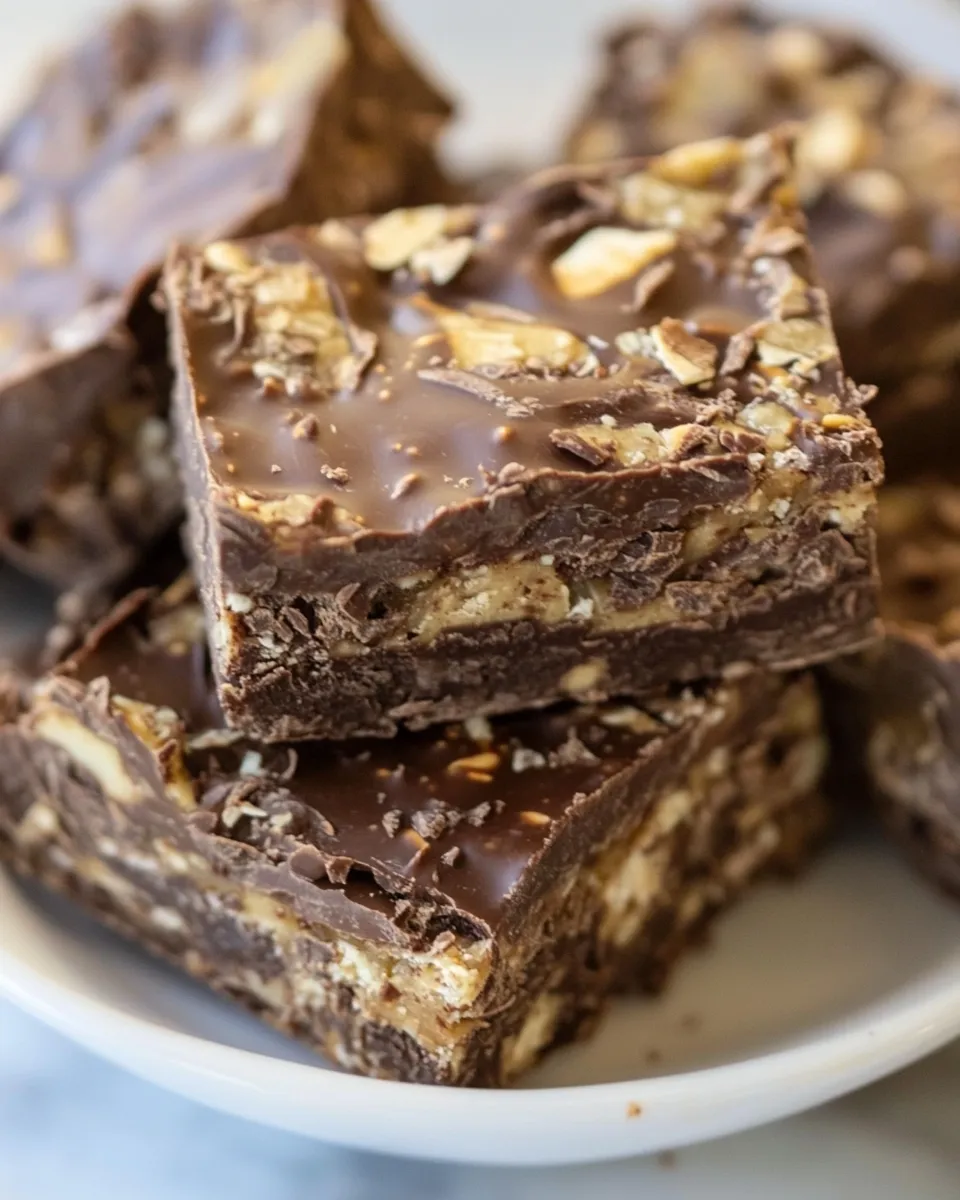
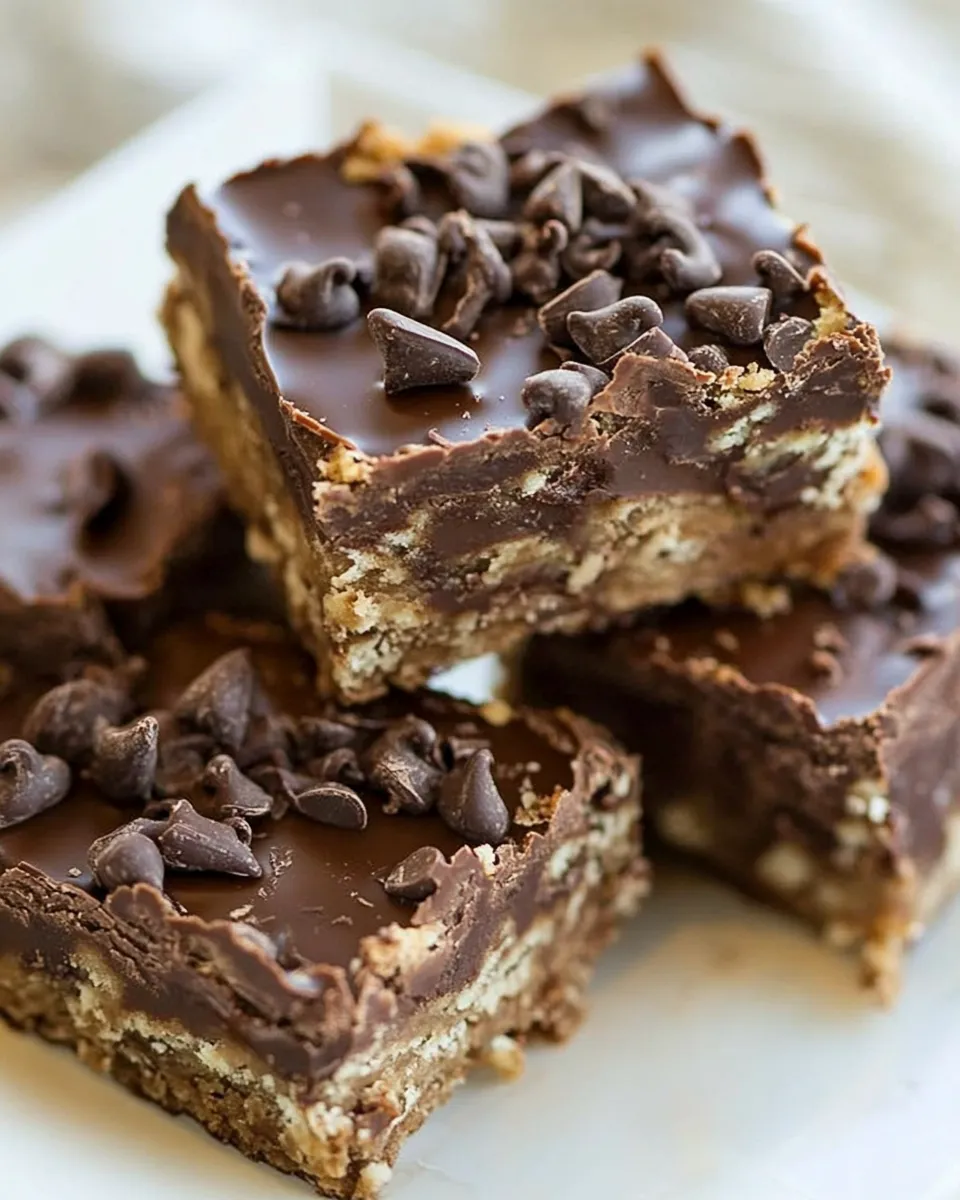
Chocolate Blackout Bars
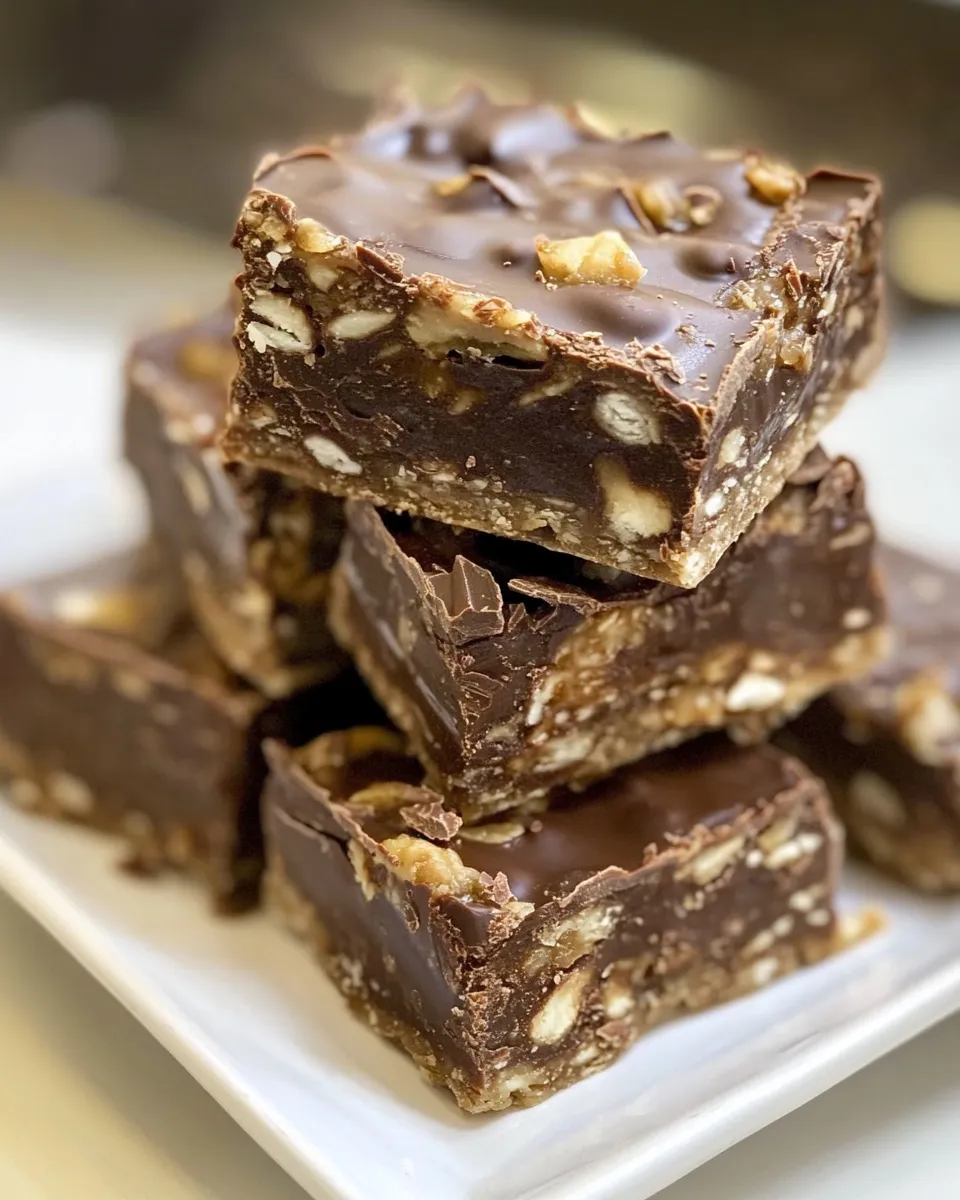
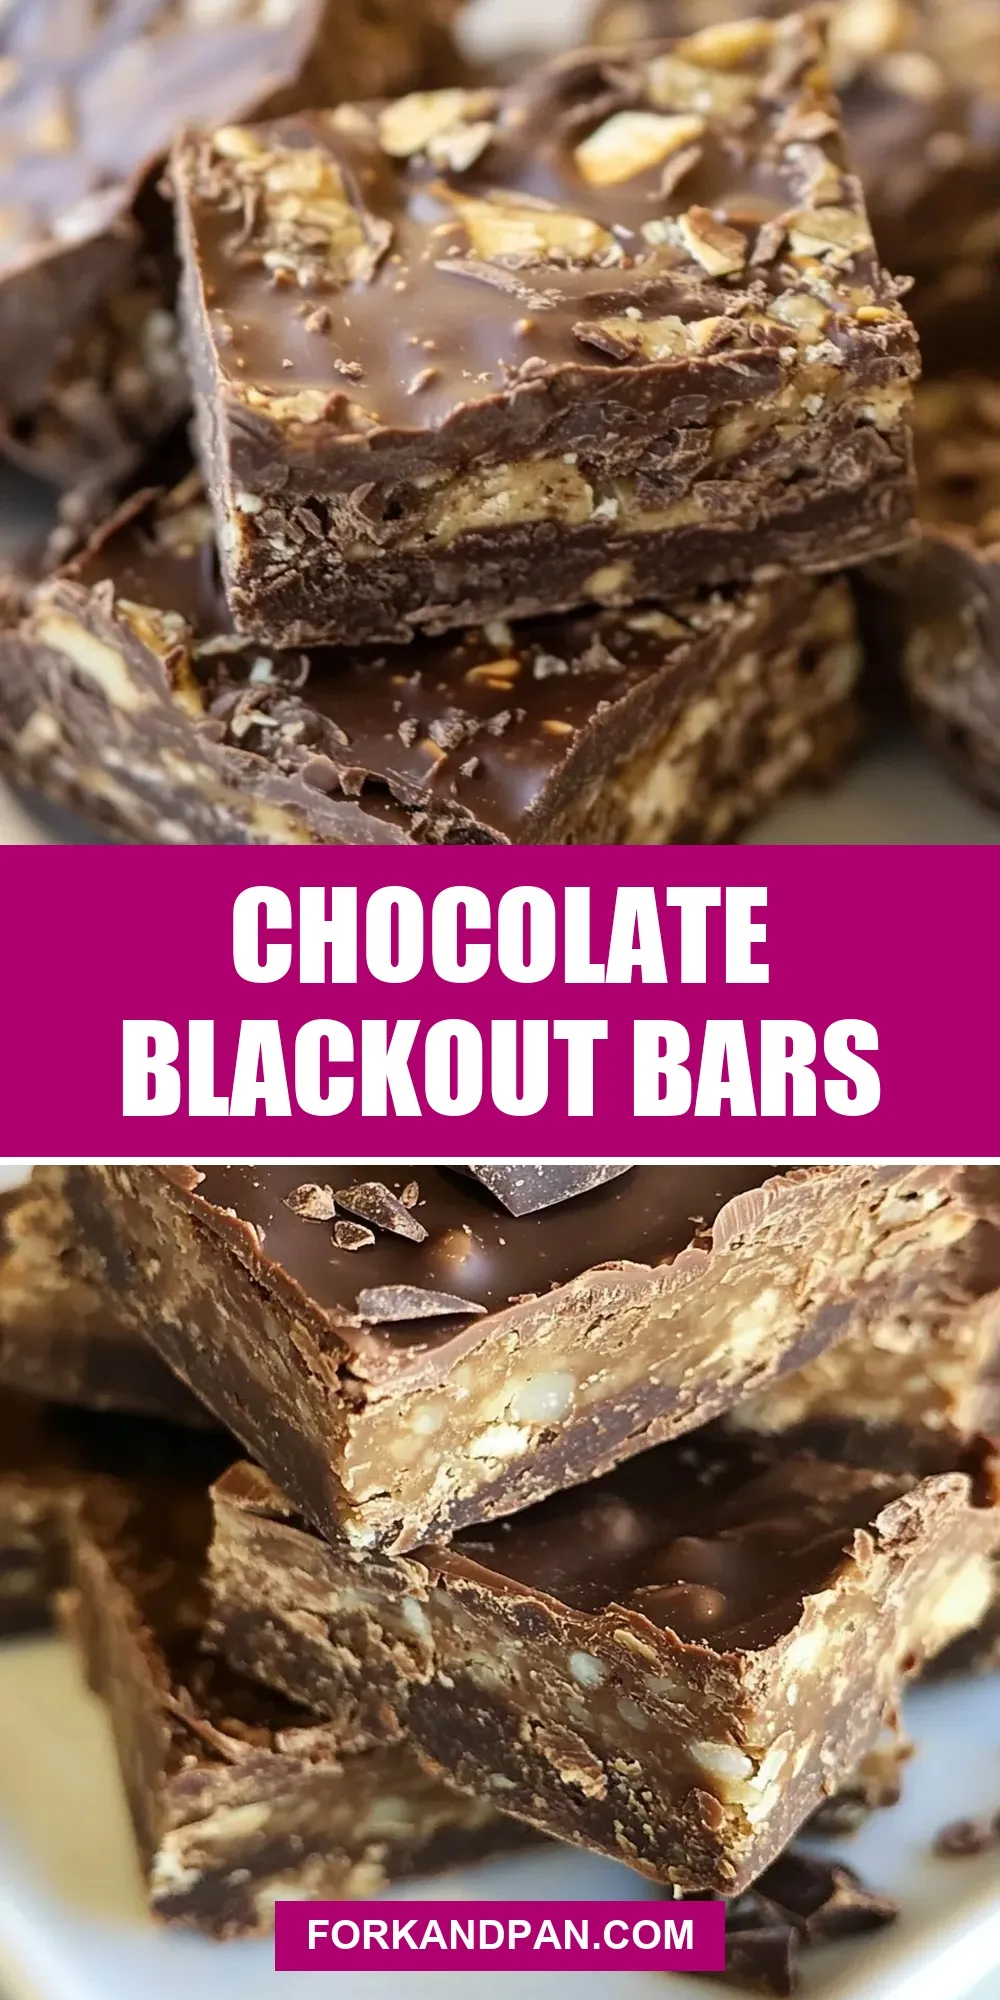
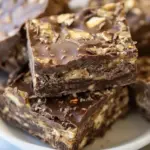
These Chocolate Blackout Bars are a classic, no-pretend dessert: rich, buttery crust, a toasted pecan layer, and molten chocolate on top that sets into a glossy, marbled finish. They take a little patience while cooling, but the method is straightforward and the results are worth the wait. I make these when I want something chocolaty that feeds a crowd without fuss.
I’ll keep this practical. You’ll see which steps are critical, which moments you can relax, and how to finish sharp, even squares. The recipe uses pantry staples and one or two fresh items, so you can pull it together in under an hour of active time and then let it rest.
Follow the steps exactly for dependable texture: a sturdy, slightly crumbly base, a gooey, set pecan layer, and a shiny chocolate top that swirls into a pretty finish. I’ll walk you through tools, common missteps, and storage so these bars look and taste just as good for days.
Ingredient Breakdown

Ingredients
- 2 Cups all purpose flour — forms the sturdy, slightly tender crust; measure by spooning into the cup and leveling for accuracy.
- 1 Cup firmly packed dark brown sugar — adds moisture and deep caramel flavor to the crust.
- ½ cup melted real sweet cream unsalted butter — binds the dry ingredients and gives a rich flavor; melted makes the crust easy to press.
- 1 pinch of kosher salt — balances and brightens the sweetness; don’t skip.
- 1 cup of finely chopped pecans — toasted or raw, they add crunch and a toasty counterpoint to the sweet layers.
- 1 Cup of real sweet cream unsalted butter — for the hot butter–sugar topping that soaks into the pecans and crust, creating a caramel layer.
- ¾ Cup dark brown sugar — dissolved into the butter to make the caramel-tasting topping; darker sugar gives depth.
- 1 teaspoon real vanilla extract — adds warmth and rounds the butter–sugar flavor.
- ½ teaspoon real almond extract — a small amount goes a long way; it lifts the nutty notes and complements the pecans.
- 12 ounces semi-sweet chocolate chips (I used Ghirardelli) — melts into a shiny top; semi-sweet keeps the bars balanced against the brown sugar.
How to Prepare (Chocolate Blackout Bars)
- Preheat the oven to 350°F.
- In a medium bowl, mix 2 Cups all purpose flour, 1 Cup firmly packed dark brown sugar, ½ cup melted real sweet cream unsalted butter, and 1 pinch of kosher salt until evenly combined and crumbly.
- Press this mixture firmly and evenly into the bottom of a 9×13-inch baking dish.
- Sprinkle 1 cup of finely chopped pecans evenly over the crust.
- In a saucepan over medium heat, combine 1 Cup of real sweet cream unsalted butter and ¾ Cup dark brown sugar. Stir until the butter melts and the mixture comes to a low boil; continue to boil for 1 minute, stirring constantly.
- Remove the saucepan from the heat and stir in 1 teaspoon real vanilla extract and ½ teaspoon real almond extract.
- Pour the hot butter–sugar mixture evenly over the crust and pecans.
- Bake in the preheated oven for 20–25 minutes, until the topping is bubbling and set at the edges.
- Remove the pan from the oven and immediately sprinkle 12 ounces semi-sweet chocolate chips evenly over the hot surface. Let the chips sit 1–2 minutes to soften, then use a small rubber spatula to gently swirl the chocolate for a marbled appearance.
- Cool completely to room temperature (this will take several hours) before cutting into bars.
The Upside of (Chocolate Blackout Bars)
These bars are perfect when you want something impressive that doesn’t require tempering chocolate or complicated layering. They travel well, slice into neat squares once fully cooled, and scale up easily for gatherings. The flavors are familiar—brown sugar, butter, toasted nuts, and semi-sweet chocolate—so they’re universally liked without being cloying.
Another advantage: the technique is forgiving. The crust is sturdy enough that slight over- or under-pressing won’t ruin the final texture. The hot butter–sugar step is quick; you only need to bring it to a low boil for a minute and then remove it from heat. The top looks professional after the simple swirling step, which everyone notices even if it was easy to achieve.
Low-Carb/Keto Alternatives
If you’re aiming to reduce carbs, know that results will differ from the original. The structure here depends on all-purpose flour and brown sugar in both crust and topping. I don’t have exact swaps with measured results from this recipe, but common approaches include replacing the flour with a low-carb flour blend or nut flours and using a sugar substitute designed for baking in place of brown sugar. Expect changes in texture—almond or coconut-based crusts will be crumblier and may require an additional binder, and sugar substitutes won’t caramelize exactly like dark brown sugar.
If you try a swap, do a small test batch first. Watch closely during the bake since nut flours and sugar substitutes brown differently and may affect bake time and topping consistency.
Toolbox for This Recipe
- 9×13-inch baking dish — gives the right thickness and bake time.
- Medium mixing bowl — for the crust mix.
- Measuring cups and spoons — for accurate ratios (especially for the flours and extracts).
- Saucepan — to make the hot butter–sugar topping.
- Small rubber spatula — ideal for the final chocolate swirl without breaking the surface.
- Chef’s knife or bench scraper — for cutting bars cleanly after they’re completely cooled.
Don’t Do This
- Don’t cut into the bars while they’re still warm. They’ll be gooey and you’ll get messy, uneven pieces. Wait until fully cooled.
- Don’t skip the 1-minute boil on the butter–sugar step. That brief boil helps the topping set properly around the pecans.
- Don’t overload the chocolate chips right after baking. Use the amount listed and give them 1–2 minutes to soften before stirring gently; too much agitation while chocolate is cold makes clumps.
- Don’t substitute salted butter without accounting for salt in the crust. If you use salted butter, reduce or omit the pinch of kosher salt if you want more control over seasoning.
Spring to Winter: Ideas
These bars work year-round and can be dressed seasonally with small tweaks. In spring and summer serve them at room temperature with a scoop of vanilla ice cream for contrast. In the cooler months, warm a slice briefly (if you do reheat, remove any ice cream first) to revive the ganache-like top.
For gatherings: plate them with a small bowl of toasted pecans and a dusting of cocoa for a rustic look. For holiday tables, add a sprinkle of flaky sea salt on the chocolate after swirling for a modern, elevated finish.
Pro Tips & Notes
Pressing the Crust
Press the crust evenly into the pan and up to the edges so the pecans and topping have a solid base. Use the bottom of a flat measuring cup to compact the crust for an even thickness.
Topping Consistency
Bring the butter and brown sugar to a low boil and time it. One minute at a low boil is enough to dissolve granules and create the syrup that will set. Stir constantly so the mixture doesn’t scorch.
Chocolate Finish
After you sprinkle the chips, let them sit undisturbed for 1–2 minutes. They’ll soften from the residual heat and then spread and swirl smoothly. Use gentle, shallow swirls to make a marbled pattern—vigorous mixing will embed chocolate into the topping instead of creating the pretty surface.
Cutting Clean Bars
Chill the pan slightly if you want cleaner edges, or run a sharp knife under hot water, dry it, then slice. Wiping the knife between cuts helps keep slices neat.
Refrigerate, Freeze, Reheat
Refrigerate
Store in an airtight container at room temperature for up to 2 days. If your kitchen is warm, refrigerate to keep the chocolate firm; the bars will keep well for up to 5 days refrigerated.
Freeze
Wrap individual bars tightly in plastic and place them in a freezer-safe container for up to 2 months. Thaw in the refrigerator overnight, then bring to room temperature before serving to regain the chocolate sheen.
Reheat
To revive a slightly chilled bar, microwave a single piece for 6–10 seconds on medium power—just long enough to soften the top. Avoid overheating; you want the chocolate glossy, not melted into a mess.
(Chocolate Blackout Bars) FAQs
Q: Why did my topping not set?
A: The key steps are the short 1-minute boil and the immediate pouring of that hot butter–sugar mix over the crust and pecans. If the mixture didn’t reach a low boil or was removed from the heat too soon, it may not set firm. Also give it time to cool completely; the set happens as it reaches room temperature.
Q: Can I toast the pecans first?
A: Yes. Toasting pecans intensifies their flavor and adds crunch. If you toast them, let them cool before sprinkling on the crust so they don’t make the crust soggy.
Q: Can I substitute the chocolate chips with chopped chocolate bars?
A: You can. Chopped chocolate will melt slightly differently and can give a more luxurious sheen. Use similar weight — 12 ounces — and proceed the same way: sprinkle, wait 1–2 minutes, then swirl.
Q: My chocolate swirls got streaky and dull. What went wrong?
A: The chocolate benefits from resting on a hot surface briefly so it softens but doesn’t overheat. If the chips melted too much before swirling, the chocolate can lose its glossy finish. Let them soften 1–2 minutes and then swirl gently. Using higher-quality chips (as noted) can also help achieve a glossy finish.
That’s a Wrap
If you want a dependable, crowd-pleasing chocolate bar that looks finished and tastes rich, Chocolate Blackout Bars are a practical go-to. Follow the few technical moments—press the crust, boil the butter–sugar for one minute, and let the chocolate rest before swirling—and you’ll hand guests neat squares that taste like you spent all afternoon on them.
Make them for potlucks, bake sales, or Sunday dessert. They’re forgiving, transportable, and delicious for days. When you make these, let them cool completely before slicing and give yourself the tiny reward of that first glossy, chocolatey square.
Chocolate Blackout Bars
Ingredients
Ingredients
- 2 Cupsall purpose flour
- 1 Cupfirmly packed dark brown sugar
- 1/2 cupmelted real sweet cream unsalted butter
- 1 pinchof kosher salt
- 1 cupof finely chopped pecans
- 1 Cupof real sweet cream unsalted butter
- 3/4 Cupdark brown sugar
- 1 teaspoonreal vanilla extract
- 1/2 teaspoonreal almond extract
- 12 ouncessemi-sweet chocolate chipsI used Ghirardelli
Instructions
Instructions
- Preheat the oven to 350°F.
- In a medium bowl, mix 2 Cups all purpose flour, 1 Cup firmly packed dark brown sugar, ½ cup melted real sweet cream unsalted butter, and 1 pinch of kosher salt until evenly combined and crumbly.
- Press this mixture firmly and evenly into the bottom of a 9x13-inch baking dish.
- Sprinkle 1 cup of finely chopped pecans evenly over the crust.
- In a saucepan over medium heat, combine 1 Cup of real sweet cream unsalted butter and ¾ Cup dark brown sugar. Stir until the butter melts and the mixture comes to a low boil; continue to boil for 1 minute, stirring constantly.
- Remove the saucepan from the heat and stir in 1 teaspoon real vanilla extract and ½ teaspoon real almond extract.
- Pour the hot butter–sugar mixture evenly over the crust and pecans.
- Bake in the preheated oven for 20–25 minutes, until the topping is bubbling and set at the edges.
- Remove the pan from the oven and immediately sprinkle 12 ounces semi-sweet chocolate chips evenly over the hot surface. Let the chips sit 1–2 minutes to soften, then use a small rubber spatula to gently swirl the chocolate for a marbled appearance.
- Cool completely to room temperature (this will take several hours) before cutting into bars.
Equipment
- Oven
- Medium Bowl
- Measuring Cups
- 9x13 inch Baking Dish
- Saucepan
- Rubber spatula
Notes
Delicious!