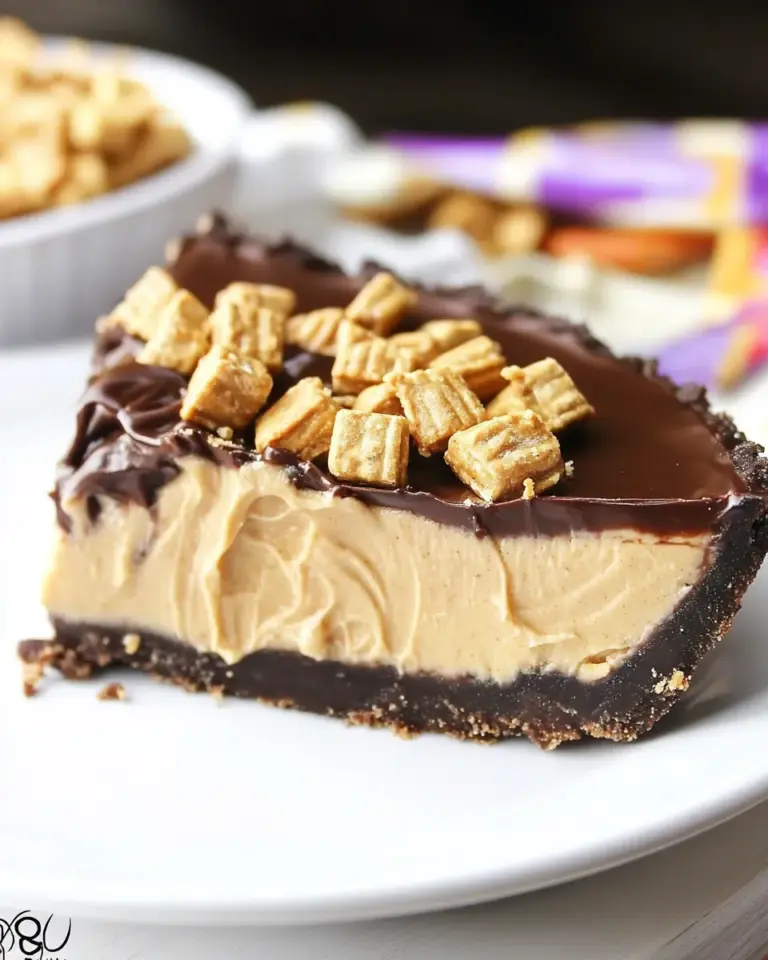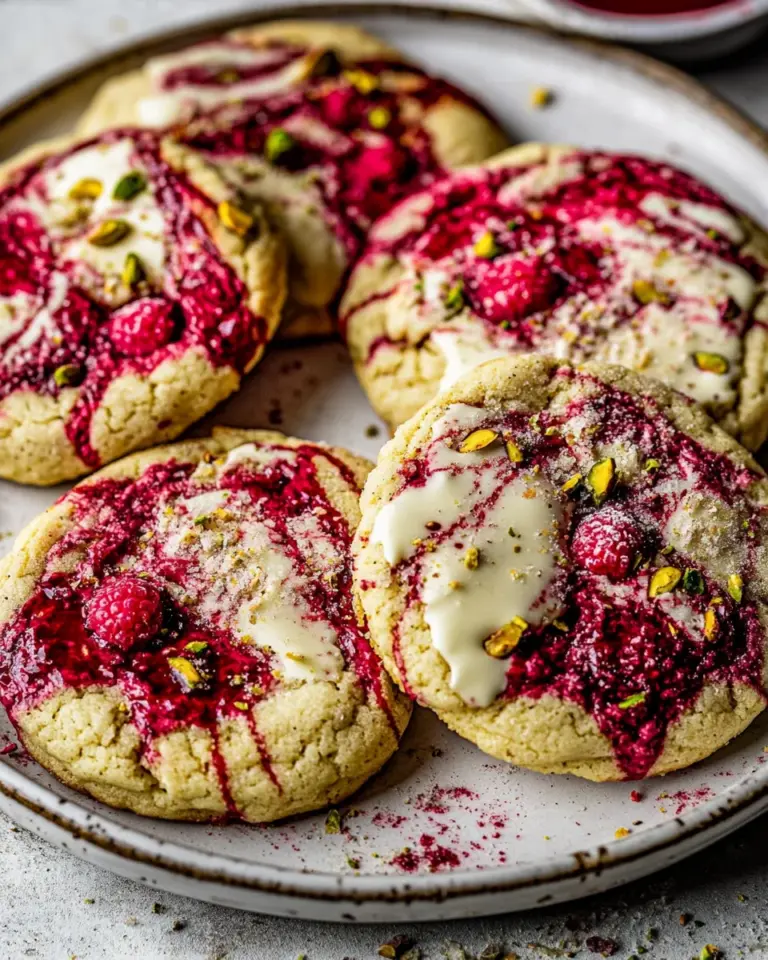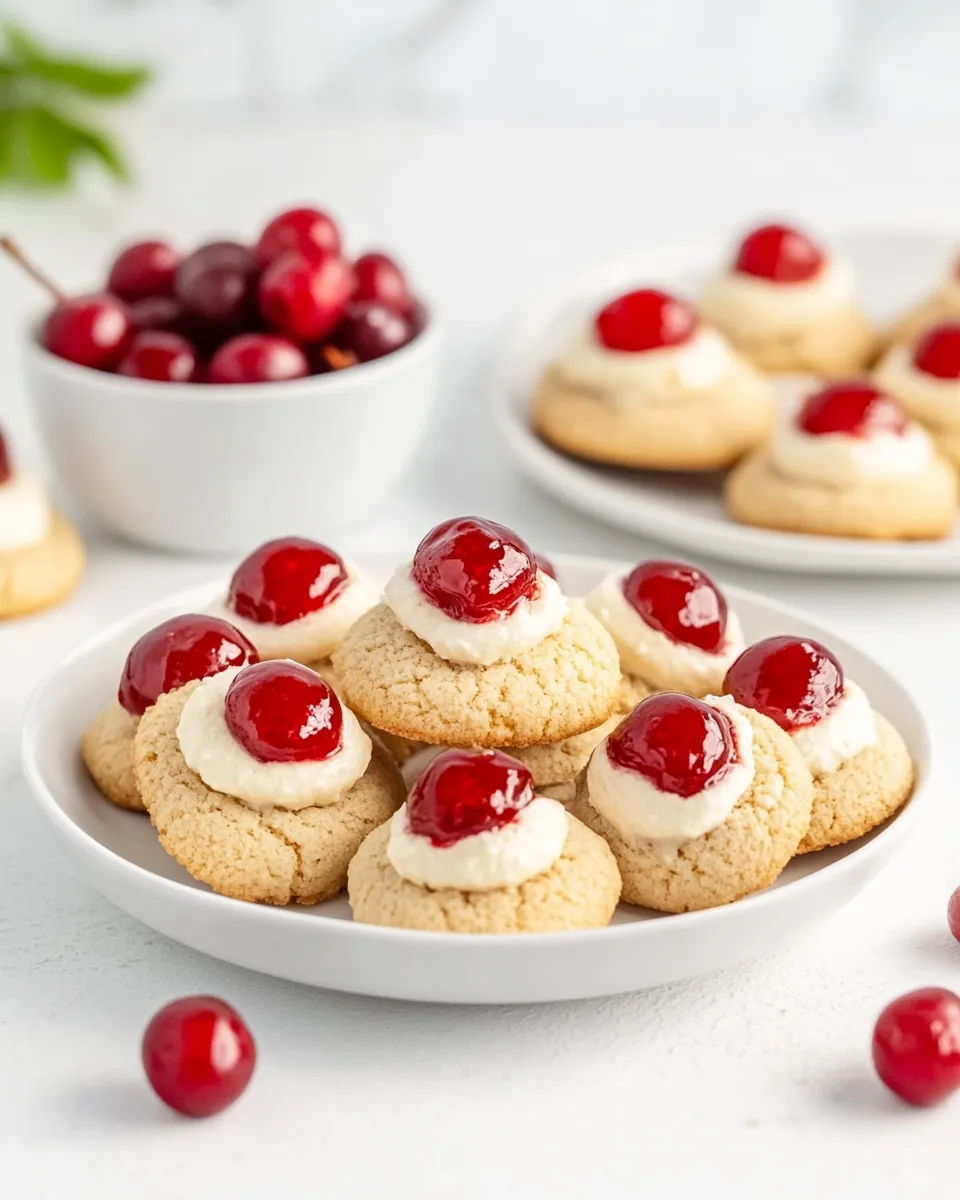
Cherry Cheesecake Cookies
These are the kind of cookies I bring when I want something that feels both special and approachable. They look like miniature tarts but come together with simple dough and a creamy center that gets a bright pop of cherry at the end. Clean flavors, tender cookies, and a little hands-on finishing make them perfect for gatherings or a quiet baking afternoon.
I like that they’re straightforward: a graham-cracker–boosted cookie base, a silky cream cheese dollop, and a spoonful of cherry pie filling just before serving. The process is forgiving, and most steps are short and mechanical — beat, mix, scoop, press, bake. If you have a separated egg and a medium cookie scoop, you’re set.
In this post I’ll walk you through the exact ingredients and steps, share practical tips to avoid common mistakes, and offer storage and swap ideas so you can adapt these to what you have on hand. No frills, just reliable results.
What’s in the Bowl

Ingredients
- 1 ¼ cups finely crushed graham crackers (about 1 sleeve) — Adds sweet crunch and classic cheesecake base flavor; pulse in a food processor for even texture.
- 1 cup all-purpose flour — Structure for the cookie; measure by spooning and leveling for accuracy.
- 1 ½ teaspoons baking powder — Gives a light, tender rise; check freshness if it’s old.
- 12 tablespoons unsalted butter, softened — Provides richness and a tender crumb; bring to room temperature so it creams properly.
- ½ cup packed light brown sugar — Adds moisture and a mild caramel note; pack gently into the cup.
- 1 egg, separated — White goes into the dough for structure; yolk enriches the cream cheese filling.
- 4 ounces cream cheese, softened — The creamy filling base; use full-fat for best texture and flavor.
- ¼ cup granulated sugar — Sweetens the cream cheese filling without overpowering it.
- ½ teaspoon pure vanilla extract — Brings warmth and rounds the filling flavors.
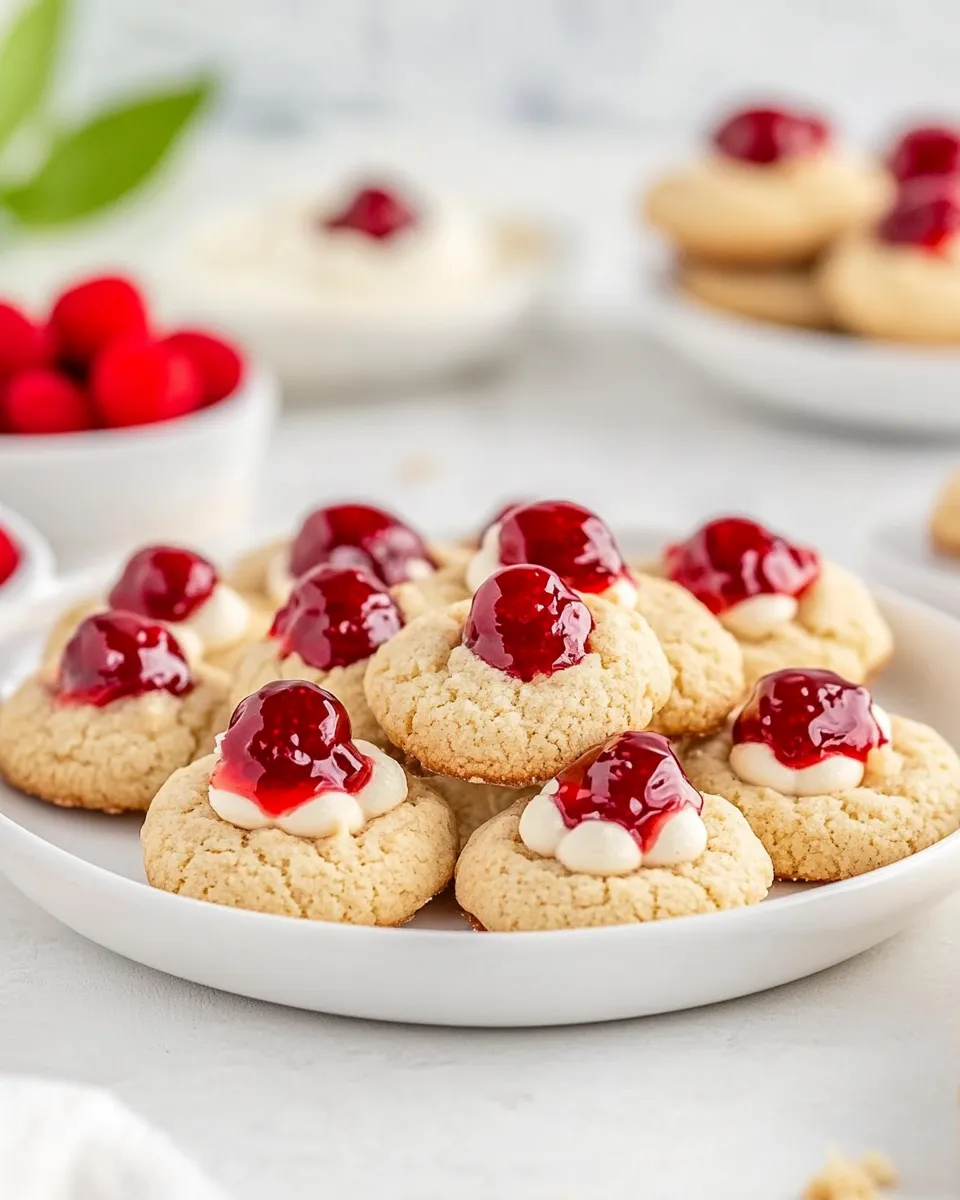
- homemade cherry pie filling — A bright, slightly tart finish; spoon on just before serving so it stays glossy.
Stepwise Method: Cherry Cheesecake Cookies
- Preheat the oven to 350°F. Line baking sheets with parchment paper or silicone baking mats and set aside.
- In a large bowl, whisk together 1 ¼ cups finely crushed graham crackers, 1 cup all-purpose flour, and 1 ½ teaspoons baking powder; set the dry mixture aside.
- In a medium bowl, using an electric mixer, beat 12 tablespoons softened unsalted butter and ½ cup packed light brown sugar on medium speed until light and fluffy, about 2 minutes. Scrape down the sides of the bowl as needed.
- Add the egg white (from the separated egg) to the butter mixture and beat just until combined.
- Add the graham cracker–flour mixture to the butter mixture and stir until just combined and no large streaks of flour remain. Do not overmix.
- In another medium bowl, beat 4 ounces softened cream cheese and ¼ cup granulated sugar together until smooth and combined. Add the egg yolk (from the separated egg) and ½ teaspoon pure vanilla extract and mix until the filling is smooth and uniform.
- Using a medium cookie scoop (about 1.5 to 2 tablespoons), portion dough into balls and place them on the prepared baking sheets about 2 inches apart.
- Press your thumb or the back of a round measuring teaspoon into the center of each dough ball to flatten slightly and create a small well for the filling.
- Spoon or pipe a small amount of the cream cheese mixture into each well, filling it nearly to the top but leaving a slight edge for the cookie to rise.
- Bake in the preheated oven for about 12 minutes, until the cookie edges are lightly golden and the cream cheese filling is just set (it may still wobble slightly).
- Let the cookies cool on the baking sheets for 5 minutes, then transfer them to a wire rack to cool completely.
- Spoon homemade cherry pie filling onto the cooled cream cheese centers just before serving.
Why It Deserves a Spot
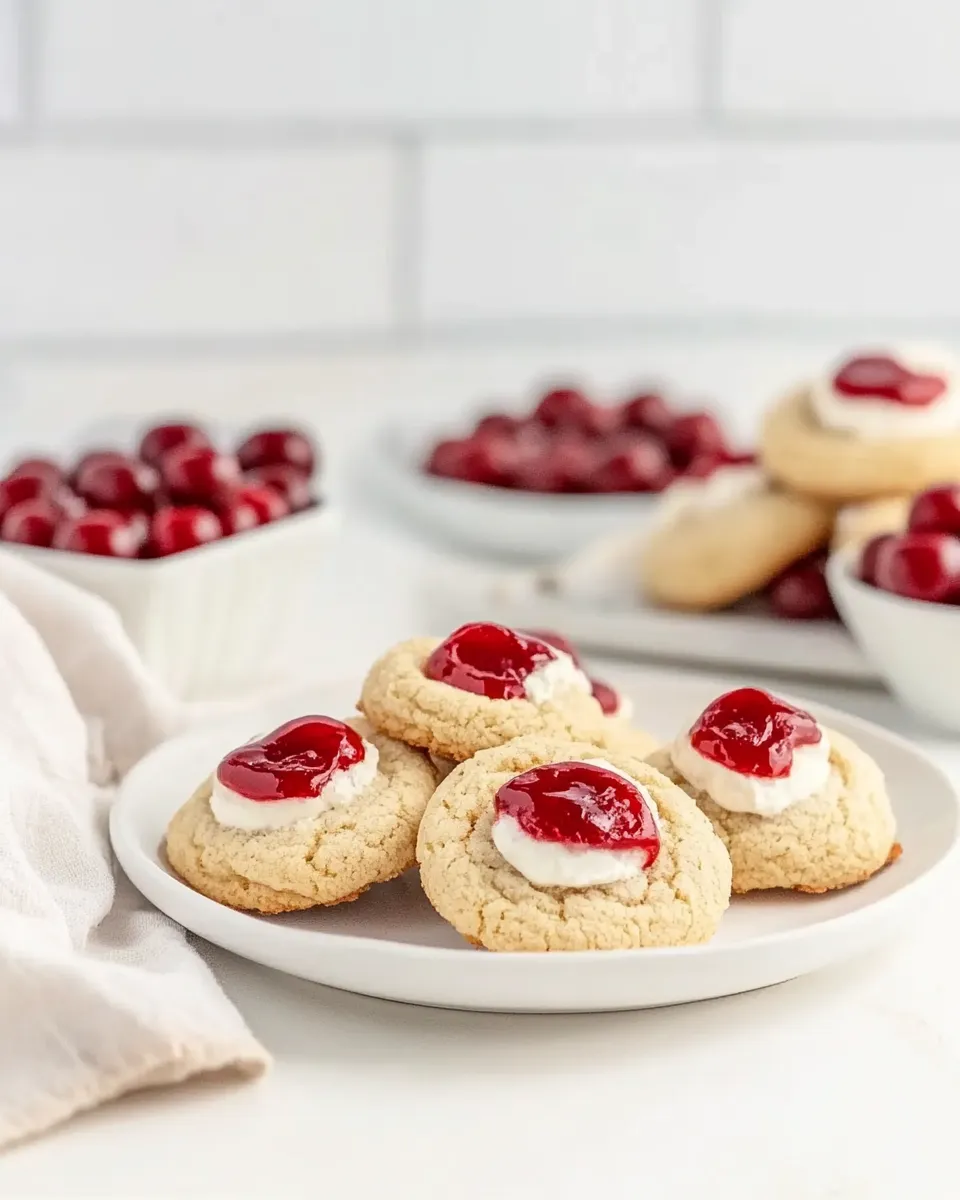
These cookies combine the best parts of two desserts into one tidy bite: the nostalgic crunch of graham crackers and the creamy tang of cheesecake, finished with a lively cherry spoonful. They’re visually appealing without any tempering or complicated steps. That makes them a reliable pick for potlucks, holiday trays, and weekday baking experiments alike.
The technique is forgiving. You don’t need to master folding or chilling tricks. Even novice bakers can get a consistent texture because the method relies on straightforward mixing and portioning, not precise timing or tricky handling. And because the cherry topping goes on after baking, you avoid weeping or soggy fillings while keeping the fruit bright.
Ingredient Flex Options
- Graham crackers: Buy pre-crushed or crush them by hand if you don’t have a food processor; either works as long as pieces are fine.
- Butter: Salted can be used if that’s what you have; reduce any extra salt in other parts of the meal.
- Brown sugar: Light is specified for a mild caramel nuance; you can use dark if you prefer a deeper flavor, but the cookies will be slightly darker.
- Cream cheese: Full-fat gives the best mouthfeel; low-fat versions can work but expect a thinner filling texture.
- Cherry pie filling: The recipe calls for homemade, but a good-quality store jar is an acceptable shortcut when time is short.
Toolbox for This Recipe
- Electric mixer (hand or stand) — for creaming butter and making the filling smooth.
- Medium and large mixing bowls — keep dry and wet ingredients separated and tidy.
- Measuring cups and spoons — accuracy helps with consistent cookies.
- Medium cookie scoop (1.5–2 tablespoons) — speeds up portioning and keeps sizes even.
- Baking sheets and parchment or silicone mats — prevent sticking and promote even browning.
- Wire rack — cools cookies so fillings set properly before topping.
- Small spoon or piping bag — for filling the wells with cream cheese mixture.
Slip-Ups to Skip
- Don’t overmix once you add the flour mixture. Overworking the dough makes cookies dense and tough.
- Do not fill the cream cheese wells too full before baking. The filling needs a small rim so the cookie can rise around it without spilling.
- Avoid using cold butter or cream cheese straight from the fridge. They won’t incorporate properly and you’ll end up with uneven texture.
- Resist the urge to add the cherry topping while the cookies are still hot. Warm filling will run; you want a glossy, intact cherry center.
- Watch your oven closely the first time you bake a batch; 12 minutes is a guideline and ovens vary. Edges should be lightly golden.
Better Choices & Swaps
Want to tweak flavors or accommodate dietary needs? Here are practical swaps that keep the spirit of the cookie:
- For a gluten-free version, use a 1:1 gluten-free flour blend and confirmed gluten-free graham-style crumbs. Texture may be slightly different but still delicious.
- If you prefer a brighter fruit edge, use a sour cherry filling or tart cherry preserves instead of a sweeter pie filling. Spoon less if it’s very loose.
- To simplify, replace homemade cherry pie filling with a quality store-bought cherry pie filling; drain any excess syrup so the centers don’t get soggy.
- Swap light brown sugar for coconut sugar in equal measure for a nuttier note; color will be darker and flavor subtly deeper.
Little Things that Matter
Small details change the outcome more than you might expect:
- Butter and cream cheese temperature: Both should be softened to room temperature. If they’re too warm, the dough will be greasy; too cold and they won’t blend well.
- Egg separation: Make sure the white is clear of yolk when adding it to the dough. Fat from yolk in the white prevents proper aeration.
- Pressing the well: Use the same tool (thumb or back of a teaspoon) for every cookie so the wells are uniform and the filling portions behave consistently while baking.
- Scoop size: A medium scoop ensures even baking time across a full sheet. Smaller scoops need less time; larger ones need more.
Cooling, Storing & Rewarming
Cooling
Let the cookies cool five minutes on the baking sheet after they come out of the oven, then move them to a wire rack. The brief rest lets the filling set enough to transfer without breaking the cookie or the cream cheese center.
Storing
Because these have cream cheese, store them in the refrigerator if you won’t eat them right away. Layer them in an airtight container with parchment between layers to prevent sticking. They keep well for 3–4 days refrigerated.
Freezing
You can freeze the baked cookies (without the cherry topping) in a single layer on a sheet until solid, then transfer to a freezer-safe container. Thaw in the refrigerator and add cherry filling just before serving. Freeze up to one month for best quality.
Rewarming
If you like the cream cheese center slightly softer, warm a cookie for 6–8 seconds in the microwave on low power after topping with cherries. Don’t overheat — the filling can become oily or split.
Cherry Cheesecake Cookies FAQs
Can I make these ahead? Yes. Bake and cool them, then refrigerate in an airtight container without the cherry topping for up to 3–4 days. Add cherry pie filling just before serving so it stays glossy and fresh.
Can I use a whole egg instead of separating it? You can, but the recipe is designed with the white in the dough and the yolk in the filling to balance structure and richness. Using a whole egg will change texture slightly; the dough may be wetter and the filling less rich.
What if my cream cheese filling is too runny? Make sure the cream cheese is fully softened but not melted. Beat it with the granulated sugar until smooth and thick before adding the yolk and vanilla. If it’s still loose, chill the filling briefly before piping.
Why is the cherry filling added after baking? Adding the cherry topping after baking keeps the fruit bright and prevents the filling from weeping or becoming soggy during baking. It also preserves the glossy look of the cherries.
Can I use fruit other than cherries? Yes. Blueberry or strawberry pie filling would work in the same way, though sweetness and moisture vary. Use sparingly if the filling is very syrupy.
Final Bite
These Cherry Cheesecake Cookies are a small but memorable dessert. They’re straightforward enough for weeknight baking and pretty enough for special occasions. The structure — a graham-forward cookie, a silky cream cheese dollop, and a bright cherry finish — hits classic cheesecake notes in a handy, shareable form. Follow the steps, mind the little details, and you’ll have a tray of perfectly balanced cookies that disappear fast.
If you try a tweak, tell me what you did and how it turned out. I’m always curious which small change becomes someone’s new favorite.
Cherry Cheesecake Cookies
Ingredients
Ingredients
- 1 1/4 cupsfinely crushed graham crackersabout 1 sleeve
- 1 cupall-purpose flour
- 1 1/2 teaspoonsbaking powder
- 12 tablespoonsunsalted buttersoftened
- 1/2 cuppacked light brown sugar
- 1 eggseparated
- 4 ouncescream cheesesoftened
- 1/4 cupgranulated sugar
- 1/2 teaspoonpure vanilla extract
- homemade cherry pie filling
Instructions
Instructions
- Preheat the oven to 350°F. Line baking sheets with parchment paper or silicone baking mats and set aside.
- In a large bowl, whisk together 1 ¼ cups finely crushed graham crackers, 1 cup all-purpose flour, and 1 ½ teaspoons baking powder; set the dry mixture aside.
- In a medium bowl, using an electric mixer, beat 12 tablespoons softened unsalted butter and ½ cup packed light brown sugar on medium speed until light and fluffy, about 2 minutes. Scrape down the sides of the bowl as needed.
- Add the egg white (from the separated egg) to the butter mixture and beat just until combined.
- Add the graham cracker–flour mixture to the butter mixture and stir until just combined and no large streaks of flour remain. Do not overmix.
- In another medium bowl, beat 4 ounces softened cream cheese and ¼ cup granulated sugar together until smooth and combined. Add the egg yolk (from the separated egg) and ½ teaspoon pure vanilla extract and mix until the filling is smooth and uniform.
- Using a medium cookie scoop (about 1.5 to 2 tablespoons), portion dough into balls and place them on the prepared baking sheets about 2 inches apart.
- Press your thumb or the back of a round measuring teaspoon into the center of each dough ball to flatten slightly and create a small well for the filling.
- Spoon or pipe a small amount of the cream cheese mixture into each well, filling it nearly to the top but leaving a slight edge for the cookie to rise.
- Bake in the preheated oven for about 12 minutes, until the cookie edges are lightly golden and the cream cheese filling is just set (it may still wobble slightly).
- Let the cookies cool on the baking sheets for 5 minutes, then transfer them to a wire rack to cool completely.
- Spoon homemade cherry pie filling onto the cooled cream cheese centers just before serving.
Equipment
- Pre-Cut Parchment Paper Baking Sheets
- Nordic Ware Aluminum Half Sheet Pans
- Cookie Scoop Set
Notes
Store cherry cheesecake cookies in an airtight container in the refrigerator for up to 3 days. Store the cookies without the cherry pie filling; wait to top them with the filling until just before serving.