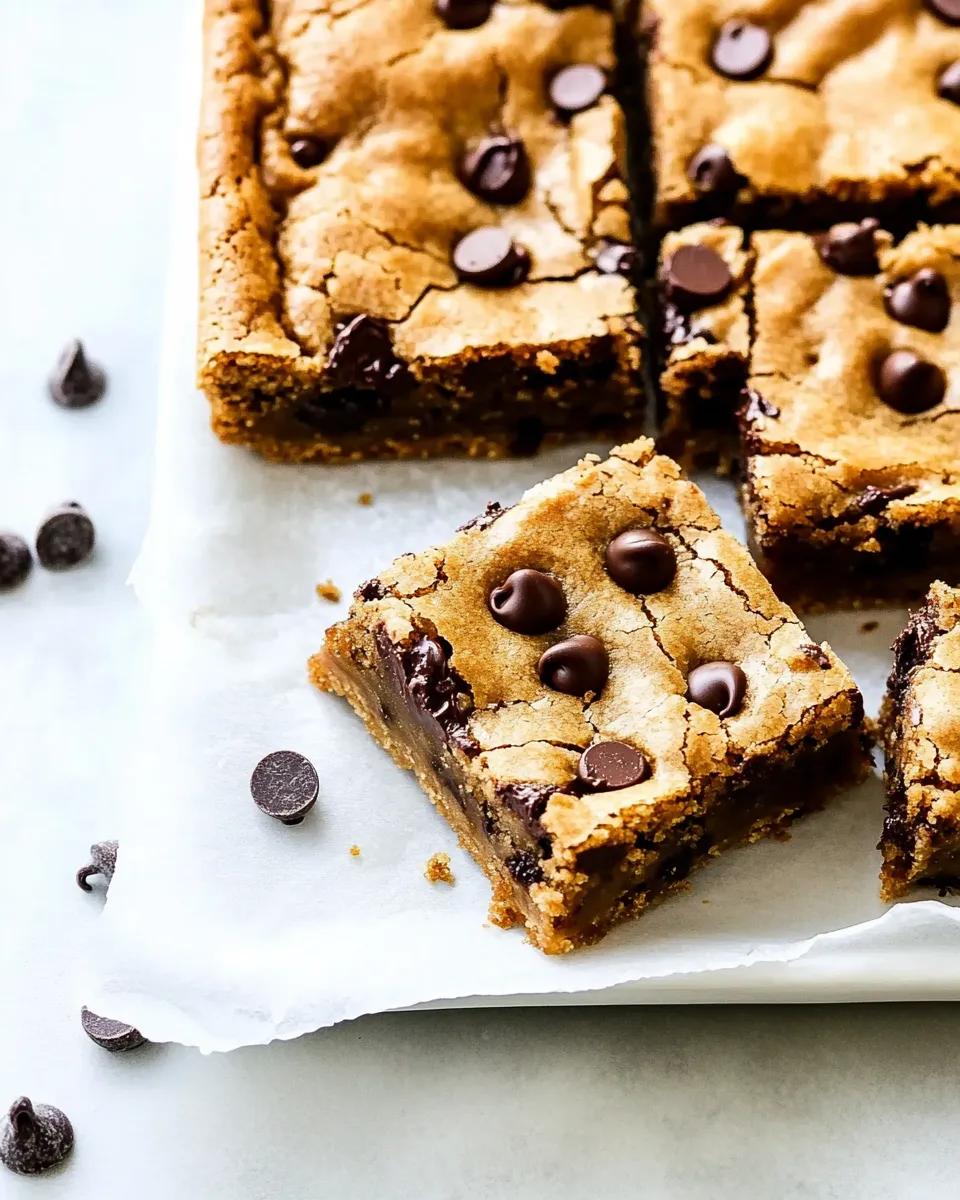
Brown Butter Chocolate Chip Cookie Bars
These bars are the kind of thing I make when I want chocolate chip cookie flavor without the fuss of scooping and shaping dozens of rounds. Brown butter gives them a toasty, nutty backbone and the texture sits perfectly between chewy and cakey — satisfying every crowd I’ve tested them on. They’re simple enough for a weekday treat and impressive enough to bring to a potluck.
I like that the method is straightforward: brown the butter, mix in sugar and eggs, fold in dry ingredients, then bake in a 9×13 pan. The surface picks up a golden edge while the center stays tender. A quick sprinkle of flaky sea salt after baking finishes them in the best possible way.
Below you’ll find the exact ingredient list and step-by-step directions I follow every time. I’ll also share practical gear recommendations, common mistakes to avoid, and a few variations if you want to push the flavor in new directions.
Ingredient List

- 1 cup unsalted butter, cut into tablespoon pieces — browning develops a nutty, caramel-like flavor that defines these bars; use unsalted so you control the salt level.
- 1 1/4 cups packed dark brown sugar, can use light — provides moisture and depth; dark brown sugar adds more molasses flavor.
- 1/4 cup granulated sugar — balances the brown sugar and helps with structure and caramelization at the edges.
- 2 large eggs — bind the batter and give lift; use large for consistent results.
- 1 tablespoon pure vanilla extract — rounds out the flavor and complements the brown butter.
- 2 cups all-purpose flour — the backbone of the bars; spoon and level your measuring cup for accuracy.
- 3/4 teaspoon kosher salt — balances sweetness; kosher salt’s crystal size is considered in the recipe.
- 1/2 teaspoon baking soda — gives a touch of lift and lightness.
- 1/2 teaspoon baking powder — works with the baking soda to help the bars set with the right crumb.
- 1 cup chocolate chunks — larger pockets of melted chocolate that create texture contrast.
- 1 cup chocolate chips — smaller, even distribution of chocolate throughout the bars.
- Flaky sea salt, for sprinkling on bars — finishes the bars with bright, crunchy bursts of salt; add right after they come out of the oven.
Directions: Brown Butter Chocolate Chip Cookie Bars
- Preheat the oven to 350°F (175°C). Grease a 9×13-inch metal baking pan with nonstick spray or line it with parchment paper, leaving some overhang for easy removal. Set the pan aside.
- Place the 1 cup unsalted butter (cut into tablespoon pieces) in a medium saucepan over medium heat. Stir often as the butter melts and foams, continuing to cook and stir until it smells nutty and turns brown with browned bits on the bottom (about 5 minutes).
- Immediately scrape the browned butter into a large mixing bowl and let it cool for 5 minutes.
- Add the 1 1/4 cups packed dark brown sugar and 1/4 cup granulated sugar to the cooled browned butter. Stir with a wooden spoon or spatula until the sugars are fully incorporated and the mixture is smooth.
- Add the 2 large eggs and 1 tablespoon pure vanilla extract to the butter-sugar mixture. Stir until combined.
- Add 2 cups all-purpose flour, 3/4 teaspoon kosher salt, 1/2 teaspoon baking soda, and 1/2 teaspoon baking powder to the bowl. Stir just until the dry ingredients are incorporated — do not overmix.
- Fold in 1 cup chocolate chunks and 1 cup chocolate chips until evenly distributed.
- Spread the dough evenly in the prepared 9×13-inch pan using a spatula, smoothing the top. Bake for 18 to 24 minutes, or until the bars are set and golden brown at the edges (the center may still be slightly soft — they will continue to set as they cool). Avoid overbaking.
- Remove the pan from the oven, immediately sprinkle the top with flaky sea salt, and transfer the pan to a wire rack. Let the bars cool in the pan until set and easy to slice (about 30–45 minutes) before cutting into squares.
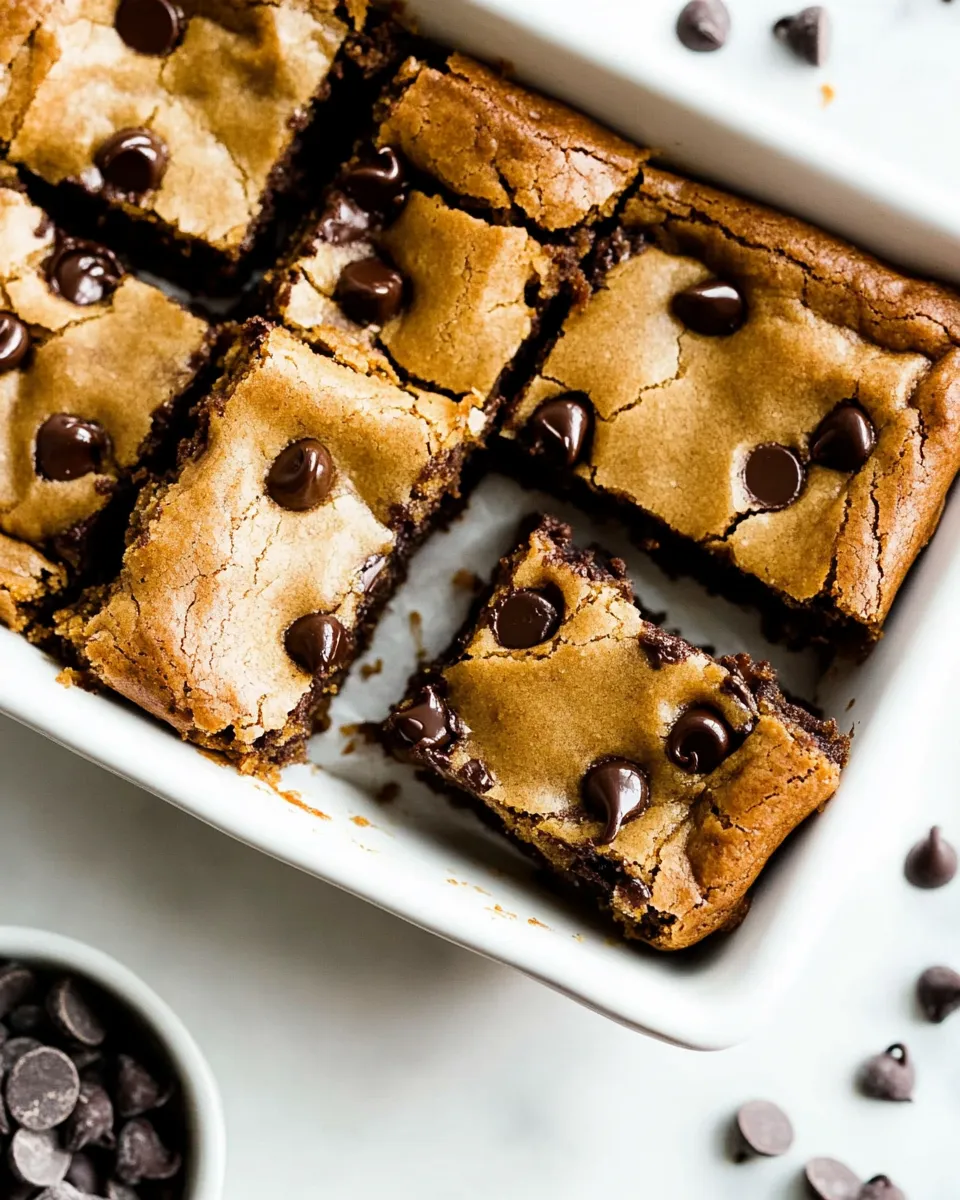
Why It’s Crowd-Pleasing
These bars hit all the familiar notes people love in a chocolate chip cookie: browned butter for that toasty, irresistible flavor; a tender yet substantial crumb; and pockets of molten chocolate. Because they’re baked in a sheet pan, you get consistent texture in every square — and they’re easier to share than single cookies.
The balance is key. Dark brown sugar brings moisture and a caramel edge, while the granulated sugar helps the edges caramelize. The combination of chocolate chunks and chips gives you both big chocolate moments and even distribution so every bite feels indulgent. Salt on top cuts through the sweetness and amplifies flavors, which is why the final sprinkle is non-negotiable.
Flavor-Forward Alternatives
- Swap half the chocolate chunks for chopped toasted pecans or walnuts to add crunch and another layer of nuttiness that complements the brown butter.
- Stir in 1/2 cup dried cherries or cranberries in place of some chips for a bright, chewy contrast.
- For a deeper caramel note, fold in 1/2 cup toffee bits with the chocolate; they’ll soften and meld with the brown butter flavor.
- Use a mix of bittersweet and milk chocolate chips for a more complex chocolate profile.
- Add a pinch (1/8 teaspoon) of espresso powder to the batter to intensify the chocolate without adding overt coffee flavor.
Kitchen Gear Checklist
- 9×13-inch metal baking pan — metal conducts heat reliably for even browning.
- Medium saucepan — for browning the butter safely and evenly.
- Large mixing bowl — room to stir and fold without spilling.
- Wooden spoon or spatula — used for stirring browned butter and folding batter.
- Measuring cups and spoons — accuracy matters for baking; spoon and level flour.
- Parchment paper (optional) — makes removal and cleanup easier if you prefer.
- Wire rack — essential for cooling so the bottoms don’t steam and get soggy.
Errors to Dodge
- Don’t rush browning the butter. Pull it off the heat too soon and you miss the nutty flavor; leave it too long and it burns. Watch for the aroma and brown flecks and transfer promptly to stop cooking.
- Avoid adding eggs to piping-hot butter. Let the browned butter cool for the recommended 5 minutes so the eggs don’t scramble when added.
- Resist overmixing after adding flour. Overworking develops gluten and makes the bars tough instead of tender.
- Don’t overbake. The center should feel slightly soft when you take the pan out; carryover heat will finish it as it cools. Overbaked bars are dry and lose their chewy appeal.
- Be mindful of salt types and amounts. If you substitute kosher salt with table salt, reduce the amount because table salt is denser and saltier by volume.
Allergy-Friendly Swaps
- For dairy-free: Use a vegan butter substitute that browns reliably (some plant-based spreads don’t brown the same way). Test a small batch to confirm the flavor before making a full pan.
- For egg replacement: If you need an egg-free version, try a commercial egg replacer formulated for baking or 2 tablespoons ground flaxseed mixed with 6 tablespoons water (let sit 5 minutes). Results will be a bit different in texture.
- For gluten-free: Use a 1:1 gluten-free all-purpose flour blend that contains xanthan gum. The bars will be slightly more delicate; monitor baking time closely.
- For nut allergies: The base recipe is nut-free; if you add mix-ins, skip nuts and choose seeds or extra chocolate instead.
Insider Tips
- Brown the butter in a light-colored saucepan so you can see the color change clearly. Dark pans hide the browning and make it easier to overcook.
- When browning butter, stir constantly and scrape the bottom to incorporate the brown bits; they hold a lot of flavor.
- Let the butter cool for the full 5 minutes. It’s a short pause that prevents scrambled eggs and ensures a smooth, cohesive batter.
- Spread the batter evenly in the pan by pressing down with an offset spatula or lightly greased fingertips. Even thickness ensures uniform baking.
- If you want glossy chocolate pockets on top, press an extra handful of chocolate chips or chunks onto the surface immediately after the bars come out of the oven; the residual heat will melt them slightly for a pretty finish.
- Use a sharp knife cooled in hot water and wiped dry to slice clean squares when the bars are fully set.
How to Store & Reheat
Storage is straightforward. Once the bars are completely cool, cover the pan tightly with plastic wrap or transfer slices to an airtight container. At room temperature they keep well for up to 3 days. If you need longer, refrigerate for up to 7 days; allow them to come to room temperature before serving or warm briefly.
To revive a slightly stale bar, microwave a single piece for 8–12 seconds on a microwave-safe plate — the center will soften and the chocolate will regain meltiness. For a larger batch, reheat individual squares on a baking sheet at 300°F (150°C) for 5–8 minutes until just warmed through.
FAQ
- Can I make the batter ahead of time? You can prepare the batter and keep it in the fridge for up to 24 hours, but it may firm up. Let it sit at room temperature for 20–30 minutes before spreading into the pan and baking. Note: browning the butter fresh before mixing yields the best flavor.
- Why did my bars come out dry? They were likely overbaked. Start checking at 18 minutes and remove when the edges are golden and the center is slightly soft. Oven temperatures vary, so err on the side of underbaked for a more tender bar.
- Can I use only chocolate chips or only chunks? Yes. Using only chips will give you more uniform pockets of chocolate, while only chunks creates larger molten surprises. I like the combination for contrast.
- Can I double the recipe? Doubled batter should be baked in two 9×13 pans rather than a larger pan to maintain the same thickness and baking time.
- Can these be frozen? Yes. Wrap cooled squares individually or layer with parchment in an airtight container and freeze up to 3 months. Thaw at room temperature or warm briefly in the microwave.
Hungry for More?
If you enjoyed these bars, try making a skillet cookie next time for a dramatic, shareable dessert, or a batch of brown butter chocolate chip cookies for a crisp-edge, chewy-center contrast. I post new, practical recipes often — simple tweaks that elevate familiar favorites are my specialty. Happy baking, and don’t skip the flaky sea salt on top; it’s the small step that makes a big difference.

Brown Butter Chocolate Chip Cookie Bars
Ingredients
Ingredients
- 1 cupunsalted butter cut into tablespoon pieces
- 1 1/4 cupspacked dark brown sugar can use light
- 1/4 cupgranulated sugar
- 2 large eggs
- 1 tablespoonpure vanilla extract
- 2 cupsall-purpose flour
- 3/4 teaspoonkosher salt
- 1/2 teaspoonbaking soda
- 1/2 teaspoonbaking powder
- 1 cupchocolate chunks
- 1 cupchocolate chips
- Flaky sea salt for sprinkling on bars
Instructions
Instructions
- Preheat the oven to 350°F (175°C). Grease a 9×13-inch metal baking pan with nonstick spray or line it with parchment paper, leaving some overhang for easy removal. Set the pan aside.
- Place the 1 cup unsalted butter (cut into tablespoon pieces) in a medium saucepan over medium heat. Stir often as the butter melts and foams, continuing to cook and stir until it smells nutty and turns brown with browned bits on the bottom (about 5 minutes).
- Immediately scrape the browned butter into a large mixing bowl and let it cool for 5 minutes.
- Add the 1 1/4 cups packed dark brown sugar and 1/4 cup granulated sugar to the cooled browned butter. Stir with a wooden spoon or spatula until the sugars are fully incorporated and the mixture is smooth.
- Add the 2 large eggs and 1 tablespoon pure vanilla extract to the butter-sugar mixture. Stir until combined.
- Add 2 cups all-purpose flour, 3/4 teaspoon kosher salt, 1/2 teaspoon baking soda, and 1/2 teaspoon baking powder to the bowl. Stir just until the dry ingredients are incorporated — do not overmix.
- Fold in 1 cup chocolate chunks and 1 cup chocolate chips until evenly distributed.
- Spread the dough evenly in the prepared 9×13-inch pan using a spatula, smoothing the top. Bake for 18 to 24 minutes, or until the bars are set and golden brown at the edges (the center may still be slightly soft — they will continue to set as they cool). Avoid overbaking.
- Remove the pan from the oven, immediately sprinkle the top with flaky sea salt, and transfer the pan to a wire rack. Let the bars cool in the pan until set and easy to slice (about 30–45 minutes) before cutting into squares.
Equipment
- Oven
- 9x13-inch metal baking pan
- Parchment Paper
- nonstick spray
- Medium Saucepan
- Large Mixing Bowl
- Wooden Spoon
- Spatula
- Wire Rack