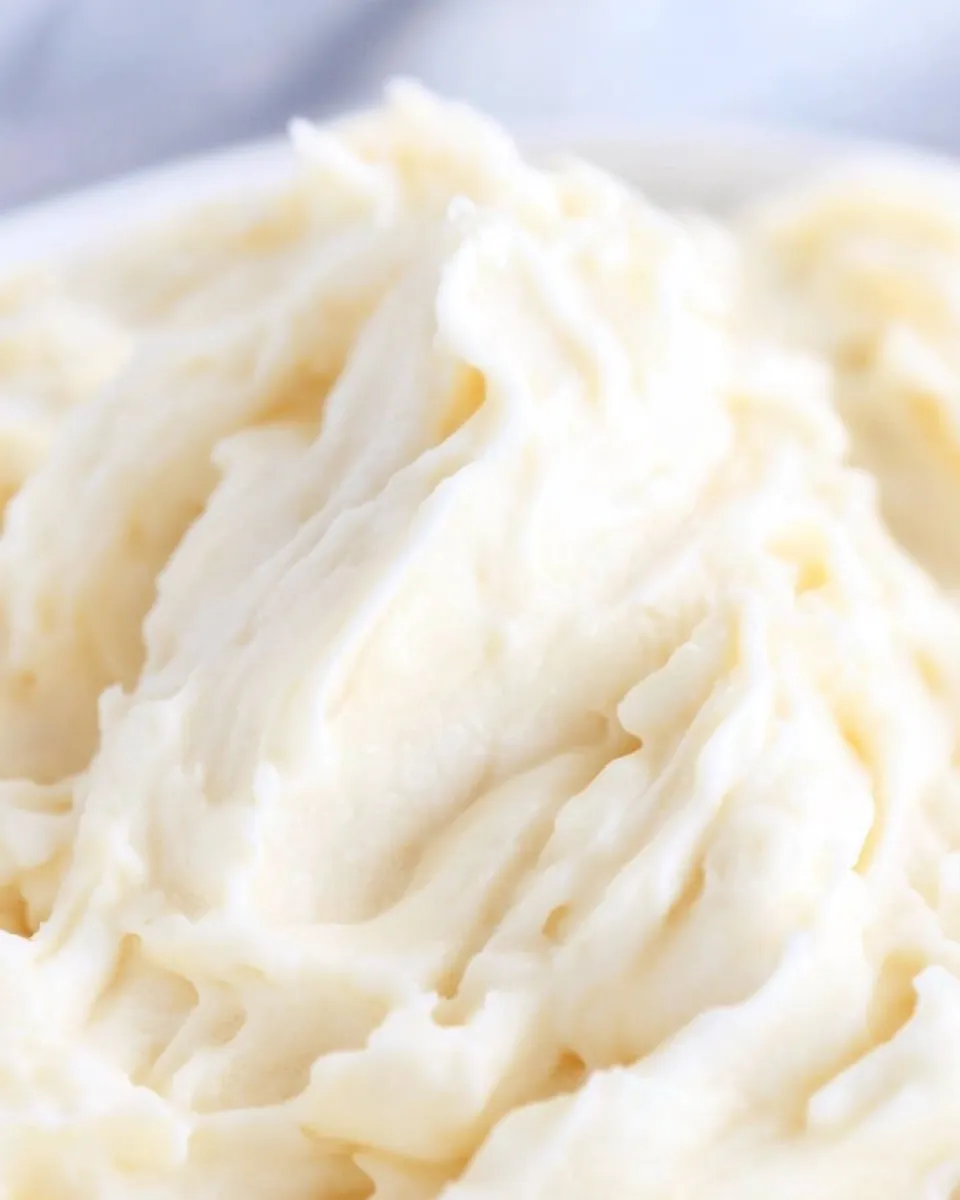
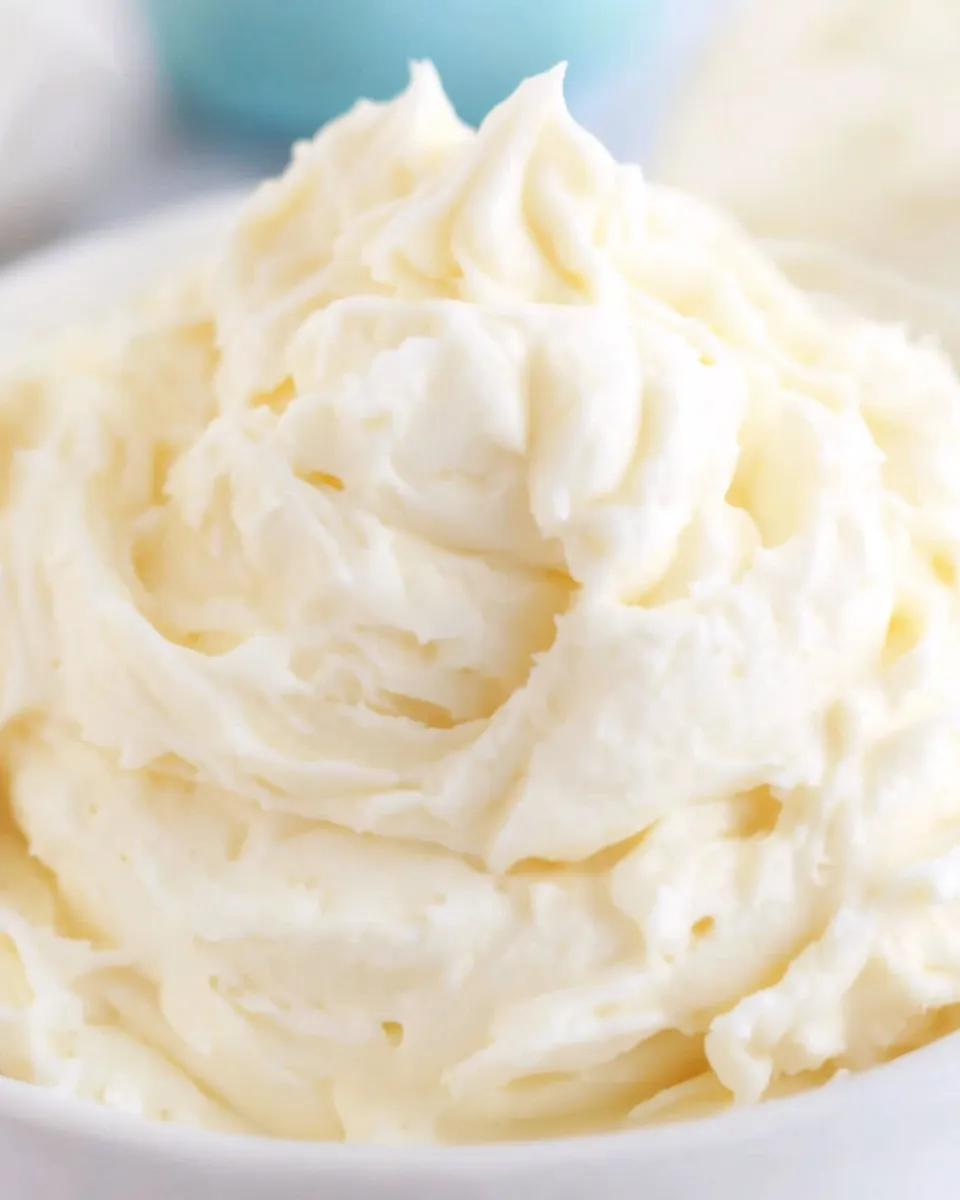
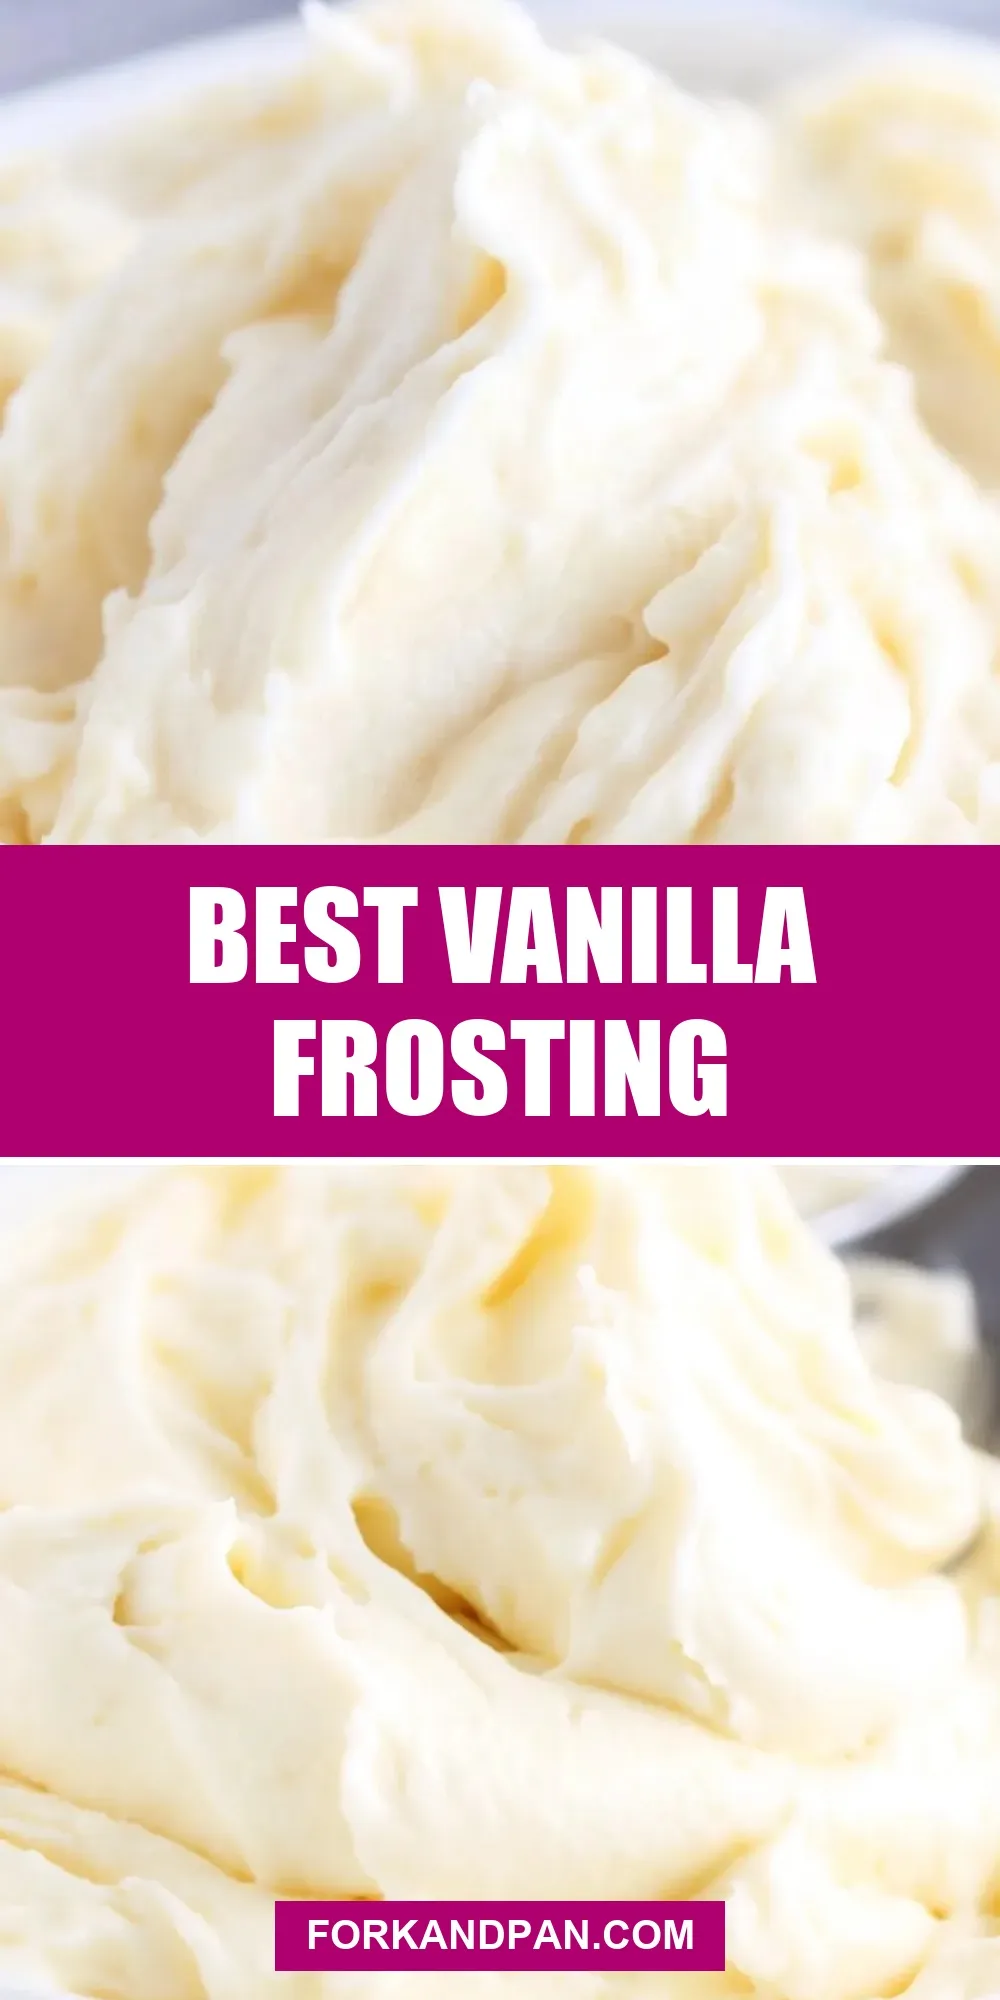
Best Vanilla Frosting
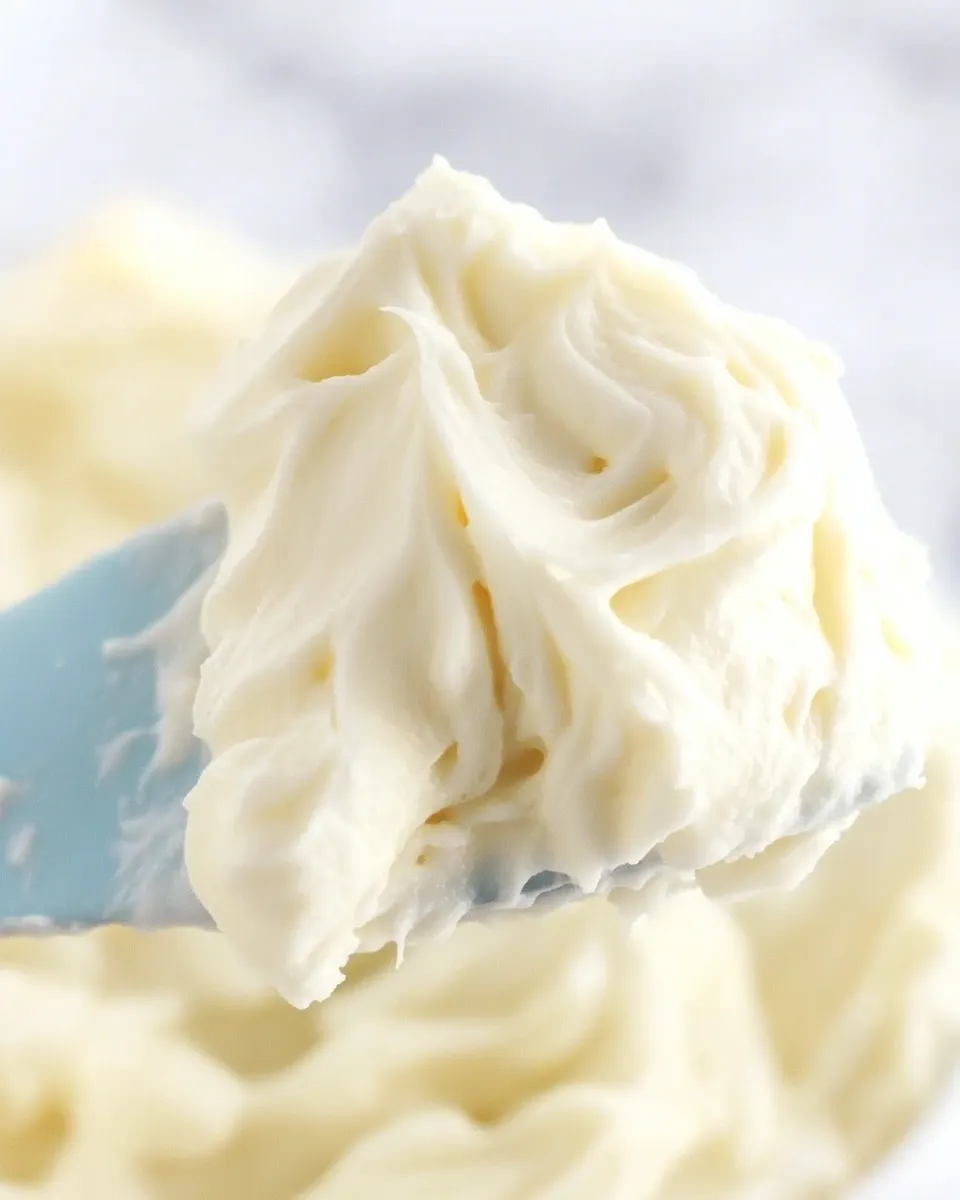
When you want a frosting that feels classic, reliable, and utterly spreadable, this vanilla frosting delivers every time. It’s the kind of recipe I reach for when cupcakes need a quick finish or when a layer cake wants simple, clean sweetness. No tricks. Just technique.
Give yourself a little time with the butter and a hand mixer, and the payoff is an airy, silky frosting that holds its shape but stays easy to spread. The ingredient list is short, the steps are straightforward, and you’ll get consistent results whether you’re a weekend baker or you make sweets for friends.
I’ll walk you through exactly what to expect, what to avoid, and how to keep this frosting tasting fresh. Practical tips, storage notes, and a few pro moves follow — so you can frost confidently and get straight to the part people actually care about: eating it.
What You’ll Need

Below are the core ingredients and a few notes on why each matters. Measure carefully, keep the butter soft, and sift the powdered sugar for a lump-free finish.
Ingredients
- ½ cup unsalted butter (soft) — Acts as the base and gives richness; start soft so it whips smooth.
- 1.75 – 2 cups powdered sugar (sifted) — Sweetens and helps structure the frosting; begin with 1.75 cups and add up to 2 if you need more sweetness or thickness.
- 1 teaspoon vanilla extract — Flavor anchor; pure vanilla gives the cleanest profile.
- 1 tablespoon heavy whipping cream — Adds silkiness and helps reach a spreadable consistency without thinning too much.
Vanilla Frosting: From Prep to Plate
- Place ½ cup soft unsalted butter in a mixing bowl.
- Beat the butter with a hand mixer on medium speed until smooth and pale, about 7 minutes, scraping the bowl and beaters as needed.
- With the mixer on low, add the sifted powdered sugar (1.75–2 cups) in ½-cup increments, mixing until each addition is fully incorporated and scraping the bowl between additions. After 1.75 cups, add up to the remaining ¼ cup only if needed for sweetness or thickness.
- Add 1 teaspoon vanilla extract and 1 tablespoon heavy whipping cream. Increase the mixer to medium-high and whip 1–2 minutes until the frosting is light, fluffy, and spreadable.
- Use the frosting immediately to spread on a cake or cupcakes, or store it in an airtight container in the refrigerator until ready to use.
Why This Recipe Works
This frosting relies on technique as much as ingredients. Beating the butter until pale and very smooth (about seven minutes) introduces tiny air pockets. Those pockets are what make the final frosting light, even when powdered sugar is dense. If you rush that step, the texture will be heavier and less spreadable.
Adding powdered sugar in increments matters. If you dump the sugar in all at once you’ll end up with cloud dust everywhere and a gritty mix that takes longer to incorporate. By adding in ½-cup portions and keeping the mixer low, you preserve the aeration you built into the butter while achieving a consistent texture.
The cream and vanilla are small in quantity, but their roles are outsized. The heavy cream loosens the mixture just enough to make it spreadable without making it runny. The vanilla elevates the whole thing, tempering the sweetness and giving the frosting a rounded flavor. Finally, whipping on medium-high for a short burst at the end brings it all together into a glossy, pipe-friendly finish.
Low-Carb/Keto Alternatives
If you’re looking to reduce carbs, powdered sugar is the main challenge since it’s the structural element. Commercial powdered sugar replacements that are powdered erythritol or monk fruit blends exist and can mimic the texture of confectioners’ sugar. When you swap in a powdered sweetener, do so incrementally and expect the texture to differ slightly — you may need a touch more or less cream to reach the same spreadability.
Keep these practical points in mind: sugar alternatives can cool or crystallize differently and may affect mouthfeel. Also, taste as you go. Sweeteners vary in perceived sweetness, and you’ll likely add them to taste rather than by strict weight conversions. If using a powdered substitute, treat the recipe the same way: add in stages, scrape the bowl, and finish with a quick whip to incorporate air.
Before You Start: Equipment
- Mixing bowl — a medium bowl is fine; stainless or glass works best.
- Hand mixer — the recipe calls for one; it gives control and the proper whipping action.
- Sifter or fine mesh sieve — for sifting powdered sugar to avoid lumps.
- Rubber spatula — for scraping the bowl clean between steps.
- Measuring cups and spoons — measure the butter and cream accurately for repeatable results.
Don’t Do This
- Don’t skip softening the butter. Cold butter won’t whip properly and will leave you with lumps.
- Don’t add all the powdered sugar at once. That creates mess and uneven texture.
- Don’t overdo the cream. A tablespoon is enough to loosen the frosting; too much will make it runny.
- Don’t forget to scrape the bowl. Undermixed pockets of sugar or butter will show up as grainy bits.
- Don’t pipe immediately from a refrigerated container without reconditioning. Chill firms it up; bring it back to room temperature and rewhip if needed.
Substitutions by Diet
Here are straightforward swaps that keep you close to the original texture and intent.
- Vegan: Use a solid vegan butter substitute that’s designed for baking and a stabilized plant-based cream. Expect a slightly different mouthfeel and color.
- Lactose-free: Lactose-free cream and butter can stand in; they behave similarly in recipes made for whipping and spreading.
- Gluten-free: This frosting is naturally gluten-free as long as your powdered sugar and vanilla are uncontaminated. No flour here.
- Keto/low-carb: Use a powdered sugar substitute specifically made for baking. Add it in steps, and adjust cream as needed to achieve spreadability.
Pro Perspective
Texture and Technique
Pro bakers focus on tiny adjustments. If the frosting feels dense, increase whipping time in short bursts until it lightens. If it’s too loose, add powdered sugar a tablespoon at a time rather than dumping more by the cup. Temperature matters: if your kitchen is very warm, chill the bowl for a few minutes and then continue whipping.
Finish and Presentation
For a silky finish on cakes, apply a thin crumb coat first, chill briefly until set, then add the final layer of frosting. Use a metal spatula warmed briefly under hot water and dried to smooth the surface for a clean look. For piping, use a slightly stiffer consistency — hold back on the final tablespoon of cream or add a touch more powdered sugar if needed.
Prep Ahead & Store
This frosting is forgiving for short-term storage. Keep it in an airtight container in the refrigerator until you need it, as the instructions suggest. Chilled frosting will firm up; bring it back to room temperature and give it a short rewhip with your hand mixer to restore fluffiness before using.
If you’re prepping for a party, you can make the frosting the day before and refrigerate. On the day, remove it 30–60 minutes before you plan to use it, then whip again briefly to refresh the texture. Always use clean utensils to avoid introducing moisture or crumbs into stored frosting.
Ask the Chef
Q: Can I make the frosting less sweet? A: Yes. Start at 1.75 cups powdered sugar and taste. If you’d like it less sweet, stop there. Keep in mind the sugar also contributes to structure; reducing it will make the frosting softer.
Q: Why did my frosting separate or look greasy? A: That usually means the butter got too warm or was overworked. Chill briefly, then rewhip at a lower speed. If separation persists, add a small amount of powdered sugar to help re-emulsify the mixture.
Q: Can I color this frosting? A: Yes. Use gel coloring in small amounts so you don’t change the frosting’s consistency. Add color slowly and mix until uniform.
Next Steps
Use this frosting to finish cupcakes, assemble layer cakes, or make simple piped decorations. If you want to experiment, try adding small amounts of other extracts (a little almond or citrus) in place of part of the vanilla — but add them sparingly and taste as you go.
When you get comfortable with the rhythm of whipping butter, adding sugar in stages, and finishing with cream and vanilla, this becomes your go-to base. It’s dependable, adaptable, and quick to make. Keep the tools handy, follow the steps, and frost with confidence.

Best Vanilla Frosting
Ingredients
Ingredients
- 1/2 cupunsalted buttersoft
- 1.75 - 2 cupspowdered sugarsifted
- 1 teaspoonvanilla extract
- 1 tablespoonheavy whipping cream
Instructions
Instructions
- Place ½ cup soft unsalted butter in a mixing bowl.
- Beat the butter with a hand mixer on medium speed until smooth and pale, about 7 minutes, scraping the bowl and beaters as needed.
- With the mixer on low, add the sifted powdered sugar (1.75–2 cups) in ½-cup increments, mixing until each addition is fully incorporated and scraping the bowl between additions. After 1.75 cups, add up to the remaining ¼ cup only if needed for sweetness or thickness.
- Add 1 teaspoon vanilla extract and 1 tablespoon heavy whipping cream. Increase the mixer to medium-high and whip 1–2 minutes until the frosting is light, fluffy, and spreadable.
- Use the frosting immediately to spread on a cake or cupcakes, or store it in an airtight container in the refrigerator until ready to use.
Equipment
- Mixing Bowl
- Hand Mixer
- Airtight container
Notes
The butter has to be really soft for best results.