Banana Blondies
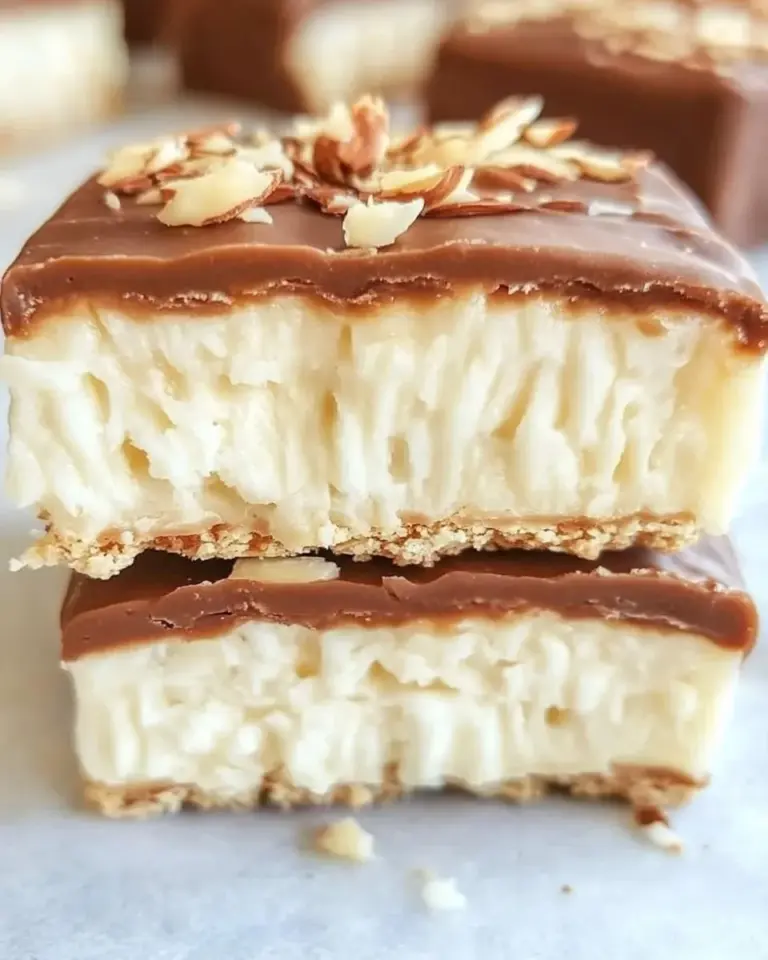
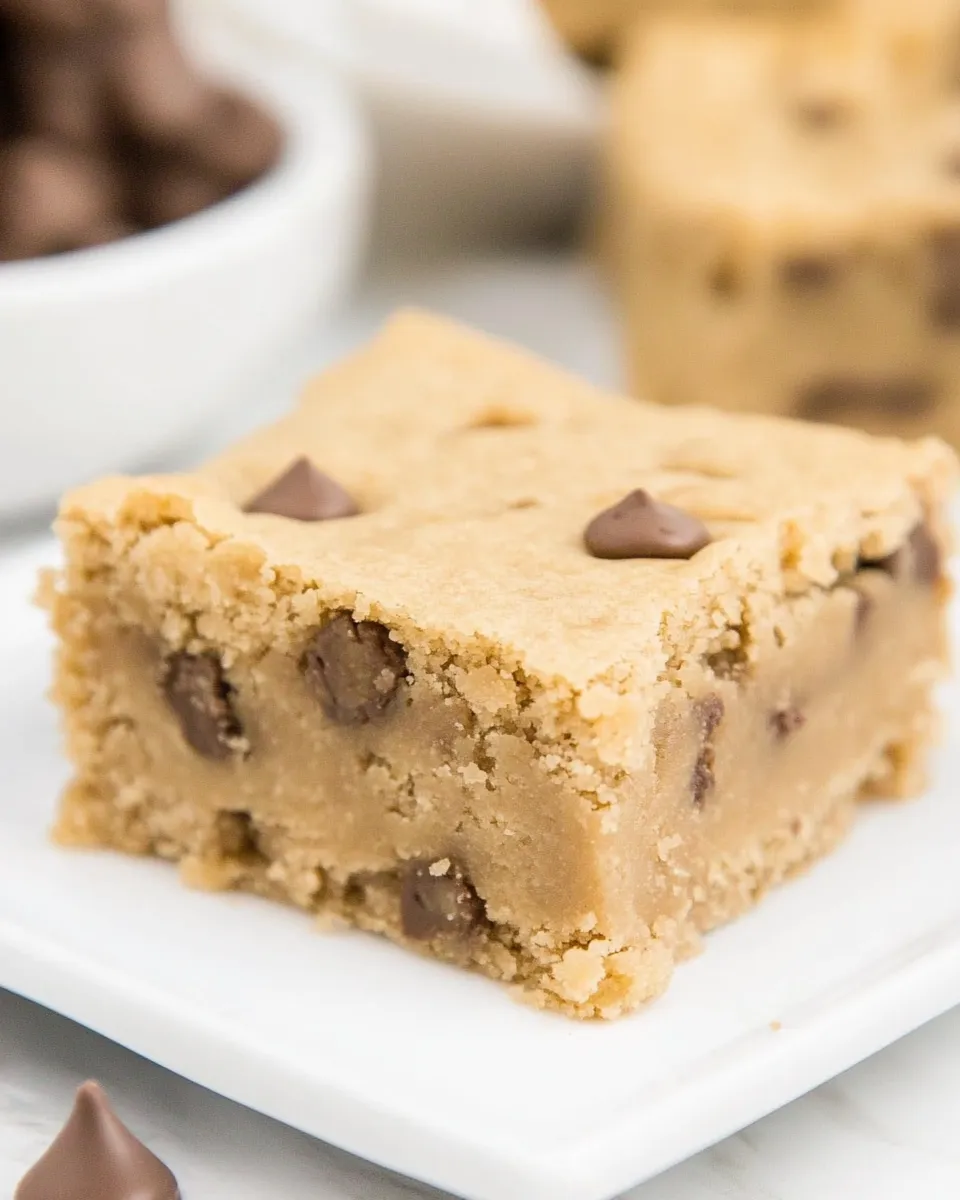
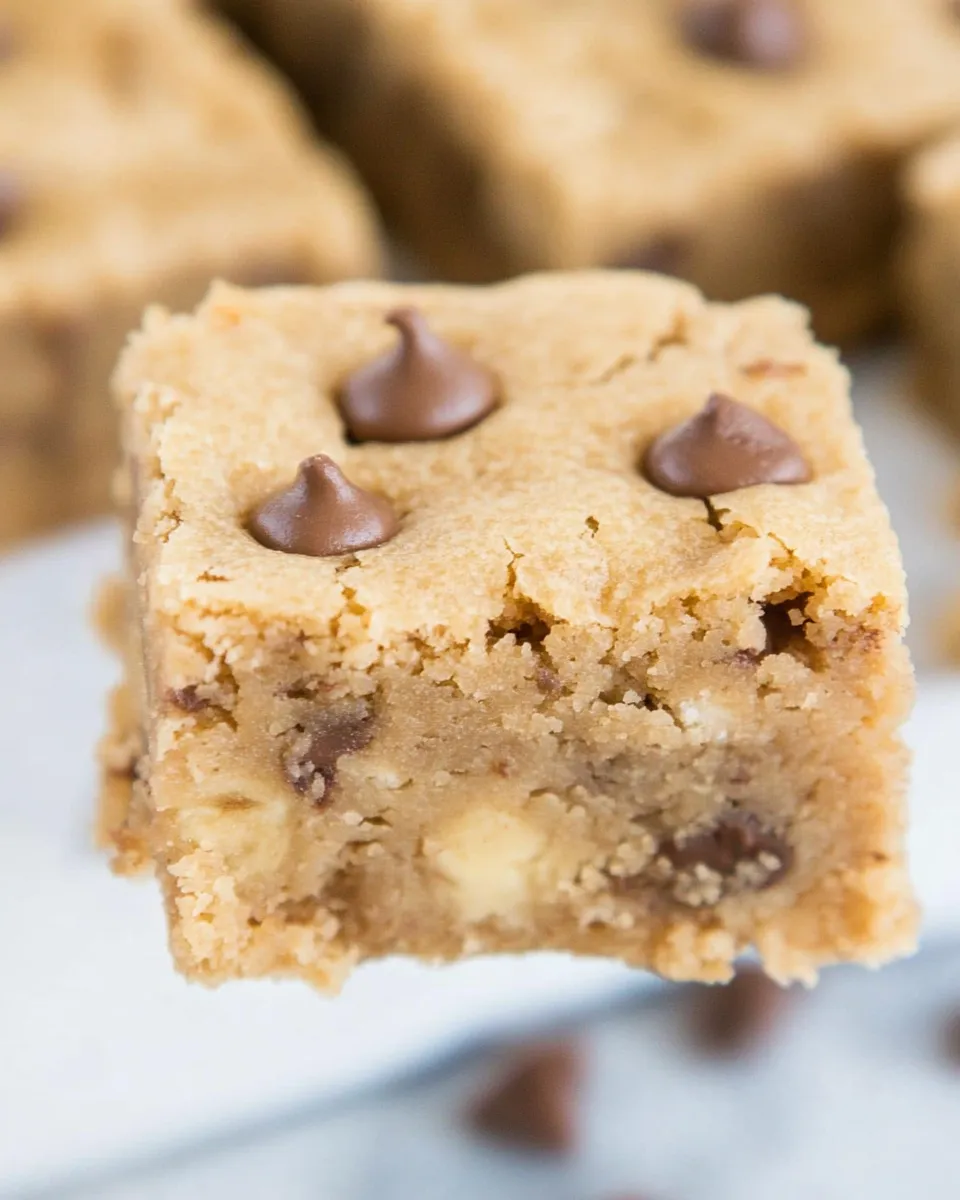
These banana blondies are the kind of recipe I reach for when the kitchen needs a quick, forgiving treat that still feels thoughtful. They come together with pantry-friendly ingredients and zero fuss — no mixer, no eggs, just ripe bananas and a few staples. The texture is dense and chewy, leaning on banana and almond butter for richness, with coconut flour doing the heavy lifting for structure.
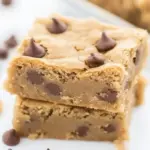
I test recipes in a small, well-used kitchen and I like results that survive real life: hurried mornings, snackboxes, and the occasional school lunch raid. These blondies are chill-friendly (they firm up in the fridge), so you get clean slices without melting into a mess. If you want to toss in chocolate chips, go ahead — they add pockets of sweetness but aren’t required.
Below I give a clear ingredient list, step-by-step instructions exactly as written, troubleshooting tips, swaps, and storage notes so you can make these confidently. No fluff, just a warm, practical guide for getting these from prep to plate.
Ingredient Breakdown

Ingredients
- 1 cup coconut flour (sifted) — very absorbent; provides structure and makes the bars dense without wheat.
- 4 medium bananas (about 1 cup mashed) — primary sweetener and moisture; use very ripe bananas for best flavor.
- 1/2 cup almond butter — fat and richness; helps bind and keep the blondies tender.
- 1/2 cup maple syrup — liquid sweetener; balances the banana and adds moisture.
- 1/4 cup chocolate chips (optional) — adds melty chocolate pockets; omit for a purer banana flavor or if avoiding chocolate.
Banana Blondies: From Prep to Plate
- Line an 8 x 8-inch pan with parchment paper, leaving an overhang on two sides to lift the blondies out later.
- Peel and place the 4 medium bananas (about 1 cup mashed) in a mixing bowl. Mash with a fork or potato masher until mostly smooth.
- Add the 1 cup sifted coconut flour to the mashed bananas. Stir with a spatula or spoon until the flour is fully incorporated and the mixture begins to thicken. Let sit 2–5 minutes so the coconut flour absorbs moisture.
- Add the 1/2 cup almond butter and 1/2 cup maple syrup to the bowl. Mix thoroughly until you have a thick, cohesive batter. Scrape the sides and bottom of the bowl as needed.
- Fold in the 1/4 cup chocolate chips, if using, until evenly distributed.
- Transfer the batter to the lined pan. Use a spatula or the back of a spoon to spread and press the batter into an even layer, smoothing the top.
- Refrigerate the pan for 10–20 minutes, until the batter firms up and holds its shape. (Alternatively, freeze briefly to speed this step.)
- Lift the parchment out of the pan using the overhang, place on a cutting board, and cut into bars. Store in the refrigerator.
Why This Recipe Works
There are a few straightforward reasons these blondies come out reliably. Coconut flour soaks up moisture faster than most flours, which creates a dense, sliceable texture without eggs or gluten. Bananas supply both sweetness and liquid, and almond butter adds fat and helps bind the batter. The short chill step is key: because the batter is dense and slightly soft, refrigeration firms it so you can get clean cuts.
The formula is simple and balanced. You don’t need disruptive techniques or special equipment. Everything is mixed in a bowl and allowed to rest, which minimizes overworking and keeps the final texture tender rather than crumbly or dry.
Ingredient Swaps & Substitutions
- Coconut flour — swap with another high-absorbency flour at your own risk; coconut flour is uniquely thirsty. If you replace it, reduce the amount significantly and expect textural differences.
- Bananas — use ripe bananas only. If yours aren’t sweet enough, increase maple syrup by a tablespoon or two, but start small.
- Almond butter — can be swapped for another nut butter (peanut, cashew) for a different flavor. For a nut-free option, use a seed butter like sunflower seed butter but note the flavor shift.
- Maple syrup — honey can replace maple syrup in equal amounts if you’re not strictly vegan; flavor will change slightly.
- Chocolate chips — omit entirely or replace with chopped nuts, dried fruit, or seeds if you want texture without chocolate.
Equipment & Tools
- 8 x 8-inch pan — necessary for the dimensions and baking/setting behavior described.
- Parchment paper — makes lifting the blondies out effortless and prevents sticking.
- Mixing bowl and spatula or spoon — a fork or potato masher for mashing bananas works fine; no mixer required.
- Refrigerator or freezer — chilling is part of the set-up; freezer speeds the process if you’re short on time.
- Cutting board and sharp knife — for clean slices after chilling.
Troubles You Can Avoid
Too wet or gummy
If the batter feels too loose, let it sit after adding the coconut flour for the full 2–5 minutes to let the flour absorb moisture. Coconut flour needs that time. If you still have a very wet batter (rare with these proportions), chill it in the pan longer or briefly freeze it until it firms.
Dry, crumbly bars
Over-adding coconut flour or using underripe bananas can cause dryness. Measure the flour properly (sifted is specified) and use ripe bananas for natural moisture and sweetness. If the bars are on the dry side after chilling, drizzle a little extra maple syrup on top before slicing or serve with yogurt.
Uneven texture
Scrape the sides and bottom of the bowl while mixing so almond butter and maple syrup incorporate fully. Fold chocolate chips in gently at the end so they distribute evenly without overworking the batter.
Tailor It to Your Diet
This recipe already leans vegan and gluten-free thanks to its ingredient list. To make it nut-free, replace almond butter with a seed butter like sunflower seed butter; flavor will change but the structure should hold. For lower-sugar options, reduce the maple syrup slightly and rely more on very ripe bananas, though texture may be firmer.
If you need allergy-safe chocolate, use certified allergy-free chips or omit them entirely. The bars are naturally egg-free, which makes them suitable for many who avoid eggs.
Cook’s Commentary
I appreciate this recipe for how forgiving it is. It’s a quick, one-bowl process where the quality of the final blondies depends more on ingredient ripeness and patience (the short chill) than on precise technique. Ripe bananas are non-negotiable; they provide the sweetness and moisture that coconut flour otherwise fights to absorb.
When I test variations, I keep the ratio of banana to coconut flour consistent and play with add-ins: a pinch of cinnamon, a handful of chopped walnuts, or a drizzle of melted chocolate on top after slicing. The fridge-chill step is my favorite cheat — it turns a soft, shapeless batter into neat bars that travel well.
Save It for Later
Store the blondies in the refrigerator (as the recipe notes) in an airtight container. They keep well for several days; the chill preserves structure and flavor. If you want to freeze them, cut into bars, wrap individual pieces in parchment or plastic, then place in a freezer-safe bag or container. Thaw in the refrigerator before serving.
For best texture, slice them after chilling and serve cold or at cool room temperature. If you prefer them a little softer, let them sit at room temperature for 10–15 minutes before eating.
Frequently Asked Questions
- Can I bake these? These instructions are for no-bake setting in the refrigerator. Baking would change texture and moisture; follow the given recipe if you want the dense, chewy bars described.
- Can I make them ahead? Yes. Make them, chill, slice, and keep refrigerated for several days. They also freeze well wrapped individually.
- How ripe should the bananas be? Very ripe, with brown speckles. The sweeter and softer the bananas, the better the flavor and texture.
- Do I have to use sifted coconut flour? Sifted coconut flour is specified because it’s lighter and mixes more smoothly. If yours isn’t sifted, aerate it before measuring to avoid clumps and over-density.
- Can I omit almond butter? Almond butter contributes fat and helps bind the batter. Replacing it with an equal amount of another nut butter is fine; removing it entirely will affect texture and cohesion.
Wrap-Up
These Banana Blondies are a simple, reliable pick for when you want a snack that feels homemade without a lot of fuss. They’re dense, banana-forward, and chill-set for neat slices. Use ripe bananas, measure the coconut flour carefully, and don’t skip the short refrigeration step. Little adjustments — different nut butters, add-ins, or a drizzle of chocolate — let you make the recipe your own without losing what makes it work.
Make them when bananas get too ripe for cereal, pack a few in a lunchbox, or keep a tray in the fridge for a quick, satisfying bite. They’re practical, forgiving, and exactly the kind of recipe I return to again and again.
Banana Blondies
Ingredients
Ingredients
- 1 cupcoconut floursifted
- 4 mediumbananasabout 1 cup
- 1/2 cupalmond butter
- 1/2 cupmaple syrup
- 1/4 cupchocolate chipsoptional
Instructions
Instructions
- Line an 8 x 8-inch pan with parchment paper, leaving an overhang on two sides to lift the blondies out later.
- Peel and place the 4 medium bananas (about 1 cup mashed) in a mixing bowl. Mash with a fork or potato masher until mostly smooth.
- Add the 1 cup sifted coconut flour to the mashed bananas. Stir with a spatula or spoon until the flour is fully incorporated and the mixture begins to thicken. Let sit 2–5 minutes so the coconut flour absorbs moisture.
- Add the 1/2 cup almond butter and 1/2 cup maple syrup to the bowl. Mix thoroughly until you have a thick, cohesive batter. Scrape the sides and bottom of the bowl as needed.
- Fold in the 1/4 cup chocolate chips, if using, until evenly distributed.
- Transfer the batter to the lined pan. Use a spatula or the back of a spoon to spread and press the batter into an even layer, smoothing the top.
- Refrigerate the pan for 10–20 minutes, until the batter firms up and holds its shape. (Alternatively, freeze briefly to speed this step.)
- Lift the parchment out of the pan using the overhang, place on a cutting board, and cut into bars. Store in the refrigerator.
Equipment
- 8 x 8-inch pan
- Parchment Paper
- Mixing Bowl
- Fork or potato masher
- Spatula
- Cutting Board
Notes
TO STORE
: Place the blondies in an airtight container in the refrigerator for up to 2 weeks.
TO FREEZE
: For longer storage, freeze the blondies in an airtight container for up to 3 months.