Crispy Taco Salad Shells
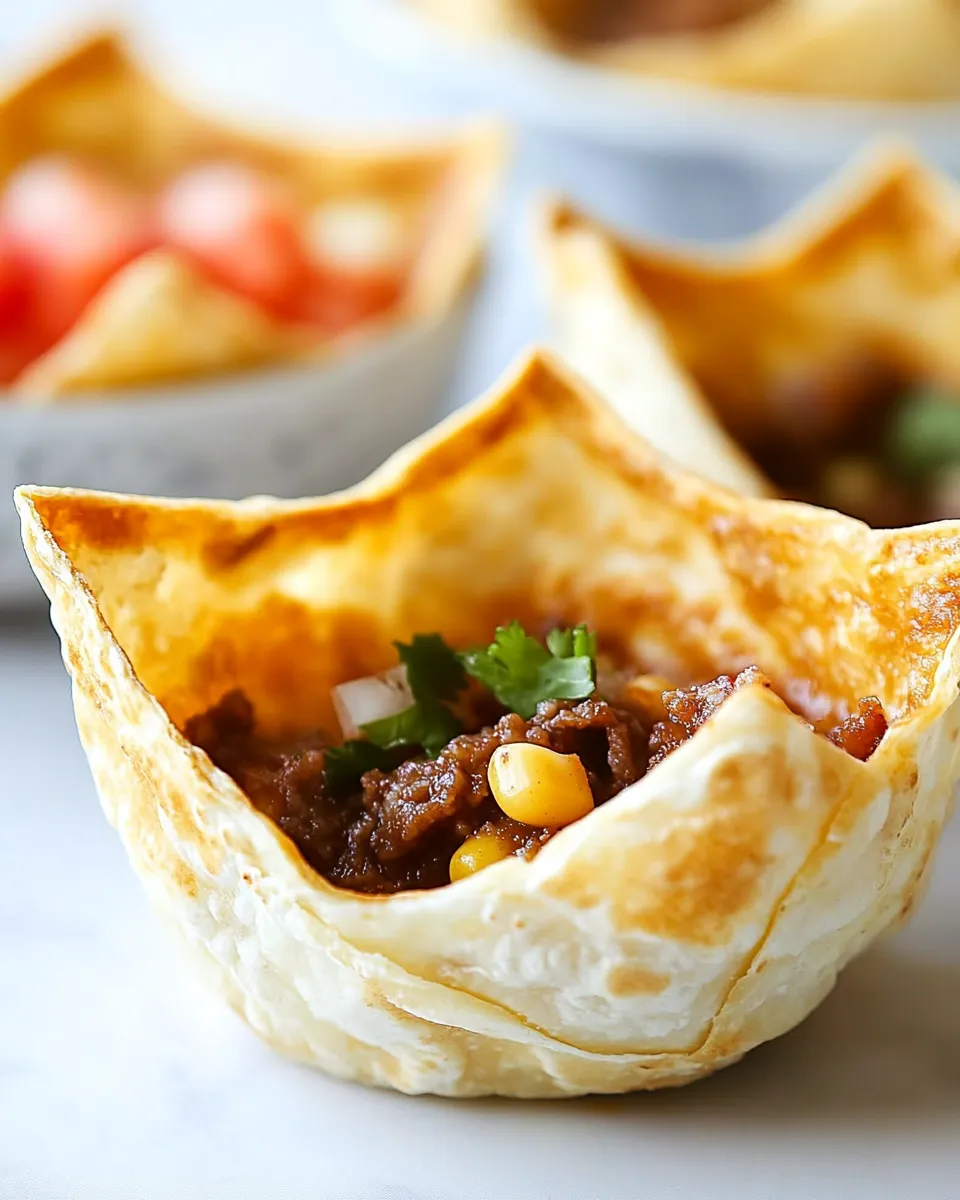
There’s something irresistibly joyful about a crunchy, golden shell cradling a bright, vibrant salad. These Crispy Taco Salad Shells take four large flour tortillas and transform them into sturdy, edible bowls—perfect for holding greens, beans, rice, grilled vegetables, and your favorite chilled toppings. They’re simple, quick, and use pantry-friendly ingredients: 4 large (10-inch) flour tortillas, 2 tablespoons extra light olive oil (or canola oil or any high-heat cooking oil), plus more oil as needed, and a pinch of kosher salt for finishing. The technique is straightforward and forgiving, which means you’ll have a beautiful shell even if this is your first time shaping tortillas into bowls.
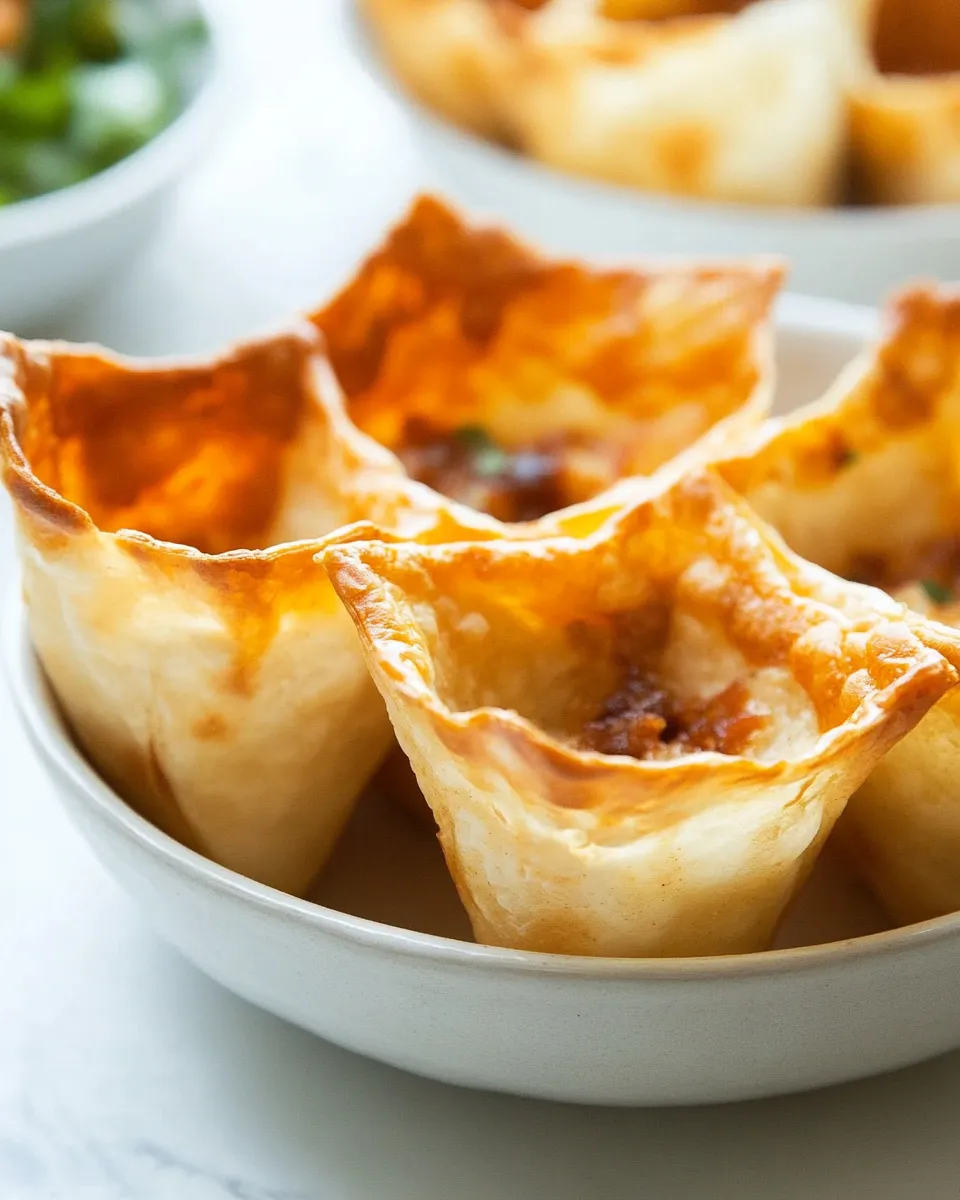
This recipe is written with a focus on clear, step-by-step instructions so you can nail the texture every time: crisp on the outside with gentle flexibility that keeps the shell from cracking when you fill it. The flavor is neutral enough to support bright salsa, creamy dressings, and bold proteins without stealing the show. Below you’ll find a brief overview, variations and serving suggestions, and the full, precise method rewritten for clarity and ease.
Why this method works

The secret to reliably crisp taco salad shells is a balance between oil and heat. Brushing or lightly coating each tortilla with a thin layer of a high-heat oil helps the surface brown evenly and become crisp without burning. Shaping the warmed tortilla over a mold (or inverted pan) lets the shell set quickly while keeping a deep bowl shape. A finish of kosher salt adds a whisper of seasoning to the finished surface.
Ingredients
- 4 large flour tortillas (10-inch diameter)
- 2 tablespoons extra light olive oil, canola oil, or any high-heat cooking oil, plus more as needed
- Kosher salt, optional for sprinkling
Time
- Prep: 5 minutes
- Cook: 10–15 minutes
- Total: 15–20 minutes
Equipment
- Baking sheet or large oven-safe tray
- Wire rack or an inverted oven-safe bowl/ramekin to shape the tortillas (a small mixing bowl or an inverted heatproof pan works)
- Pastry brush or paper towel for oiling
- Tongs or spatula
Make-ahead and storage
These shells are best enjoyed the day you make them to preserve crispness. If you must store them, cool completely, then wrap each in a paper towel and place in an airtight container at room temperature for up to a day. Re-crisp in a 350°F (175°C) oven for 3–5 minutes, watching carefully so they don’t brown too much.
Serving suggestions
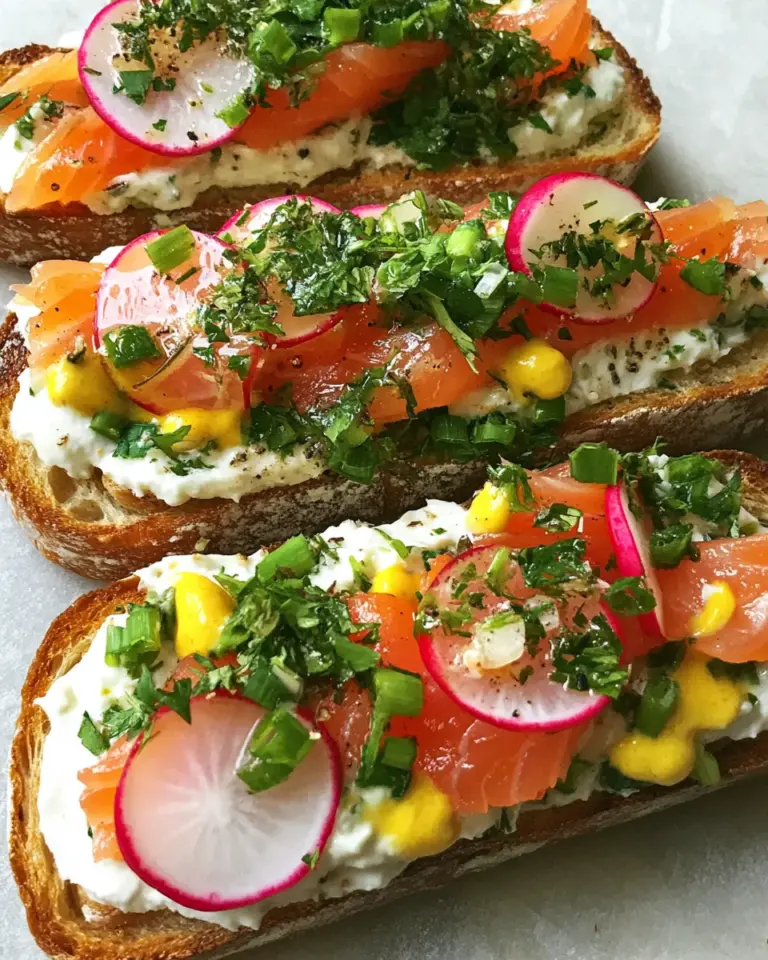
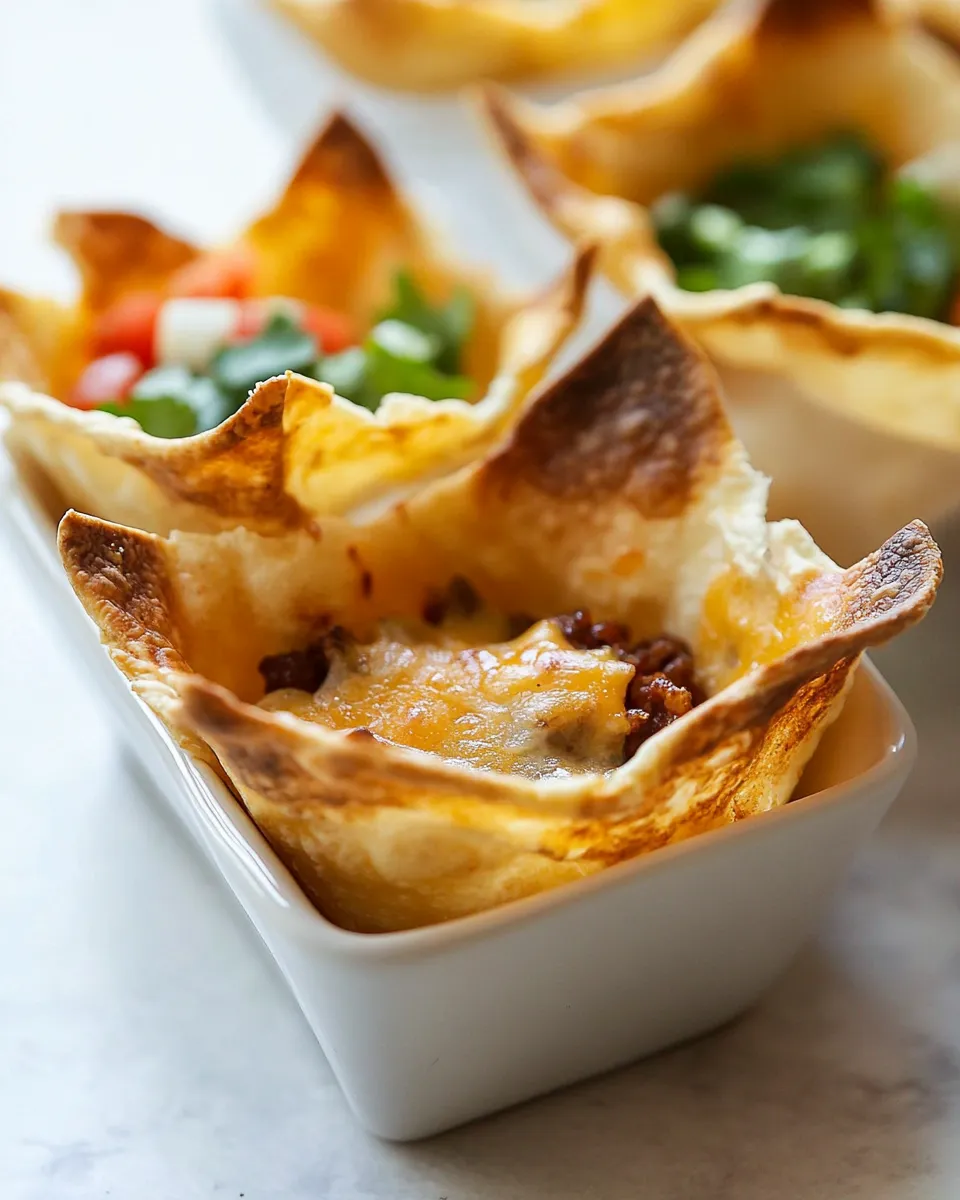
Fill your warm bowl with romaine or mixed greens, black beans or spiced ground protein, pico de gallo, avocado slices, shredded cheese, lime crema, and a drizzle of dressing. The neutral flavor of the flour tortilla pairs well with smoky, spicy, or citrus-forward toppings. For a lighter build, try grilled vegetables and a lemony yogurt dressing; for something heartier, use rice, beans, and a dollop of guacamole.
Step-by-step instructions
Follow these rewritten directions to achieve consistently crisp and attractive taco salad shells. The ordering follows the ingredient list and original approach but is clarified so each step is actionable and safe.
- Preheat and prepare your shaping surface. Position an oven rack in the center of the oven and preheat to 375°F (190°C). If you will shape tortillas over an inverted bowl or pan, place that upside down on a baking sheet so the tortilla sits securely during baking.
- Brush each tortilla with oil. Pour 2 tablespoons of your chosen oil into a small bowl. Using a pastry brush or a folded paper towel, lightly coat one side of each 10-inch flour tortilla with oil. You want a thin, even layer — just enough to promote browning and crisping. Reserve a little extra oil in case one tortilla looks dry; add only as needed.
- Warm the tortilla briefly (optional but helpful). For a more flexible tortilla that holds shape easily, briefly warm each oiled tortilla in a dry skillet over medium heat for 8–10 seconds per side, or microwave one at a time for about 10 seconds. This step is optional but makes shaping easier and reduces cracking.
- Shape on the prepared surface. Working one tortilla at a time, center an oiled tortilla over the inverted bowl, ramekin, or pan on the baking sheet. Gently form the tortilla into a bowl shape, pressing it down slightly so it conforms to the mold. If the tortilla resists shaping or develops a small tear, warm it a few extra seconds and try again.
- Repeat and arrange. Repeat the oiling, warming (if using), and shaping process for the remaining tortillas. Arrange the shaped tortillas on the baking sheet so they have at least a little space between them for even air circulation.
- Bake until golden and crisp. Place the baking sheet in the preheated oven. Bake the tortillas for 10–12 minutes, checking at 8 minutes. You want an even golden color and a crisp texture; thinner tortillas may crisp sooner. If you prefer a deeper color and extra crunch, allow an additional 1–2 minutes, watching to prevent burning.
- Cool and season. Remove the baking sheet from the oven and let the shells cool on the molds for about 1–2 minutes so they hold shape. Carefully lift each shell from the mold using tongs or your fingers. Transfer shells to a wire rack or plate to finish cooling. While still warm, sprinkle a light pinch of kosher salt over each shell if desired.
- Fill and serve immediately. For best texture, fill the shells just before serving. Add greens and your choice of toppings, then present immediately so the shells remain crisp as you enjoy them.
Troubleshooting tips
- If a shell cracks while shaping, warm the tortilla a few more seconds and try again. Gentle, even pressure helps prevent tears.
- If shells brown unevenly, rotate the baking sheet halfway through baking and ensure your oven rack is in the center for even heat.
- For extra-crisp results, use a little more oil (a light additional brush) and bake for a minute or two longer, watching closely so they don’t burn.
- If you need a sturdier bowl for heavy fillings, consider using two tortillas—shape one inside another with oil between them—then bake until both are crisp and bonded.
Flavor variations
These shells are a blank canvas for flavor. Try these small adjustments to complement different fillings:
- Garlic-lime: Stir a teaspoon of garlic powder and a teaspoon of lime zest into the oil before brushing the tortillas.
- Smoky chili: Mix a pinch of smoked paprika or chili powder into the oil to add a subtle smoky note.
- Herb-infused: Finely chop fresh cilantro or parsley and press lightly into the oiled surface before baking for a fresh, herbaceous crust.
- Whole-wheat or flavored tortillas: Substitute a whole-wheat or lightly flavored flour tortilla if you prefer a nuttier taste; baking times may be slightly different, so watch closely.
Pairing suggestions
Build a complete meal by pairing your Crispy Taco Salad Shells with complementary sides and dressings:
- Fresh salsa or pico de gallo for brightness
- Black beans, grilled chicken, or spiced lentils for protein
- Shredded cabbage or crunchy romaine for texture
- Avocado slices, pickled onions, and a squeeze of lime
- A creamy dressing like yogurt-lime or a cilantro crema
Notes on ingredients
This recipe uses simple, pantry-friendly items. Use a neutral oil with a high smoke point—extra light olive oil, canola oil, or another high-heat cooking oil—so the tortillas brown nicely without developing off flavors. Kosher salt is suggested for a clean seasoning finish; use it sparingly if you plan to serve salty fillings.
Final thoughts
These Crispy Taco Salad Shells are an easy way to elevate an everyday salad into something festive and satisfying. With just four large flour tortillas and a little oil, you can create edible bowls that are attractive, practical, and versatile. Once you’ve mastered the simple steps—brushing with oil, gently warming, shaping, and baking—you can adapt the shells to any meal: weeknight dinners, weekend gatherings, and everything in between. Fill them with your favorite combination of textures and flavors, serve immediately, and enjoy the crunch.

Crispy Taco Salad Shells
Ingredients
- 4 large flour tortillas (10-inch diameter)
- 2 Tbsp extra-light olive oil, canola oil, or other high-heat oil plus more as needed for frying
- kosher salt optional for sprinkling
Instructions
- Preheat the oven to 350°F (175°C) and arrange oven-safe bowls on a baking sheet to use as molds; have a ladle or small bowl ready to press tortillas into the molds.
- Heat 2 tablespoons of the oil in a large skillet over medium heat until shimmering (about 350°F if using a thermometer).
- Carefully add one tortilla to the hot oil and fry 30–45 seconds on the first side until golden-brown in spots, then flip and fry 30–45 seconds on the second side; the tortilla should puff and develop deep golden spots.
- Using tongs, immediately transfer the tortilla to an oven-safe bowl and press it into shape with a ladle or smaller bowl so it fits the mold; sprinkle with kosher salt if desired.
- Repeat frying and shaping with the remaining tortillas, adding more oil to the skillet as needed between batches.
- Place the shaped tortilla bowls (on the baking sheet) into the preheated oven and bake 12–14 minutes, or until they are crisp and golden brown.
- Remove the shells from the oven, let them cool briefly, then lift them off the molds and cool completely on a wire rack before serving.
Equipment
- Large Skillet
- Tongs
- oven-safe bowls (for molds)
- Baking Sheet
- ladle or smaller bowl (for shaping)
- Wire Rack
Notes
- Use a thermometer to check oil if precise frying temperature is desired.
- Work quickly when shaping so the tortilla remains pliable.
- Add more oil between tortillas as needed to maintain frying temperature.