How to Carve a Chicken
Carving a roasted chicken is one of those kitchen skills that feels fancy but is actually simple once you know the steps. With a sharp knife, a steady hand, and a few clear techniques, you can transform a whole roasted bird into beautiful slices for weeknight dinners, elegant family meals, or sandwich fillings. This guide breaks everything down into bite-sized steps, from the tools you’ll need to plate-ready presentation. By the time you finish reading, you’ll be carving like a pro.
What you’ll need

- 1 roasted chicken (about 3–4 pounds)
- 1 sharp carving knife or chef’s knife
- 1 carving fork or sturdy tongs
- 1 cutting board large enough to hold the chicken
- 1 small bowl for pan juices (optional)
- Kitchen towel or paper towels
- Optional: kitchen shears
Why this method works
This approach keeps flavors and juices locked in until the last moment, and it yields neat, uniform pieces ideal for serving or storing. It follows the natural seams of the bird, so you’re not hacking through bones—just freeing the meat along the joints. The result is crisp skin on the pieces that should have it, and tender, juicy breast and thigh meat.
Prep and safety tips
- Let the chicken rest for at least 10–15 minutes after roasting. Resting allows the juices to redistribute so the meat stays moist when sliced.
- Use a large, sturdy cutting board. Place a damp towel under the board to prevent slipping if needed.
- Keep your knife sharp. A dull knife requires more force and increases the chance of slips.
- Work with a clean surface and wash hands and tools after handling raw poultry. Since the chicken is already cooked, this is mainly about avoiding cross-contamination from other surfaces or raw ingredients.
Step-by-step: How to Carve a Chicken
The following steps are rewritten into clear, step-by-step directions based on the ingredients and original sequence. They preserve the same amounts and order while clarifying actions for safer, more predictable results.
- Position the chicken. Place the roasted chicken breast-side up on the cutting board. Make sure the legs point toward you and the cavity faces away. If the bird is very hot, let it rest a few extra minutes until it’s cool enough to handle comfortably.
- Remove any twine. If the bird was trussed with twine, snip and remove it now so the legs and wings can move freely.
- Separate the leg and thigh. Hold the drumstick with your carving fork or tongs and gently pull it away from the body. Slice through the skin between the leg and the body to expose the joint. Bend the leg outward to reveal the hip joint, then slice through the joint to remove the entire leg quarter (drumstick and thigh) from the carcass. Repeat on the other side.
- Divide the leg quarter. Set a leg quarter skin-side up on the cutting board. Locate the joint between the thigh and drumstick by feeling where the bones meet. Slice through the joint to separate the drumstick from the thigh. Repeat with the other leg quarter.
- Remove the wings. Pull each wing away from the body and slice through the joint where the wing connects to the breast. You can leave the wing tips on or remove them, depending on preference.
- Expose the breastbone. With the chicken breast-side up, make a long, shallow cut along one side of the breastbone, starting at the cavity and following the contour of the rib cage. Use the tip of your knife to guide the meat away from the breastbone as you cut. Repeat on the other side of the breastbone to loosen both breast halves.
- Remove the breast halves. Once loosened, lift each breast half away from the carcass and slice downward through any remaining connective tissue to free it completely. Place each breast half on the cutting board, skin-side up.
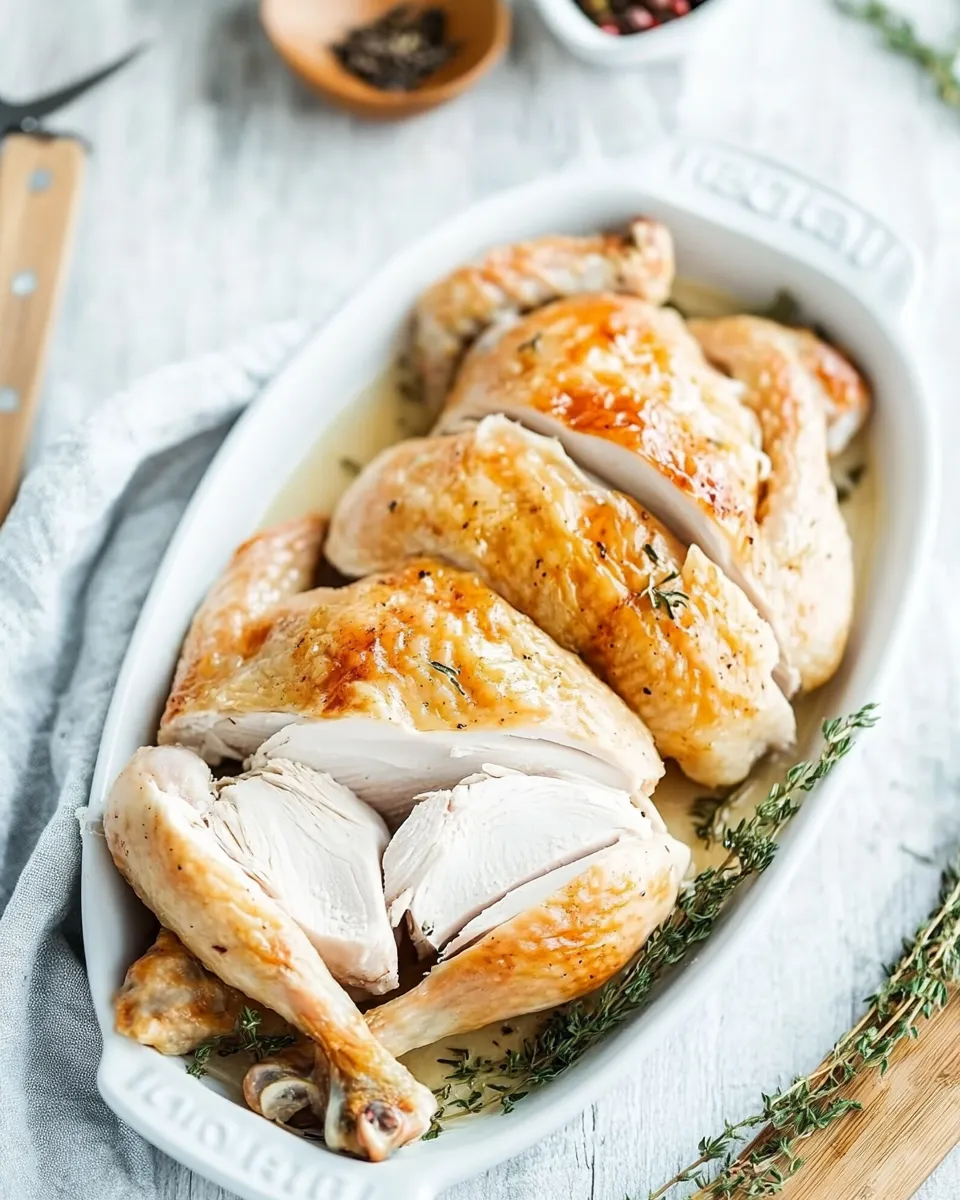
- Slice the breast meat. For serving, slice each breast half crosswise into even slices about 1/4–1/2 inch thick, cutting against the grain for the most tender bites. Arrange the slices on a platter.
- Carve or shred the thigh meat. If you prefer sliced pieces, remove the bone from each thigh by cutting along both sides of the bone and pulling it free, then slice the meat. For shredded chicken, use two forks to pull the thigh meat apart into bite-sized pieces.
- Collect the pan juices. If there are flavorful pan juices, pour them into the small bowl and spoon a bit over the carved pieces to keep them moist and enhance flavor.
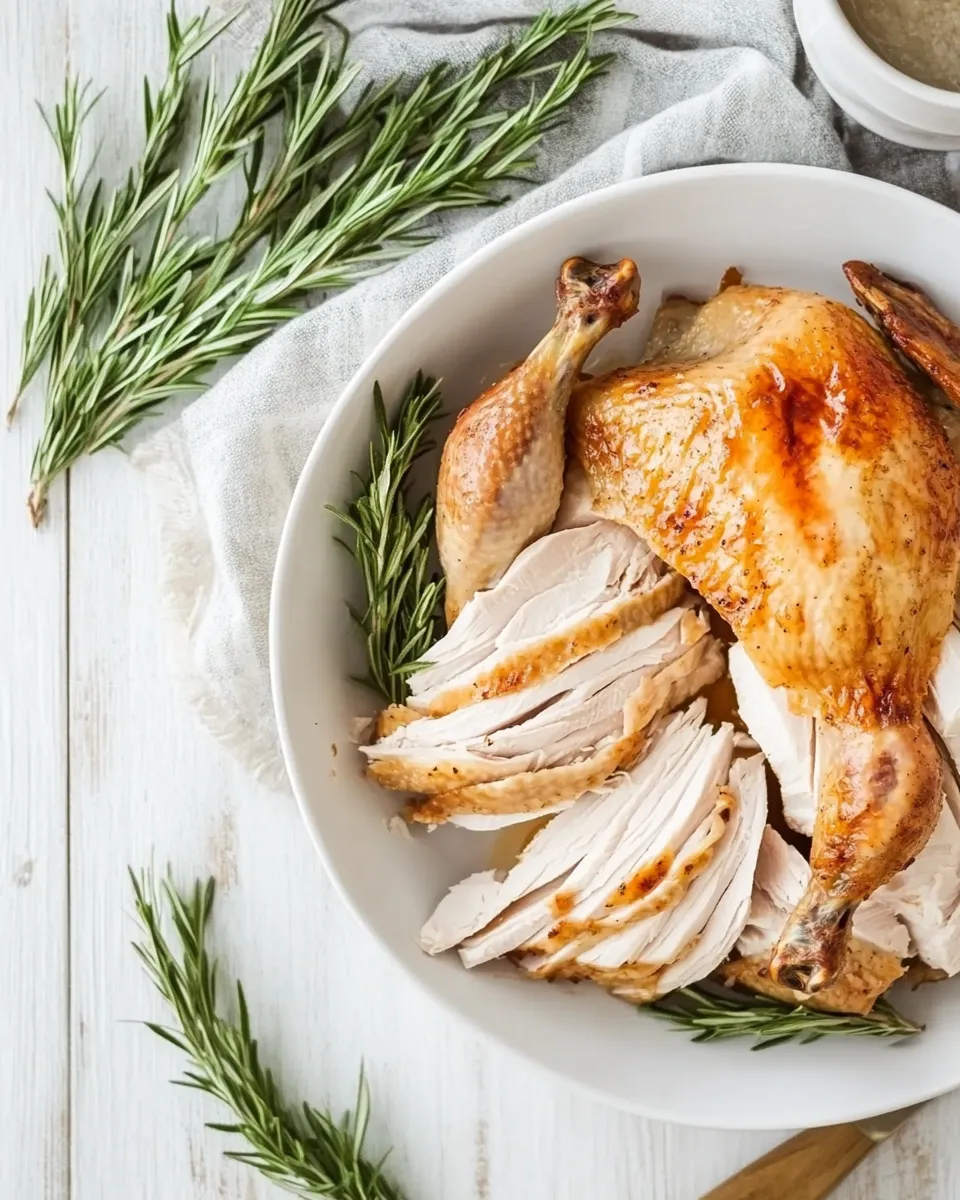
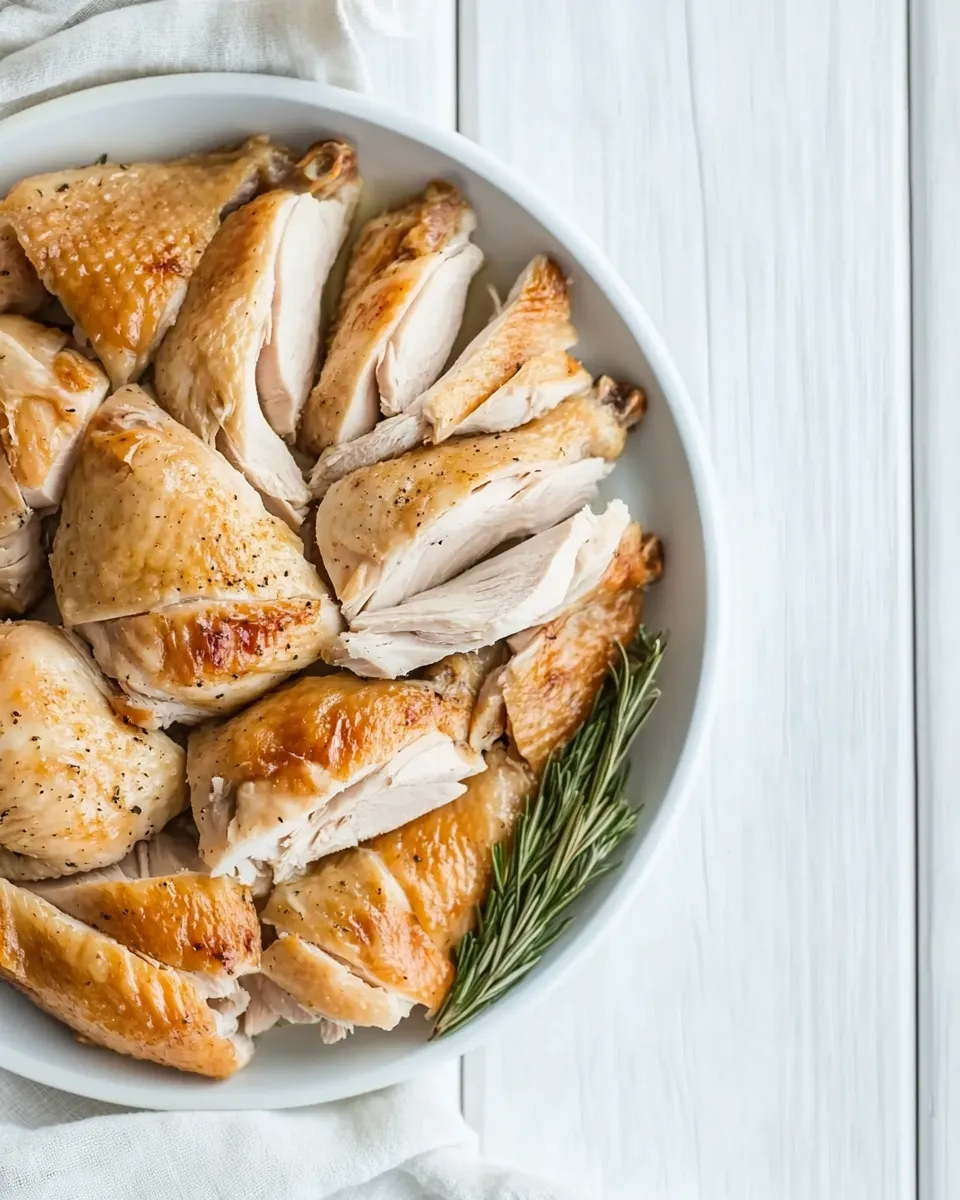
- Plate and serve. Arrange sliced breast meat, thigh slices or shredded pieces, drumsticks, and wings on a serving platter. Garnish with fresh herbs or lemon wedges if desired.
Serving suggestions
Carved chicken is incredibly versatile. Here are a few ways to enjoy it:
- Serve the slices with roasted vegetables and potatoes for a comforting dinner.
- Make quick sandwiches using thick breast slices, crisp lettuce, sliced tomato, and your favorite spread.
- Stir shredded thigh meat into a grain bowl with rice, greens, and a bright dressing.
- Use extra meat in tacos, wraps, or salads for easy meal prep.
Storage and reheating
- To store: Place cooled, carved chicken in an airtight container and refrigerate for up to 3–4 days.
- To freeze: Lay slices in a single layer on a sheet pan, freeze until firm, then transfer to a freezer-safe bag for up to 3 months.
- To reheat: Warm slices in a low oven (about 275°F / 135°C) wrapped in foil for 10–15 minutes until heated through. For shredded meat, gently warm in a skillet with a splash of broth to keep it moist.
Troubleshooting common carving problems
Here are fixes for a few common carving pitfalls:
- The knife keeps slipping. Sharpen it. A sharp blade makes the job safer and cleaner.
- Breast meat looks dry. Let the bird rest longer after roasting next time. Meanwhile, spoon pan juices or a little warmed broth over the slices to add moisture.
- Hard to find the joints. Use your fingers to feel for the hip and wing joints; they are more movable than the surrounding bones.
- Carving on a small board. Switch to a larger board or carve in batches; crowded boards increase slips and awkward cuts.
Quick checklist before you start
- Roasted chicken rested 10–15 minutes
- Sharp knife and carving fork ready
- Large, stable cutting board in place
- Optional serving platter prepped
Why knowing How to Carve a Chicken matters
Mastering How to Carve a Chicken saves time and minimizes waste. It lets you present food beautifully at the table and ensures each guest gets the piece they prefer—dark meat lovers can grab drumsticks and thighs, while others can enjoy neat breast slices. It’s also a useful skill for turning a single roasted bird into multiple meals across the week.
Final notes
The next time you roast a chicken, take a few extra minutes to carve it with confidence. Follow the simple sequence above—legs off, thighs separated, wings removed, breasts sliced—and you’ll end up with attractive, flavorful pieces that are perfect for both casual and special-occasion meals. A well-carved chicken makes leftovers feel intentional and elevated, and that small touch of care can transform a home-cooked meal into something memorable.

How to Carve a Chicken
Ingredients
- 1 roasted chicken
Instructions
- If used, remove any thermometer and trim off butcher’s twine from the chicken.
- Place the chicken breast-side up on a stable cutting board and secure it with a carving fork or a clean kitchen towel in your non-dominant hand.
- Remove the legs and thighs: slice between the leg and breast to expose the thigh bone, then cut through the joint to separate the leg quarter from the body.
- Separate drumstick and thigh by slicing through the joint between them.
- Remove the wings: trim off the wing tips if desired, then slice between the drumette and the flat to separate the two pieces.
- Carve the breasts: locate the sternum (breastbone) and cut a long slice down one side of it, working the knife close to the ribcage to remove the breast in one piece; repeat on the other side.
- Slice each breast crosswise into about 1/2-inch-thick pieces, keeping the skin on and using smooth, confident strokes.
- Arrange wings, drumsticks, thighs, and sliced breasts on a platter for serving.
Equipment
- Cutting Board
- Chef's knife or boning knife
- Carving fork or kitchen towel
- Kitchen shears (optional)
Notes
- Always let the roasted chicken rest for 10–15 minutes before carving.
- Stabilize the bird with a carving fork or towel while cutting.
- Cut at the joints rather than sawing through bone.
- Carve breasts last to keep them moist.
- Keep the skin-side up when slicing breasts to prevent skin from sliding off.
- Save carcass and trimmings for making stock.