No Spread Sugar Cookies
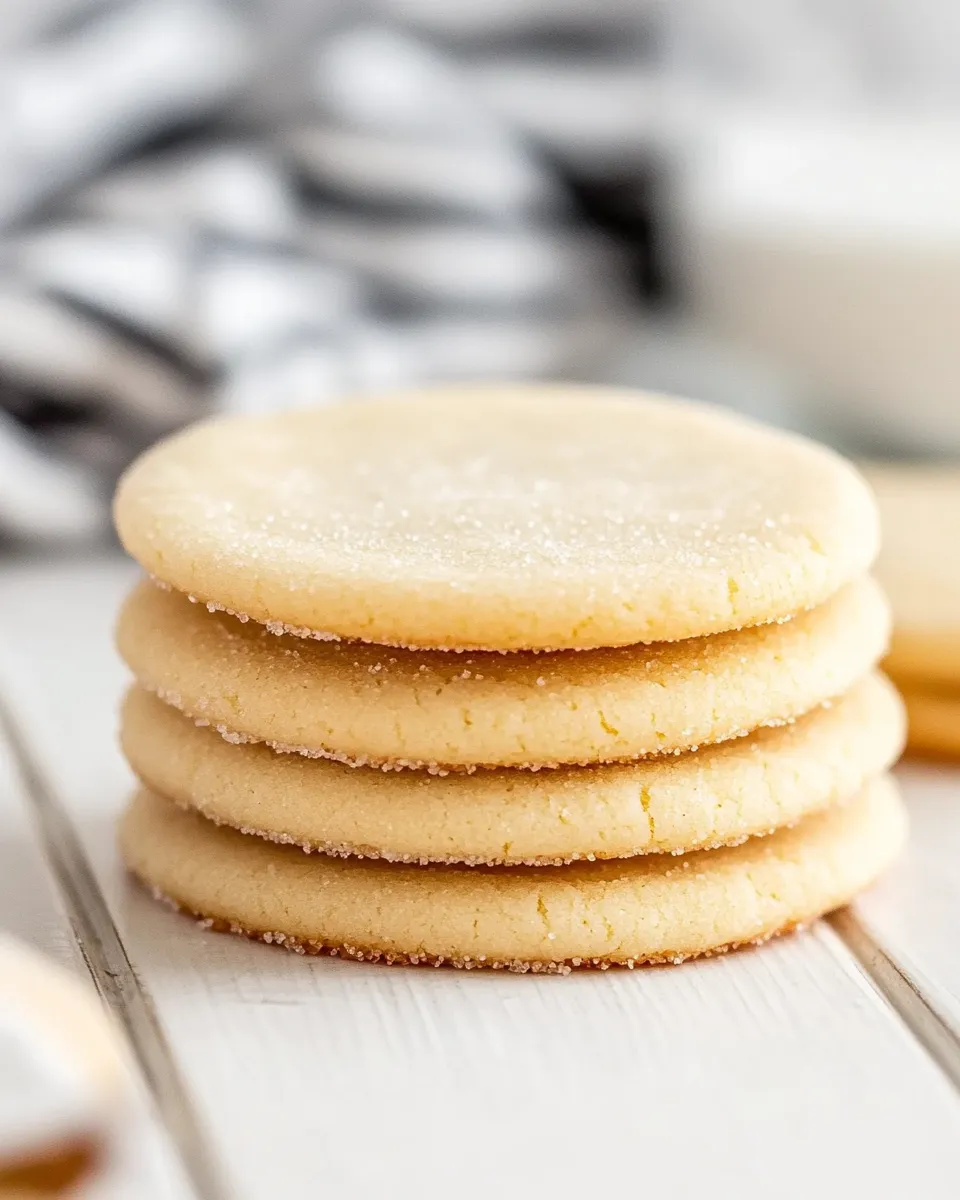
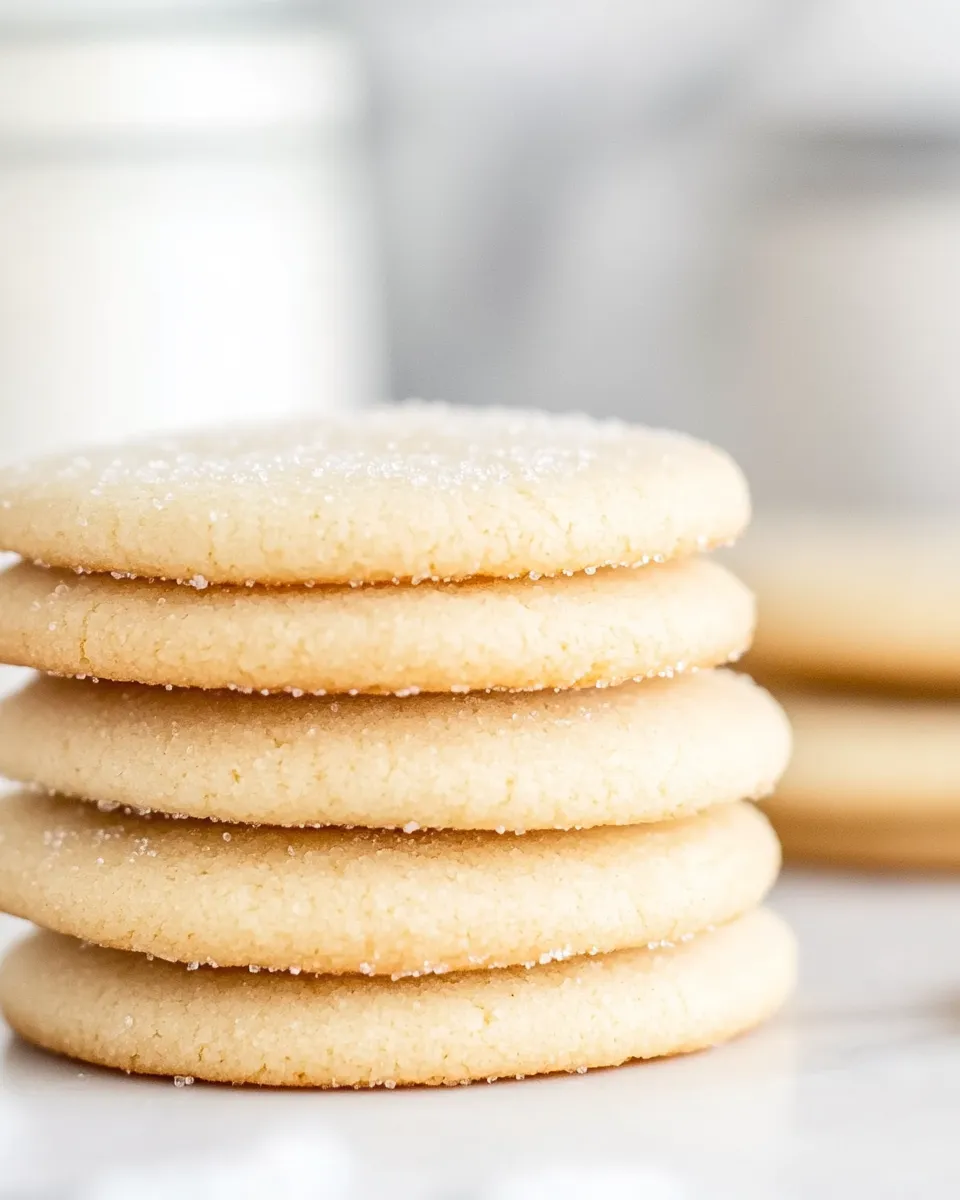
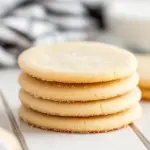
These No Spread Sugar Cookies are the answer when you want perfectly round, soft-centered cookies with a delicate sugary crust. They keep their shape in the oven, so you don’t need to worry about worrying whether the dough will flatten. The result is a tender, slightly crisp edge with a pillowy middle — a classic sugar cookie texture without fuss.
I tested this recipe until the texture and timing felt consistent across sheet pans and ovens. The dough chills overnight to firm up fats and hydrate the flours, which is the secret to the no-spread behavior. A quick dusting of raw sugar right after the cookies leave the oven gives them a pretty sparkle and a satisfying first bite.
This post walks you through the ingredient intent, every baking step, swaps that actually work, the tools I reach for, and the fixes for common problems. Read the short storage guide before making a big batch: these cookies keep well, which makes them ideal for gifting or for a week of lunchbox treats.
Ingredients at a Glance

- 2 cups cake flour — gives a fine, tender crumb and helps prevent spread.
- ½ cup all-purpose flour — adds structure so cookies hold their shape.
- 1 cup sugar — sweetens and helps with browning; creamed with the fats for aeration.
- ½ cup salted butter (softened) — provides flavor and richness; the salt balances sweetness.
- ¼ cup butter-flavored shortening (softened) — stabilizes the dough so cookies don’t spread.
- 1 whole egg + 1 egg white — the egg adds moisture and structure; the extra white tightens the crumb.
- 1½ tsp baking powder — a gentle leavening agent for lift without rapid spread.
- ¼ tsp cream of tartar — contributes a slightly tangy lift and helps set the cookies’ surface.
- 3 tsp vanilla extract — primary flavoring; use a decent vanilla for the best aroma.
- ⅓ cup sugar (for dusting the top of the cookies after they bake) — adds sparkle and a crunchy top layer when sprinkled hot.
No Spread Sugar Cookies: Step-by-Step Guide
- In a large bowl, whisk together 2 cups cake flour, ½ cup all-purpose flour, 1½ tsp baking powder, and ¼ tsp cream of tartar. Set the dry mixture aside.
- In a second large mixing bowl, combine 1 cup sugar, ½ cup salted butter (softened), and ¼ cup butter-flavored shortening (softened). Using a hand mixer, beat on medium speed until the mixture is light and fluffy, about 2–3 minutes.
- Add 3 tsp vanilla extract, then add the whole egg and the egg white. Beat on medium-low until the eggs are fully incorporated and the mixture is uniform. Turn off the mixer and scrape down the sides and bottom of the bowl with a rubber spatula.
- With the mixer on low, gradually add the dry flour mixture to the wet ingredients. Continue mixing just until no streaks or pockets of flour remain and the dough is evenly combined.
- Cover the bowl tightly with plastic wrap and refrigerate the dough overnight (or at least 8 hours).
- When ready to bake, preheat the oven to 375°F. Line two baking sheets with parchment paper and set them aside. Keep the ⅓ cup sugar for dusting the tops of the cookies handy.
- Remove the chilled dough from the refrigerator. Use a cookie scoop or tablespoon to portion dough into balls about 2–3 tablespoons each, depending on desired cookie size. Place the dough balls on the prepared baking sheets, spacing them at least 2 inches apart.
- Flatten each dough ball to about ½ inch thick using the bottom of a cup or your hand. (Alternatively, you can roll the dough on a lightly floured surface to ½ inch thickness and cut circles with a round cutter.)
- Bake one sheet at a time in the preheated oven for 10–12 minutes, or until the cookie edges are set and firm but not browned. Start checking at 10 minutes.
- Immediately after removing the baking sheet from the oven, evenly sprinkle some of the reserved ⅓ cup sugar over the hot cookies. Let the cookies cool on the baking sheet for 2–3 minutes.
- Transfer the cookies to a wire rack or cooling surface to cool completely. Repeat steps 9–11 for any remaining cookie sheets and dough, using the remaining sugar for topping.
- Once cooled, serve and enjoy.
Why This Recipe Belongs in Your Rotation
These cookies are reliable. If you bake often, you know how many recipes behave differently as seasons change or when you switch ovens. This one leans on chilled dough and a balance of cake flour plus a touch of AP flour to keep texture consistent.
They’re straightforward to scale. Make a double batch and freeze dough balls, or bake a single tray for a midweek treat. The finished cookie is versatile — neutral enough for decorating, sturdy enough for packing, and simple enough for last-minute cookie needs.
The timeline is forgiving. Overnight chilling improves both flavor and shape, and the dough holds its character well in the fridge. Once you get the hang of portioning, you can churn out uniform cookies without precise shaping skills.
Swap Guide

Fats and Texture
The recipe uses a mix of butter and butter-flavored shortening. That combination gives you flavor from butter and no-spread structure from shortening. If you prefer a richer butter flavor, you can increase the butter and reduce shortening, but expect slightly more spread — chilling becomes more important. If you keep shortening, the cookies will remain reliably round.
Flour Choices
Cake flour is a key player here because it yields a tender crumb. Replacing all of it with only all-purpose flour will tighten the texture and can increase spread. The 2 cups cake flour + ½ cup AP flour balance gives structure without heaviness.
Sweeteners & Flavor
The recipe keeps flavor simple with granulated sugar and vanilla. You can add a small pinch of another flavoring (citrus zest or a mild extract) if you like, but do it sparingly — these are classic, understated cookies.
Appliances & Accessories
These are the tools I reach for when making this recipe. They keep the process smooth and the cookies uniform.
- Hand mixer — for creaming the butter, shortening, and sugar quickly and evenly.
- Large mixing bowls — one for dry ingredients and one for wet; use bowls with space to beat without spilling.
- Cookie scoop (tablespoon or 2–3 Tbsp) — ensures consistent sizing and even bake time.
- Baking sheets and parchment paper — parchment prevents sticking and helps bottoms brown evenly.
- Wire rack — cools cookies quickly and stops carry-over cooking.
- Plastic wrap — to tightly cover dough while it chills.
Missteps & Fixes
Here are the common mistakes I see and how to fix them quickly.
Dough too soft or cookies spread too much
Chill the dough longer. The recipe calls for at least 8 hours, and sometimes cold temperatures vary; overnight is safest. In a hurry, you can firm dough in the freezer for 20–30 minutes before scooping.
Cookies are dry or crumbly
Watch your bake time. Pull them when edges are set but centers still look slightly soft. They finish setting as they cool. Overbaking will dry them out.
Uneven size or shape
Use a scoop and flatten each ball to the same thickness. If you roll and cut, keep the dough chilled and roll to a consistent ½ inch thickness.
Season-by-Season Upgrades
Keep the base recipe intact and add seasonal accents after baking for best results. A light brush of melted flavored butter or a sprinkle of finely grated zest changes the character without changing texture.
Winter: Add a warm-spice finishing sugar (cinnamon mixed into some of the dusting sugar) for a cozy twist. Spring: Top cooled cookies with a thin lemon glaze if you want brightness. Summer: Press a tiny piece of fresh berry into the top right after baking for a quick jammy note. Fall: Try a dusting of nutmeg or a few drops of maple extract sparingly.
Notes from the Test Kitchen
I ran multiple trials with pans, rack positions, and scoop sizes. The cookies behaved most consistently when baked one sheet at a time in the center of the oven. Two racks caused small variations in color and texture because the top of the oven runs hotter.
Shortening really does reduce spread. When I removed it entirely, cookies flattened more and lost that clean round edge. The overnight rest tightens the dough through fat solidification and flour hydration, which also deepens flavor.
For dusting, the timing matters: sprinkle sugar immediately out of the oven so it clings to the hot surface and melts slightly into a sparkly crust. If you wait until the cookies cool, the sugar won’t adhere as well.
Keep It Fresh: Storage Guide
Store cooled cookies in an airtight container at room temperature for up to 5 days. Layer with parchment to prevent sticking. They stay soft and tender when sealed well.
For longer storage, freeze baked cookies in a single layer on a tray until solid, then transfer to a freezer-safe bag or container for up to 3 months. Thaw at room temperature; avoid microwaving to thaw, which can make them rubbery.
You can also freeze the dough balls. Scoop onto a tray, freeze until solid, then transfer to a bag. Bake from frozen — add a minute or two to the bake time and watch closely.
Ask & Learn
Q: Can I skip the overnight chill?
A: Shortening the chill will change the texture and increase spread risk. If you must bake same-day, chill the dough until firm (at least 1–2 hours) and flatten gently just before baking.
Q: Can I make these larger or smaller?
A: Yes. Smaller cookies will bake quicker — start checking at 8 minutes. Larger cookies may need the full 12 minutes or slightly more. Keep an eye on edges and set centers rather than relying strictly on time.
Q: Will these brown if I leave them in too long?
A: They will. The goal is a set edge without browning. Start checking at the lower end of the time range, remove when edges are firm but centers are still slightly soft, and let residual heat finish them.
Make It Tonight
If you want cookies tonight and skipped chilling overnight, here’s a practical plan: mix the dough, cover tightly, and chill in the coldest part of the fridge for at least 2 hours. If you need to speed it up, portion dough into scoops and freeze them on a tray for 20–30 minutes until firm. Preheat the oven, bake one sheet at a time at 375°F, and sprinkle with the reserved sugar while the cookies are hot. Cool briefly on the sheet, then finish on a wire rack.
These No Spread Sugar Cookies are straightforward, predictable, and tasty. They’re the kind of cookie you’ll reach for when you want something classic, quick to decorate, and perfectly shaped straight from the oven. Happy baking.
No Spread Sugar Cookies
Ingredients
Ingredients
- 2 cupscake flour
- 1/2 cupall-purpose flour
- 1 cupsugar
- 1/2 cupsalted butter softened
- 1 whole egg + 1 egg white
- 1/4 cupbutter flavored shortening softened
- 1 1/2 tspbaking powder
- 1/4 tspcream of tartar
- 3 tspvanilla extract
- 1/3 cupsugar for dusting the top of the cookies after they bake
Instructions
Instructions
- In a large bowl, whisk together 2 cups cake flour, ½ cup all-purpose flour, 1½ tsp baking powder, and ¼ tsp cream of tartar. Set the dry mixture aside.
- In a second large mixing bowl, combine 1 cup sugar, ½ cup salted butter (softened), and ¼ cup butter-flavored shortening (softened). Using a hand mixer, beat on medium speed until the mixture is light and fluffy, about 2–3 minutes.
- Add 3 tsp vanilla extract, then add the whole egg and the egg white. Beat on medium-low until the eggs are fully incorporated and the mixture is uniform. Turn off the mixer and scrape down the sides and bottom of the bowl with a rubber spatula.
- With the mixer on low, gradually add the dry flour mixture to the wet ingredients. Continue mixing just until no streaks or pockets of flour remain and the dough is evenly combined.
- Cover the bowl tightly with plastic wrap and refrigerate the dough overnight (or at least 8 hours).
- When ready to bake, preheat the oven to 375°F. Line two baking sheets with parchment paper and set them aside. Keep the ⅓ cup sugar for dusting the tops of the cookies handy.
- Remove the chilled dough from the refrigerator. Use a cookie scoop or tablespoon to portion dough into balls about 2–3 tablespoons each, depending on desired cookie size. Place the dough balls on the prepared baking sheets, spacing them at least 2 inches apart.
- Flatten each dough ball to about ½ inch thick using the bottom of a cup or your hand. (Alternatively, you can roll the dough on a lightly floured surface to ½ inch thickness and cut circles with a round cutter.)
- Bake one sheet at a time in the preheated oven for 10–12 minutes, or until the cookie edges are set and firm but not browned. Start checking at 10 minutes.
- Immediately after removing the baking sheet from the oven, evenly sprinkle some of the reserved ⅓ cup sugar over the hot cookies. Let the cookies cool on the baking sheet for 2–3 minutes.
- Transfer the cookies to a wire rack or cooling surface to cool completely. Repeat steps 9–11 for any remaining cookie sheets and dough, using the remaining sugar for topping.
- Once cooled, serve and enjoy.
Equipment
- Large Bowl
- Mixing Bowl
- Hand Mixer
- Rubber spatula
- Plastic Wrap
- Cookie scoop or tablespoon
- Baking Sheets
- Parchment Paper
- Oven
- Wire Rack
- cup or round cutter