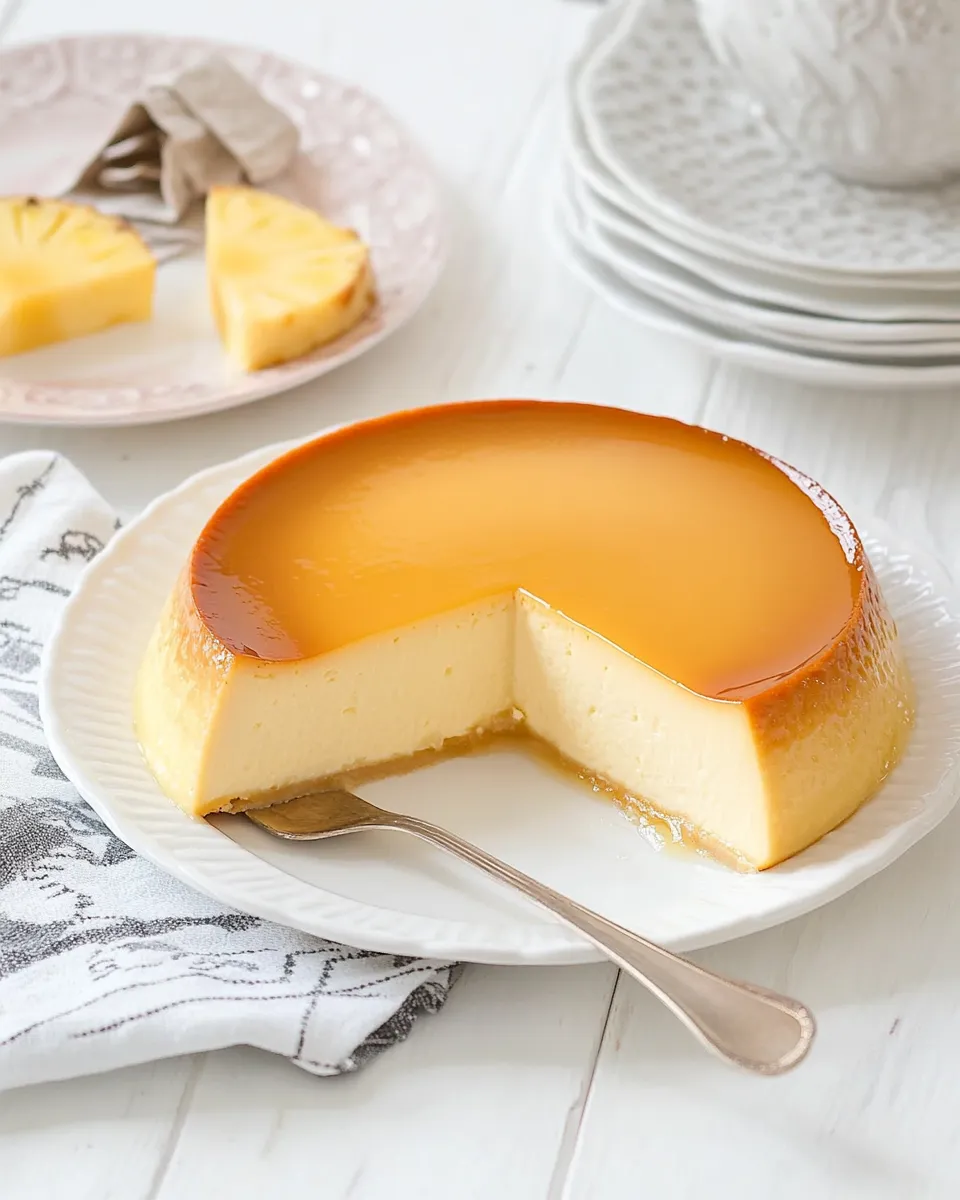
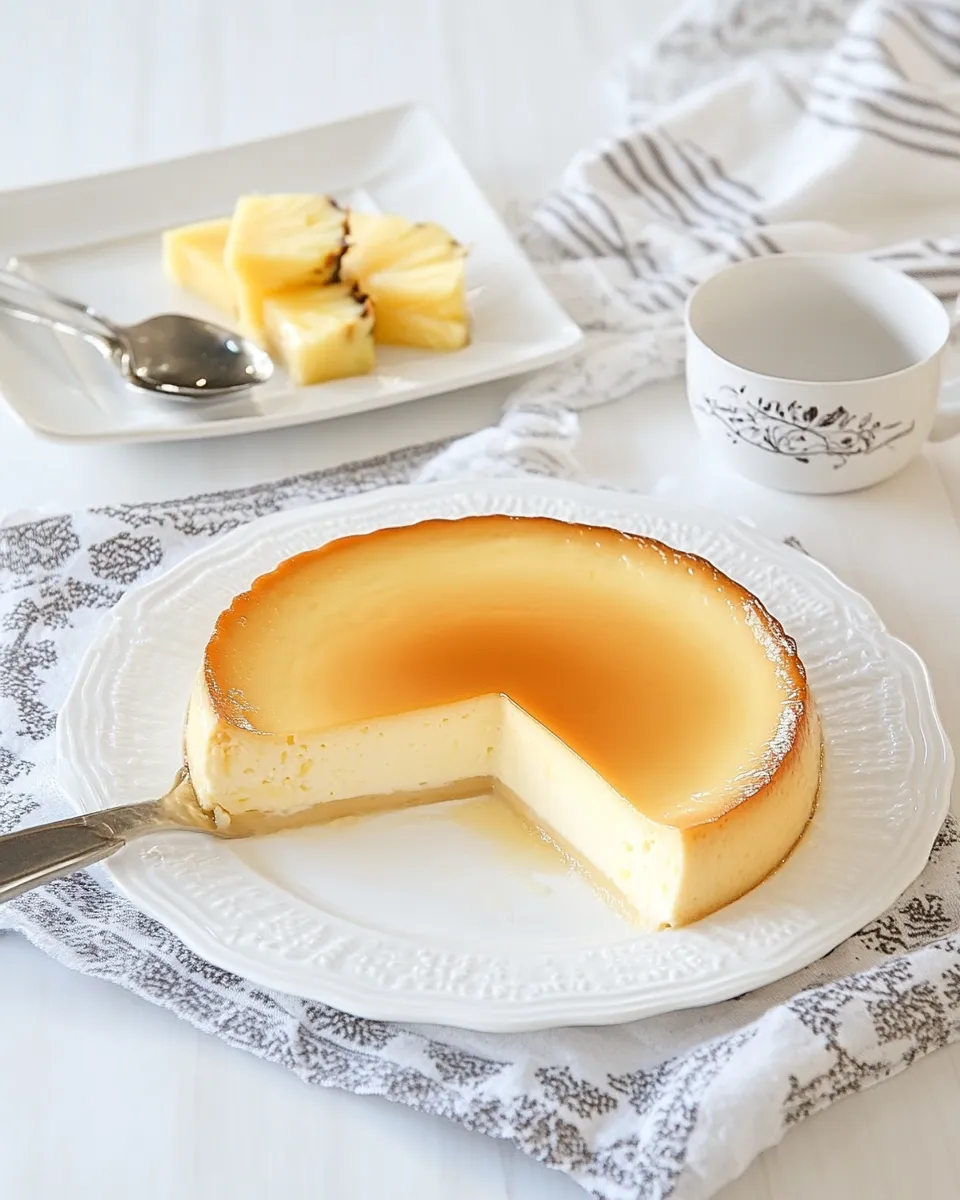
Flan de Queso y Pia (Pineapple Cream Cheese Flan)
Are you ready to dive into the world of creamy desserts that transport you straight to tropical paradises? This Flan de Queso y Pia, or Pineapple Cream Cheese Flan, is a delightful twist on a classic dessert that combines the richness of cream cheese with the sweet, tangy flavor of pineapple. It’s a decadent treat that’s sure to impress your family and friends while being surprisingly easy to make. Let’s embark on this culinary adventure together, shall we?
What Sets This Recipe Apart

What makes this Flan de Queso y Pia stand out from the traditional flan is its luscious cream cheese base, paired with the bright, refreshing notes of pineapple. The combination creates a unique flavor profile that balances sweetness with a slight tang, making each bite a delightful experience. Not only is this flan rich and creamy, but it also has a beautiful caramel layer that adds that perfect touch of elegance. This dessert is not just a treat; it’s a showstopper!
What to Buy
To create this fabulous Flan de Queso y Pia, you’ll need the following ingredients:
- 1 cup sugar (white, granulated)
- 1 tablespoon water (optional, see notes)
- 1 cup pineapple juice
- 1 cup condensed milk (may need a bit extra)
- 1 cup cream cheese
- 1 large egg
- 3 egg yolks
Make sure to choose fresh ingredients for the best flavor. The quality of the cream cheese and pineapple juice can really make a difference in the final result!
Essential Tools for Success
Before we get our hands dirty, gather the necessary tools to ensure your flan turns out perfectly:
- Blender or Food Processor: To blend the cream cheese and other ingredients until smooth.
- Flan Mold or Baking Dish: A round dish works best to create that classic flan shape.
- Large Baking Pan: For the water bath, which helps cook the flan evenly.
- Whisk: To mix ingredients and ensure a smooth consistency.
- Measuring Cups and Spoons: For accurate ingredient measurements.
Having these tools ready will make the cooking process a breeze!
Stepwise Method: Flan de Queso y Pia (Pineapple Cream Cheese Flan)
Now that we have everything we need, let’s get started with the step-by-step method:
Step 1: Prepare the Caramel
In a medium saucepan over medium heat, combine the sugar and water (if using). Stir until the sugar dissolves, then allow it to boil without stirring until it turns a golden brown color. Be careful not to burn it! Once ready, immediately pour the caramel into your flan mold, tilting the mold to coat the bottom evenly.
Step 2: Blend the Flan Ingredients
In a blender or food processor, combine the pineapple juice, condensed milk, cream cheese, large egg, and egg yolks. Blend until the mixture is smooth and creamy, ensuring there are no lumps of cream cheese remaining.
Step 3: Pour the Mixture into the Mold
Pour the blended mixture over the set caramel in your flan mold. This will create a beautiful layered effect once the flan is unmolded.
Step 4: Prepare the Water Bath
Preheat your oven to 350°F (175°C). Place the flan mold inside a larger baking pan, and fill the outer pan with hot water, about halfway up the sides of the flan mold. This water bath will help cook the flan evenly.
Step 5: Bake the Flan
Carefully transfer the baking pan to the oven and bake for about 50-60 minutes, or until the flan is set and a toothpick inserted in the center comes out clean.
Step 6: Cool and Chill
Once baked, remove the flan from the oven and water bath. Allow it to cool at room temperature for about 30 minutes, then refrigerate for at least 4 hours, preferably overnight, to let the flavors meld and the texture firm up.
Step 7: Unmold and Serve
To serve, run a knife around the edges of the flan to loosen it. Place a serving plate over the mold and invert it to release the flan. The caramel will flow beautifully over the flan. Slice and enjoy this tropical delight!
No-Store Runs Needed
You might already have some of these key ingredients in your pantry. Check your kitchen for:
- Pineapple juice
- Condensed milk
- Sugar
- Eggs
If you’re short on anything, a quick trip to the store will do the trick, but you may find that you have everything you need for this delicious dessert!
Common Errors (and Fixes)
Even the best chefs can run into issues. Here are some common errors you might encounter while making Flan de Queso y Pia and how to fix them:
- Caramel Burns: If your caramel turns too dark or burns, start over. Watch it closely, and take it off the heat as soon as it reaches a golden color.
- Flan is Not Set: If your flan is not set after baking, it may need more time in the oven. Just make sure to check it frequently to avoid overcooking.
- Lumps in the Mixture: Ensure your cream cheese is at room temperature before blending to avoid lumps. If lumps remain, blend longer.
- Flan Sticks to the Mold: Running a knife around the edges before unmolding is key. If it still sticks, gently use a spatula to release it.
With these tips, you’ll be well-equipped to tackle any hiccups along the way!
Storing Tips & Timelines
This flan is perfect for making ahead of time. Here are some storing tips:
- Refrigeration: Store any leftover flan in an airtight container in the refrigerator for up to 5 days.
- Freezing: Flan can be frozen for up to 2 months. Wrap it well in plastic wrap or foil, and thaw it overnight in the refrigerator before serving.
- Serving: Bring the flan to room temperature before serving for the best flavor and texture.
Make sure to enjoy this delightful dessert within these time frames for the best experience!
Ask & Learn
Can I use fresh pineapple instead of pineapple juice?
While fresh pineapple can be used, it’s best to blend it and strain it to achieve a smooth juice consistency. This ensures a creamy texture in your flan.
Can I make this flan without cream cheese?
If you prefer a lighter version, you can substitute the cream cheese with Greek yogurt or a non-dairy cream cheese alternative for a similar rich texture.
What should I serve with Flan de Queso y Pia?
This flan pairs beautifully with fresh fruit, whipped cream, or even a sprinkle of toasted coconut for added texture and flavor.
Can I make a larger batch of this flan?
Yes! You can easily double the recipe and use a larger baking dish. Just be sure to adjust the baking time accordingly, as a larger flan may need more time to set.
If you’re looking for more delicious desserts to complement your Flan de Queso y Pia, check out these recipes:
These treats will surely satisfy any sweet tooth!
That’s a Wrap
In conclusion, Flan de Queso y Pia (Pineapple Cream Cheese Flan) is a delightful dessert that combines the creamy richness of cheese with the vibrant flavor of pineapple. It’s easy to prepare and will undoubtedly become a favorite at your gatherings. With its stunning presentation and irresistible taste, this flan is a must-try for anyone who loves desserts. So gather your ingredients, follow the steps, and treat yourself to this tropical delight. Happy baking!

Flan de Queso y Pia (Pineapple Cream Cheese Flan)
Ingredients
- 1 cup sugar white, granulated
- 1 tablespoon water optional, see notes
- 1 cup pineapple juice
- 1 cup condensed milk may need a bit extra
- 1 cup cream cheese
- 1 large egg
- 3 egg yolks
Instructions
Step 1: Prepare the Caramel
- In a medium saucepan over medium heat, combine the sugar and water (if using). Stir until the sugar dissolves, then allow it to boil without stirring until it turns a golden brown color. Be careful not to burn it! Once ready, immediately pour the caramel into your flan mold, tilting the mold to coat the bottom evenly.
Step 2: Blend the Flan Ingredients
- In a blender or food processor, combine the pineapple juice, condensed milk, cream cheese, large egg, and egg yolks. Blend until the mixture is smooth and creamy, ensuring there are no lumps of cream cheese remaining.
Step 3: Pour the Mixture into the Mold
- Pour the blended mixture over the set caramel in your flan mold. This will create a beautiful layered effect once the flan is unmolded.
Step 4: Prepare the Water Bath
- Preheat your oven to 350°F (175°C). Place the flan mold inside a larger baking pan, and fill the outer pan with hot water, about halfway up the sides of the flan mold. This water bath will help cook the flan evenly.
Step 5: Bake the Flan
- Carefully transfer the baking pan to the oven and bake for about 50-60 minutes, or until the flan is set and a toothpick inserted in the center comes out clean.
Step 6: Cool and Chill
- Once baked, remove the flan from the oven and water bath. Allow it to cool at room temperature for about 30 minutes, then refrigerate for at least 4 hours, preferably overnight, to let the flavors meld and the texture firm up.
Step 7: Unmold and Serve
- To serve, run a knife around the edges of the flan to loosen it. Place a serving plate over the mold and invert it to release the flan. The caramel will flow beautifully over the flan. Slice and enjoy this tropical delight!
Equipment
- Blender or food processor
- Flan Mold or Baking Dish
- Large Baking Pan
- Whisk
- Measuring Cups and Spoons
Notes
- Use room temperature cream cheese to avoid lumps in the flan mixture.
- If caramel burns, restart and watch it closely to achieve a golden color.
- Store leftover flan in an airtight container in the refrigerator for up to 5 days.
- For freezing, wrap well and thaw overnight in the refrigerator before serving.
- Bring flan to room temperature before serving for best flavor and texture.