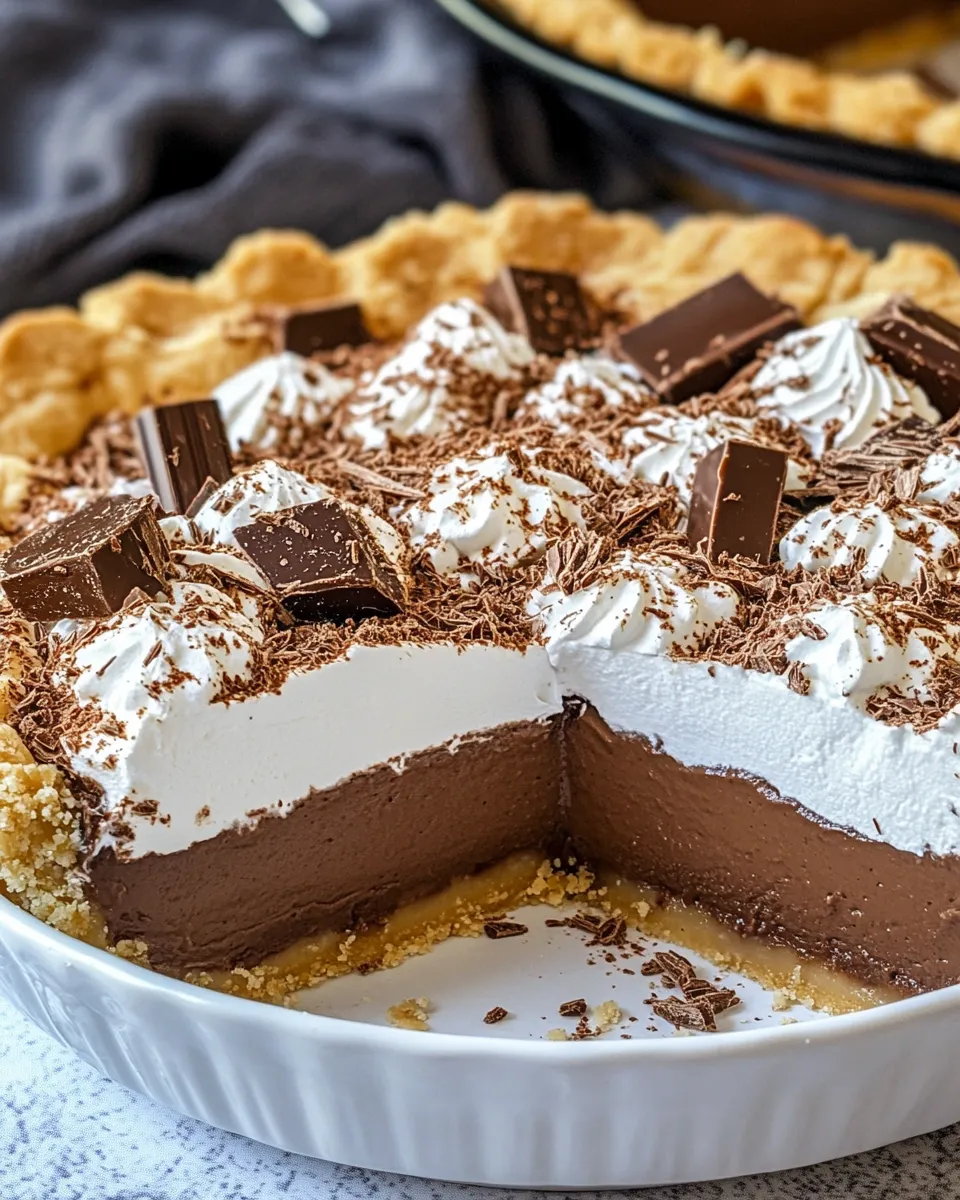
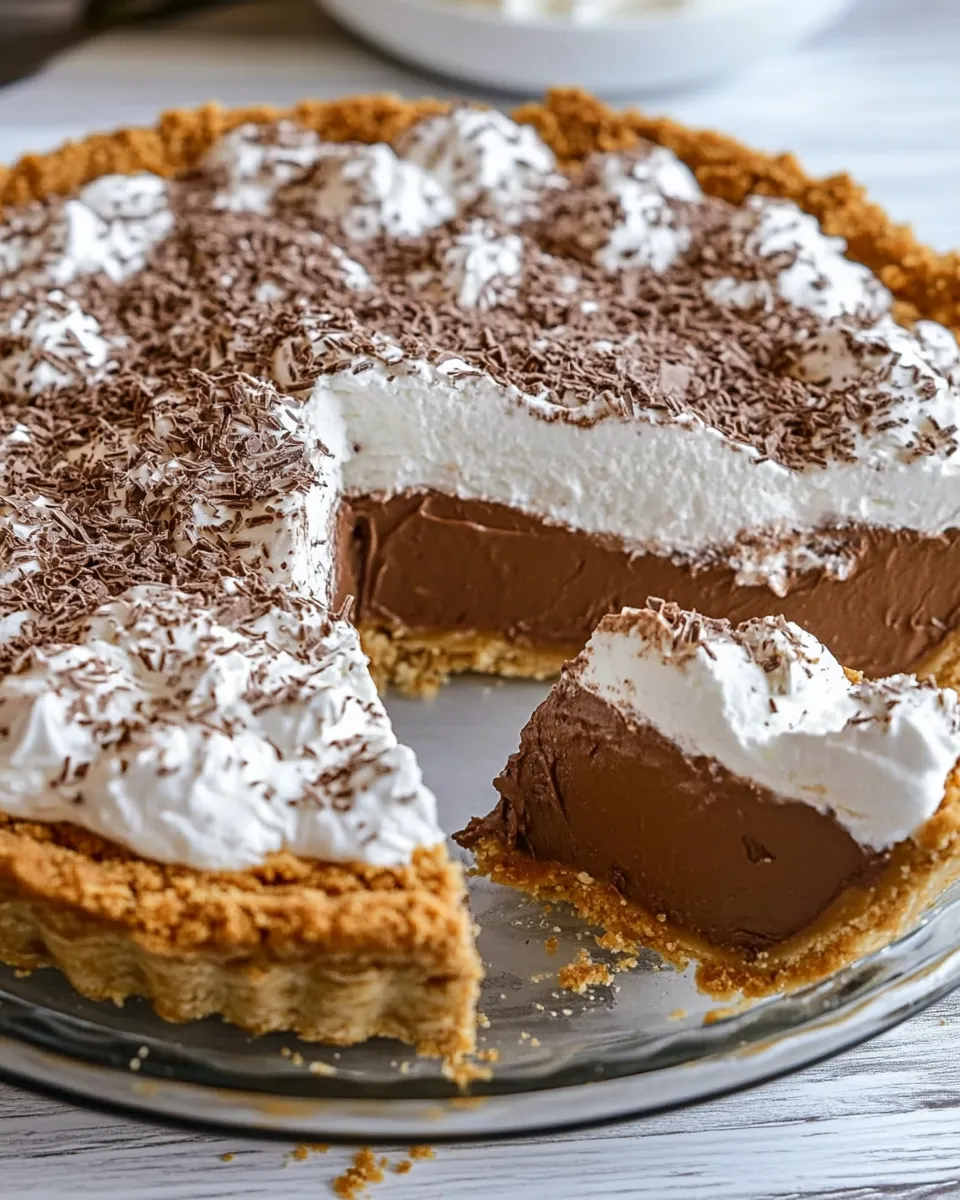
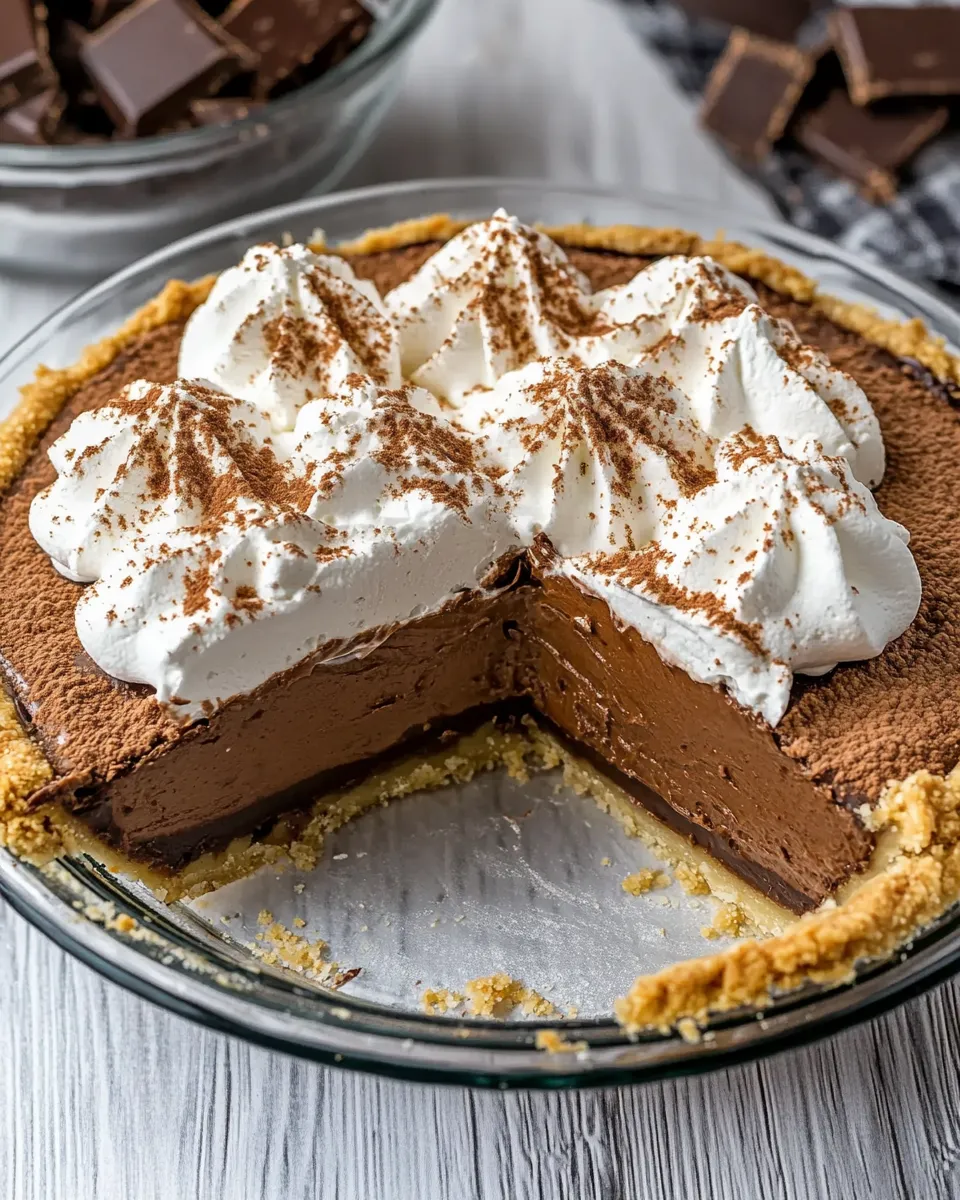
Easy Chocolate Cool Whip Pie
This is the kind of dessert I reach for when I want chocolate without fuss. It comes together in minutes, chills into a luscious, sliceable filling, and finishes with a light top of whipped topping. The peanut butter cookie crust gives it a hint of salt and texture so the filling doesn’t need anything fancy.
I test simple recipes all the time, and this one reliably delivers a creamy, not-too-dense chocolate pie that still feels indulgent. It’s forgiving, kid-friendly, and perfect for potlucks or a no-stress finish to weeknight dinner.
What You’ll Need

Below are the things you’ll gather before you start. Everything is straightforward and pantry-friendly. Read through the steps once so you know when to microwave, fold, and chill.
Ingredients
- 1 peanut butter cookie pie crust (or your favorite pie crust) — crunchy, flavorful base that pairs well with the chocolate filling.
- 4 ounces unsweetened chocolate, chopped — provides the chocolate backbone; chop small for even melting.
- 1 can (14 ounces) sweetened condensed milk — sweetens and enriches the filling so you don’t need additional sugar.
- 12 ounces whipped topping (Cool Whip), divided — gives the filling its light, airy texture; part gets folded in and part tops the pie.
Chocolate Cool Whip Pie, Made Easy
- Place the 1 peanut butter cookie pie crust on a plate or baking sheet and set aside.
- Put 4 ounces chopped unsweetened chocolate in a large microwave-safe bowl.
- Microwave the chocolate on 50% power in 30-second increments, stirring between each increment, until the chocolate is melted and smooth. (Continue 30-second increments as needed.)
- Let the melted chocolate cool for 5 minutes.
- Stir the 14-ounce can of sweetened condensed milk into the cooled chocolate until the mixture is smooth and uniform.
- Measure the 12 ounces whipped topping (Cool Whip). Add 8 ounces of the whipped topping to the chocolate-condensed milk mixture and fold gently with a spatula until evenly combined, taking care not to overmix.
- Spoon and spread the chocolate filling evenly into the prepared pie crust.
- Refrigerate the pie until set, at least 2 hours.
- Before serving, spread the remaining 4 ounces whipped topping over the chilled pie. Serve chilled.
Why This Recipe Is Reliable
This recipe works because it keeps components simple and limits heat exposure. Melting a small amount of unsweetened chocolate and letting it cool before adding the sweetened condensed milk prevents the mixture from seizing and helps it become glossy and smooth. Folding most—but not all—of the whipped topping into the chocolate gives structure and lift without deflating the filling.
The peanut butter cookie crust handles the moisture of the filling well; it won’t get soggy the way a standard graham crust might. Chilling for at least two hours is the only real time investment and is key to achieving neat slices.
Healthier Substitutions
- Swap the peanut butter cookie crust for a whole grain or low-sugar cookie crust if you want more fiber.
- Use a lower-fat whipped topping alternative if you need to cut calories; note texture will be slightly different.
- Reduce portion size to control sugar intake—this dessert is rich, and smaller slices still satisfy.
Must-Have Equipment
- Microwave-safe bowl — for melting chocolate safely.
- Spatula — for gentle folding so you keep the filling airy.
- Plate or baking sheet — to support the pie crust while you work and to catch any drips.
- Refrigerator space — the pie needs at least two hours to set properly.
Steer Clear of These
- Overheating the chocolate — melting at full power or too long can scorch it. Use 50% power and short bursts.
- Adding warm chocolate to the whipped topping — make sure the melted chocolate cools for the five minutes called for; too warm and it will deflate the topping.
- Overmixing after adding the whipped topping — fold gently to preserve volume and a light texture.
Make It Diet-Friendly
If you need this to fit a specific diet, these are practical adjustments without reinventing the recipe:
- Lower-calorie option: use a reduced-fat whipped topping or a light, stabilized whipped cream alternative, and serve smaller slices.
- Lower-sugar option: choose a reduced-sugar cookie crust or a thin whole-grain crust and keep portions small. The sweetened condensed milk is integral to the texture, so removing it will change the outcome.
- Allergy swap: if peanut butter crust is a problem, use a plain cookie or graham crust you can tolerate.
Recipe Notes & Chef’s Commentary
Timing and temperature
Microwaves vary. The 30-second increments at 50% power are conservative but safer; you want to stir frequently so the residual heat completes the melt without burning. Letting the chocolate cool for five minutes is about temperature control: it brings the mixture closer to room temperature so it won’t collapse the whipped topping when combined.
Folding technique
Use a wide spatula and scoop from the bottom, turning the mixture over the top rather than stirring. A few visible streaks at the end are okay; they’ll set as the pie chills.
Decorating and serving
Spread the remaining 4 ounces of whipped topping just before serving for a fresh look and light mouthfeel. If you like, add a simple garnish—cocoa powder dusted through a sieve or a few chocolate shavings—but this recipe stands well on its own.
Freezer-Friendly Notes
This pie freezes okay for longer storage, but texture changes slightly. To freeze:
- Assemble the pie up through step 7 and wrap it tightly in plastic wrap, then foil. Freeze for up to 1 month.
- When ready to serve, thaw in the refrigerator overnight. Add the final 4 ounces of whipped topping just before serving to preserve the fresh topping texture.
- If you freeze the finished pie with the top whipped layer, expect some separation or slight weep on thawing; it will still taste good, but the presentation will be less crisp.
Reader Questions
Can I use milk chocolate or semi-sweet instead of unsweetened?
Yes. Unsweetened keeps the filling intensely chocolatey and controls sweetness from the condensed milk, but you can swap semi-sweet or milk chocolate. Keep in mind the final sweetness will increase and the texture may be a touch softer.
What if my chocolate seizes?
If the chocolate becomes grainy while melting, stop heating and stir in a teaspoon of neutral oil or a small splash of warm cream—only if you must. Aim to prevent seizing by chopping finely and heating gently.
Can I make this without a microwave?
Yes. Melt the chocolate gently in a heatproof bowl set over a saucepan of simmering water (double-boiler method). Remove from heat and let cool for five minutes before proceeding.
How long will leftovers keep?
Store covered in the refrigerator for up to 3 days. After that the texture of the whipped topping will start to break down.
Ready to Cook?
Gather the ingredients and set aside your pie crust, chocolate, sweetened condensed milk, and whipped topping. The active time is short: most of the work is melting, cooling, folding, and then waiting while the pie chills. Follow the nine straightforward steps above and you’ll have a smooth, chocolatey pie that slices clean and gets compliments with almost zero fuss.
When it’s chilled, slice with a warm knife for clean edges, top each slice with a little extra whipped topping if you like, and serve chilled. Enjoy the ease and reliable results—this is one of those recipes you’ll make again and again when you want dessert without complication.

Easy Chocolate Cool Whip Pie
Ingredients
Ingredients
- 1 peanut butter cookie pie crust or your favorite pie crust
- 4 ouncesunsweetened chocolatechopped
- 1 can14 ounces sweetened condensed milk
- 12 ounceswhipped toppingCool Whip divided
Instructions
Instructions
- Place the 1 peanut butter cookie pie crust on a plate or baking sheet and set aside.
- Put 4 ounces chopped unsweetened chocolate in a large microwave-safe bowl.
- Microwave the chocolate on 50% power in 30-second increments, stirring between each increment, until the chocolate is melted and smooth. (Continue 30-second increments as needed.)
- Let the melted chocolate cool for 5 minutes.
- Stir the 14-ounce can of sweetened condensed milk into the cooled chocolate until the mixture is smooth and uniform.
- Measure the 12 ounces whipped topping (Cool Whip). Add 8 ounces of the whipped topping to the chocolate-condensed milk mixture and fold gently with a spatula until evenly combined, taking care not to overmix.
- Spoon and spread the chocolate filling evenly into the prepared pie crust.
- Refrigerate the pie until set, at least 2 hours.
- Before serving, spread the remaining 4 ounces whipped topping over the chilled pie. Serve chilled.
Notes
Use any kind of Cool Whip or generic equivalent.