Instant Pot Yogurt
I make yogurt in my Instant Pot nearly every week. It started as an experiment and quickly became routine—reliable, cheap, and exactly what we want for breakfasts and sauces. Once you get the timing down, it feels like a small kitchen magic trick: milk in, patience, creamy yogurt out.
This post is practical and specific. You’ll find the exact ingredient list, step-by-step directions that match the Instant Pot cycles, and the troubleshooting notes I wish someone had handed me the first time. I write as someone who cooks for a household, so expect clear tips you can use right away.
No fluff. Just dependable instructions, sensible swaps, and notes on texture, timing, and storage so you can make a batch that fits your taste and schedule.
Ingredient List

- 1 gallon milk — the base. Use milk you like drinking; it defines the body and creaminess of the yogurt.
- 1/4 cup yogurt with active cultures (or yogurt starter) — the starter. This introduces the live bacteria that turn milk into yogurt.
Instant Pot Yogurt: How It’s Done
- Clean or sterilize the Instant Pot inner pot. Either wash the inner pot thoroughly with soap and water and dry it, or sterilize by adding 2 cups cold water to the inner pot, closing the lid, sealing the vent, selecting High Pressure for 3 minutes, and allowing a natural release. Discard the sterilizing water and dry the inner pot completely.
- Pour 1 gallon milk into the inner pot.
- Place the lid on the Instant Pot (vent position does not matter). Press the “Yogurt” button, then press “Adjust” until the display reads “BOIL.” The Instant Pot will heat the milk to boiling.
- When the Instant Pot beeps to signal the end of the BOIL cycle, remove the lid and check the milk temperature with a thermometer. The milk should be between 180°F and 200°F. If it has not reached at least 180°F, repeat the “Yogurt” → “BOIL” cycle and check again.
- Allow the milk to cool to between 110°F and 115°F. This can take 1–2 hours at room temperature, or about 10–15 minutes faster by placing the inner pot in a bowl of ice water. Check the temperature often with a thermometer.
- If a skin has formed on top of the cooled milk, gently spoon it off and discard it.
- Temper the starter: scoop a ladleful of the warm milk into a small bowl, add the 1/4 cup yogurt with active cultures, and whisk until smooth.
- Pour the tempered yogurt-milk mixture back into the inner pot and whisk gently but thoroughly to combine with the rest of the milk.
- Return the inner pot to the Instant Pot and secure the lid (vent position does not matter). Press the “Yogurt” button and adjust the time to between 8:00 and 12:00 hours—choose less time (around 8 hours) for looser, milder yogurt and more time (up to 12 hours) for thicker, tangier yogurt.
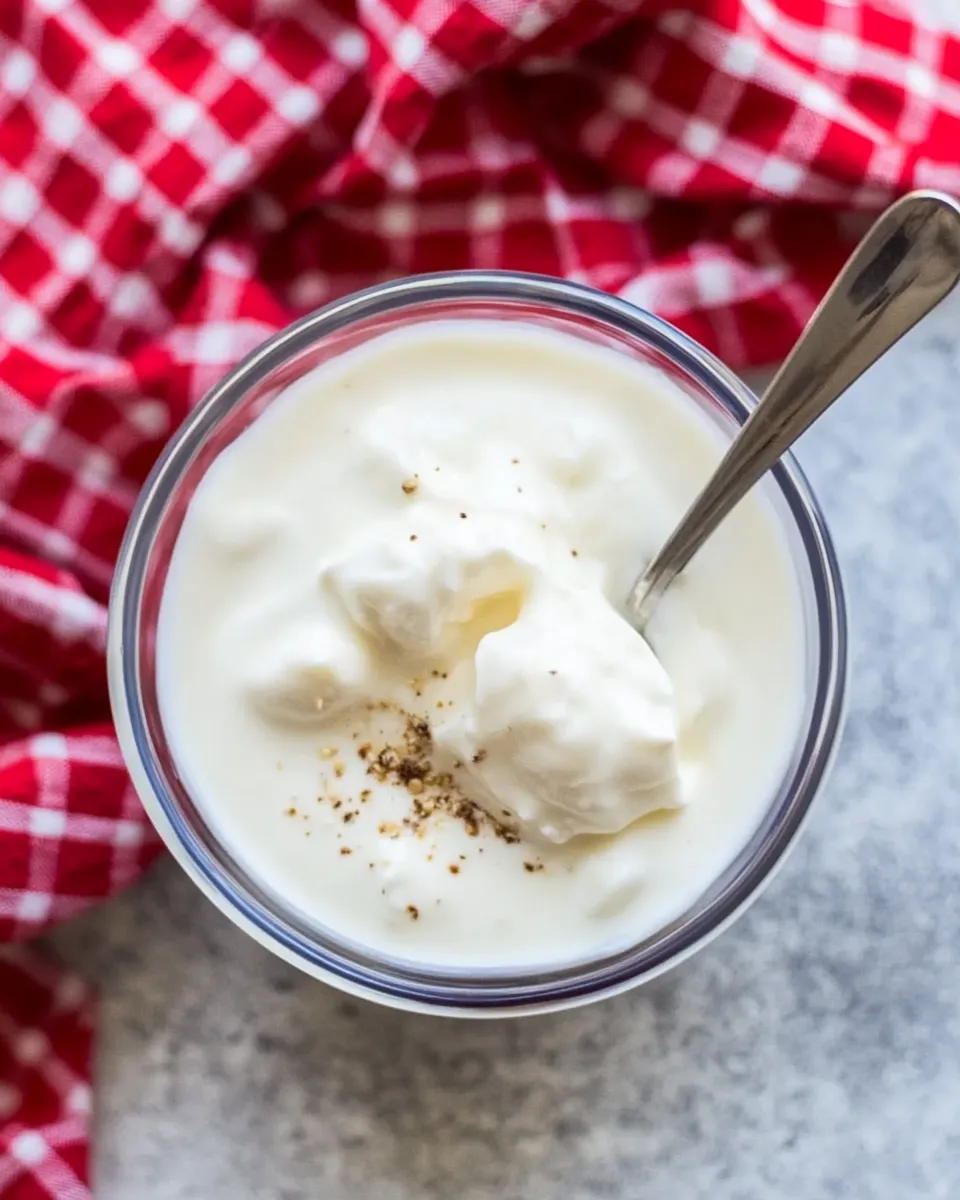
- When the incubation time ends, check that the yogurt has thickened and jiggles slightly. It will firm up more after cooling.
- Transfer the yogurt to containers or cover the inner pot and refrigerate for at least 4 hours or overnight before serving. Stir gently before serving.
- Store yogurt in the refrigerator and use within 10 days.
Why Cooks Rave About It
The Instant Pot removes most of the guesswork. It heats milk to the right temperature without scorching, and the yogurt function maintains a consistent incubation environment. That consistency gives you a dependable texture and flavor every time.
Making yogurt at home is also economical. A gallon of milk turns into a lot of yogurt, and you control the culture, the fat level, and any add-ins after incubation. Fresh yogurt tastes brighter than many store-bought options, and the texture is tailor-made by incubation time.
Finally, it’s versatile. Eat it plain, sweeten it, churn it into labneh, or use it as a base for dressings and marinades. Once you make your first batch, you’ll understand why it becomes a fridge staple.
Swap Guide
Small swaps change texture and tang. Here are straightforward options and the effects to expect:
- Milk type: using lower-fat milk will yield a thinner final yogurt; higher-fat milk gives a creamier result. No specific quantities change—use the same 1 gallon.
- Starter options: you can use 1/4 cup of any plain yogurt that explicitly lists live active cultures. Some branded starters or powdered starters also work; follow the manufacturer’s guidance for how to prepare them, but still use the same inoculation amount roughly equivalent to 1/4 cup when using plain yogurt.
- For thicker yogurt: incubate toward 12 hours for tang and body, or strain the finished yogurt through cheesecloth to concentrate it after cooling. Straining removes whey but doesn’t require changing the original recipe amounts.
Setup & Equipment
Keep the gear minimal and reliable. Here’s what I use every time:
- Instant Pot with a working “Yogurt” function — the model handles both boiling and timed incubation.
- A digital thermometer — accurate temperature checks at 180–200°F and 110–115°F are essential.
- A ladle and a small mixing bowl — for tempering the starter so the cultures mix evenly.
- Spoons or a whisk — to combine the starter and milk gently but thoroughly.
- Clean containers for storage — jars with lids, airtight tubs, or the inner pot covered in the fridge.
Optional but handy: a bowl for an ice bath to cool the inner pot faster, and a mesh strainer and cheesecloth if you like strained yogurt.
What Not to Do
Avoid common missteps that ruin texture or kill cultures.
- Do not add the starter while the milk is hotter than 115°F. High heat will inactivate the bacteria and the batch may not set.
- Do not skip the boil (BOIL cycle). Heating to at least 180°F changes milk proteins so they set into yogurt rather than separating.
- Don’t stir aggressively after adding the starter. Gentle whisking distributes cultures without deflating the milk.
- Avoid using flavored or sweetened yogurt as your starter. Added sugars, fruit, or stabilizers can interfere with reliable culturing.
Adaptations for Special Diets
Adaptations are possible but require patience and understanding of how cultures interact with different milks.
- Dairy-free milks (almond, soy, oat): these can be cultured, but they often need stabilizers or commercial dairy-free starters to set. Texture will differ from dairy yogurt.
- Lower-fat diets: use lower-fat milk in the same 1-gallon quantity. Expect a lighter mouthfeel. For more body without adding fat, strain the finished yogurt.
- Lactose-sensitive eaters: longer incubation reduces lactose slightly because bacteria consume it, but this does not eliminate lactose completely. Consider lactose-free milk, which will behave differently during incubation.
Pro Tips & Notes
Timing and Texture
Incubation length is your dial for tang and thickness. Aim for 8 hours if you want mild yogurt that’s easier to spoon. Aim toward 12 hours for tangier, thicker results. Remember: it firms further in the fridge.
Temperature Control
Use an instant-read thermometer often. After the BOIL cycle, the milk must register 180–200°F. After cooling, it should be 110–115°F before you add the starter. These ranges matter; don’t eyeball it.
Starter Care
Reserve 1/4 cup from a store-bought plain yogurt with active cultures to seed your first batch. After your first homemade batch sets, you can reserve 1/4 cup from your own yogurt to start the next batch. Over time, cultures drift; refresh with a commercial starter if flavor changes or activity slows.
Leftovers & Meal Prep
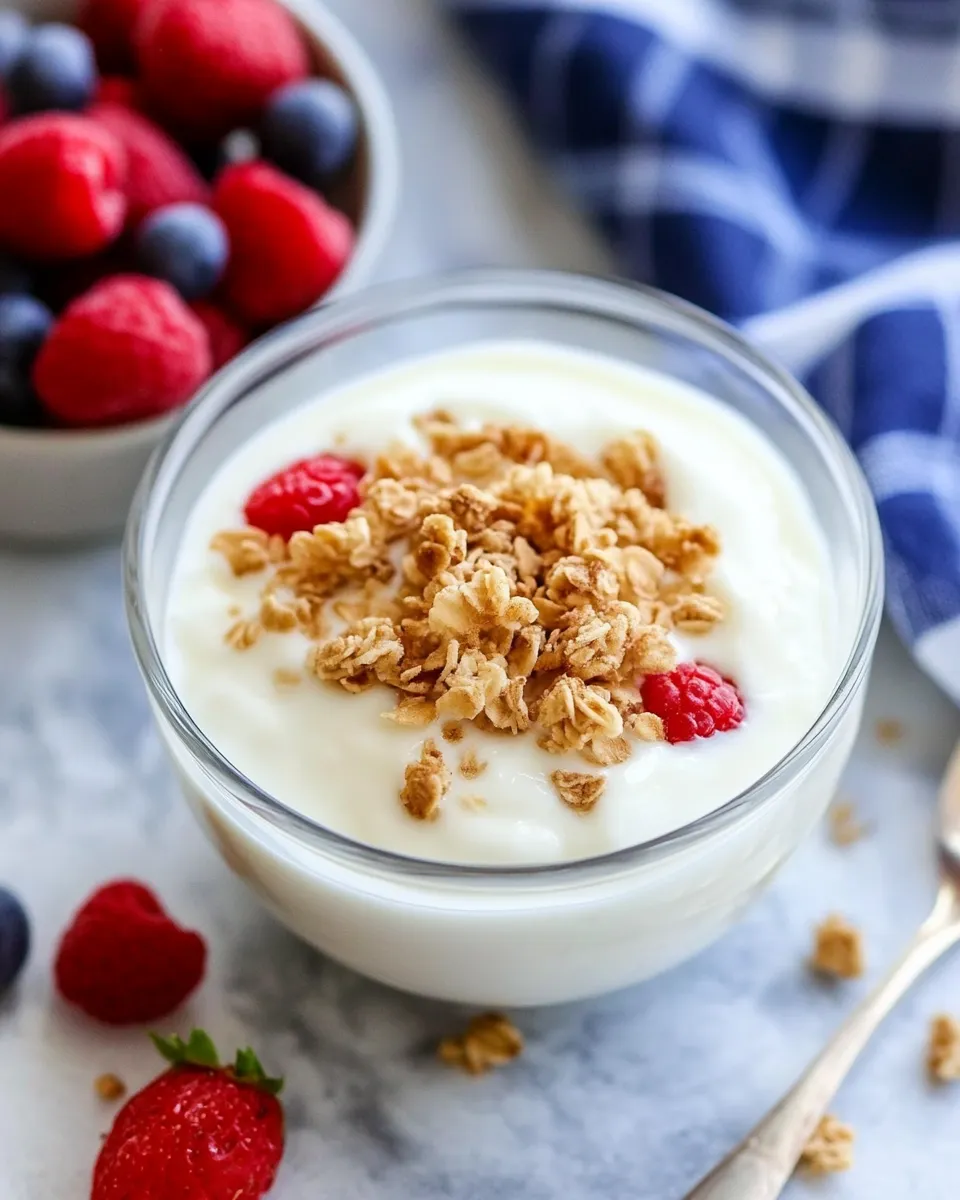
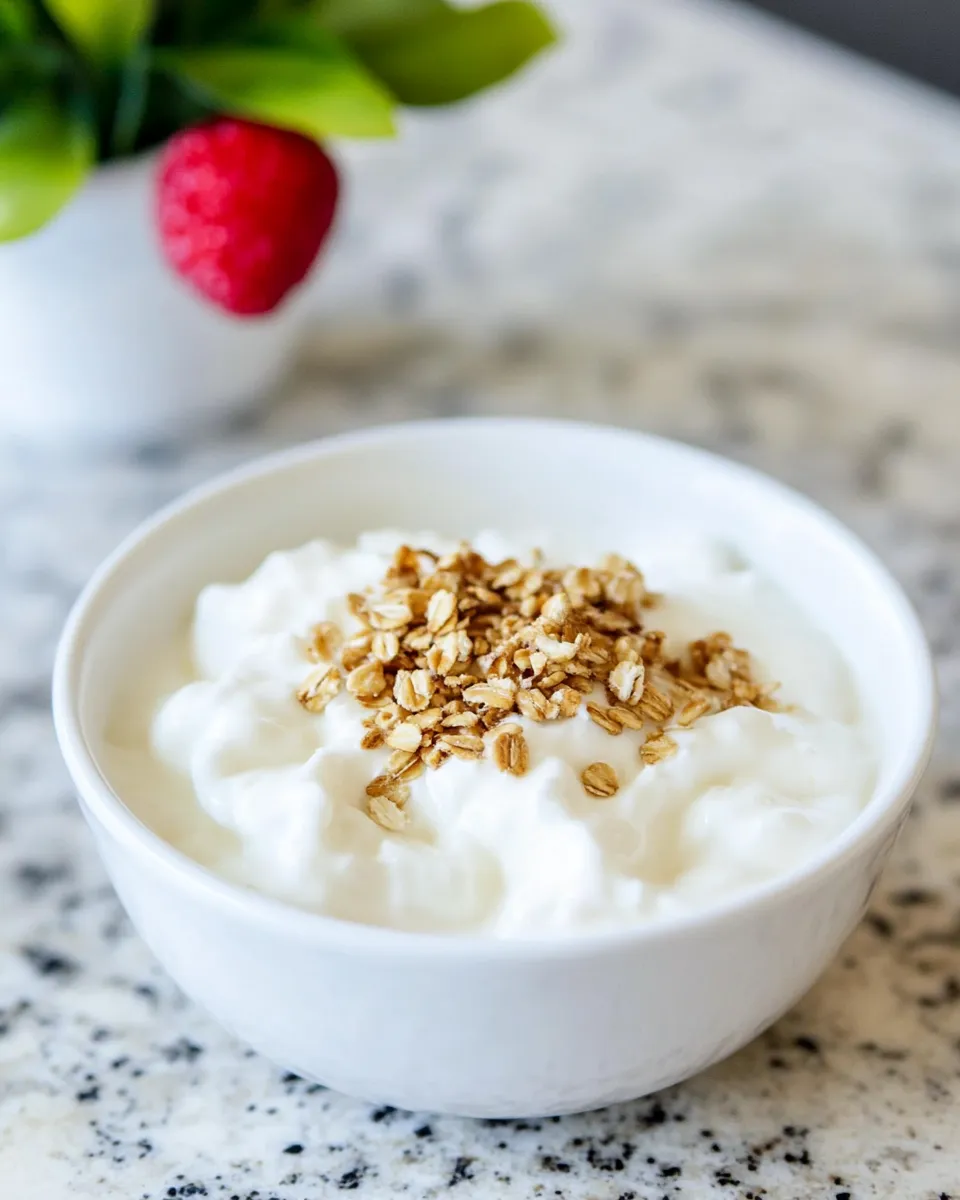
Once refrigerated, yogurt lasts up to 10 days—this is the guideline I follow. Keep it covered and cold. If you plan to prep breakfasts, portion yogurt into jars with fruit, granola, or preserves so mornings are grab-and-go.
If you want thicker Greek-style yogurt, strain it after the chill for 2–4 hours depending on how thick you like it. The strained whey is useful in soups, smoothies, or baked goods—don’t toss it if you cook regularly.
FAQ

Can I use skim milk or half-and-half?
Yes. Use the same 1 gallon quantity. Skim will produce a thinner yogurt; half-and-half will make it richer. Your texture changes, but the steps and times remain the same.
Why didn’t my yogurt set?
Common causes: milk was too hot when starter was added, starter was inactive, the Instant Pot failed to maintain temperature during incubation, or temperatures after the BOIL cycle never reached 180°F. Check your thermometer and start over with a fresh 1/4 cup of active-yogurt starter.
Can I double or halve this recipe?
This method is written for 1 gallon because it fits most Instant Pot inner pots well. If you use less or more milk, keep the starter proportion roughly the same (about 1/4 cup for a gallon; for significantly smaller volumes, scale the starter proportionally). Be cautious—smaller volumes cool faster and may require more careful temperature management.
How do I get no-whey, very thick yogurt?
Incubate closer to 12 hours for more body, then strain the chilled yogurt through cheesecloth or a fine strainer until you reach the consistency you like. Straining removes whey but doesn’t require changing the original ingredient amounts.
Can I flavor the yogurt during incubation?
No. Add flavorings—honey, jam, vanilla—after incubation and chilling. Sugars and extracts can affect bacterial activity, so introduce them at serving time.
In Closing
Making Instant Pot Yogurt is one of those kitchen projects that rewards a small investment of time with steady returns. The process is straightforward: sterilize, boil, cool, inoculate, incubate, chill. Each step matters, but none are difficult. If you keep a thermometer, a reliable starter, and patience, you’ll have fresh yogurt on a schedule that suits your family.
Start with the recipe as written, take notes on incubation time and texture you prefer, and tweak only one thing at a time. Enjoy the control—better texture, fewer additives, and a fridge full of yogurt ready whenever you need it.

Instant Pot Yogurt
Ingredients
Ingredients
- 1 gallonmilk*
- 1/4 cupyogurt with active cultures or yogurt starter*
Instructions
Instructions
- Clean or sterilize the Instant Pot inner pot. Either wash the inner pot thoroughly with soap and water and dry it, or sterilize by adding 2 cups cold water to the inner pot, closing the lid, sealing the vent, selecting High Pressure for 3 minutes, and allowing a natural release. Discard the sterilizing water and dry the inner pot completely.
- Pour 1 gallon milk into the inner pot.
- Place the lid on the Instant Pot (vent position does not matter). Press the "Yogurt" button, then press "Adjust" until the display reads "BOIL." The Instant Pot will heat the milk to boiling.
- When the Instant Pot beeps to signal the end of the BOIL cycle, remove the lid and check the milk temperature with a thermometer. The milk should be between 180°F and 200°F. If it has not reached at least 180°F, repeat the "Yogurt" → "BOIL" cycle and check again.
- Allow the milk to cool to between 110°F and 115°F. This can take 1–2 hours at room temperature, or about 10–15 minutes faster by placing the inner pot in a bowl of ice water. Check the temperature often with a thermometer.
- If a skin has formed on top of the cooled milk, gently spoon it off and discard it.
- Temper the starter: scoop a ladleful of the warm milk into a small bowl, add the 1/4 cup yogurt with active cultures, and whisk until smooth.
- Pour the tempered yogurt-milk mixture back into the inner pot and whisk gently but thoroughly to combine with the rest of the milk.
- Return the inner pot to the Instant Pot and secure the lid (vent position does not matter). Press the "Yogurt" button and adjust the time to between 8:00 and 12:00 hours—choose less time (around 8 hours) for looser, milder yogurt and more time (up to 12 hours) for thicker, tangier yogurt.
- When the incubation time ends, check that the yogurt has thickened and jiggles slightly. It will firm up more after cooling.
- Transfer the yogurt to containers or cover the inner pot and refrigerate for at least 4 hours or overnight before serving. Stir gently before serving.
- Store yogurt in the refrigerator and use within 10 days.
Equipment
- Instant Pot (6 or 8 Quart)
- Instant-read digital thermometer.
- Cheesecloth(Optional): to strain the yogurt for Greek yogurt/thicker yogurt, if desired. You can buy cheesecloth at most grocery stores in the baking or kitchen gadget section.
- Fine Mesh Strainer
Notes
Raw milk: I have not tested this recipe with raw milk, but I’ve read that the results can be inconsistent based on the microbes in the raw milk competing with the yogurt starter. Let me know if you try it with raw milk! Sheep milk and Goat milk could be also used but the yogurt will take on those respective flavors.
Dairy-free yogurt: Try these recipes forSoy milkyogurt orcoconut milkyogurt.
Every 1 quart (4 cups) of milk need 1 Tablespoon of yogurt starter. If using more than 1 gallon of milk, you will need an 8 quart instant pot. To halve the recipe, use ½ gallon of milk and 2 tablespoons yogurt starter.