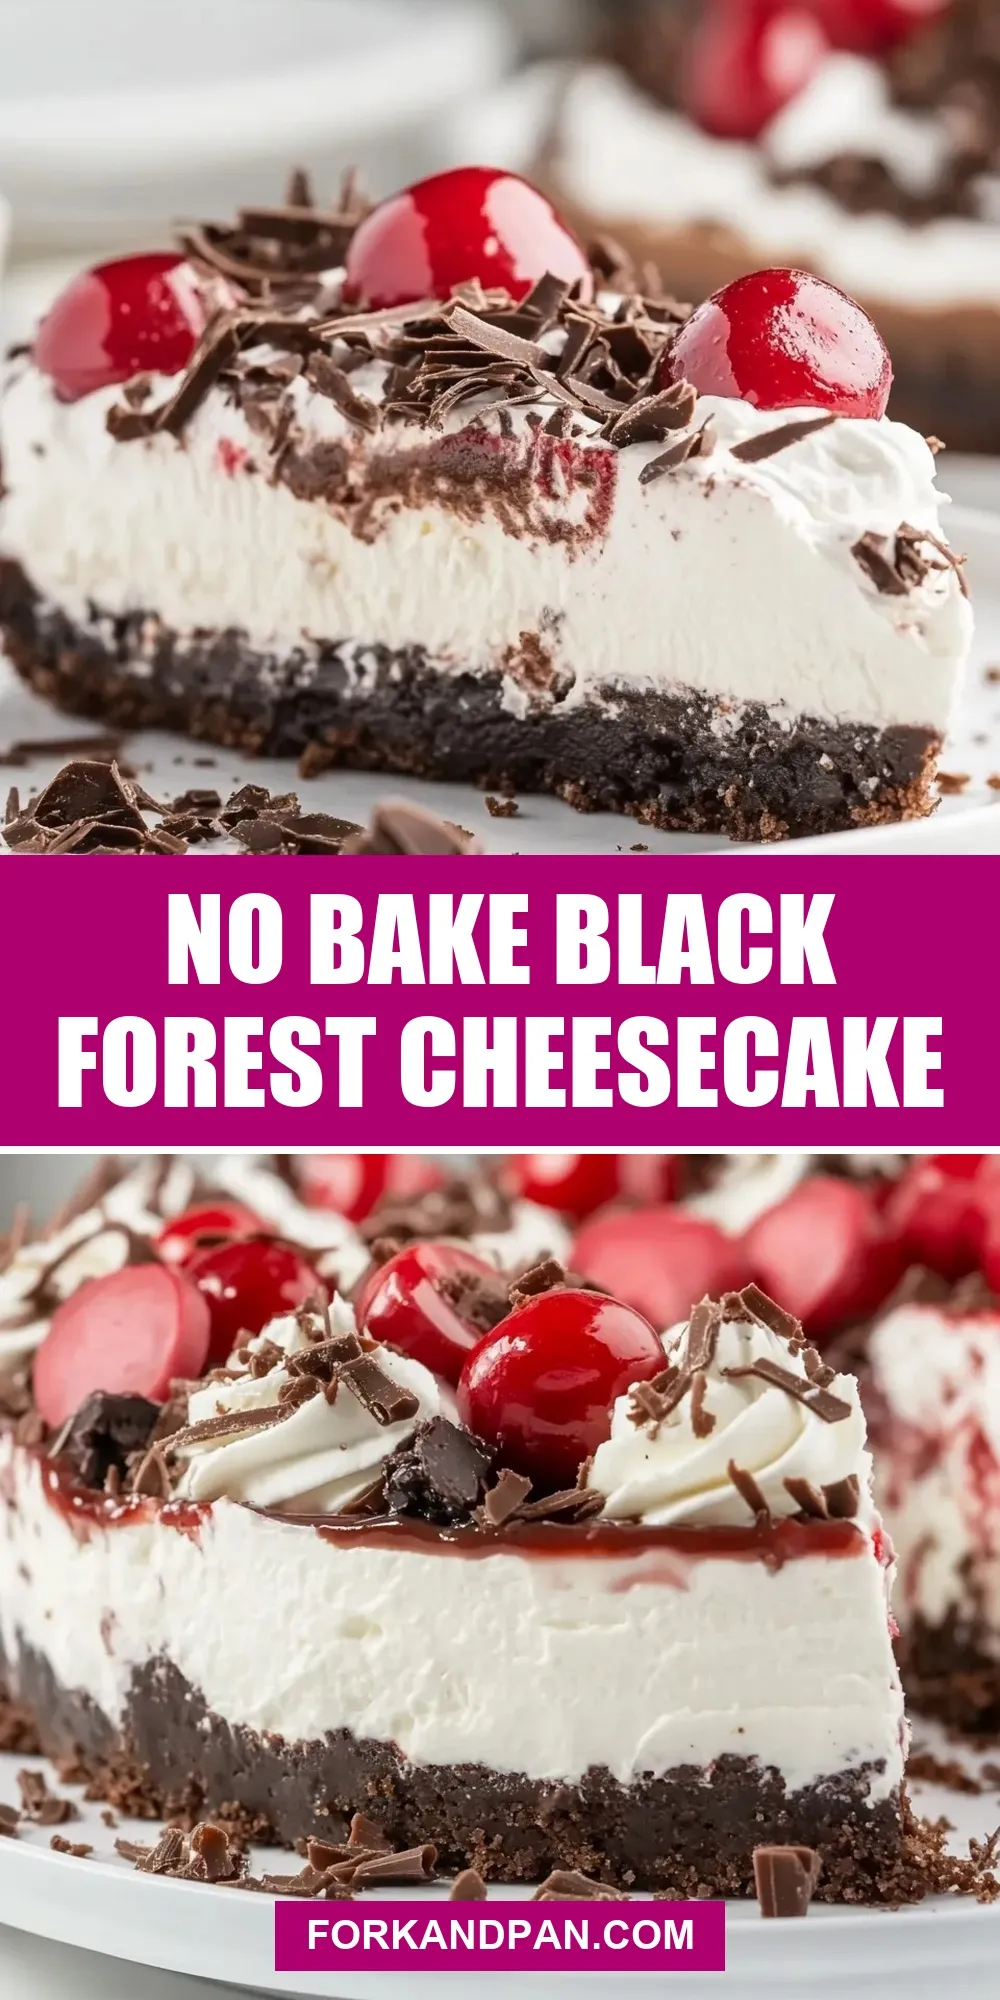
No Bake Black Forest Cheesecake
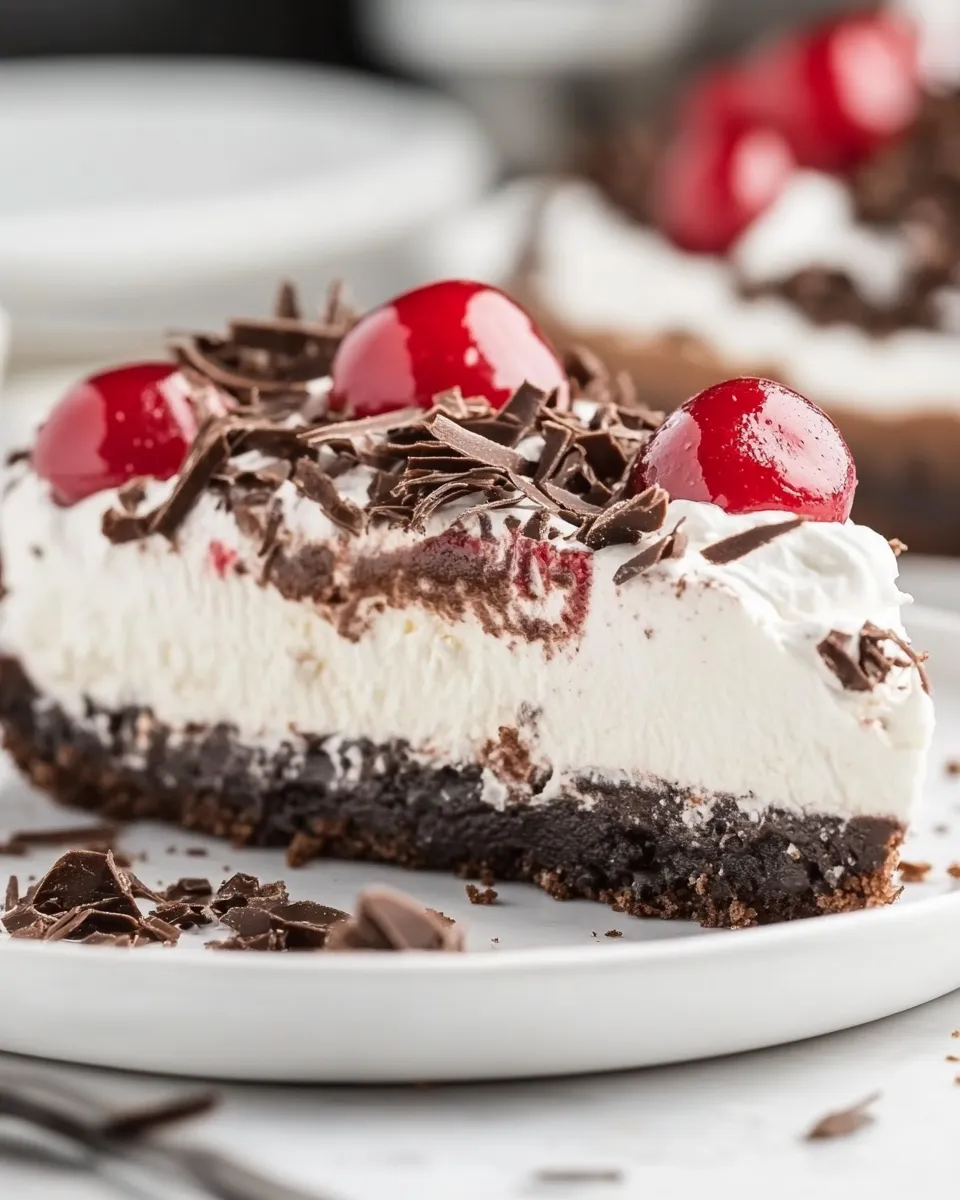
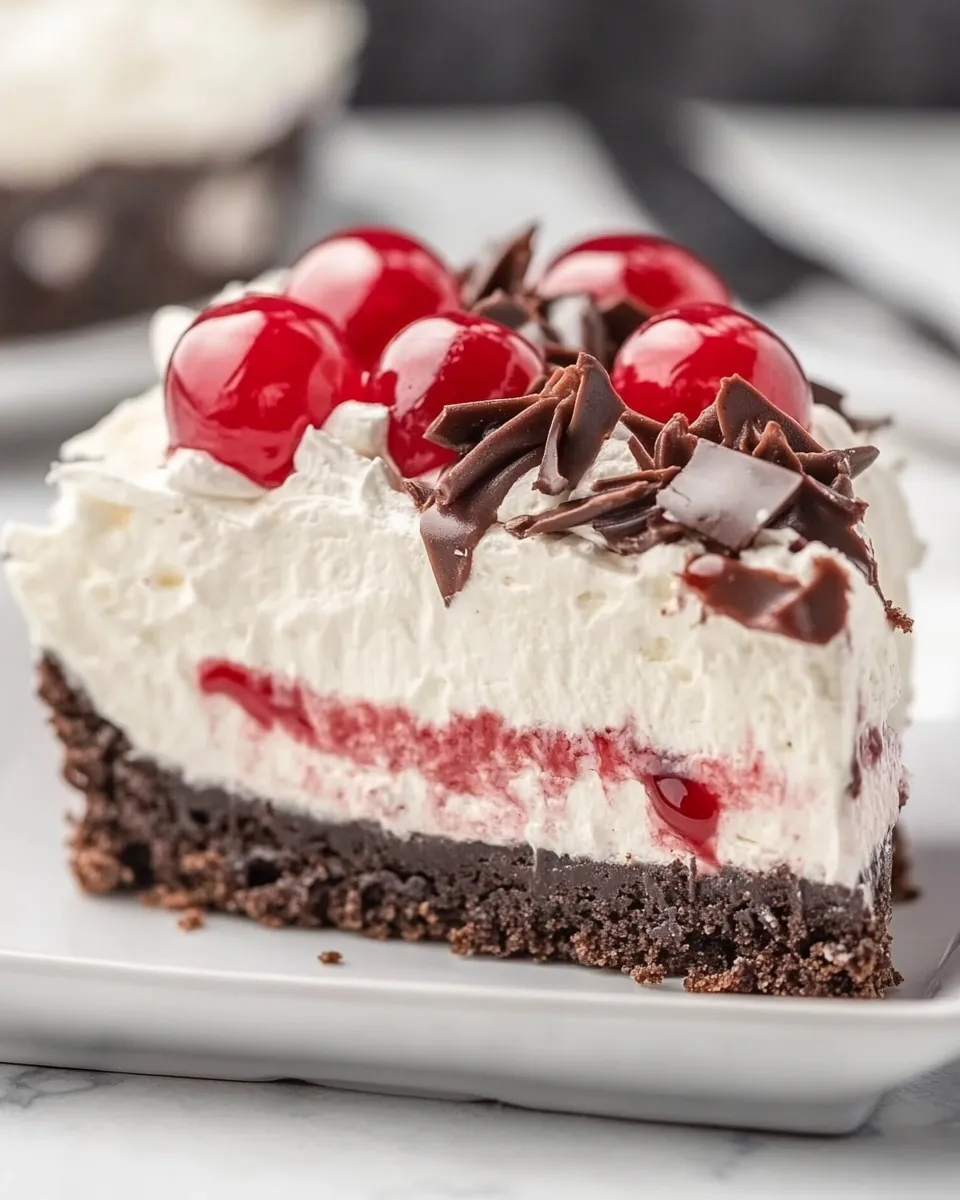
This is a no-fuss, no-bake Black Forest cheesecake that feels indulgent but is surprisingly easy to pull together. Think Oreo crust, chocolatey cream cheese filling, and bright cherry pockets—finished with whipped swirls and extra cherry topping. It’s the kind of dessert that looks special but doesn’t demand an oven or advanced pastry skills.
I built this recipe to be practical: straightforward steps, predictable texture, and swaps where they matter. Chill time does the heavy lifting, so most of the work is mixing and folding. The result holds up well for parties, and it slices cleanly if it’s had enough time in the fridge.
What We’re Using

- 32 Oreos — the whole cookie, filling included; the base of the crust and source of chocolate flavor.
- 4 tablespoons salted butter — melted; binds the Oreo crumbs and creates a firm, sliceable crust.
- 16 ounces cream cheese — room temperature; the creamy backbone of the filling.
- ¾ cup granulated sugar — sweetens the cream cheese and balances cocoa bitterness.
- ½ cup unsweetened cocoa powder — deep chocolate flavor and color without extra sweetness.
- 1 cup sour cream — or plain Greek yogurt; adds tang and loosens the cream cheese for a silky texture.
- 1 cup cherry pie filling — folded into the filling for pockets of fruit and color.
- 8 ounces whipped topping — thawed; lightens the filling and keeps it stable without baking.
- 1 cup whipped cream — or whipped topping; for piping decorative swirls around the edge before serving.
- 1 cup cherry pie filling — reserve this for the center garnish to keep cherries intact and glossy.
- chocolate shavings — for finishing; adds texture and contrast on top of the cherries and whipped swirls.
Black Forest Cheesecake, Made Easy
- Lightly spray a 9-inch springform pan with nonstick cooking spray and set aside.
- Place 32 Oreos (whole cookies, filling included) in a food processor and pulse until only small crumbs remain. (Alternatively, put the cookies in a large zip-top bag and crush with a rolling pin.)
- Add 4 tablespoons melted salted butter to the Oreo crumbs and pulse until fully incorporated and the mixture resembles wet sand.
- Evenly press the crust mixture into the bottom of the prepared springform pan. Cover with plastic wrap and place the pan in the freezer while you prepare the filling.
- In a large bowl, combine 16 ounces cream cheese (room temperature), 3/4 cup granulated sugar, and 1/2 cup unsweetened cocoa powder. Using a hand mixer or stand mixer, beat for 3 to 5 minutes, or until the mixture is light and fluffy.
- Add 1 cup sour cream (or plain Greek yogurt) to the cream cheese mixture and beat until thoroughly combined.
- Gently fold in 1 cup cherry pie filling, taking care not to crush the cherries.
- Fold in 8 ounces thawed whipped topping until evenly incorporated.
- Transfer the filling to the frozen crust and spread it evenly. Cover with plastic wrap and refrigerate for a minimum of 4 hours (overnight preferred) until set.
- Before serving, transfer 1 cup whipped cream (or whipped topping) to a piping bag and pipe large swirls around the edge of the cheesecake.
- Spoon the remaining 1 cup cherry pie filling into the center of the cheesecake and gently spread it toward the piped whipped cream swirls.
- Garnish the top with chocolate shavings, release the springform, cut into slices, and serve.
Why It Works Every Time
The structure is simple and reliable: a pressed cold crust and a stabilized filling. Crushed Oreos plus melted butter bind together into a dense base that firms up in the freezer, so you get clean slices without baking. Chilling the crust briefly while you make the filling prevents the butter from softening and keeps the base tight.
Beating the cream cheese with sugar and cocoa for a few minutes incorporates air and makes the filling light rather than dense. Sour cream (or Greek yogurt) adds acidity, which cuts the richness and gives the finished cake a balanced flavor. Folding in the cherry pie filling keeps intact fruit pockets; folding in whipped topping gives a lighter mouthfeel and prevents the filling from being overly heavy.
Ingredient Flex Options
- Oreos — the recipe calls for 32 whole cookies; use the same quantity of chocolate sandwich cookies if you need a brand change.
- Butter — salted butter is specified; it helps season the crust. If you must use unsalted, consider that the crust will be slightly less salty but still functional.
- Sour cream or plain Greek yogurt — the recipe already allows either; yogurt will give a similar tang with slightly different body.
- Whipped topping vs. whipped cream — both are mentioned as acceptable in the recipe for the filling and piping. Whipped cream offers fresher flavor; whipped topping can be more stable for longer serving windows.
- Cherry pie filling — the recipe uses it twice: a cup folded into the filling and another cup for topping. Keeping some filling reserved ensures the garnish has whole cherries and shine.
What’s in the Gear List
- 9-inch springform pan — the recipe specifies this size for proper proportions and easy removal.
- Food processor — for quickly grinding Oreos into fine crumbs; a zip-top bag and rolling pin are the alternative.
- Hand mixer or stand mixer — needed to beat the cream cheese, sugar, and cocoa until light and fluffy.
- Mixing bowls — medium and large bowls for crust and filling.
- Spatula — for folding and transferring filling without deflating it.
- Piping bag — for piping the whipped swirls before topping.
- Plastic wrap — to cover while chilling.
- Measuring cups and spoons — for accuracy with sugar, cocoa, and butter.
Pitfalls & How to Prevent Them
- Crust too loose — if crumbs don’t feel like “wet sand” after adding the butter, add a touch more melted butter, a teaspoon at a time, until the mixture holds when squeezed. Press firmly into the pan and chill as directed.
- Grainy or lumpy filling — use room-temperature cream cheese. Cold cream cheese doesn’t beat smoothly and leads to lumps. Beat the cream cheese, sugar, and cocoa until light before adding sour cream.
- Cherries getting crushed — fold cherry pie filling gently to preserve whole cherries. Reserve a cup for the center garnish so you don’t overwork the cherries.
- Cheesecake not setting — refrigeration time matters. Minimum 4 hours will firm it, but overnight is best. If you rush slicing, you’ll get soft edges and messy slices.
- Whipped topping melting — pipe whipped cream or topping only immediately before serving to keep swirls tall and defined.
Substitutions by Diet
- Lower-fat option — use light cream cheese and plain low-fat Greek yogurt in place of sour cream; expect a slightly looser texture but similar flavor.
- Make it vegetarian — the recipe is already vegetarian if your whipped topping is vegetarian; check labels for gelatin or animal-derived stabilizers if that’s a concern.
- Gluten considerations — swap the Oreos for a certified gluten-free chocolate sandwich cookie in the same quantity to make the crust gluten-free.
- Keep it simple — the recipe lists whipped topping or whipped cream in both filling and for piping. Choose the option that fits your dietary needs and stability requirements.
Pro Perspective
Small technique points separate a good no-bake cheesecake from a great one. First, scrape the bowl well and beat the cream cheese mix until it’s noticeably lighter in color—that aeration matters for texture. Second, freeze the crust briefly as instructed; a cold crust maintains its integrity when the room-temperature filling is added. Third, fold, don’t beat, the cherries and whipped topping into the cream cheese—overmixing defeats the airy structure.
When piping the whipped swirls, hold the bag vertically and apply steady pressure to create tall, uniform swirls. Use an offset spatula while spreading the filling onto the crust for a smooth, level top that makes the final presentation clean.
Shelf Life & Storage
Cover the cheesecake and store in the refrigerator for up to 4 days. The crust is best the first two days but will still be pleasant for several days if kept cold. If you need longer storage, you can freeze the whole cheesecake (wrapped tightly) for up to 1 month; thaw in the refrigerator for 8–12 hours before serving.
Avoid leaving this dessert at room temperature for more than 2 hours due to the dairy components. Whipped decorations are best piped just before serving; if left on the cake in the fridge, they may soften over time depending on the topping used.
Frequently Asked Questions
- Can I make this ahead? Yes. Assemble and refrigerate overnight for best texture. If making more than a day ahead, wrap tightly and consume within 3–4 days.
- Can I use fresh cherries? The recipe calls for cherry pie filling to maintain glossy cherries and syrup. Fresh cherries could be used for garnish, but they won’t provide the same saucy topping.
- Why is my filling a little grainy? Likely cold cream cheese. Bring cream cheese to room temperature before beating, and beat until smooth and light.
- Can I skip the cocoa? The cocoa gives chocolate flavor and balance. Omitting it will change the profile; you could reduce sugar if you remove cocoa, but that’s a recipe modification beyond the provided directions.
- How do I get clean slices? Chill thoroughly, then run a sharp knife under hot water, wipe dry, and slice. Repeat between cuts for the cleanest presentation.
Bring It to the Table
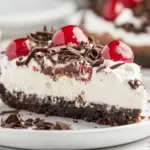
Serve slices cold and let guests admire the contrast of dark base, chocolate filling, and bright cherries. A few extra chocolate shavings on each slice lifts the plate visually and adds texture. If you like, add a mint leaf for color, but the cake stands on its own.
Presentation options
- Keep the piped swirls neat around the edge and spoon the reserved cherries in the center for a classic look.
- For a rustic feel, spread the cherry topping and skip the piping—still delicious and simpler for large gatherings.
This No Bake Black Forest Cheesecake is built to be replicated: reliable steps, forgiving assembly, and a beautiful result. Follow the chilling times, be gentle with the cherries, and you’ll have a show-stopping dessert with minimal hands-on time.
No Bake Black Forest Cheesecake
Ingredients
Ingredients
- 32 Oreosthe whole cookie filling included
- 4 tablespoonssalted buttermelted
- 16 ouncescream cheeseroom temperature
- 3/4 cupgranulated sugar
- 1/2 cupunsweetened cocoa powder
- 1 cupsour creamor plain Greek yogurt
- 1 cupcherry pie filling
- 8 ounceswhipped toppingthawed
- 1 cupwhipped creamor whipped topping
- 1 cupcherry pie filling
- chocolate shavings
Instructions
Instructions
- Lightly spray a 9-inch springform pan with nonstick cooking spray and set aside.
- Place 32 Oreos (whole cookies, filling included) in a food processor and pulse until only small crumbs remain. (Alternatively, put the cookies in a large zip-top bag and crush with a rolling pin.)
- Add 4 tablespoons melted salted butter to the Oreo crumbs and pulse until fully incorporated and the mixture resembles wet sand.
- Evenly press the crust mixture into the bottom of the prepared springform pan. Cover with plastic wrap and place the pan in the freezer while you prepare the filling.
- In a large bowl, combine 16 ounces cream cheese (room temperature), 3/4 cup granulated sugar, and 1/2 cup unsweetened cocoa powder. Using a hand mixer or stand mixer, beat for 3 to 5 minutes, or until the mixture is light and fluffy.
- Add 1 cup sour cream (or plain Greek yogurt) to the cream cheese mixture and beat until thoroughly combined.
- Gently fold in 1 cup cherry pie filling, taking care not to crush the cherries.
- Fold in 8 ounces thawed whipped topping until evenly incorporated.
- Transfer the filling to the frozen crust and spread it evenly. Cover with plastic wrap and refrigerate for a minimum of 4 hours (overnight preferred) until set.
- Before serving, transfer 1 cup whipped cream (or whipped topping) to a piping bag and pipe large swirls around the edge of the cheesecake.
- Spoon the remaining 1 cup cherry pie filling into the center of the cheesecake and gently spread it toward the piped whipped cream swirls.
- Garnish the top with chocolate shavings, release the springform, cut into slices, and serve.
Equipment
- 9-inch springform pan
Notes
Storing Leftovers: Keep leftovers stored in an airtight container in the fridge for up to 5 days.
Freezing: You can freeze the cheesecake (without toppings) for up to 3 months wrapped in plastic wrap and foil, placed in an airtight container or freezer safe ziploc bag. Thaw overnight in the fridge before serving.