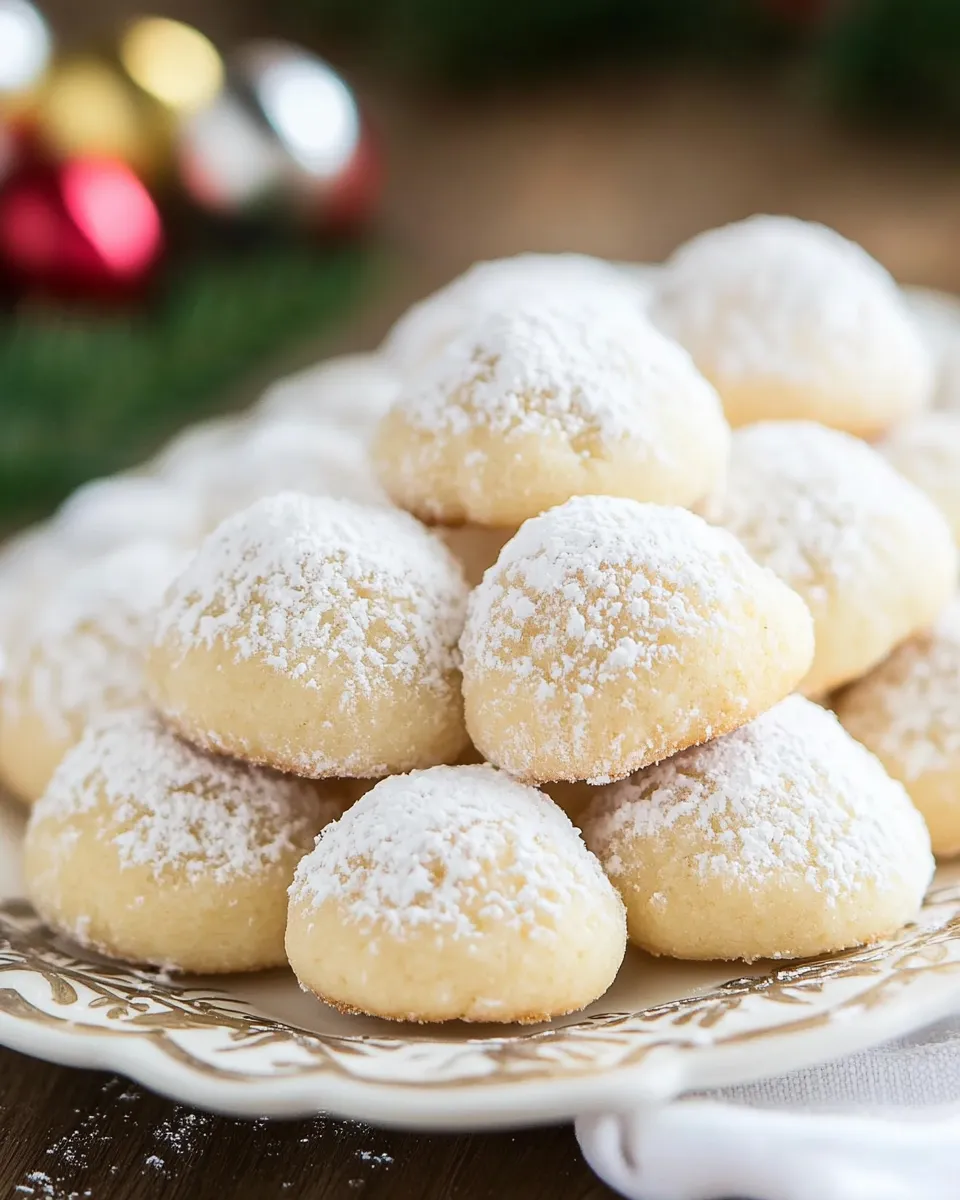
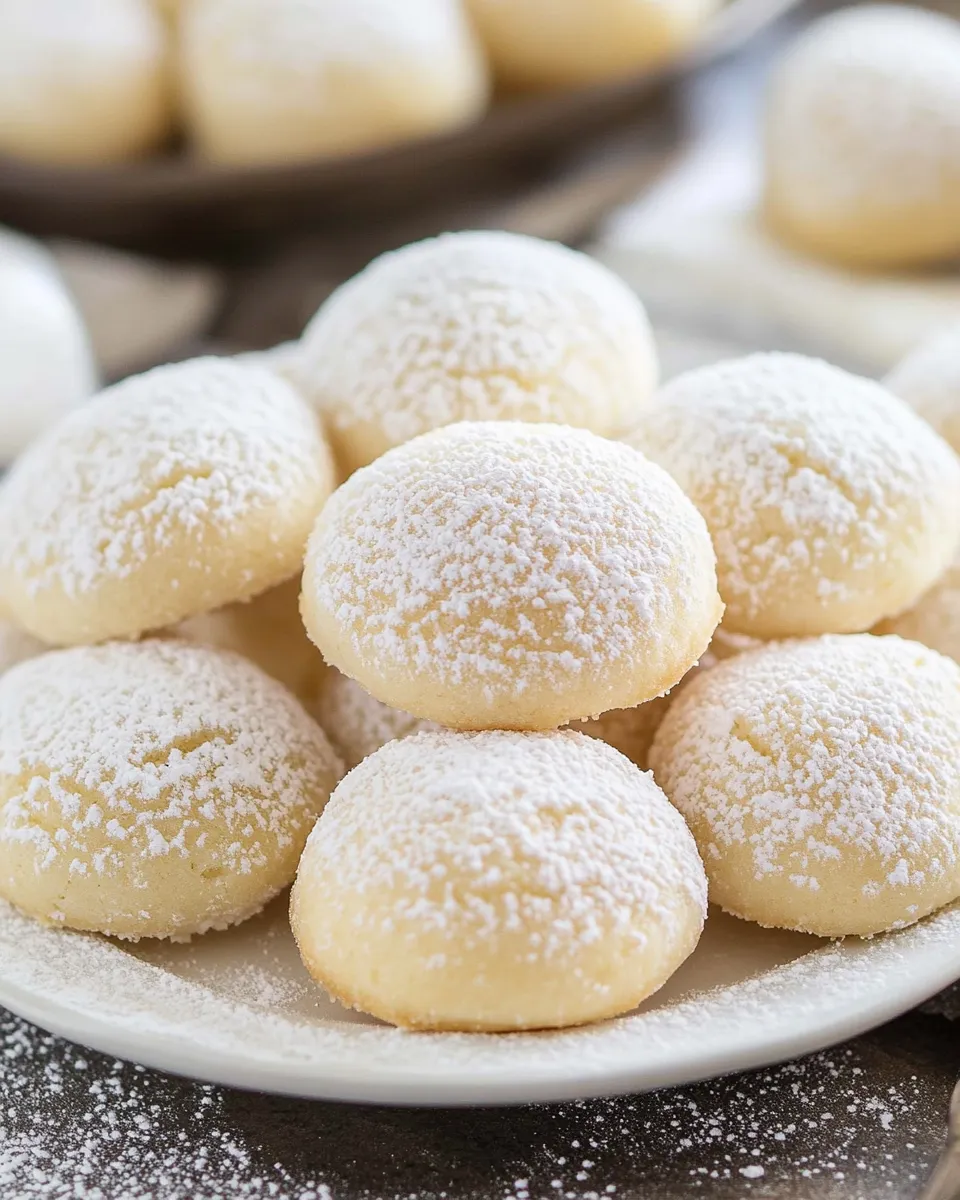
Italian Wedding Cookies
These little snowball cookies are a holiday staple for a reason: tender, buttery, and nutty with a melt-in-your-mouth finish. They feel fancy but they’re forgiving to make, and the powdered sugar coating gives them that classic wedding-table look. I keep a batch in the freezer for unexpected guests and gift boxes.
You’ll find the method below is straightforward and reliable. No temperamental dough, no chilling marathons, just simple steps and predictable results. If you’ve baked drop cookies before, you’ll be right at home.
I wrote this recipe after testing a few small variations and sticking with the one that consistently produced that soft crumb and clean, white finish. Read through the tips and storage notes — they make a big difference in texture and presentation.
Gather These Ingredients

Ingredients
- 2 sticks (8 oz / 225 g) unsalted butter, softened to room temperature — provides the rich, tender base; soften so it creams easily with sugar.
- ½ cup (50 g) powdered sugar — folded into the dough for a fine, tender crumb and light sweetness.
- 2 teaspoons pure vanilla extract — warms the flavor and complements the almond flour.
- ½ teaspoon salt — balances the sweetness and enhances the butter’s flavor.
- 1 cup almond flour — adds a delicate, nutty texture; it’s the key to the cookie’s characteristic crumb.
- 2½ cups (300 g) all-purpose flour — gives structure so the cookies hold their shape while remaining tender.
- ½ cup powdered sugar — for rolling the warm cookies so they finish with that snowy coating.
Italian Wedding Cookies: Step-by-Step Guide
- Preheat the oven to 350°F (180°C). Line a baking sheet with parchment paper or a silicone baking mat (or lightly grease the sheet).
- In a large mixing bowl, add 2 sticks (8 oz / 225 g) softened unsalted butter, ½ cup (50 g) powdered sugar, ½ teaspoon salt, and 2 teaspoons pure vanilla extract. Using a hand mixer or stand mixer, beat on medium speed for 1 minute until the mixture is light and creamy.
- Add 1 cup almond flour and 2½ cups (300 g) all-purpose flour to the butter mixture. Mix on low–medium speed until the dough is just combined and no large streaks of flour remain; avoid overmixing.
- Use a small cookie scoop or a tablespoon to portion the dough into about 1-tablespoon portions. Roll each portion between your palms to form smooth balls.
- Place the cookie balls about 1 inch apart on the prepared baking sheet.
- Bake for 15–17 minutes, watching closely so the cookies set and remain very lightly colored but do not brown.
- Remove the baking sheet from the oven and let the cookies cool on the pan for 5 minutes. Transfer the cookies to a wire rack and let them cool until warm but cool enough to handle.
- Put the remaining ½ cup powdered sugar in a shallow bowl. Roll each warm cookie in the powdered sugar to coat, then return the coated cookies to the wire rack to finish cooling.
Why This Recipe is a Keeper
These cookies are reliable. The combination of butter, almond flour, and powdered sugar yields that signature tender, crumbly texture without being greasy. They bake through at a low temperature and must not brown; that’s how you keep them pale and delicate.
The dough is forgiving, so minor variations in humidity or small measurement slips won’t ruin the batch. They also freeze well, making them perfect for planning ahead at holidays or events.
No-Store Runs Needed
This recipe intentionally uses pantry staples: butter, all-purpose flour, powdered sugar, almond flour, vanilla, and salt. If you already bake, you probably have everything on hand. Almond flour is the only ingredient you might need to buy if you don’t bake with nuts often, but buying a small bag keeps well in the fridge for future batches.
Tools & Equipment Needed
- Mixing bowl — large enough for creaming butter and folding flour.
- Hand mixer or stand mixer — makes creaming the butter and sugar quick and consistent.
- Measuring cups and spoons — for accurate quantities; use a scale for best results with the flours if you have one.
- Cookie scoop or tablespoon — helps make uniform cookies for even baking.
- Baking sheet — lined with parchment paper or a silicone mat for easy release and cleanup.
- Wire cooling rack — lets cookies finish cooling evenly before storing or serving.
- Shallow bowl — for the powdered sugar coating.
Common Errors (and Fixes)
- Cookies spread or flatten too much — Your butter may have been too soft or melted. Chill the dough 15–20 minutes before scooping if this happens.
- Cookies are dry and crumbly — You may have overmixed or added too much flour. Mix until just combined and measure flour by spooning into the cup and leveling or, better, use a scale.
- Cookies browned — Oven temp too high or baked too long. Watch closely at 15 minutes and pull them when they’re set but still very lightly colored.
- Uneven powdered sugar coating — Roll while cookies are warm, not hot and not cold. Warm is ideal so the sugar adheres and forms a thin shell.
Spring to Winter: Ideas
Spring: Serve these alongside light lemon bars or simple shortbread at an afternoon tea. The delicate almond flavor pairs well with bright citrus.
Summer: Pack them in a cookie tin for picnics and potlucks — they travel well and don’t need refrigeration for a day or two.
Autumn: Offer them with spiced cider or coffee. A tiny sprinkle of cinnamon in the powdered sugar can be pleasant but optional.
Winter/Holidays: These are a classic holiday cookie. Make several batches, dust heavily with powdered sugar, and arrange them on a platter with biscotti and chocolate-dipped nuts for a festive display.
Cook’s Notes
Texture & Handling
Work quickly once the dough is made. Overworking warms the butter and can affect texture. The dough is easy to roll; if it sticks to your hands a little, dampen your palms slightly or lightly dust them with flour.
Almond Flour Tips
Use a fine almond flour rather than almond meal for the best crumb. If your almond flour is coarser, the cookies will still be tasty but the texture will be a bit grainier.
Coating Technique
Rolling the cookies in powdered sugar while they’re warm creates a bond so the sugar “sets” into the surface. A second dusting after they’ve fully cooled gives an extra snowy appearance if you like them very white.
Storage & Reheat Guide
Room temperature: Store in an airtight container layered with parchment for up to 4 days. They stay tender but will gradually dry out after that.
Refrigerator: You can refrigerate for up to 10 days in an airtight container. Bring to room temperature before serving for the best texture.
Freezer: Freeze undecorated balls of dough on a sheet pan until firm, then transfer to a freezer bag for up to 3 months. Bake from frozen, adding a minute or two to the bake time, and roll in powdered sugar while warm. For fully baked cookies, freeze cooled cookies in a single layer, then transfer to airtight containers for up to 3 months. Thaw at room temperature.
Common Questions
Can I replace almond flour with more all-purpose flour? You can, but almond flour contributes a soft, tender texture and a subtle nutty flavor. Replacing it will change texture; if you must, try reducing the AP flour slightly and expect a firmer cookie.
Do these need to be chilled? The recipe doesn’t require chilling. If your kitchen is very warm and the dough gets soft, 15–20 minutes in the refrigerator helps maintain the cookie shape while baking.
Can I add chopped nuts or chocolate? This version is traditional and delicate. Adding mix-ins will alter texture and may require a slight adjustment in bake time. If you add nuts, keep them finely chopped so the dough still forms balls easily.
Why are my cookies greasy? Greasiness usually means the butter was too warm or there was too much mixing. Chill briefly and use proper room-temperature butter (soft but not oily).
Serve & Enjoy
Arrange these cookies on a platter dusted with a little extra powdered sugar. They pair beautifully with strong coffee, espresso, or a nutty tea. For gift-giving, stack them in parchment-lined tins with a ribbon.
One bite and you’ll notice the soft, buttery interior and the thin sugary shell that gives way without clinging. They’re easy to share, easy to love, and they look as pretty as they taste.
Italian Wedding Cookies
Ingredients
Ingredients
- ?2 sticks8 oz 225 gunsalted buttersoftened to room temperature
- ?1/2 cup 50 gpowdered sugar
- ?2 teaspoonspure vanilla extract
- ?1/2 teaspoonsalt
- ?1 cupalmond flour
- ?2 1/2 cups 300 gall-purpose flour
- ?1/2 cuppowdered sugar
Instructions
Instructions
- Preheat the oven to 350°F (180°C). Line a baking sheet with parchment paper or a silicone baking mat (or lightly grease the sheet).
- In a large mixing bowl, add 2 sticks (8 oz / 225 g) softened unsalted butter, ½ cup (50 g) powdered sugar, ½ teaspoon salt, and 2 teaspoons pure vanilla extract. Using a hand mixer or stand mixer, beat on medium speed for 1 minute until the mixture is light and creamy.
- Add 1 cup almond flour and 2½ cups (300 g) all-purpose flour to the butter mixture. Mix on low–medium speed until the dough is just combined and no large streaks of flour remain; avoid overmixing.
- Use a small cookie scoop or a tablespoon to portion the dough into about 1-tablespoon portions. Roll each portion between your palms to form smooth balls.
- Place the cookie balls about 1 inch apart on the prepared baking sheet.
- Bake for 15–17 minutes, watching closely so the cookies set and remain very lightly colored but do not brown.
- Remove the baking sheet from the oven and let the cookies cool on the pan for 5 minutes. Transfer the cookies to a wire rack and let them cool until warm but cool enough to handle.
- Put the remaining ½ cup powdered sugar in a shallow bowl. Roll each warm cookie in the powdered sugar to coat, then return the coated cookies to the wire rack to finish cooling.
Equipment
- Oven
- Baking Sheet
- Parchment Paper
- Silicone Baking Mat
- Mixing Bowl
- Hand Mixer or Stand Mixer
- small cookie scoop or tablespoon
- Wire Rack
Notes
Freezer: Freeze unbaked cookies on a sheet pan in the freezer for 1 hour, then freeze in a Ziploc bag for up to 3 months. If you would like to freeze baked cookies, then freeze them without rolling them in powdered sugar for best results.
At room temperature: Store in an airtight container for up to 1 week. If you have layers, then I recommend that you stack with parchment paper in between to avoid the cookies from sticking.
Freezer: Freeze unbaked cookies on a sheet pan in the freezer for 30 minutes, then freeze in a Ziploc bag for up to 3 months. If you would like to freeze baked cookies, then freeze them without rolling them in powdered sugar for best results.