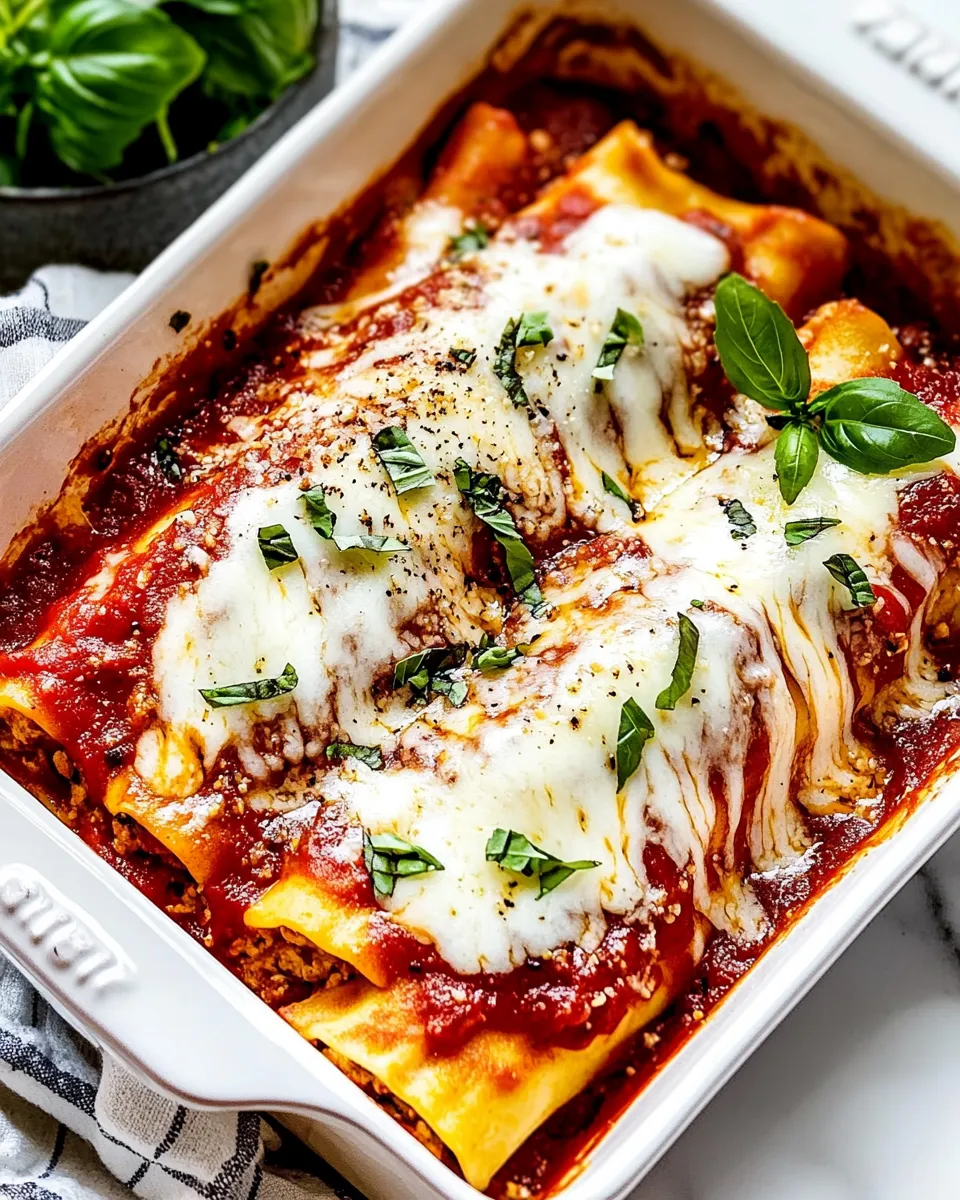
Manicotti
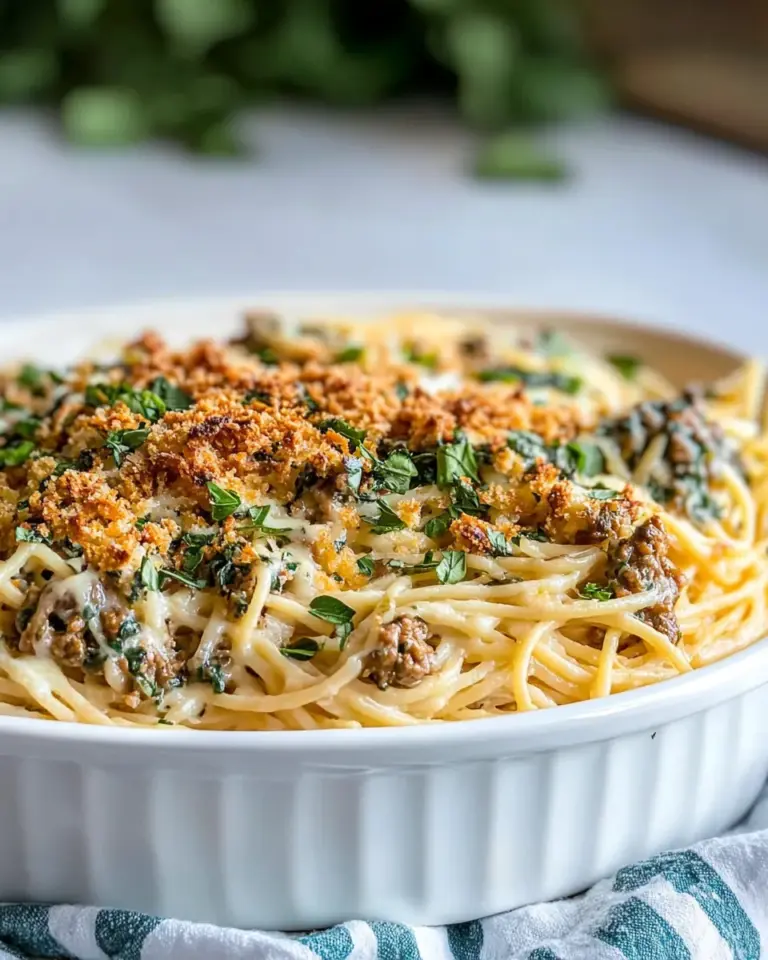
There’s something deeply comforting about a tray of baked pasta, the way gooey cheese mingles with tangy tomato sauce and fresh herbs to create something simultaneously simple and celebratory. This Manicotti recipe is one of those weeknight-into-weekend dishes: approachable, satisfying, and perfect for feeding a small crowd. It uses classic ingredients—ricotta, mozzarella, parmesan, fresh parsley and basil, eggs for structure, and a good jar of marinara—to make tender pasta tubes that hold a rich, creamy filling. Follow the steps below for a dependable, flavorful result every time.
Why this Manicotti works

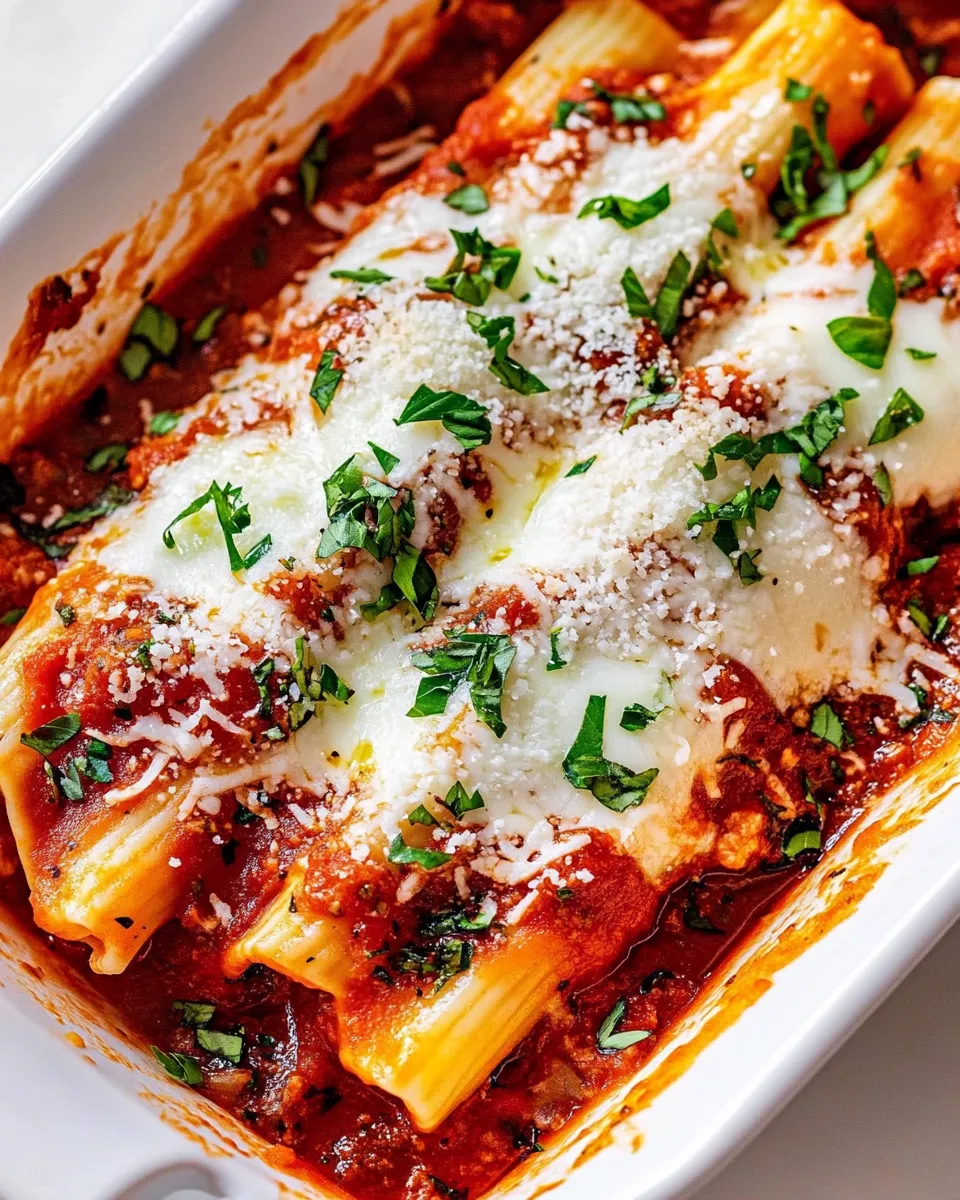
Manicotti shines because of contrast: soft pasta shells wrapped around a slightly seasoned, creamy filling, baked until the cheese melts into the sauce. The ricotta provides a silky base, eggs bind the filling so it doesn’t fall apart, and the combination of mozzarella and parmesan gives both melt and a savory bite. Fresh parsley and basil lift the richness with herbaceous brightness. Using a ready-made marinara keeps the recipe accessible yet still delicious—just choose a good-quality jar you enjoy.
Ingredients
- ▢10-12 manicotti noodles*
- ▢15 ounce ricotta cheese
- ▢3 cups grated low-moisture mozzarella cheese, divided
- ▢1 cup parmesan, divided
- ▢2 tablespoons fresh parsley, chopped, plus more for garnish
- ▢2 tablespoons fresh basil, chopped, plus more for garnish
- ▢2 large eggs, beaten
- ▢½ teaspoon black pepper
- ▢1 24 ounce jar marinara sauce
Note on the pasta: the quantity listed as 10–12 manicotti noodles depends on the exact size of the tubes you find—some are slightly larger than others. If necessary, adjust within that range so you can fill all the tubes without running out of filling.
Equipment
- Large pot for boiling pasta
- Large bowl for mixing the filling
- Slotted spoon or tongs
- 9×13-inch baking dish (or similar size)
- Piping bag, resealable plastic bag with corner snipped, or spoon for filling noodles
- Aluminum foil
Prep and timing
Total time: about 1 hour 10 minutes (active time ~35 minutes). Start by preparing the filling while the pasta water heats. The assembly is straightforward and the bake time brings everything together—golden on top, bubbling at the edges.
Step-by-step directions
- Bring a large pot of salted water to a boil. Add enough salt so the water tastes slightly salty; this seasons the pasta as it cooks. Once boiling, add the manicotti noodles and cook them according to package directions until they are very al dente—tender but still quite firm in the center. This prevents them from becoming mushy during baking.
- Drain and cool the noodles carefully. Use a slotted spoon or tongs to remove the noodles from the boiling water and place them on a lightly oiled baking sheet or clean towel, spaced apart so they don’t stick together. Let them cool enough to handle; if you prefer, briefly rinse with cool water to stop the cooking, then lay them flat.
- Preheat the oven and prepare the baking dish. Preheat your oven to 350°F (175°C). Pour about half of the 24 ounce jar of marinara sauce into the bottom of a 9×13-inch baking dish and spread it in an even layer—this will prevent the bottom of the manicotti from sticking and will create a saucy base for baking.
- Make the filling. In a large mixing bowl combine the entire 15 ounce container of ricotta cheese with 2 cups of the grated low-moisture mozzarella (reserve 1 cup), 1/2 cup of the parmesan (reserve the remaining 1/2 cup), 2 tablespoons chopped fresh parsley, 2 tablespoons chopped fresh basil, the 2 beaten large eggs, and 1/2 teaspoon black pepper. Stir thoroughly until the mixture is smooth and the eggs are fully incorporated. Taste and adjust seasoning if desired.
- Fill the manicotti shells. Transfer the ricotta mixture into a piping bag fitted with a medium tip, or into a resealable plastic bag with a corner snipped off. If you don’t have a bag, use a spoon to fill each noodle carefully. Holding a noodle flat, pipe or spoon the filling into one end and push it through until the tube is filled; avoid overfilling, which can cause splitting. Repeat until you have filled 10–12 manicotti noodles, depending on how many your baking dish will hold.
- Arrange the filled noodles in the prepared dish. Place each filled manicotti seam-side down in the baking dish over the layer of sauce. Arrange them in a single layer without crowding. If you have extra sauce, spoon it over and between the noodles to ensure even coverage and to prevent the top from drying out during baking.
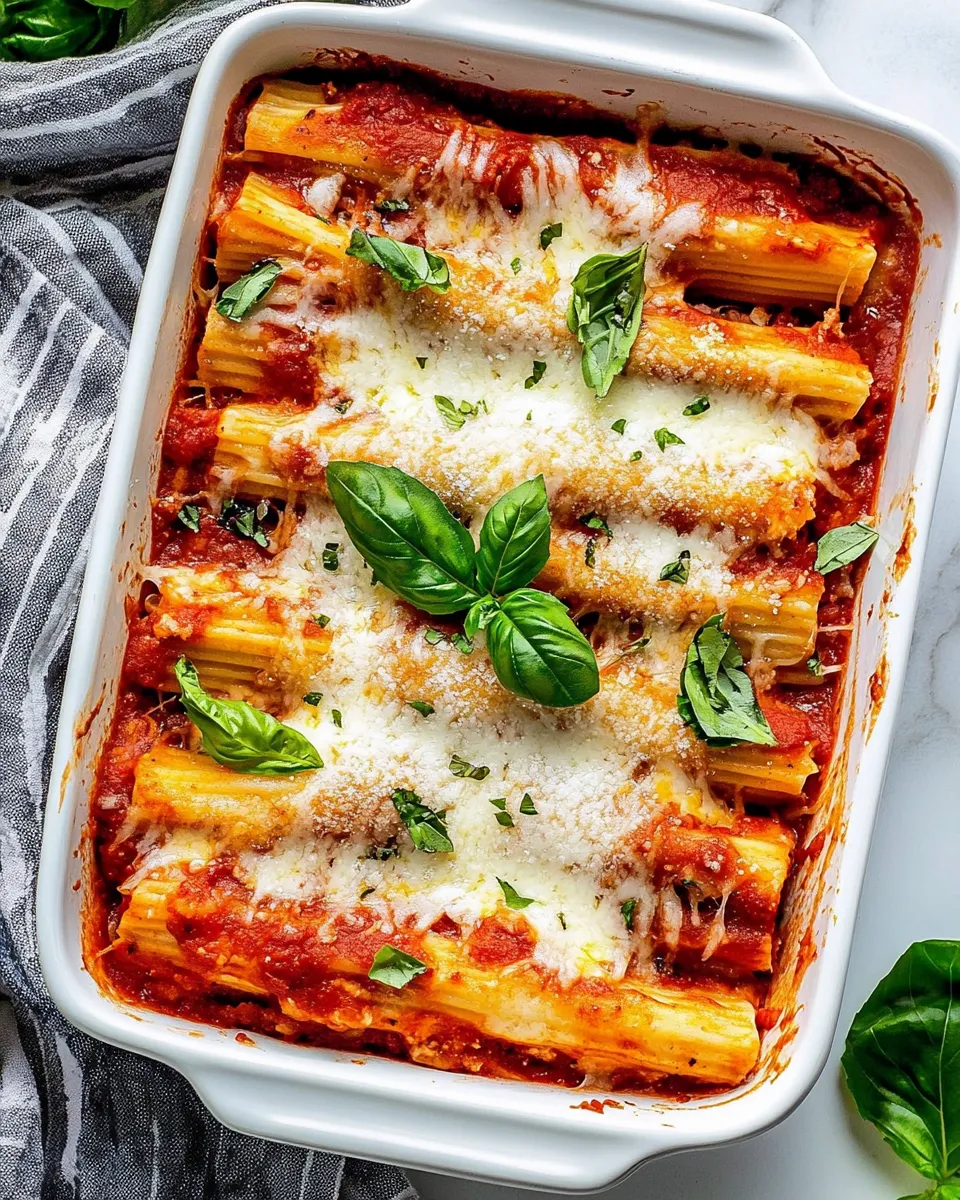
- Top with remaining cheese and sauce. Pour the remaining marinara sauce over the arranged manicotti so they are well coated. Evenly sprinkle the reserved 1 cup grated mozzarella and the remaining 1/2 cup parmesan on top. The cheese will melt and form a golden, bubbly crust while the sauces heat through.
- Cover and bake. Cover the baking dish tightly with aluminum foil and place it in the preheated 350°F (175°C) oven. Bake covered for about 25–30 minutes to heat the filling through and allow the flavors to meld.
- Finish uncovered for a golden top. After 25–30 minutes, remove the foil and return the dish to the oven. Bake uncovered for an additional 10–15 minutes, or until the cheese on top is melted and lightly browned and the sauce is bubbling around the edges.
- Rest, garnish, and serve. Remove the manicotti from the oven and let it rest for 5–10 minutes so the filling sets slightly and the dish is easier to slice. Garnish with additional chopped fresh parsley and basil. Serve warm with a simple side salad or garlic bread to soak up extra sauce.
Troubleshooting and tips
- If your manicotti shells are fragile or tend to split while filling, rinse them briefly under cool water after boiling and let them dry slightly before filling. Slightly undercooking them in the pasta water helps them maintain structure during assembly.
- When filling the manicotti with a spoon, work slowly and use the palm of your hand to steady the noodle so the filling goes in evenly without tearing the pasta.
- For extra flavor, you can stir a pinch of nutmeg into the ricotta mixture—just a little goes a long way. If you prefer more herb-forward filling, increase the basil or parsley by a tablespoon each.
- Leftovers reheat well; cover the dish with foil and warm in a 350°F oven until heated through, or reheat single portions in the microwave until hot.
Serving suggestions
Manicotti is a hearty main dish. Pair it with a crisp green salad dressed in a bright vinaigrette to cut through the richness, or serve it alongside roasted vegetables for a fuller plate. A slice of crusty bread or garlic toast is perfect for mopping up extra sauce. For a lighter finish, offer a small platter of fresh fruit or a simple lemon sorbet.
Make-ahead and storage
You can assemble manicotti up to a day ahead: keep the unbaked dish covered in the refrigerator and bake it when you’re ready. Baked manicotti will keep in the fridge for 3–4 days in an airtight container. Freeze portions in well-sealed containers for up to 2 months; thaw overnight in the refrigerator before reheating.
Why this recipe is great for gatherings
This Manicotti scales well: multiply the filling and noodles to feed a crowd, and bake in multiple dishes or a larger pan as needed. The combination of familiar ingredients and hands-off baking means you can prep ahead and spend more time with guests. It’s comforting, approachable, and reliably crowd-pleasing.
Final notes
Follow the ingredient list and the step-by-step directions above for a classic, satisfying Manicotti that highlights creamy ricotta, melty mozzarella, sharp parmesan, and bright herbs. The process is straightforward: cook the pasta, mix the filling, fill the shells, layer with sauce, and bake until bubbly. The result is a cozy, flavorful dish perfect for weeknights, Sunday dinners, or casual celebrations.
Manicotti
Ingredients
- 10-12 manicotti noodles large tubular pasta for filling
- 15 ounce ricotta cheese
- 3 cups grated low-moisture mozzarella cheese divided
- 1 cup Parmesan cheese divided
- 2 tablespoons fresh parsley chopped, plus more for garnish
- 2 tablespoons fresh basil chopped, plus more for garnish
- 2 large eggs beaten
- 1/2 teaspoon black pepper
- 24 ounce marinara sauce about 1 jar
Instructions
- Preheat the oven to 350°F (175°C).
- Bring a large pot of water to a boil, add a heaping pinch of salt, and cook the manicotti noodles until al dente according to package directions; drain and rinse under cold water to stop cooking.
- In a mixing bowl, combine the ricotta, 1 cup of the mozzarella, 3/4 cup of the Parmesan, chopped parsley, chopped basil, beaten eggs, and black pepper until evenly mixed.
- Spoon the cheese mixture into a piping bag or use a small spoon and carefully fill each manicotti shell with the ricotta mixture; place filled shells in a single layer in the prepared baking dish.
- Spread 1 cup of marinara sauce across the bottom of the 9×13-inch baking dish before adding the filled shells, then arrange the shells on top.
- Pour the remaining marinara sauce over the filled shells, then sprinkle with the remaining mozzarella and remaining Parmesan.
- Cover the dish with foil and bake for 20–30 minutes, until heated through and the cheese is melted; remove foil and broil 1–2 minutes if you want the top browned.
- Remove from the oven and let rest for 10 minutes, then garnish with additional parsley and basil before serving.
Equipment
- 9x13 inch Baking Dish
- Large Pot
- Mixing Bowl
- piping bag or spoon
- Colander
- Measuring Cups and Spoons
Notes
- Manicotti are large tubular pasta shells that are filled with the ricotta mixture.
- If you can’t find manicotti, jumbo pasta shells can be used instead.
- Use a piping bag for easier and cleaner filling.
- Let the dish rest 10 minutes before serving to set the filling.