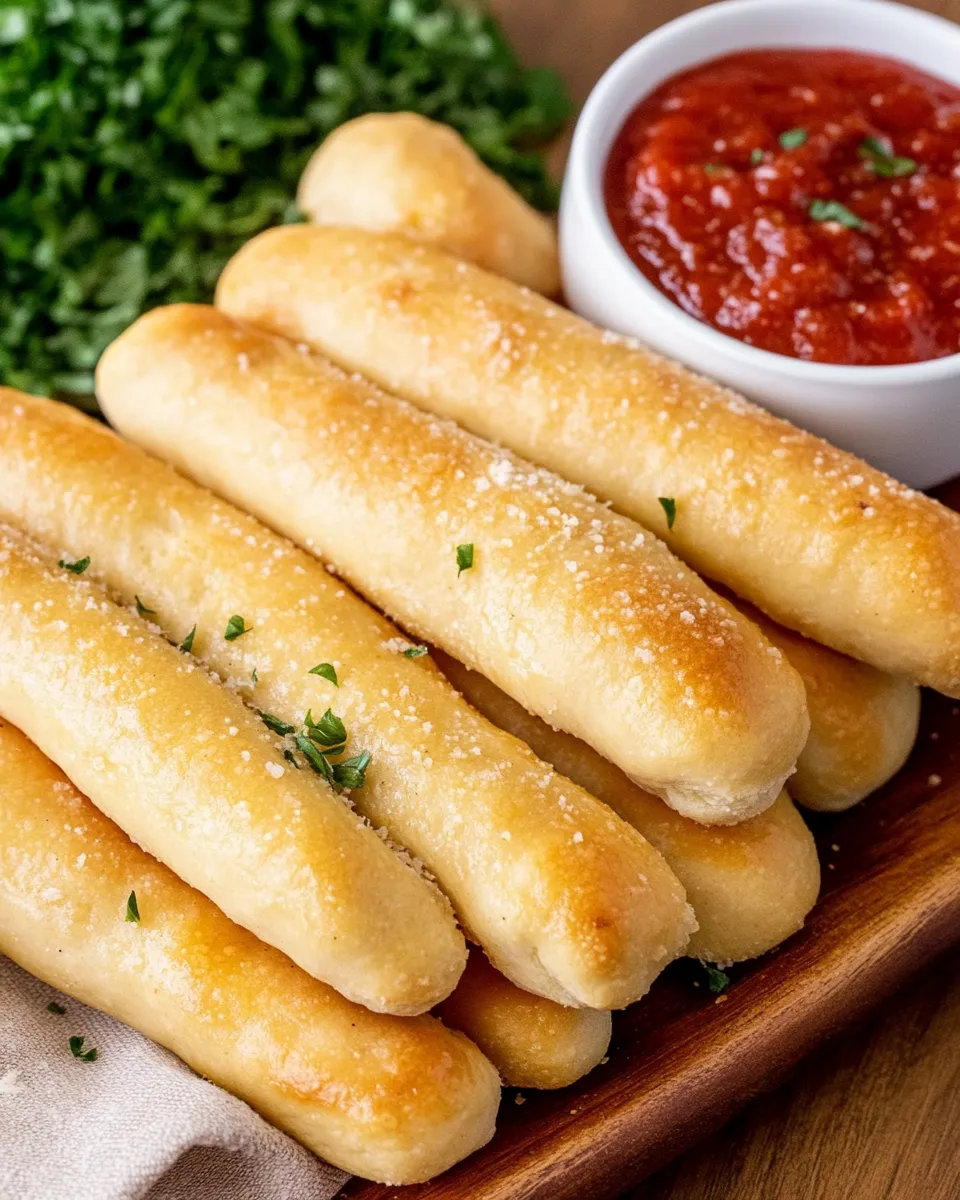
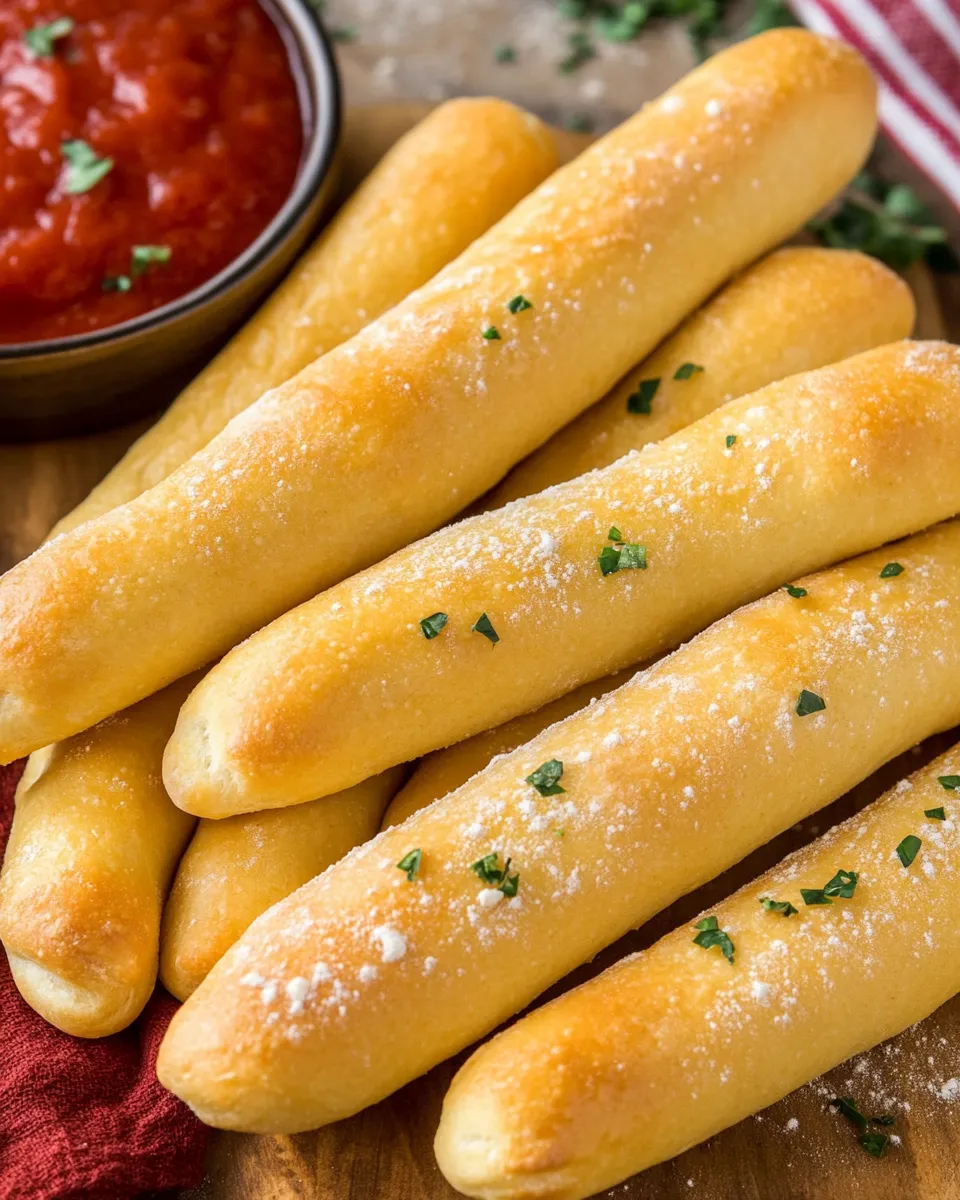
Olive Garden Breadsticks
These breadsticks are exactly what you think of when you picture warm, soft sticks brushed with butter and a hit of garlic: pillowy on the inside, with a delicate golden exterior. They’re deceptively simple — yeast, flour, a little butter — but getting the texture right takes attention to temperature and timing. I tested this version until the crumb was just tender and the flavor matched what we all crave from the restaurant-style classic.
I keep the method straightforward so you can make them on a weeknight or for guests without a lot of fuss. The dough is forgiving: if your kitchen is cool, let it take a bit longer to rise; if it’s warm, watch the first rise closely. The finishing salt-and-garlic mixture gives the signature pop, so don’t skip it.
Below you’ll find the ingredient list, the exact step-by-step directions I follow, troubleshooting tips, and a few swaps if you want to make these vegetarian-friendly or vegan. Read through once, then follow the steps — you’ll have a sheet of warm breadsticks in under two hours from start to finish depending on your rise time.
The Ingredient Lineup

Ingredients
- 1 and ½ cups warm tap water — not boiling or super hot, up to 130°F (55°C). This temperature activates the yeast without killing it.
- 2 tablespoons granulated sugar — feeds the yeast and helps with browning.
- 2 teaspoons dry yeast — see note 2; the leavening agent that gives lift and tenderness.
- 4 and ½ cups bread flour — higher protein for good gluten development and chew.
- 2 teaspoons salt — balances flavor in the dough itself.
- 3 tablespoons unsalted butter — melted; adds richness to the dough.
- 1 tablespoon unsalted butter — for brushing after baking to add shine and flavor.
- ¼ teaspoon salt — to mix with garlic for the finishing sprinkle.
- ½ teaspoon garlic granules — the finishing garlic flavor; granules disperse evenly without becoming paste.
Olive Garden Breadsticks: Step-by-Step Guide
- In a small bowl, stir together 1 and 1/2 cups warm tap water (not boiling or hotter than 130°F / 55°C), 2 tablespoons granulated sugar, and 2 teaspoons dry yeast. Set aside for about 10 minutes, until the mixture is foamy and bubbly.
- In a large bowl, combine 4 and 1/2 cups bread flour and 2 teaspoons salt. Add 3 tablespoons melted unsalted butter and the activated yeast mixture. Stir until a shaggy dough forms.
- Turn the dough out onto a lightly floured surface and knead for about 7 minutes, until the dough is smooth and elastic and forms a cohesive ball.
- Divide the dough into 12 equal pieces. Roll each piece into a rope of even thickness.
- Place the 12 ropes on a parchment-lined baking sheet, leaving some space between each. Cover loosely with a clean towel and let rise in a warm place for 1 hour, until puffy.
- About 5–10 minutes before the end of the rise, preheat the oven to 390°F (200°C).
- Bake the breadsticks for 15 minutes, until they are lightly golden.
- While the breadsticks are still warm, melt the remaining 1 tablespoon unsalted butter. In a small bowl, mix 1/2 teaspoon garlic granules with 1/4 teaspoon salt. Brush each warm breadstick with the melted butter, then sprinkle the garlic-and-salt mixture evenly over them. Serve warm.
Why This Recipe Is Reliable
This method focuses on a few controllable variables: dough temperature, a precise yeast activation step, and the knead time. Activating the yeast in warm (but not hot) water ensures a predictable rise. Using bread flour gives the sticks structure and a satisfying chew; if you swap to all-purpose the result will be softer and less defined.
The rise time used here — about one hour — is long enough for fermentation to develop flavor without over-proofing. Rolling the dough into ropes and placing them spaced apart on a single sheet prevents them from fusing into one giant loaf while still encouraging soft sides where they meet air. Brushing with melted butter and sprinkling the garlic-salt while warm locks in flavor and gives that signature sheen.
Vegan & Vegetarian Swaps
Vegetarian: This recipe is already vegetarian, since it contains no meat or animal-derived rennet. If strict lacto-vegetarian preferences mean avoiding dairy, continue to the vegan suggestions below.
Vegan: Replace the melted unsalted butter used both in the dough and for brushing with a neutral-tasting plant-based butter or margarine. Most plant-based spreads behave similarly in flavor and melting point; use the same amounts as listed. The rest of the ingredients are already vegan-friendly.
Notes on swaps: swapping the butter can slightly change the finished texture and browning. Plant-based butter with a higher water content may produce a slightly softer crust, so keep an eye on the bake time the first time you try the swap.
Setup & Equipment

Minimal equipment is required: a small mixing bowl for proofing yeast, a large bowl for mixing the dough, a lightly floured surface or bench for kneading, a baking sheet, parchment paper, and a clean towel for covering. A thermometer is helpful to check water temperature if you’re unsure.
If you have a stand mixer with a dough hook, you can use it for the kneading stage — mix on low for 2–3 minutes, then medium speed for 4–5 minutes until the dough is smooth and elastic. Otherwise, hand-kneading for about 7 minutes as written works perfectly.
Common Errors (and Fixes)
- Dough not rising: Check water temperature — if it was too hot, the yeast could be killed; start over with fresh yeast. If your kitchen is cold, give it more time or place the covered dough in an oven with just the light on to create a warm environment.
- Dense texture: Under-kneading or not enough rise time. Knead until smooth and elastic and ensure the dough doubles in puffiness during the rise.
- Over-browning: Oven running hot or sticks too long. Reduce oven temperature by 10–15°F or shorten bake time by a couple of minutes next batch.
- Garlic burn or clumping: Using fresh minced garlic instead of granules can burn or create wet spots — follow the recipe and use garlic granules for an even finish.
Variations for Dietary Needs
Low-sodium: Reduce the salt in the dough slightly, but keep at least 1/2 teaspoon in the finishing mix so the flavor at the end remains satisfying. Reducing salt in the dough too much affects yeast activity and gluten structure, so avoid eliminating it entirely.
Gluten-free: This recipe relies on gluten development, so a straight swap won’t work. If you need gluten-free breadsticks, I recommend using a tested gluten-free dough recipe specifically formulated with binders and alternative flours.
Allergen notes: The recipe contains wheat (gluten) and dairy. For dairy-free, follow the vegan swap recommendations above.
Behind the Recipe
My aim with this version was to replicate the soft, slightly sweet interior and the simple garlic-butter finish that makes these breadsticks so addictive. I focused on a straightforward dough that doesn’t require freezing, laminating, or long fermentations. The bread flour gives structure so that the sticks hold their shape when rolled into ropes and during baking.
Small details matter: warm but not hot water activates yeast reliably, and the small finishing sprinkle of garlic granules with salt gives a consistent burst of flavor without making the surface soggy. These choices are what keep the recipe both simple and consistent.
Keep-It-Fresh Plan
Store cooled breadsticks wrapped tightly in plastic wrap or in an airtight container at room temperature for up to 2 days. To refresh after a day or two, reheat in a 350°F (175°C) oven for 5–7 minutes — this brings back some crispness while keeping the inside soft.
Freezing: Cool completely, wrap individually or in a single layer with parchment, then place in a freezer bag for up to 1 month. Reheat from frozen: 325°F (160°C) oven for 10–12 minutes, until warmed through. Brush with a touch more melted butter after reheating for the best flavor.
Troubleshooting Q&A
Q: My yeast didn’t foam. What now?
A: If the yeast-water-sugar mix doesn’t get foamy after 10–15 minutes, the yeast may be inactive. Try again with new yeast and ensure the water is warm but not hot (ideally around 100–110°F / 38–43°C). Very old yeast or water that’s too hot will prevent foaming.
Q: The breadsticks stuck together during the rise. How can I fix that?
A: Give them slightly more space on the baking sheet next time or place them on two sheets. If they’ve already stuck after the rise, bake them together and consider separating after baking; you’ll get softer shared sides in that case.
Q: I want a crunchier exterior. Any tips?
A: For a bit more crunch, brush with the finishing butter and then broil very briefly (watch carefully — this can brown quickly) or increase oven temperature by 10–15°F and watch the bake time closely.
Q: Can I make smaller or larger sticks?
A: Yes. Adjust the number of pieces you divide the dough into. Smaller pieces will bake slightly faster; check them a few minutes earlier. The internal timing and the visual cue of light golden color are your best indicators.
Let’s Eat
Serve these breadsticks warm with marinara, a sprinkle of grated Parmesan, or alongside a hearty pasta. They’re best the day you bake them but still hold up well reheated. If you’re serving for a crowd, bake multiple sheets and keep finished breadsticks wrapped in towels to stay warm until serving.
Make the dough once and you’ll find yourself reaching for this simple method whenever you want a warm, comforting side that disappears quickly. Enjoy—and don’t forget to brush generously with that final butter and garlic mixture.

Olive Garden Breadsticks
Ingredients
Ingredients
- ?1 and 1/2 cupswarm tap waterNOT boiling or super hot up to 130°F (55°C) see note 1.
- ?2 tablespoonsgranulated sugar
- ?2 teaspoonsdry yeastsee note 2
- ?4 and 1/2 cupsbread flour
- ?2 teaspoonssalt
- ?3 tablespoonsunsalted buttermelted
- ?1 tablespoonunsalted butter
- ?1/4 teaspoonsalt
- ?1/2 teaspoongarlic granules
Instructions
Instructions
- In a small bowl, stir together 1 and 1/2 cups warm tap water (not boiling or hotter than 130°F / 55°C), 2 tablespoons granulated sugar, and 2 teaspoons dry yeast. Set aside for about 10 minutes, until the mixture is foamy and bubbly.
- In a large bowl, combine 4 and 1/2 cups bread flour and 2 teaspoons salt. Add 3 tablespoons melted unsalted butter and the activated yeast mixture. Stir until a shaggy dough forms.
- Turn the dough out onto a lightly floured surface and knead for about 7 minutes, until the dough is smooth and elastic and forms a cohesive ball.
- Divide the dough into 12 equal pieces. Roll each piece into a rope of even thickness.
- Place the 12 ropes on a parchment-lined baking sheet, leaving some space between each. Cover loosely with a clean towel and let rise in a warm place for 1 hour, until puffy.
- About 5–10 minutes before the end of the rise, preheat the oven to 390°F (200°C).
- Bake the breadsticks for 15 minutes, until they are lightly golden.
- While the breadsticks are still warm, melt the remaining 1 tablespoon unsalted butter. In a small bowl, mix 1/2 teaspoon garlic granules with 1/4 teaspoon salt. Brush each warm breadstick with the melted butter, then sprinkle the garlic-and-salt mixture evenly over them. Serve warm.
Equipment
- Small Bowl
- Large Bowl
- Measuring Cups and Spoons
- Parchment-lined baking sheet
- clean towel
- Oven
- lightly floured surface
Notes
Yeast– use yeast that is labelled with “instant” or “rapid rise”. If using normal yeast (usually labelled “active dry yeast”) then dissolve yeast in water first.
On super hot days, the dough might rise so quickly i.e 30 minutes might be enough so keep an eye on it as you won’t want it to over-rise.
Nutritioncalculated is per breadstick.
Plain breadsticks– brush with an egg wash before baking.
Everything bagel breadsticks– brush with an egg wash and sprinkle with everything bagel seasoning before baking.
Italian herb breadsticks– brush with an egg wash and sprinkle with oregano before baking.
Sweet cinnamon– leave the breadsticks plain, bake and then brush with melted butter and toss in cinnamon sugar (granulated sugar mixed with ground cinnamon).